Winter Crafts in Each Book
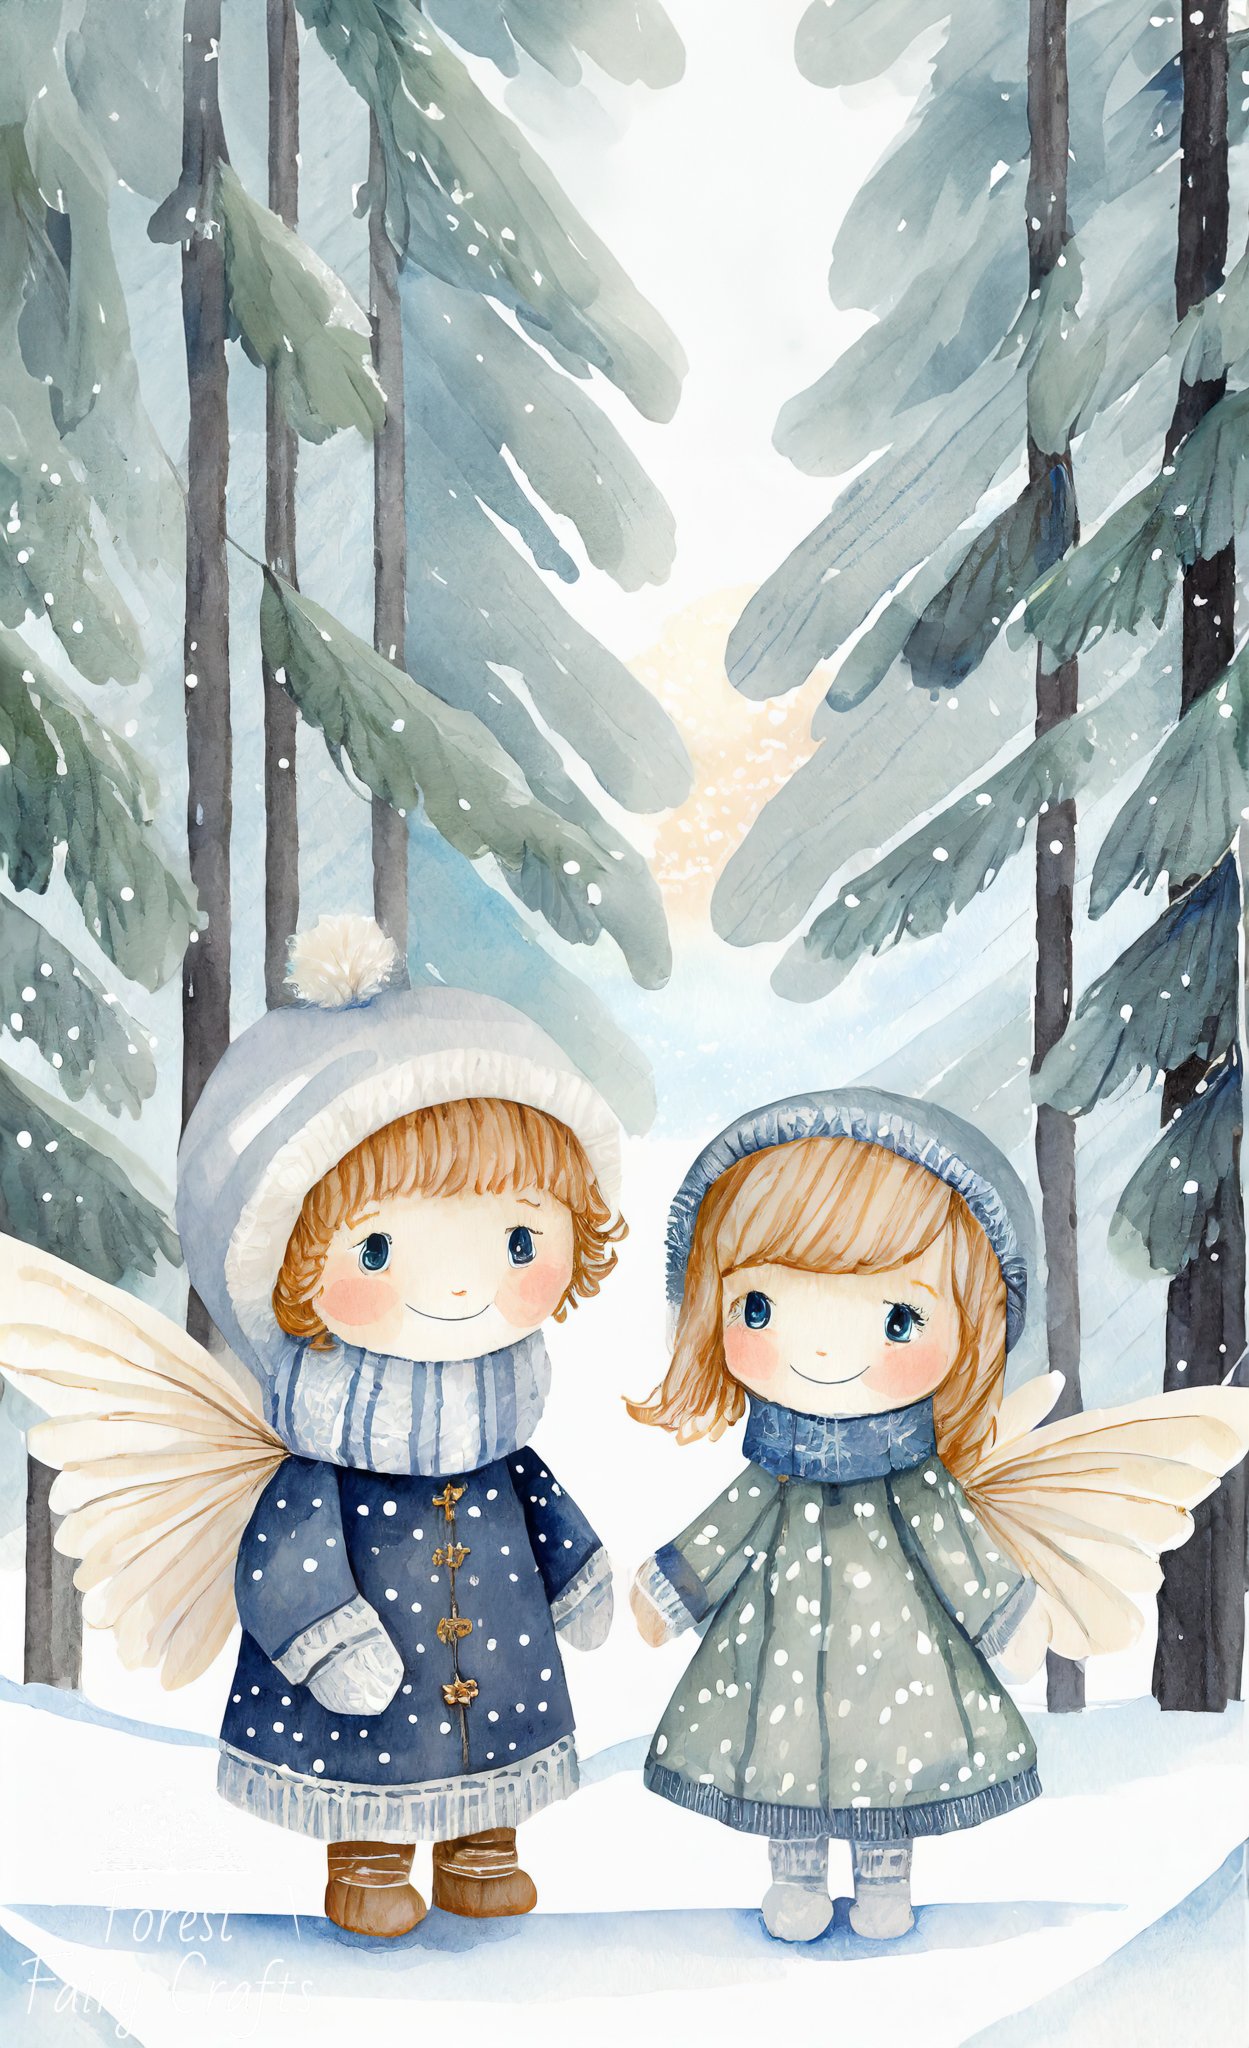
Happy winter! I hope snowflakes are drifting past, puddles are perfectly jumping-size, or the skies pile up with fluffy clouds. Sometimes, though, it becomes frigid-cold, or downpour-wet, or chilly cloudy. And those days, a cozy activity that uses hands and imagination (with a little reading and comprehension tossed in for fun :)), is a welcome treat for the entire family. We are often asked which projects are in which books for winter theme crafts (not the holidays)., Of course, we suggest both books, but if you can only check one or the other out of your library, this list might help you choose which book to choose first.
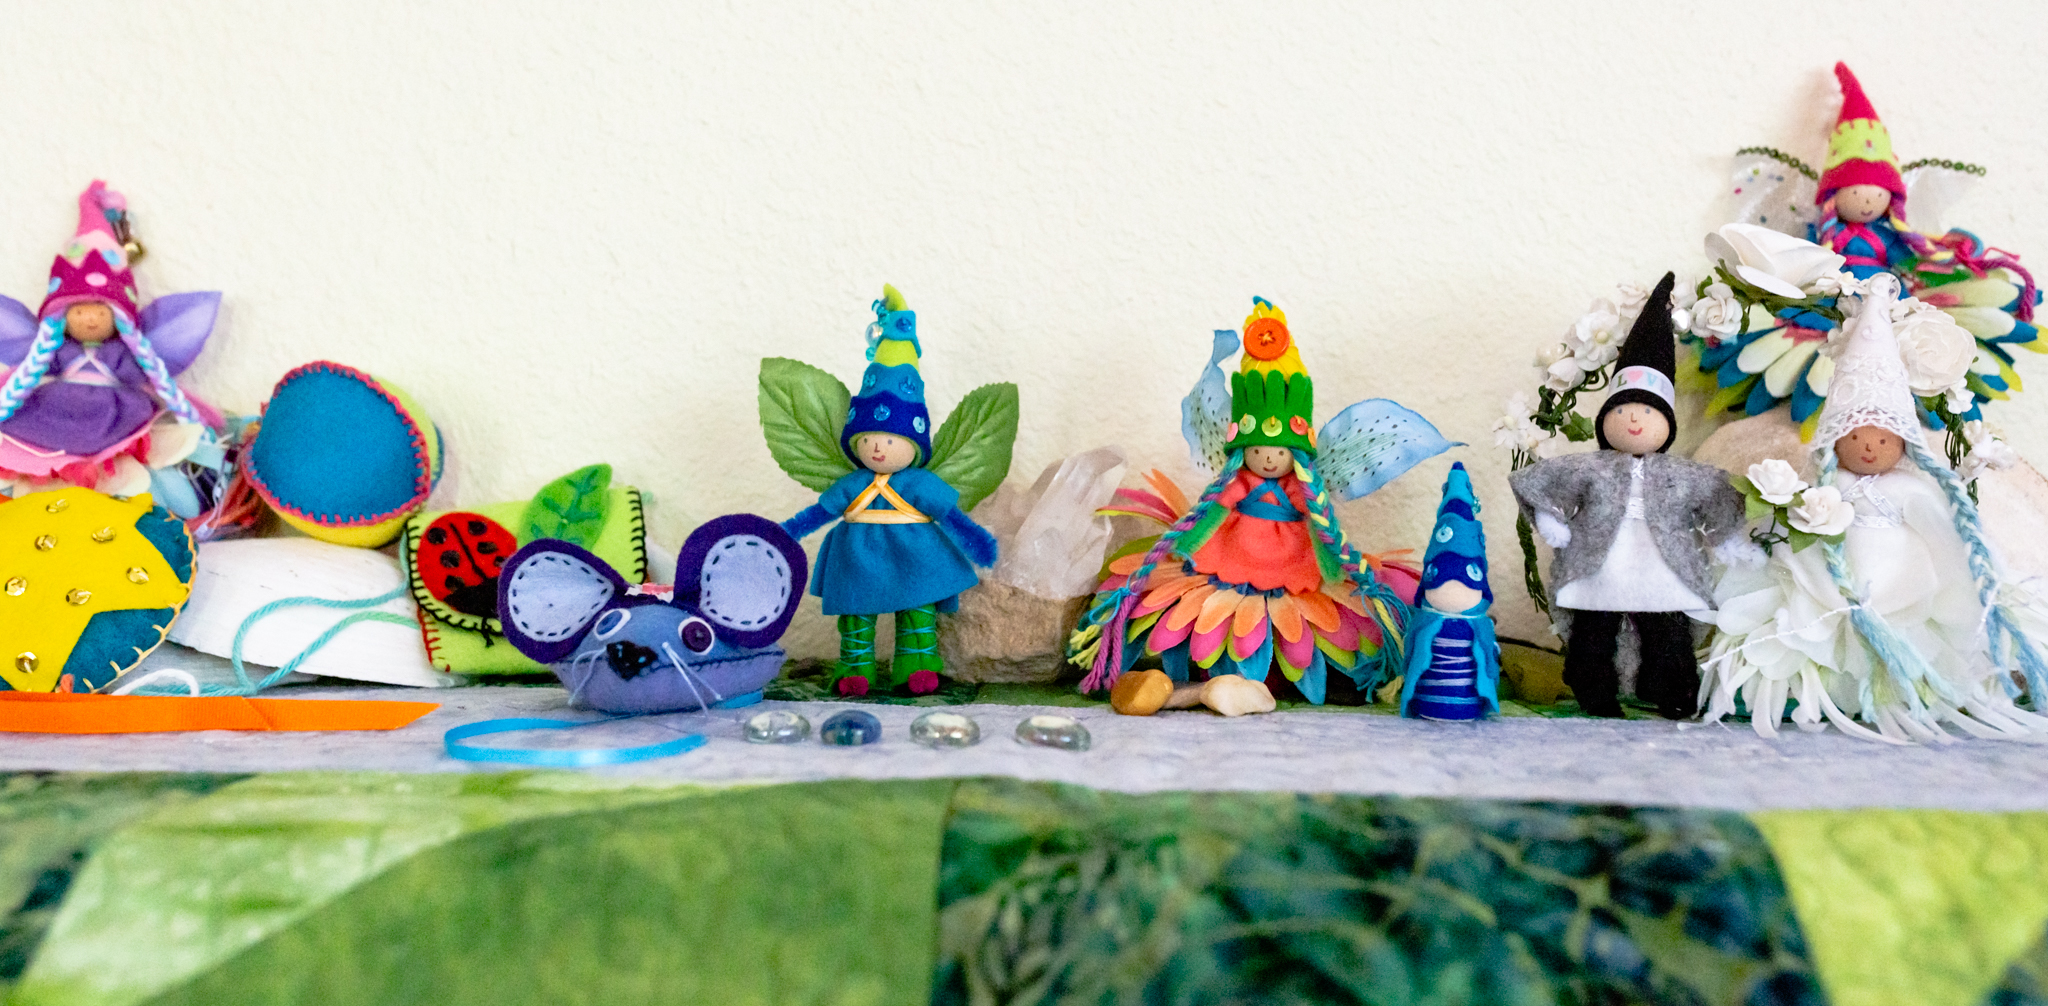
Forest Fairy Crafts, our first book, features a variety of playful fairies and crafts. Projects are inspired by play and fun ideas. So pirates, ninjas, a unicorn pouch, etc.
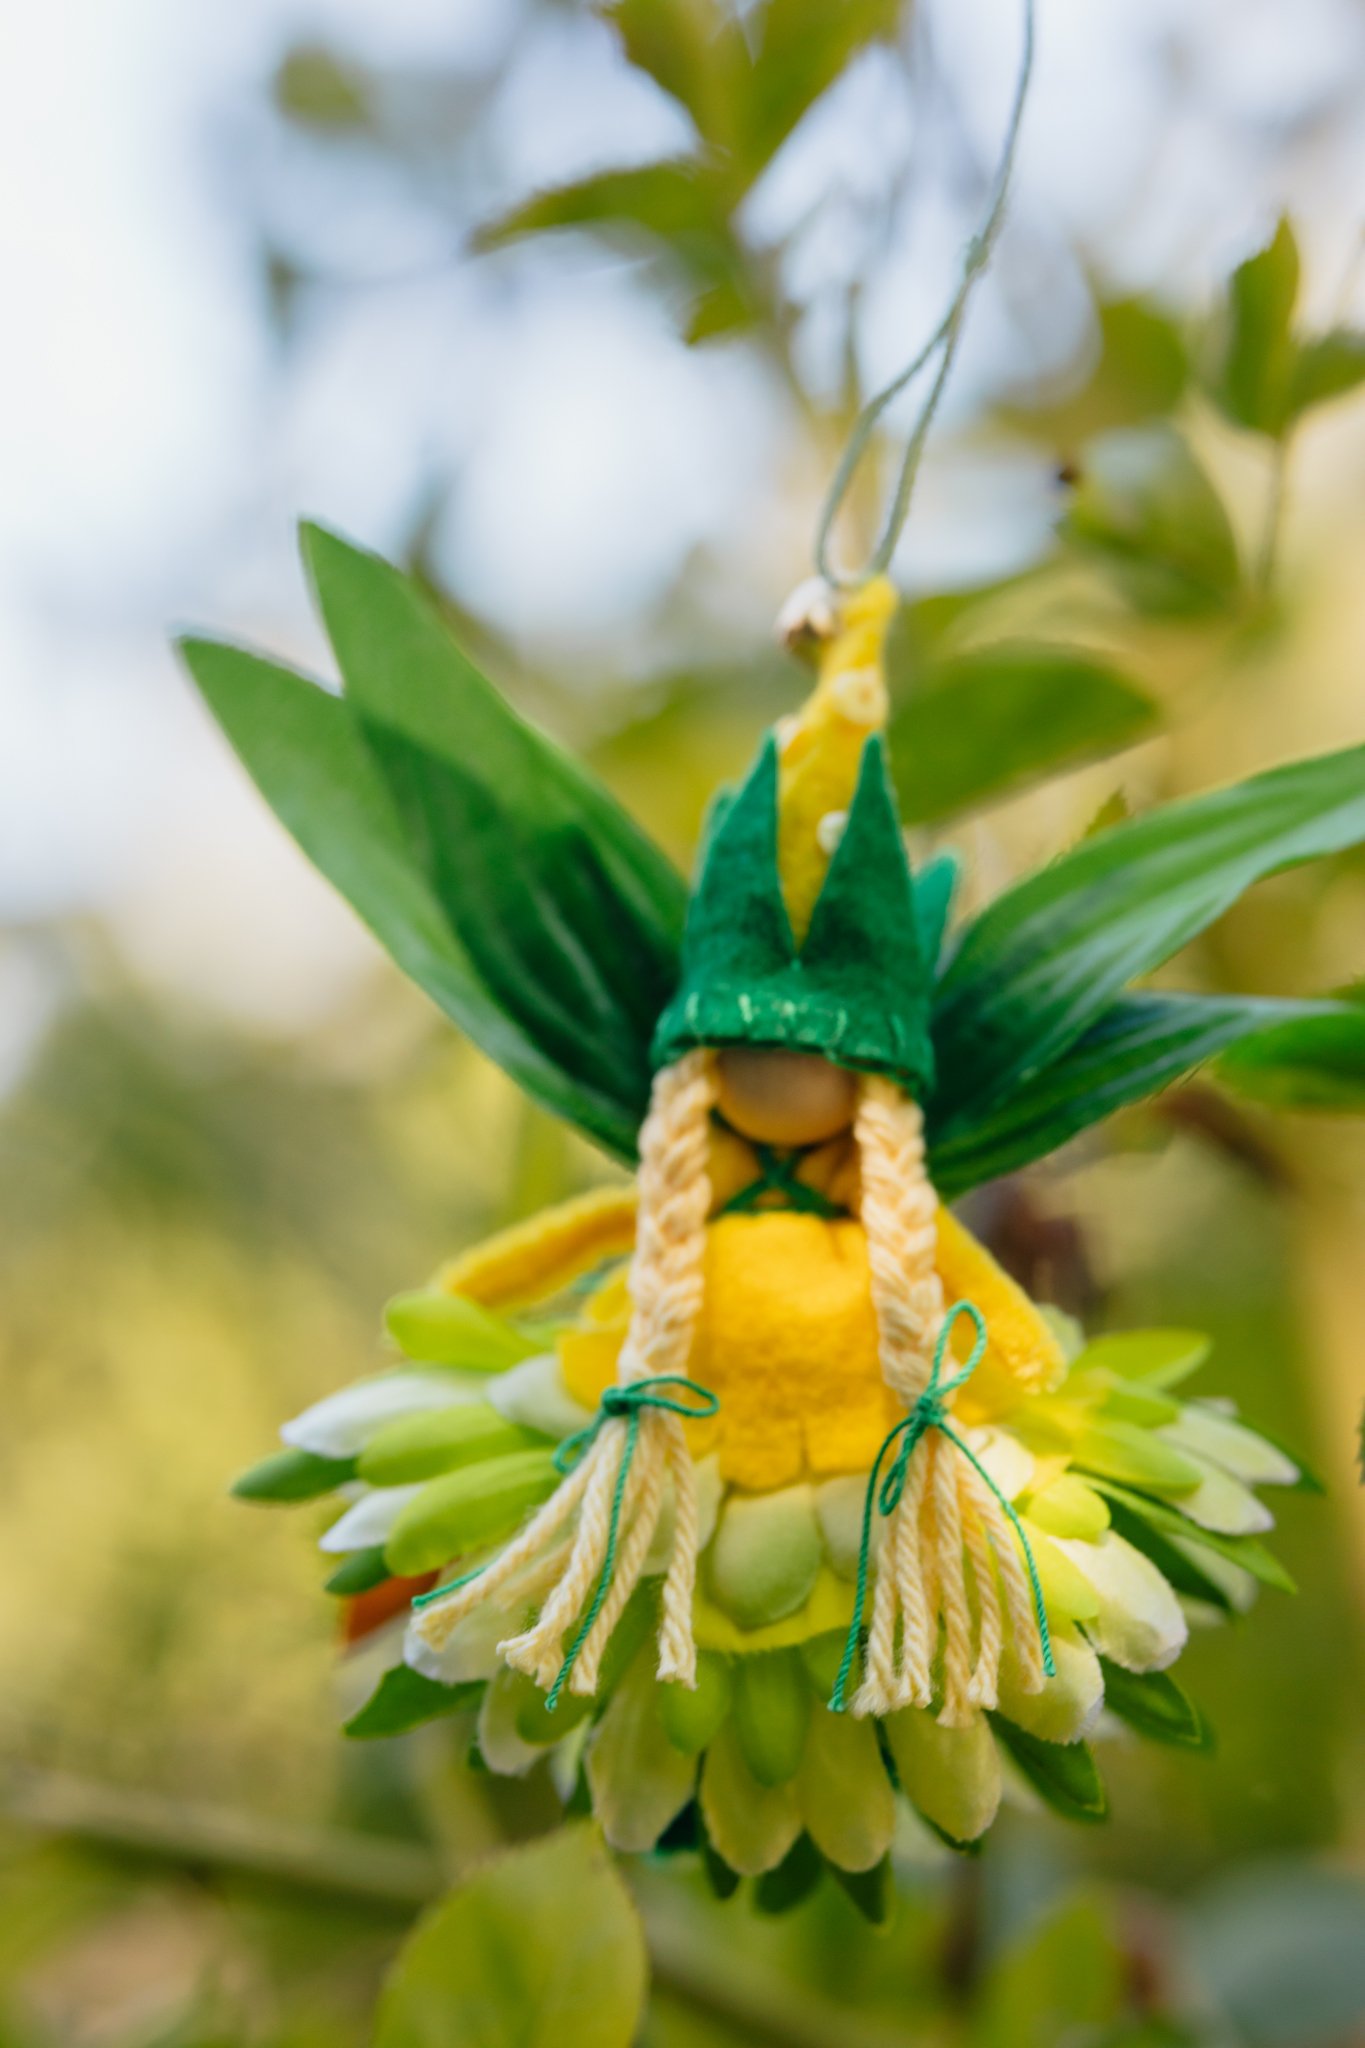
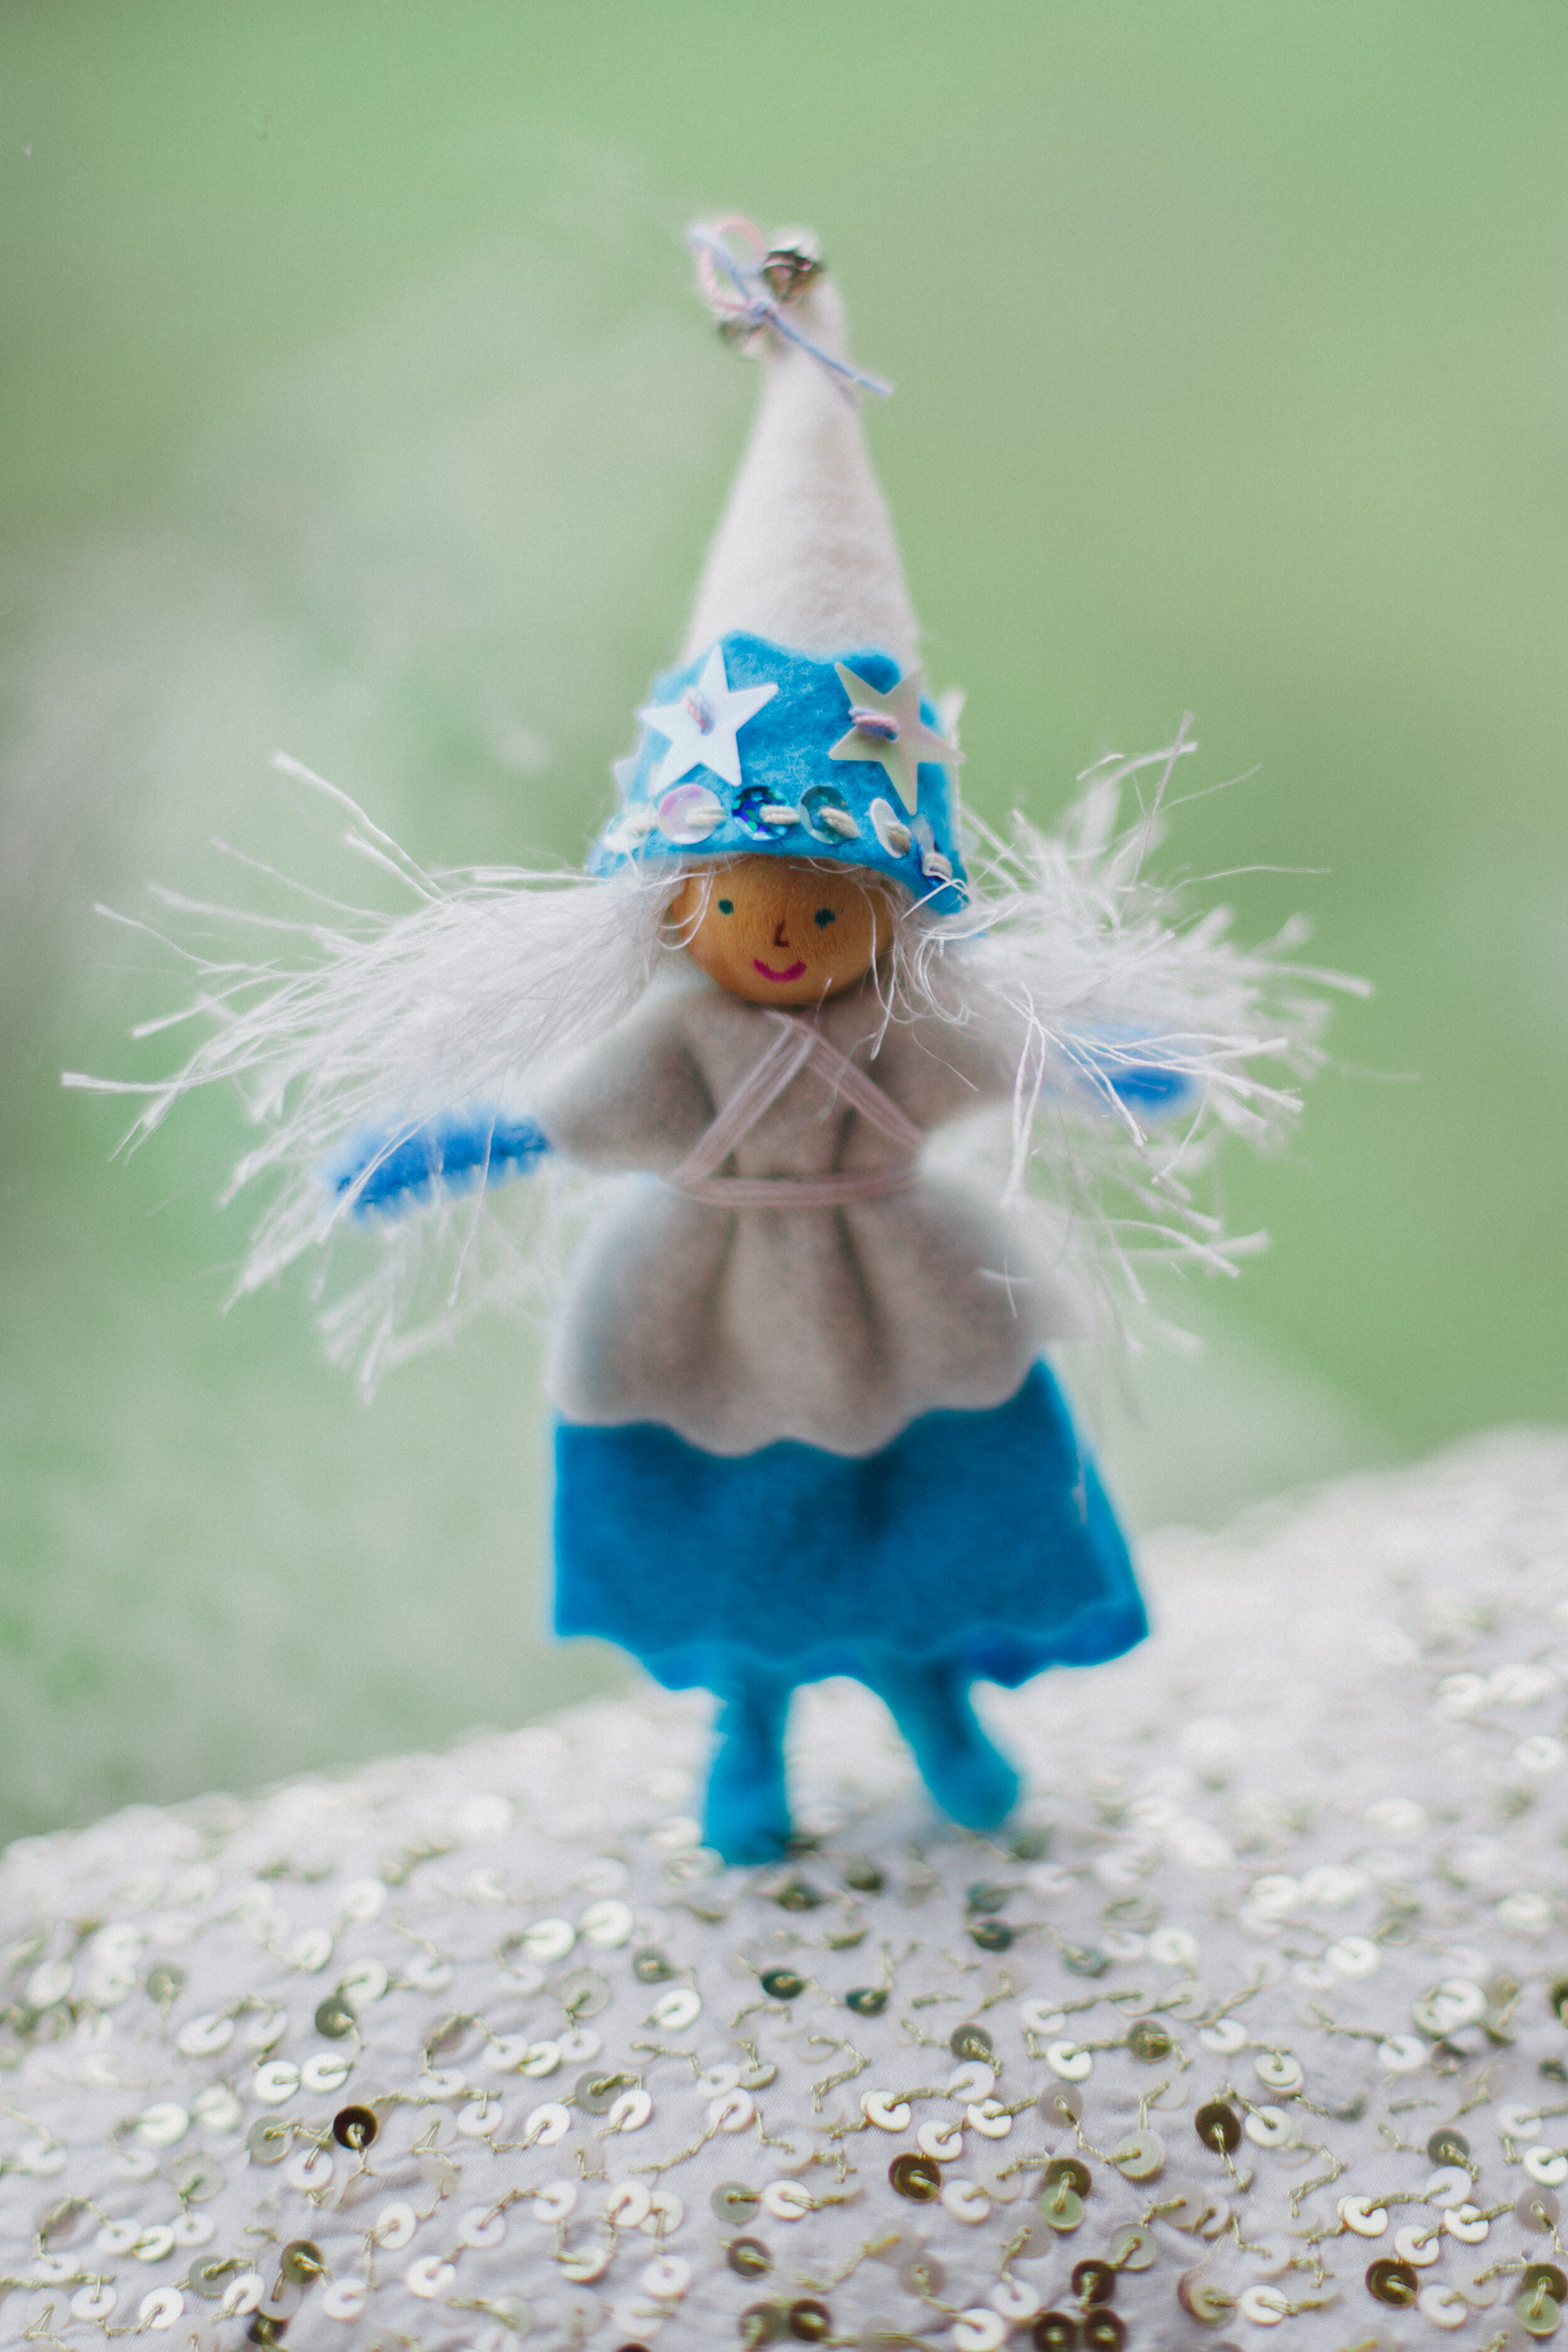
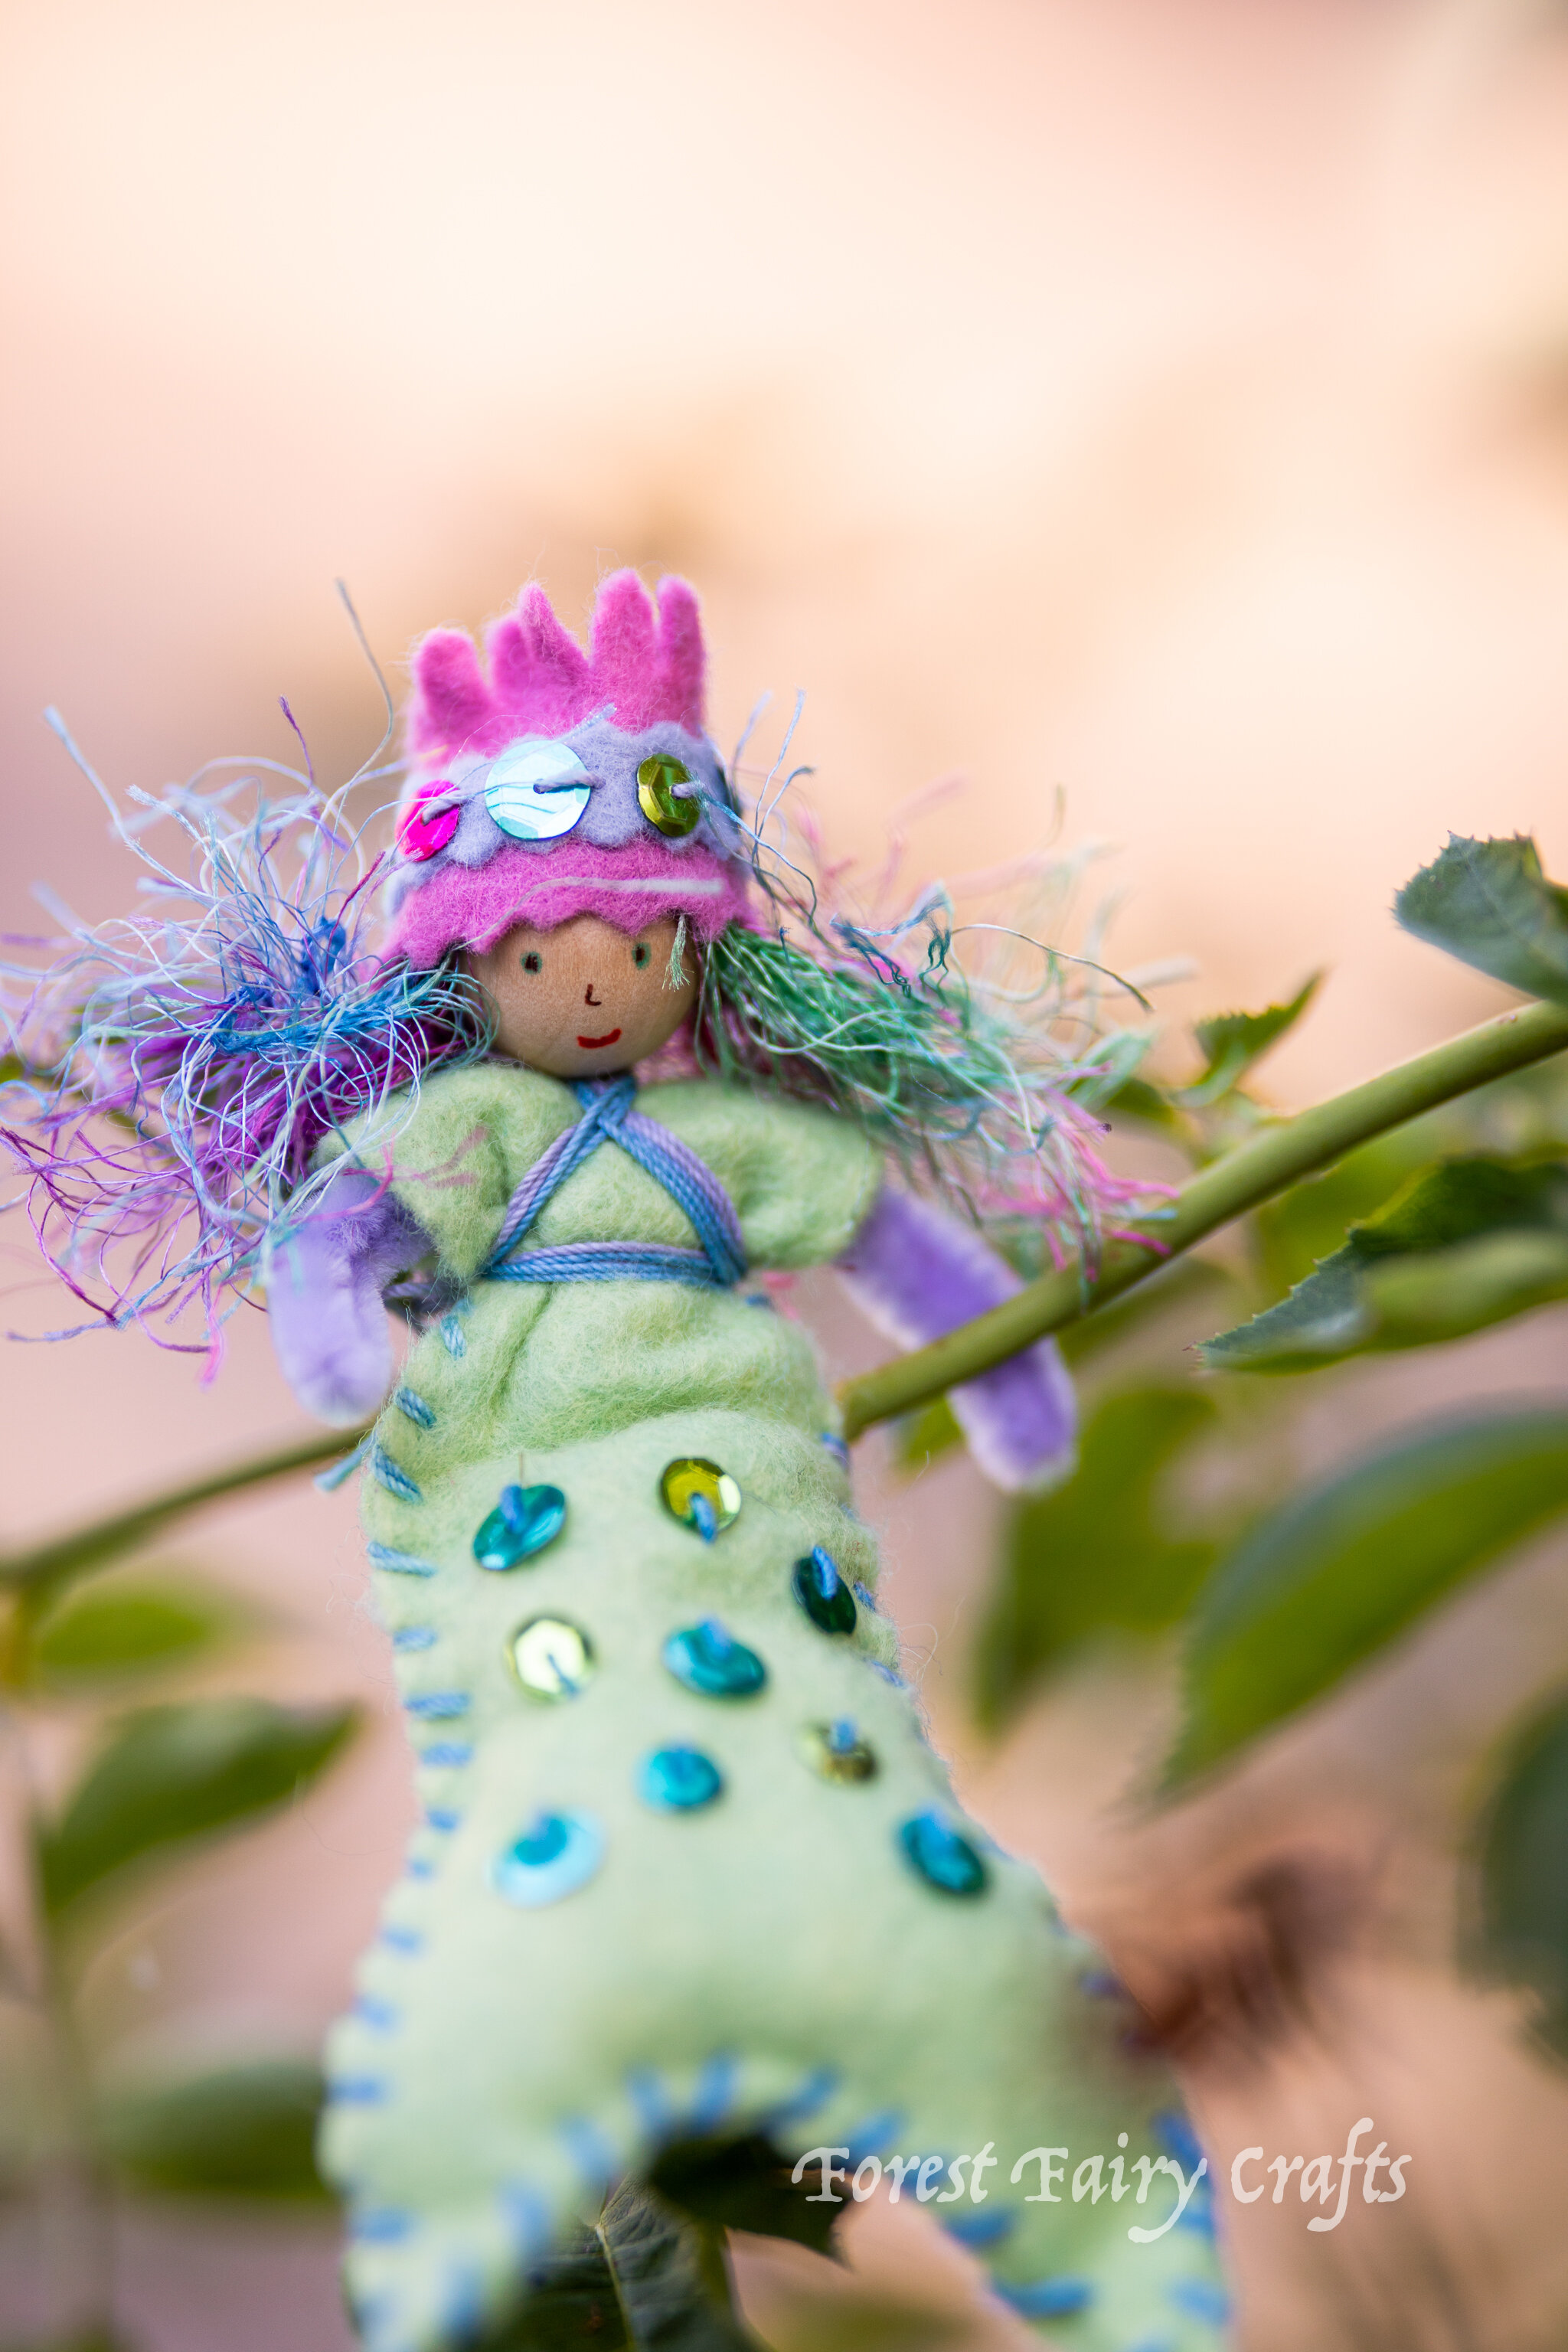
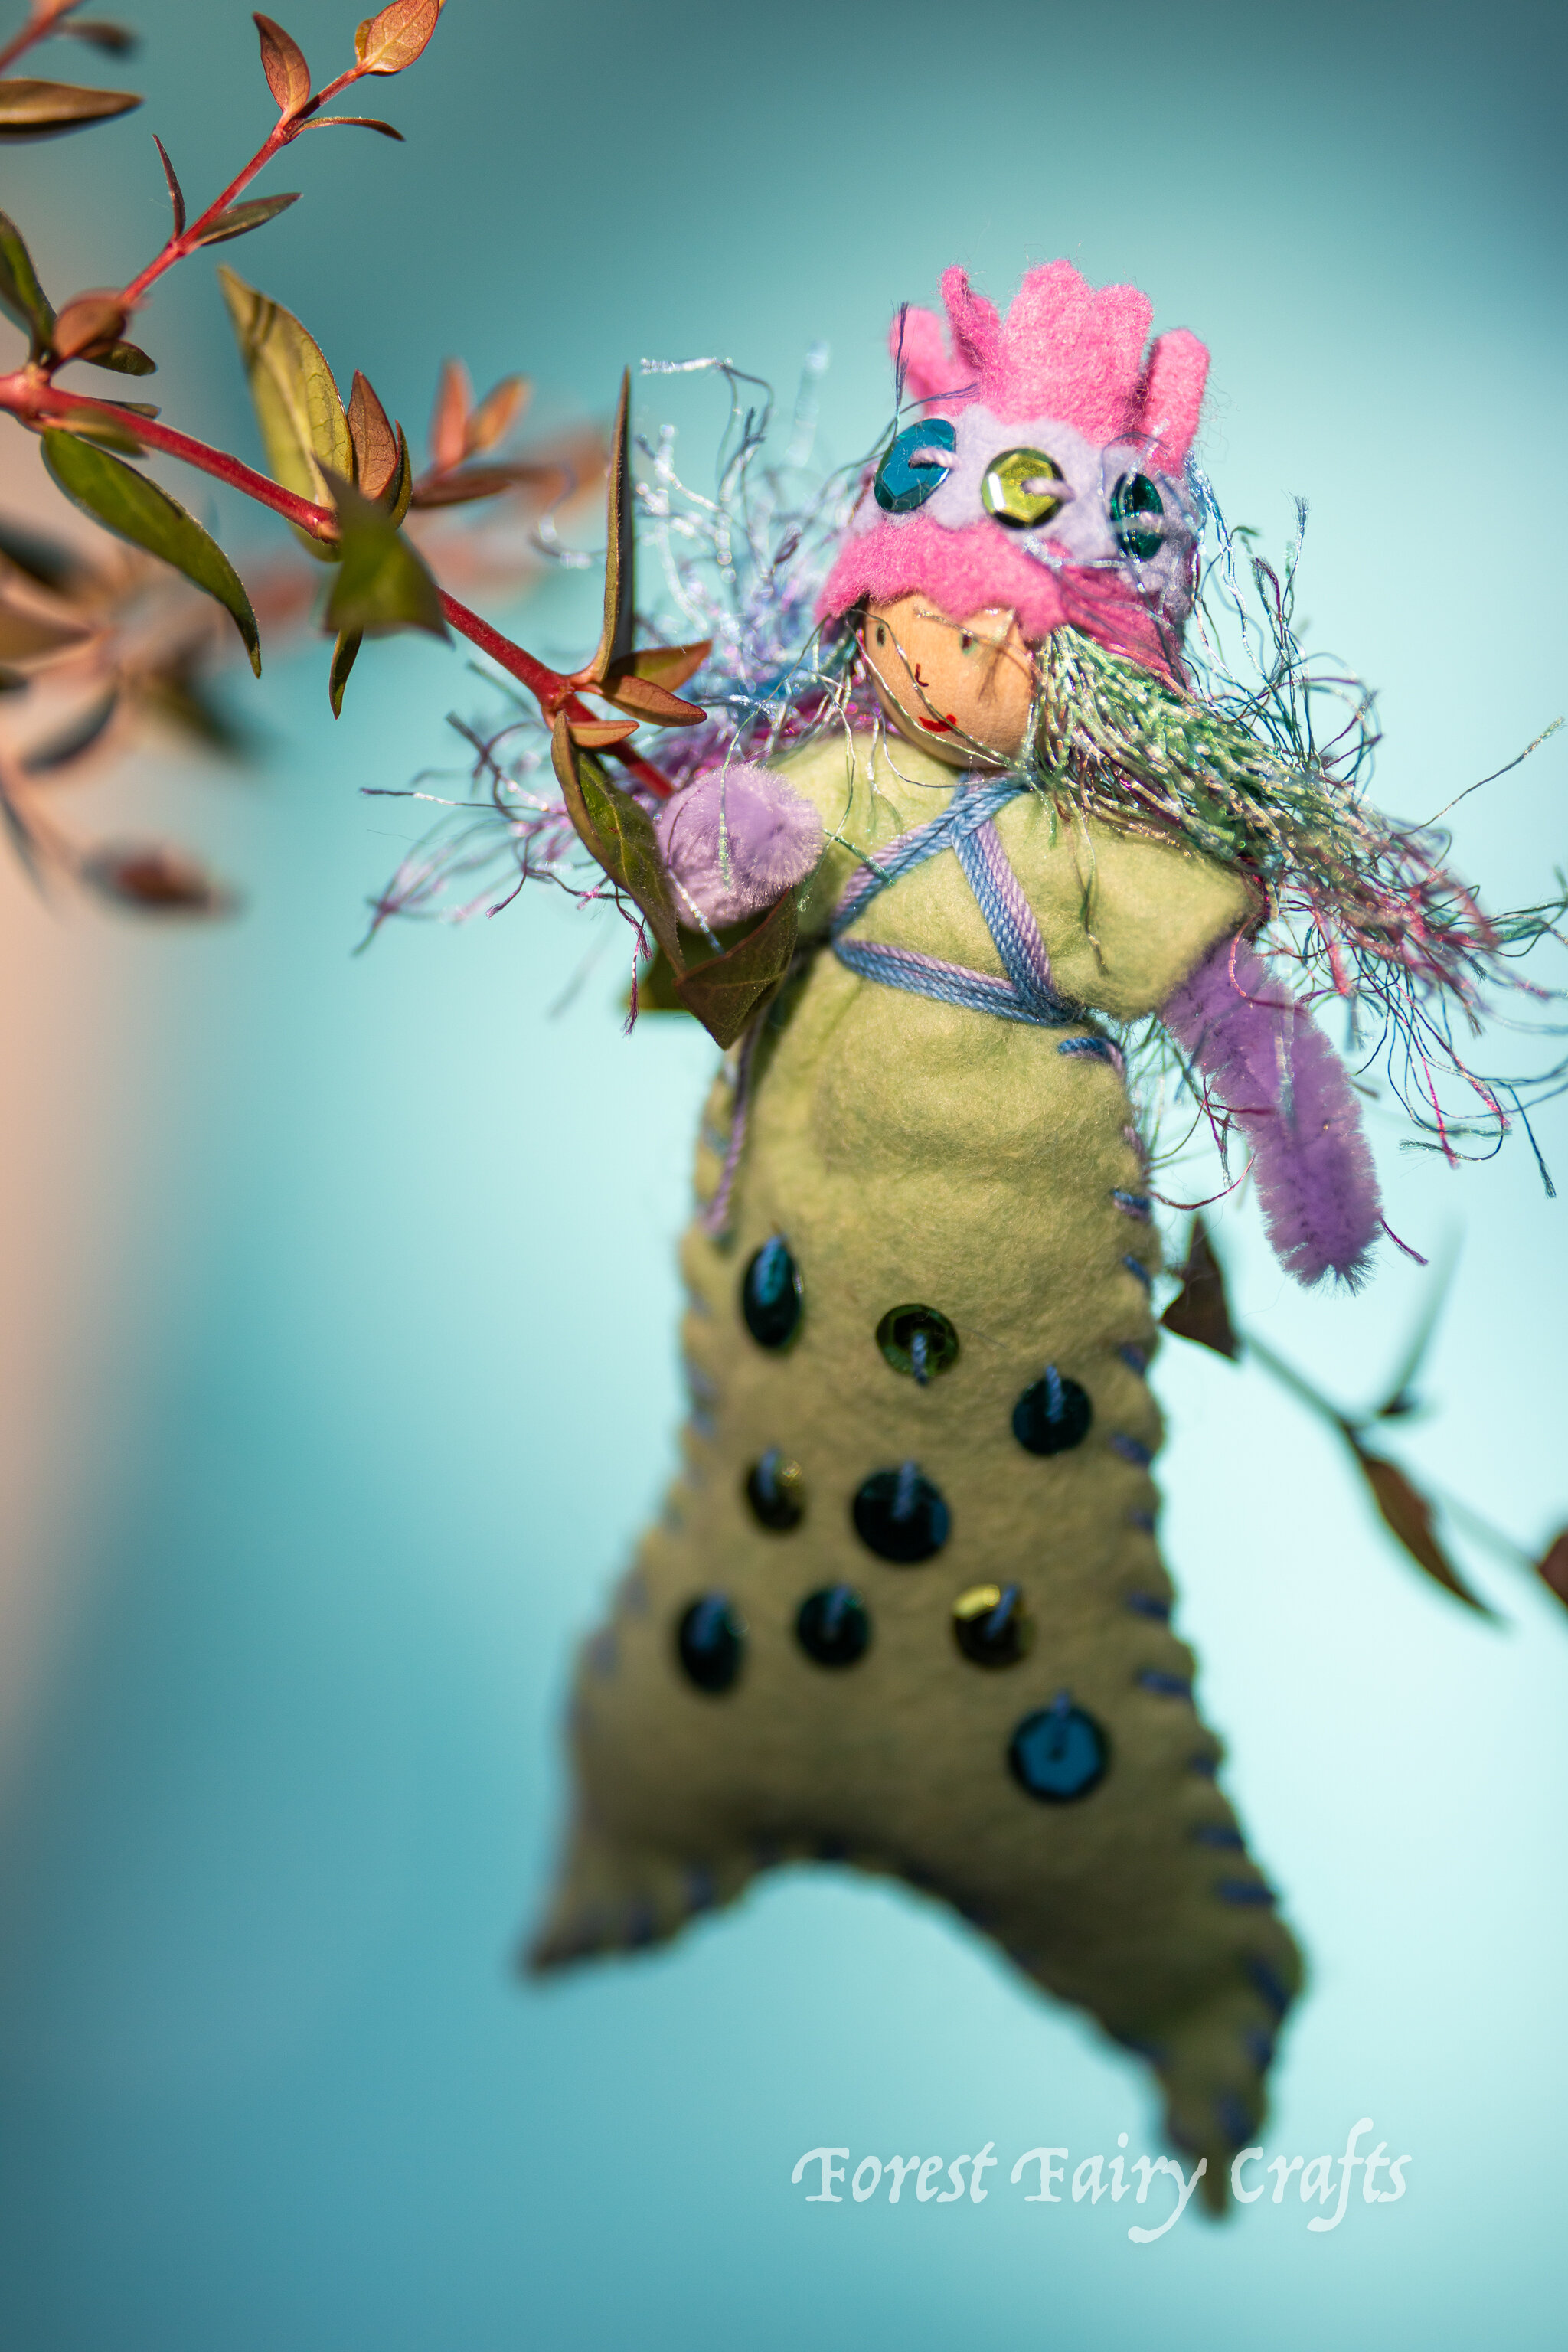
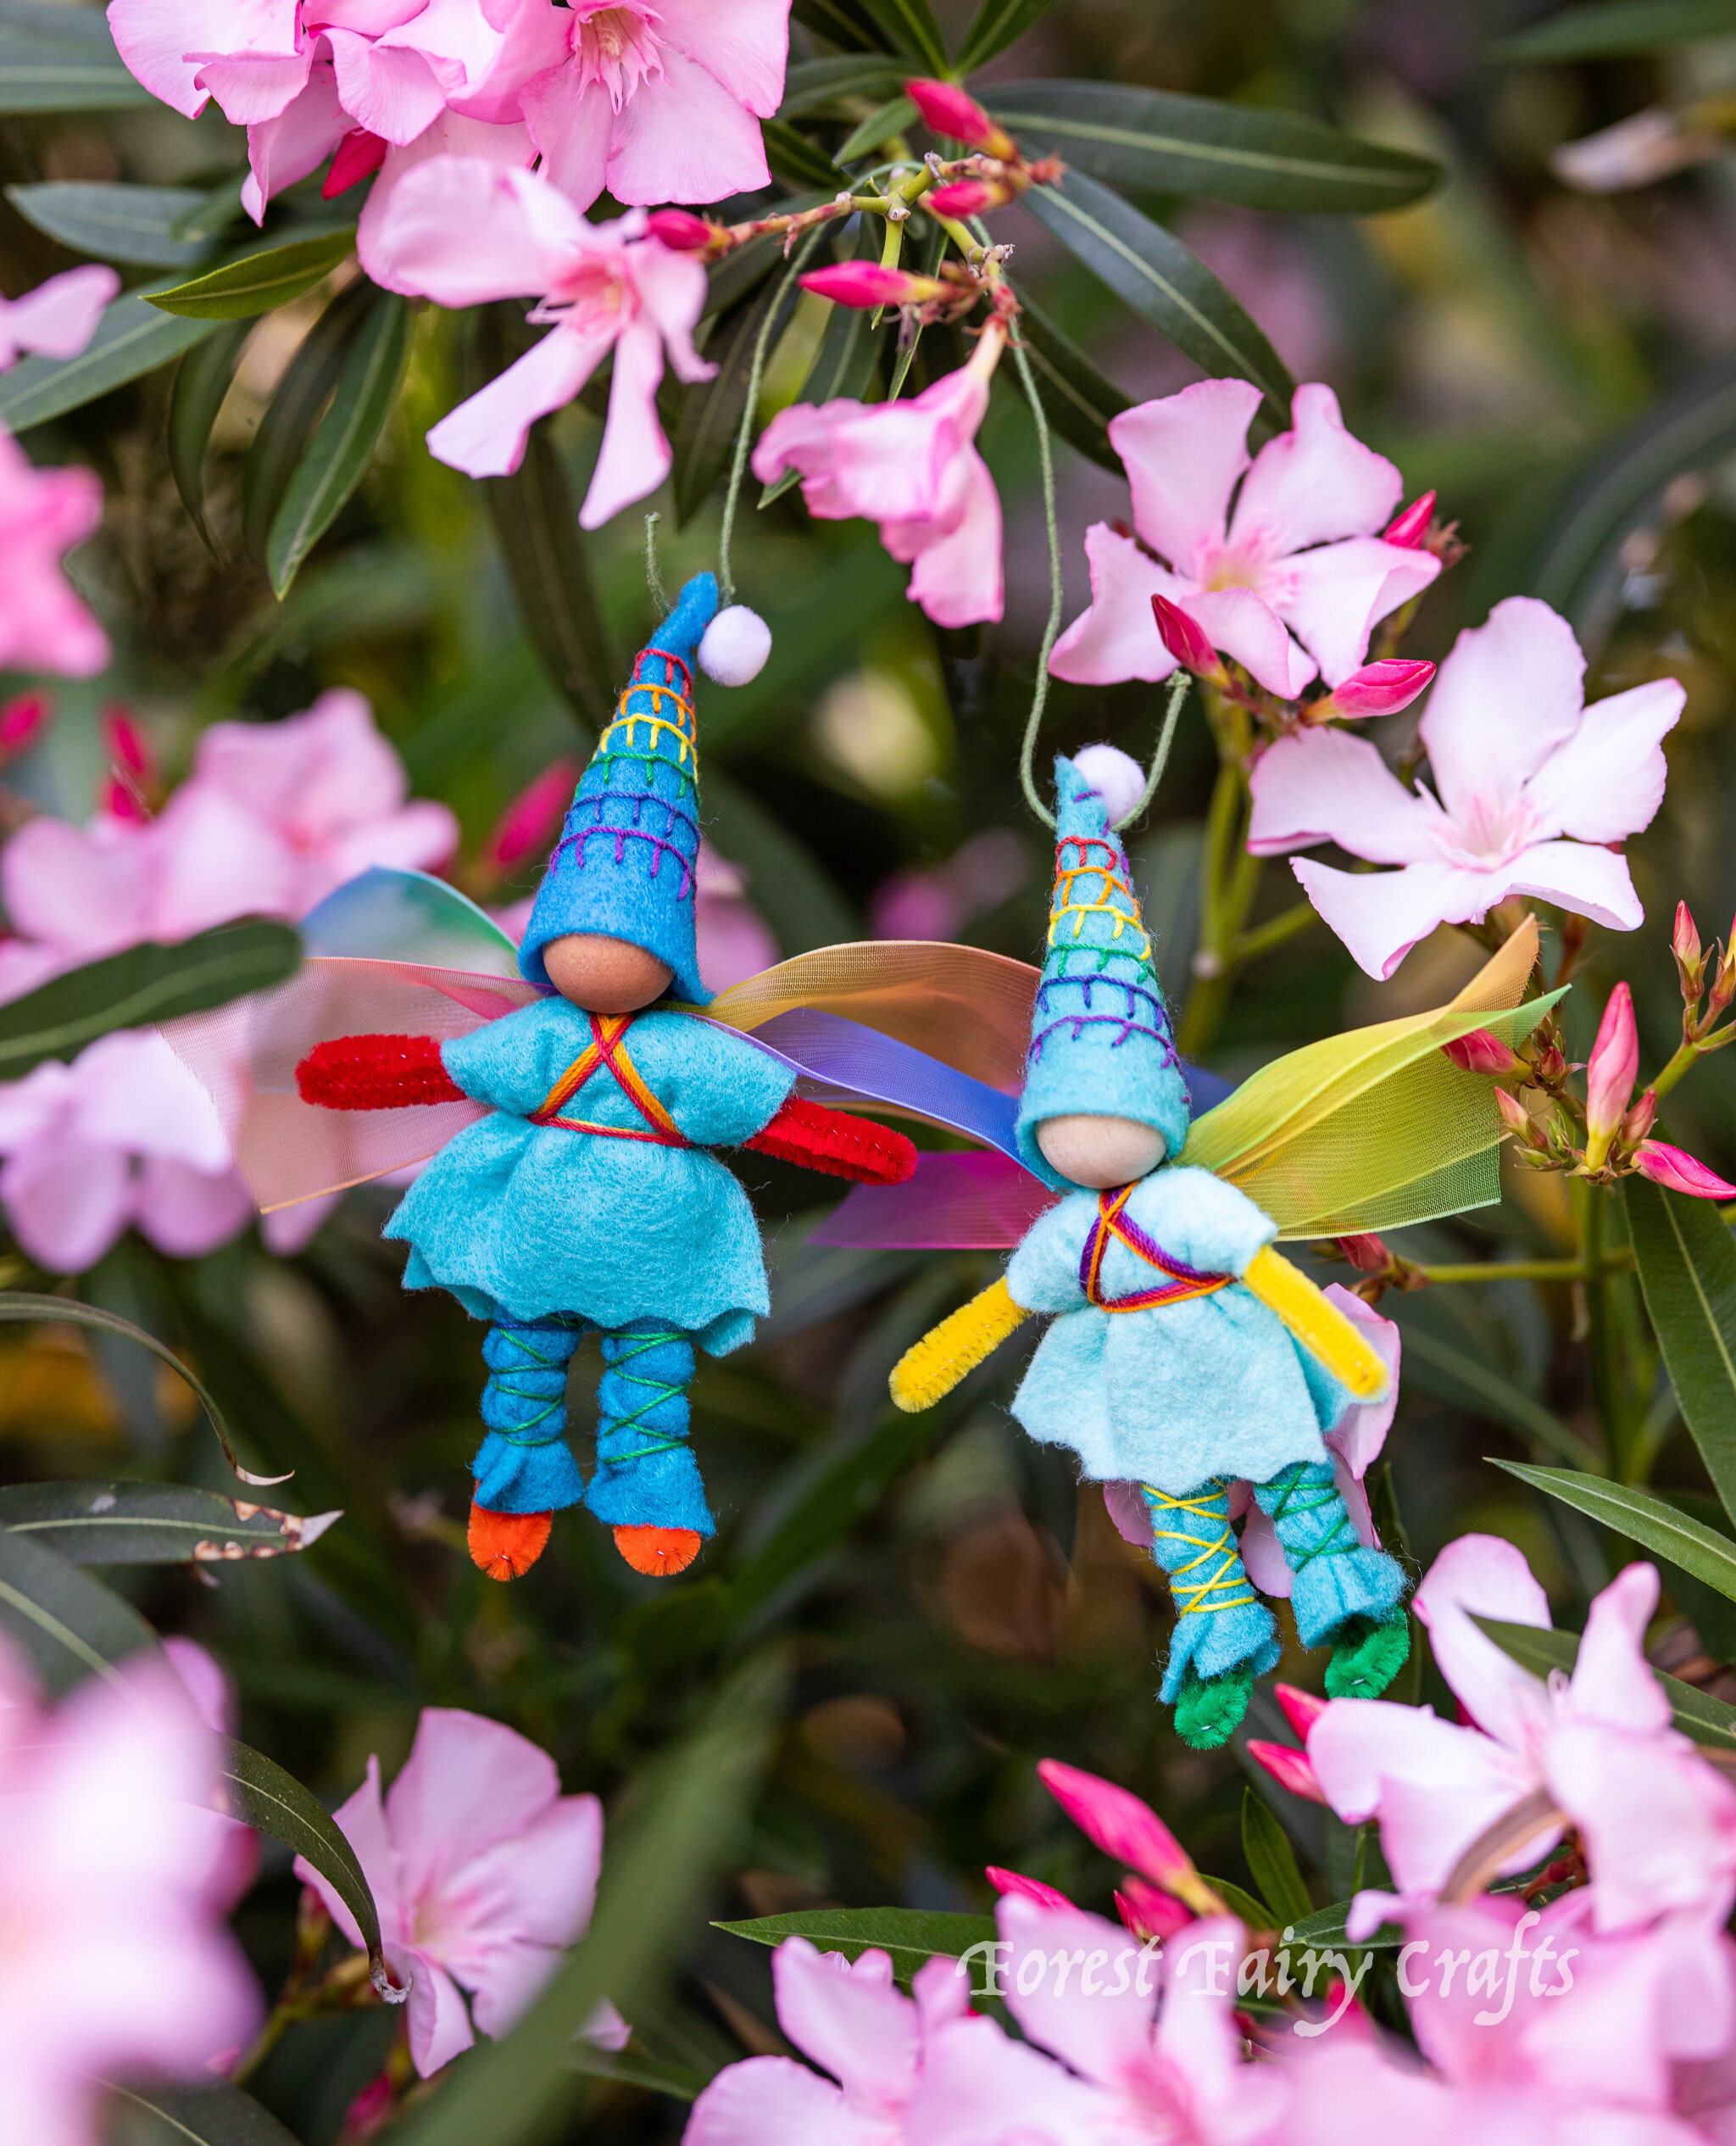
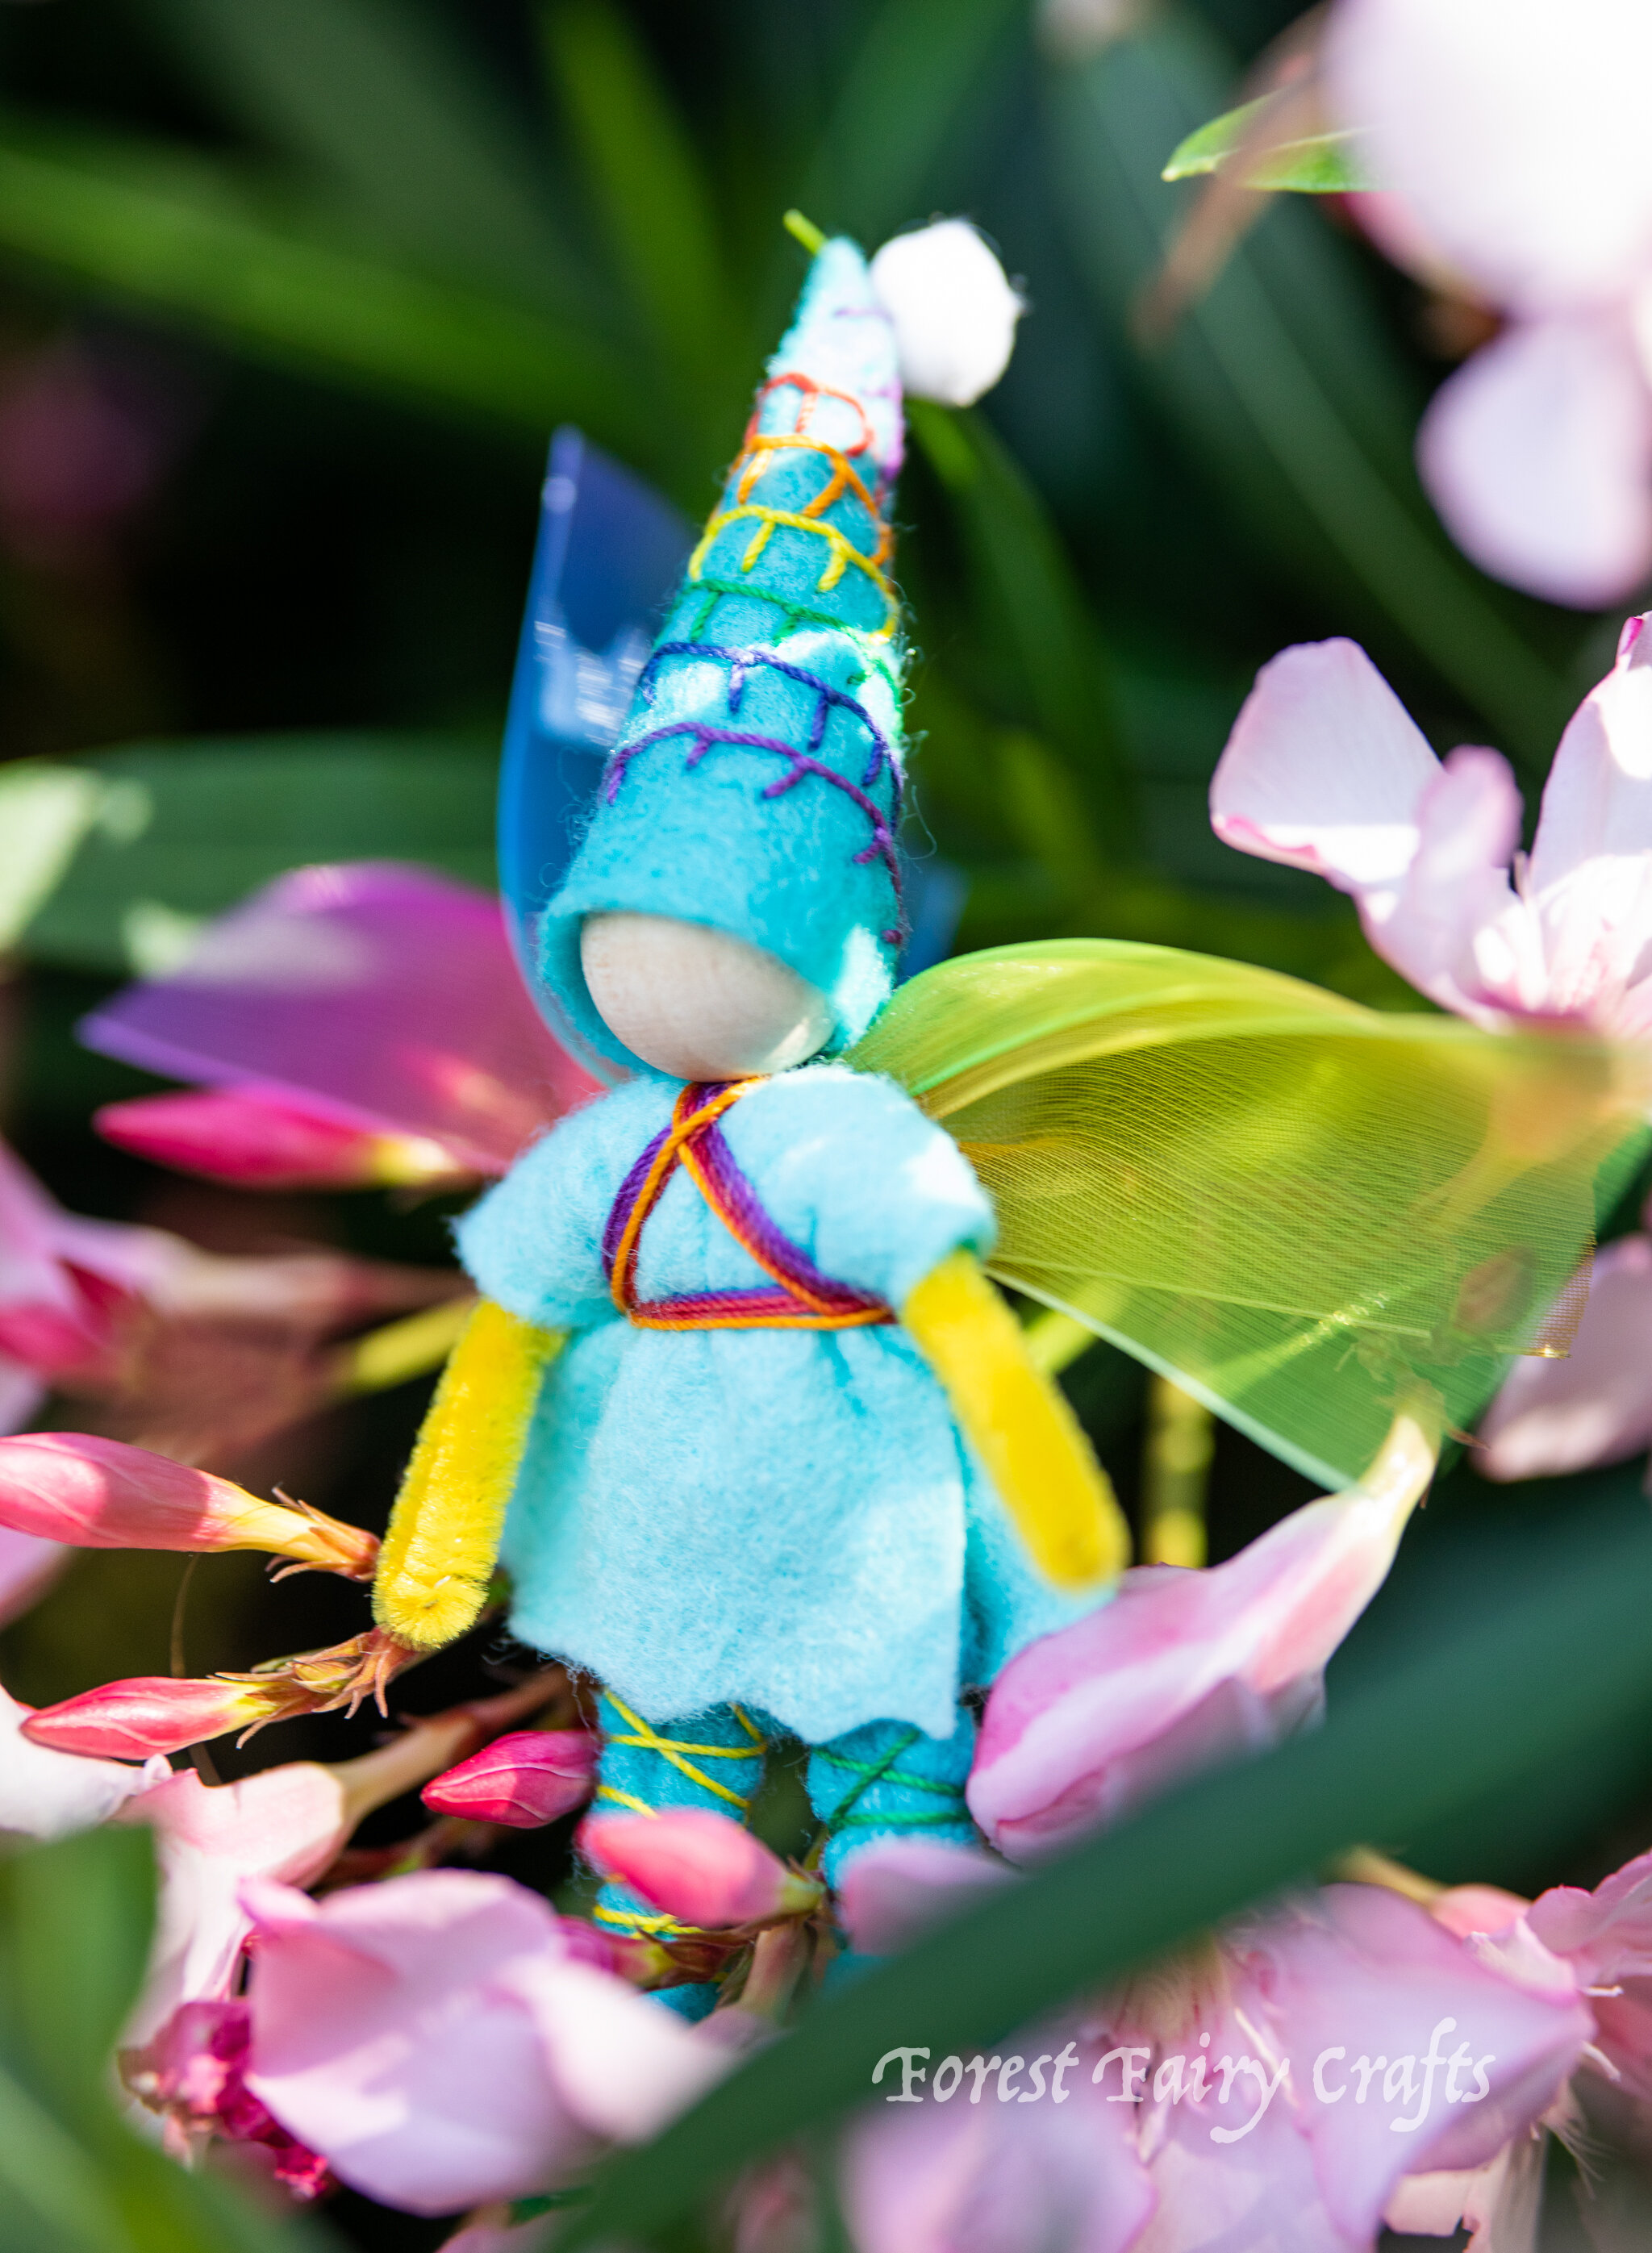
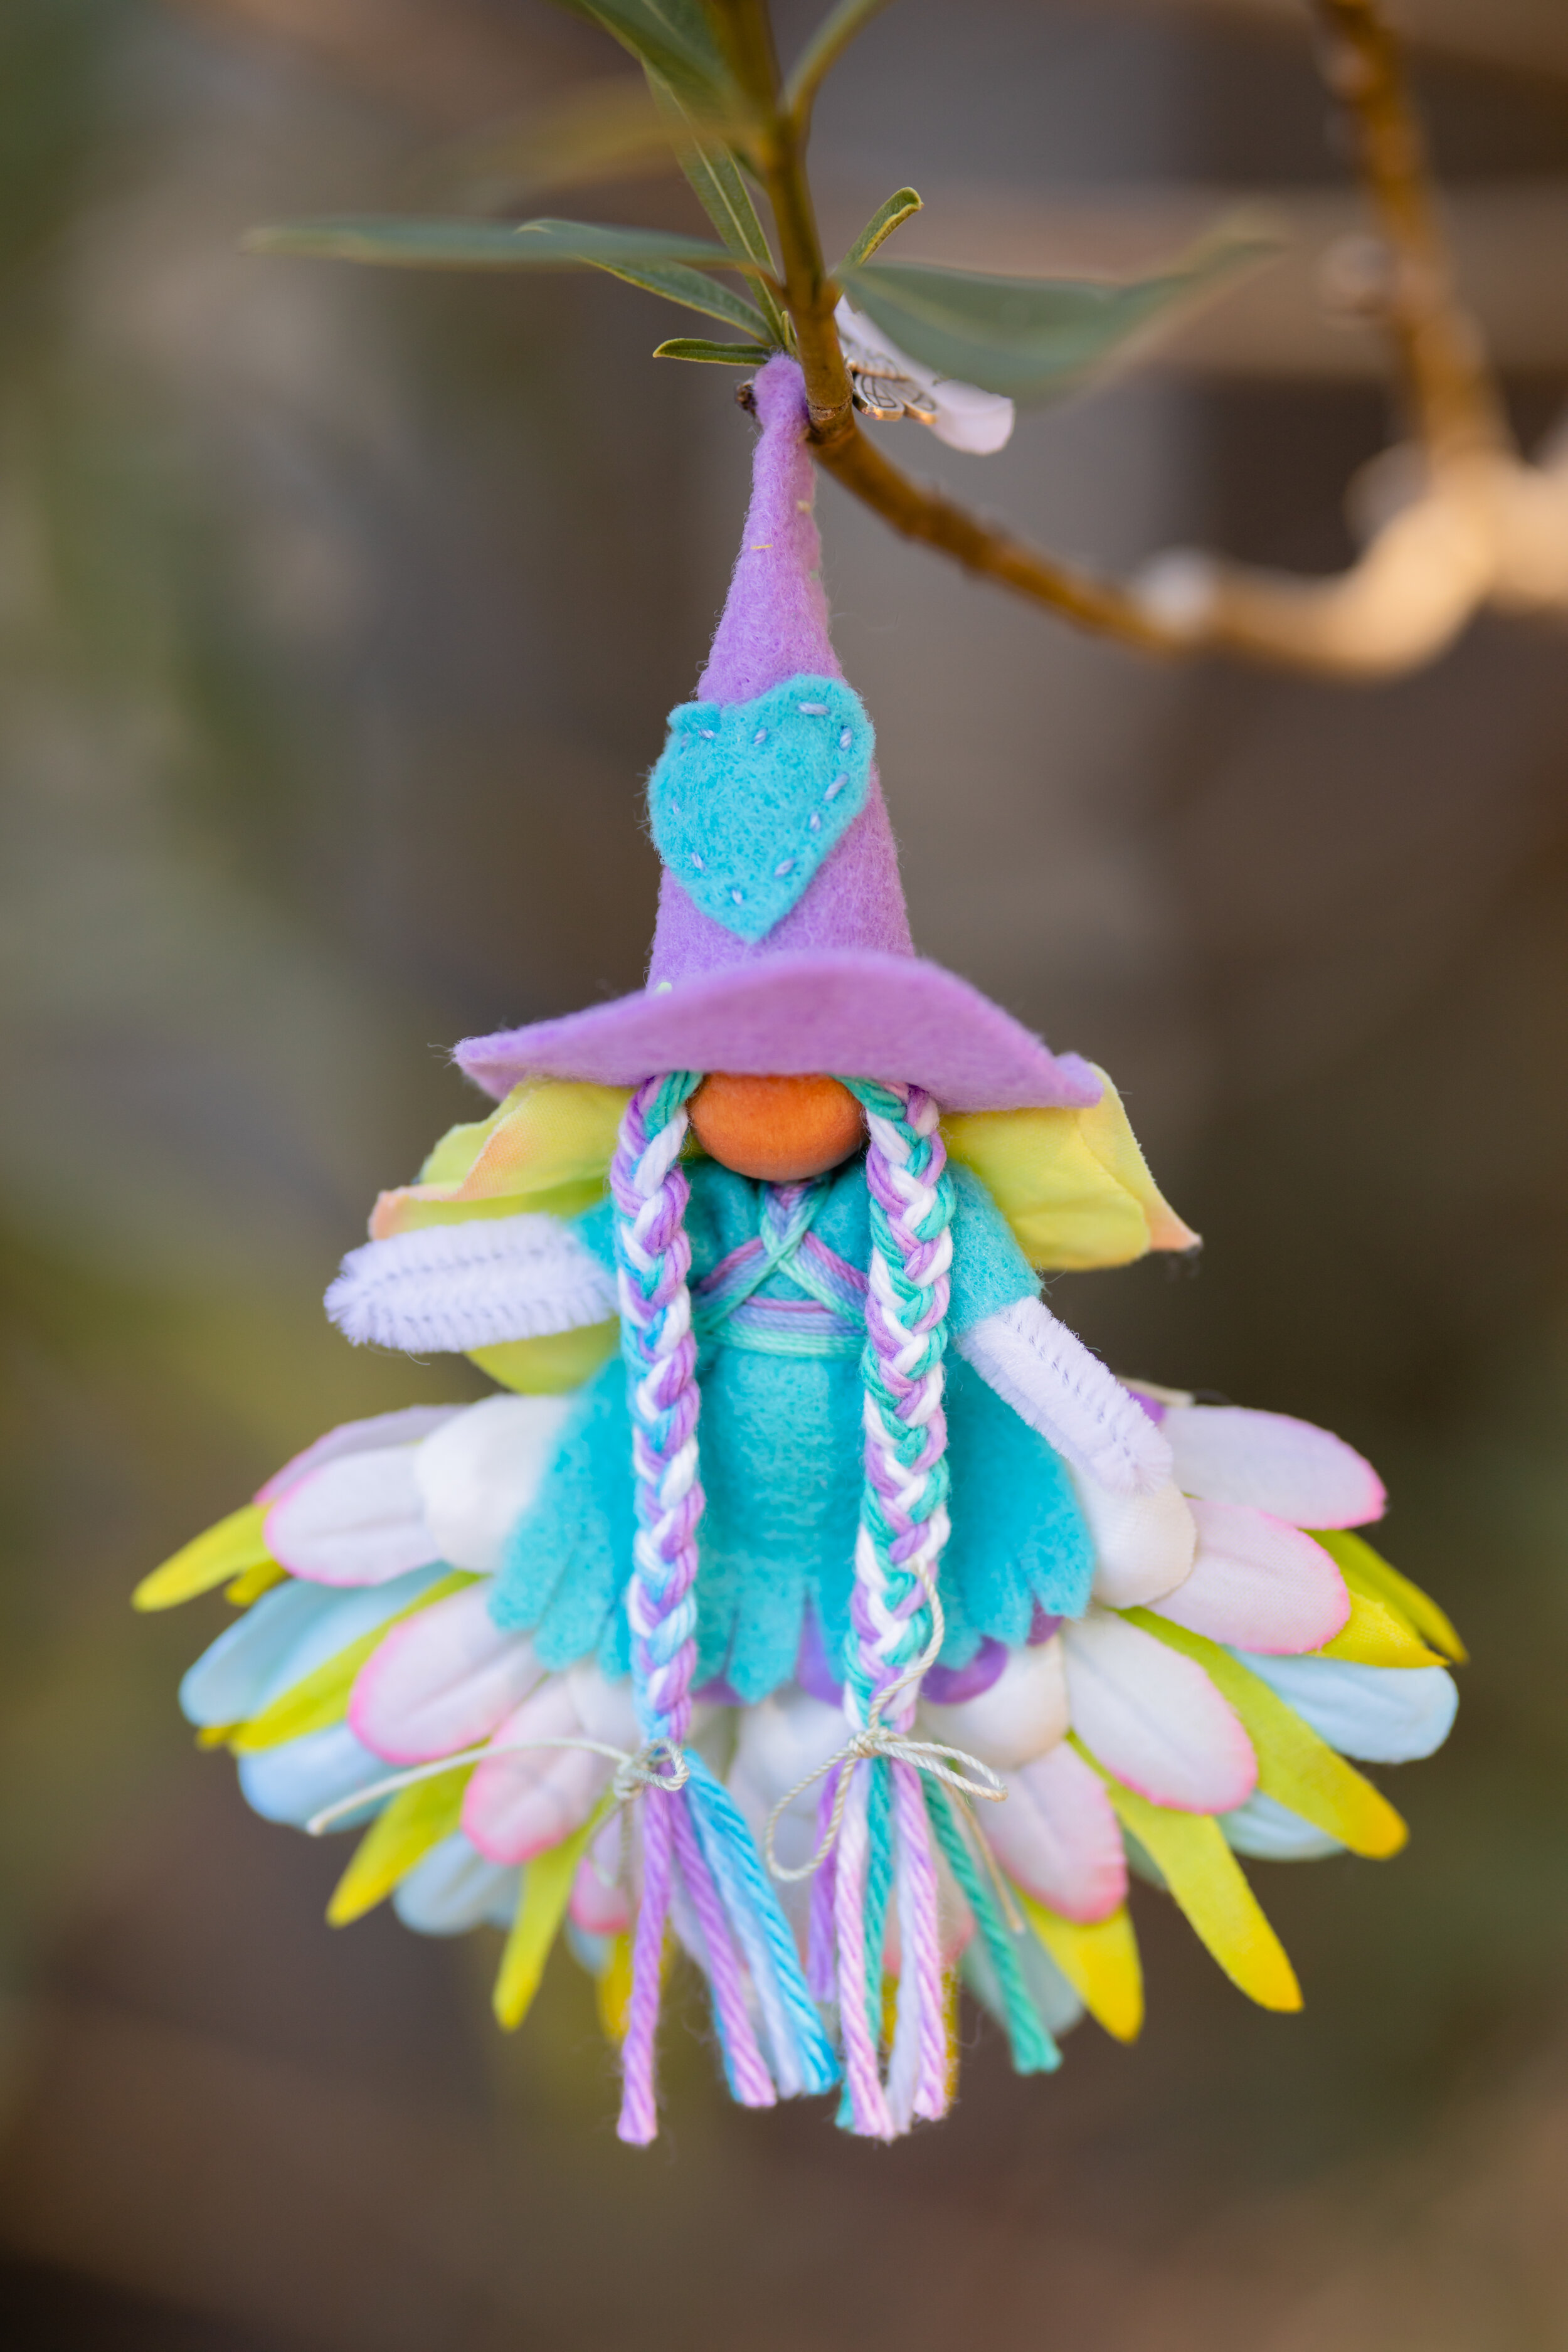
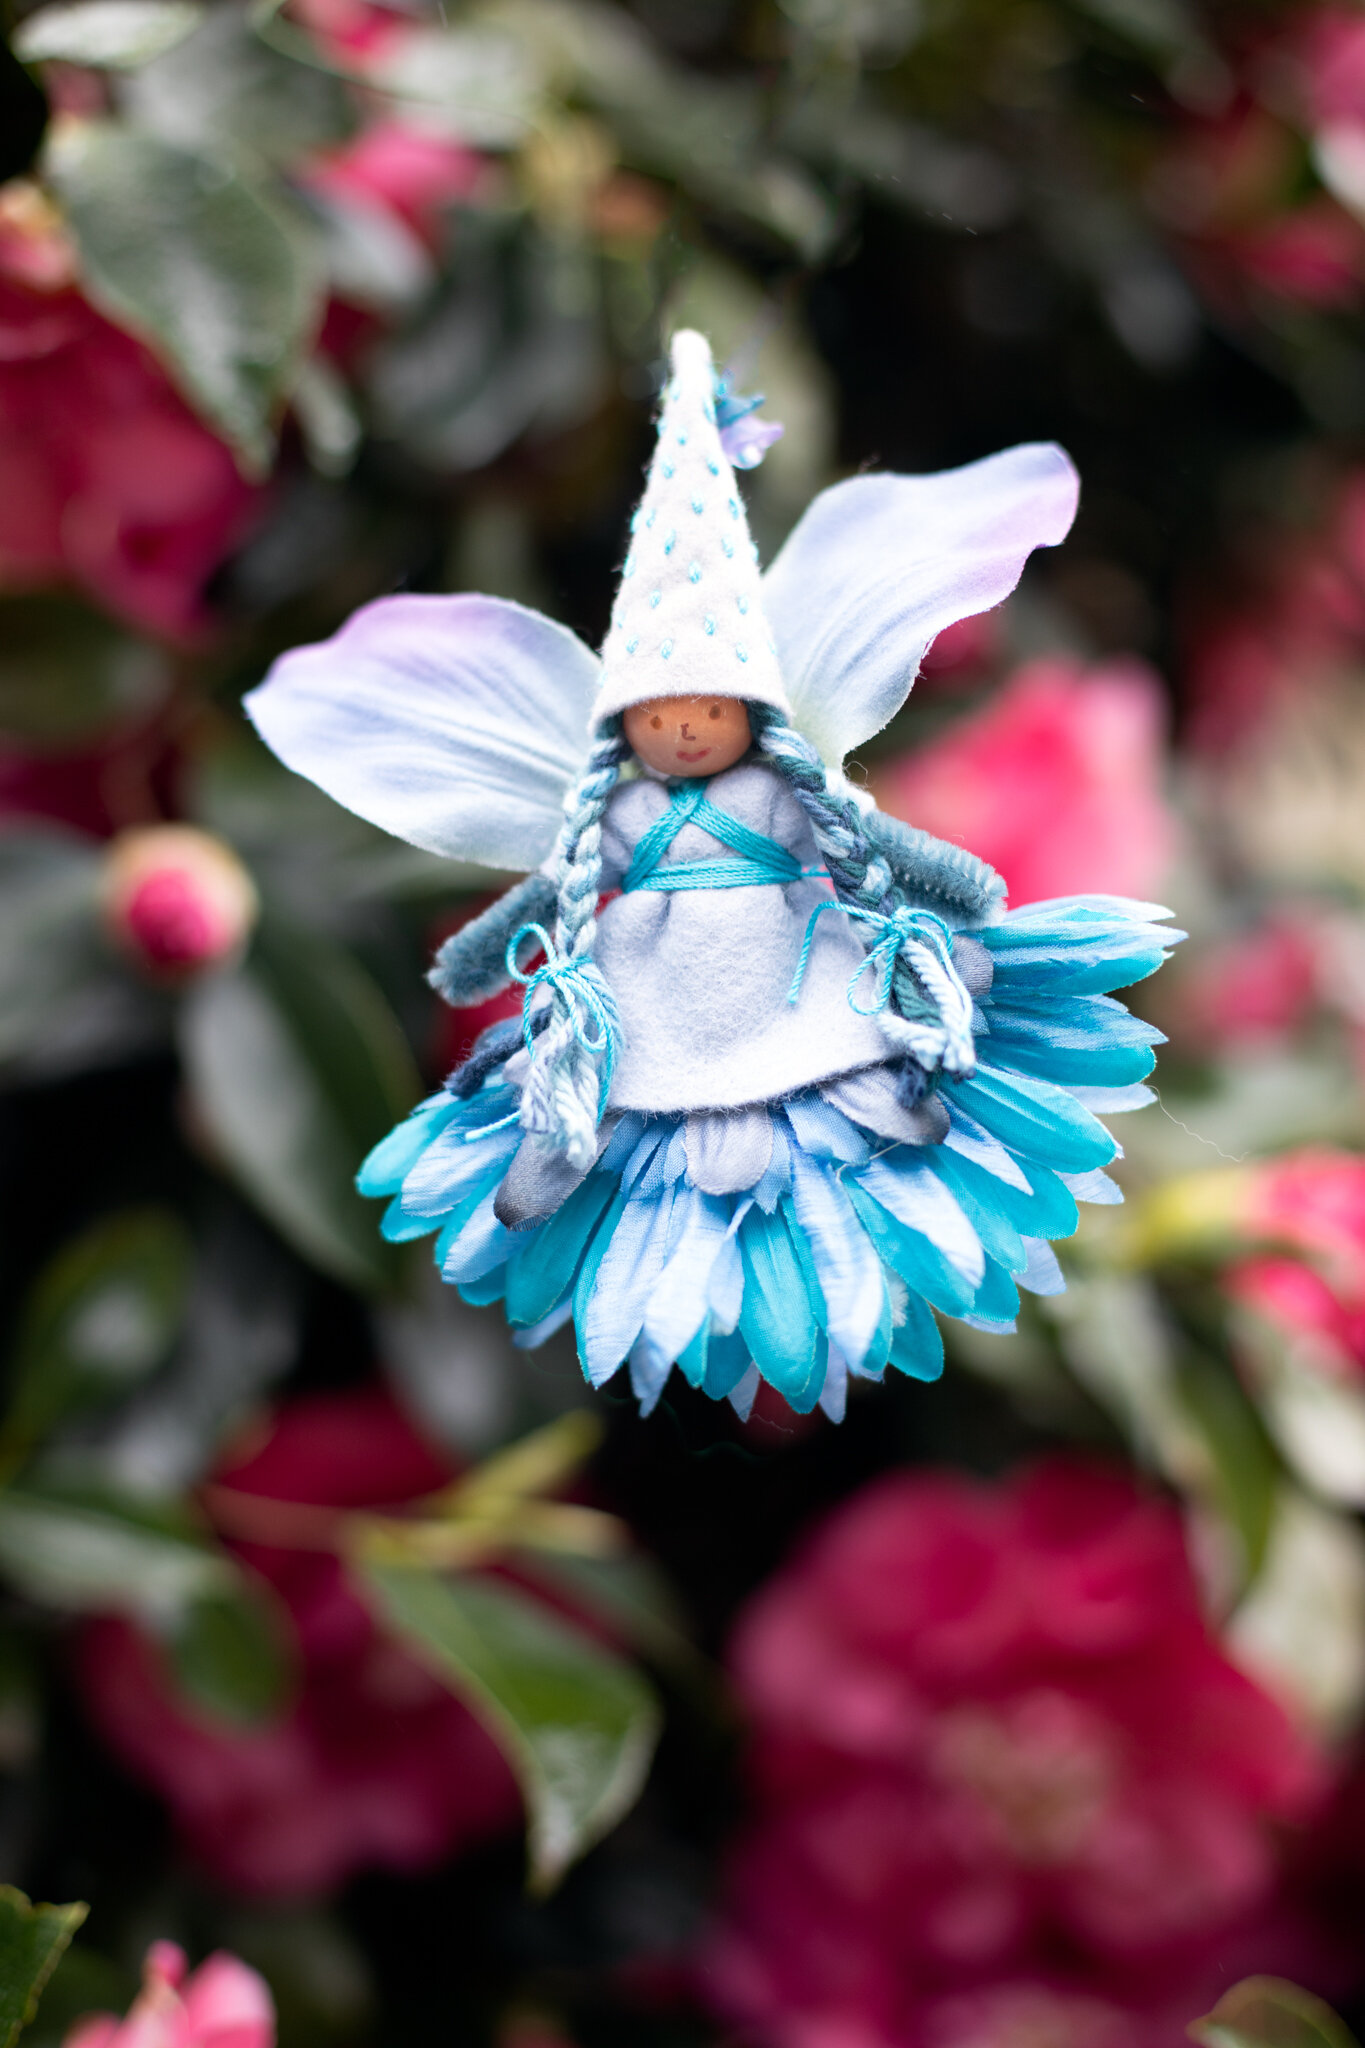
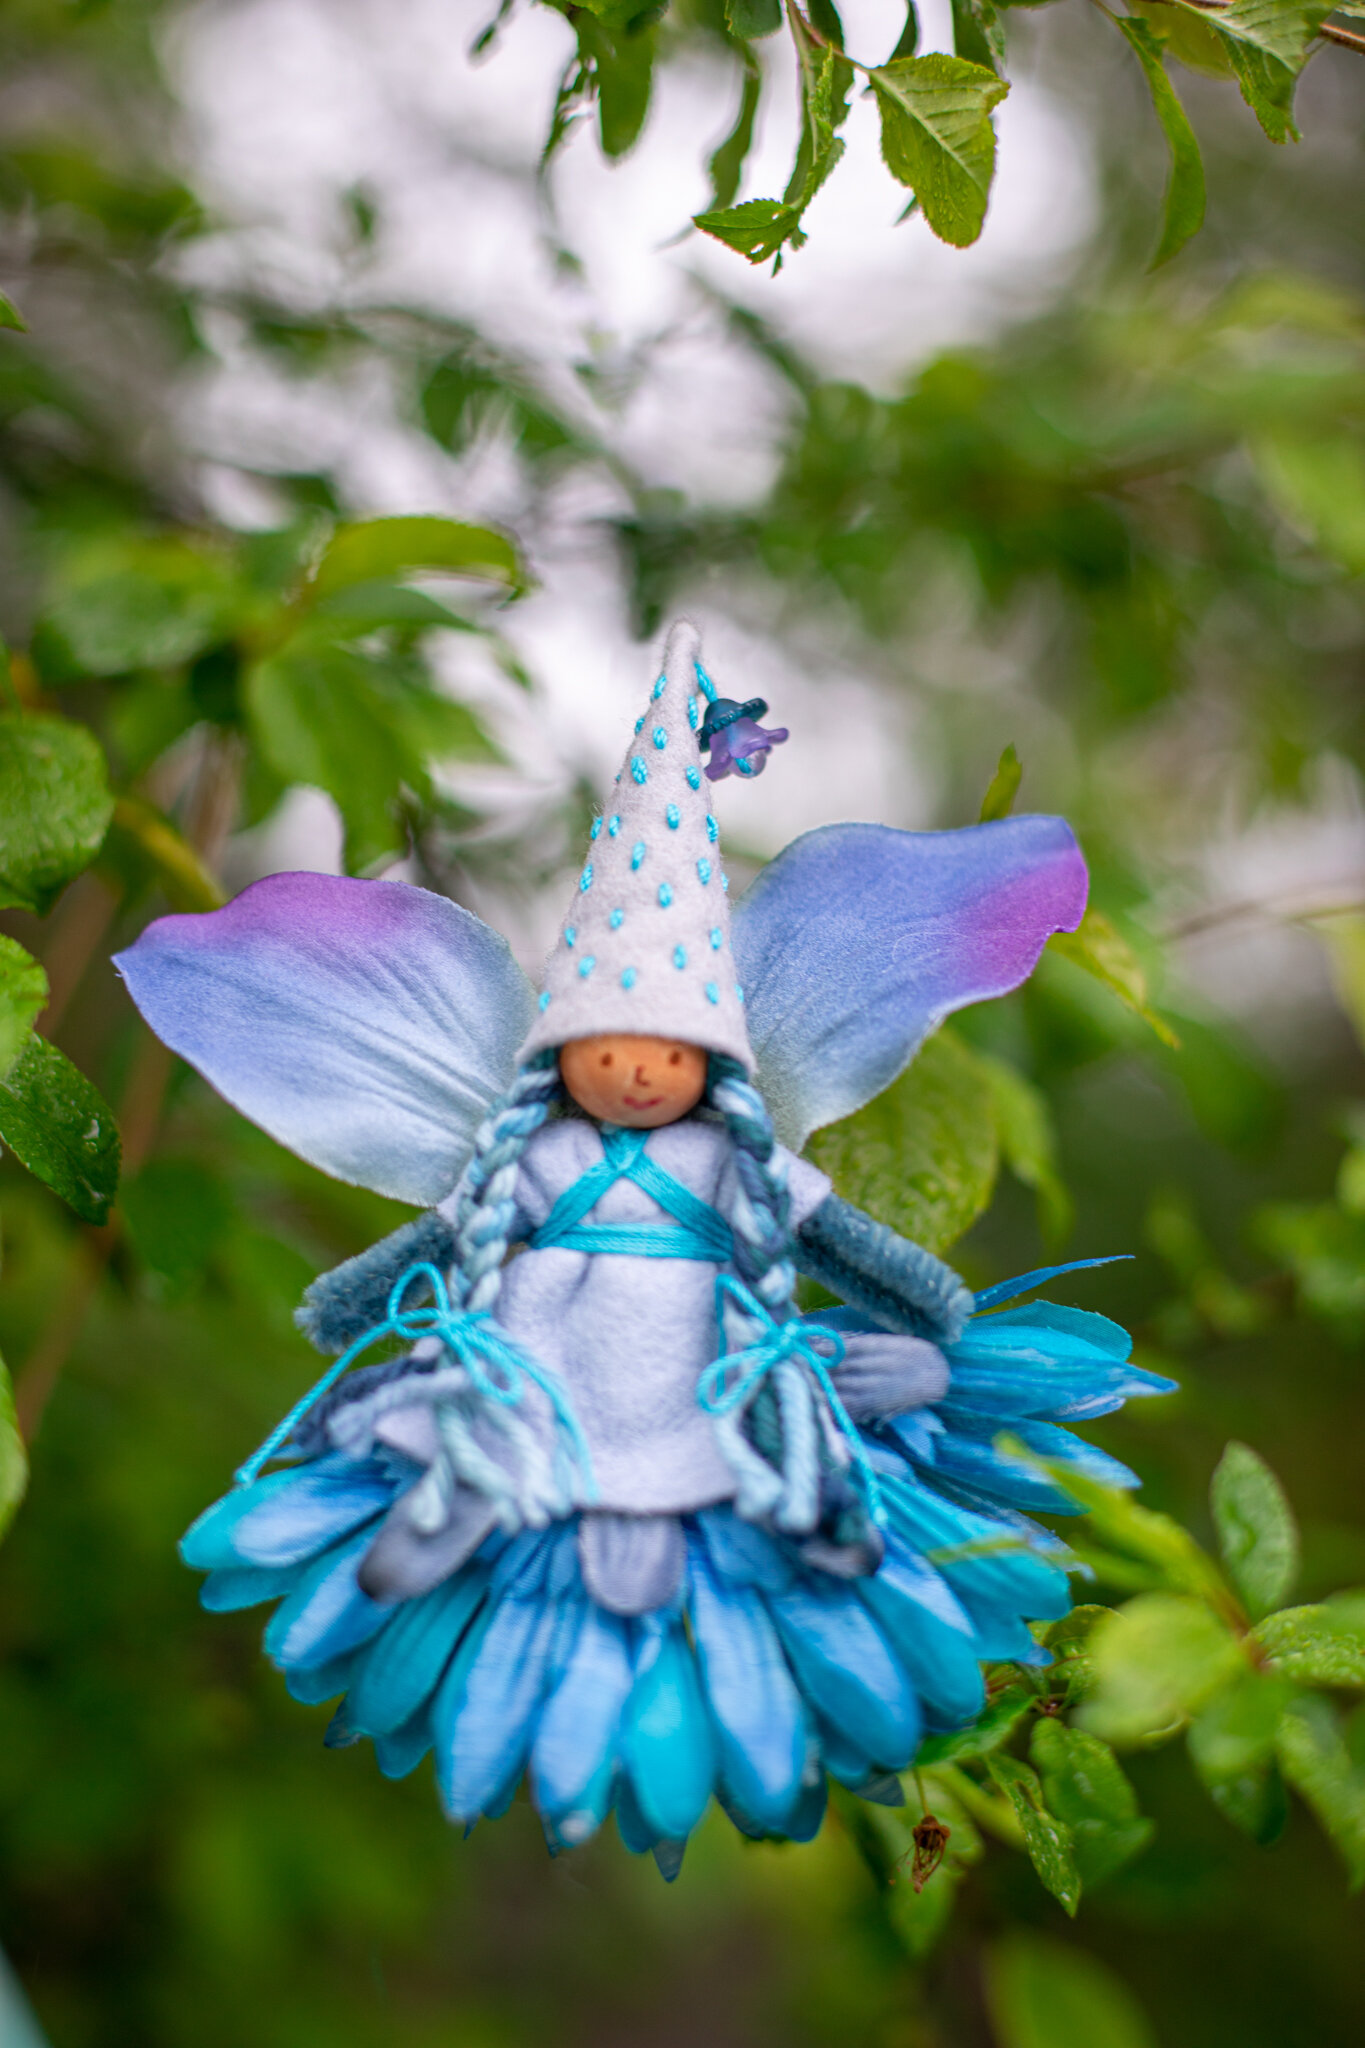
Magical Forest Fairy Crafts through the Seasons, our second book, has a collection of winter crafts. With an icicle-themed hat for fairies, a winter gnome, and sweetheart fairy babies.
Forest Fairy Crafts
Love Fairies
Moon Treasure Keeper
Magical Forest Fairy Crafts Through the Seasons
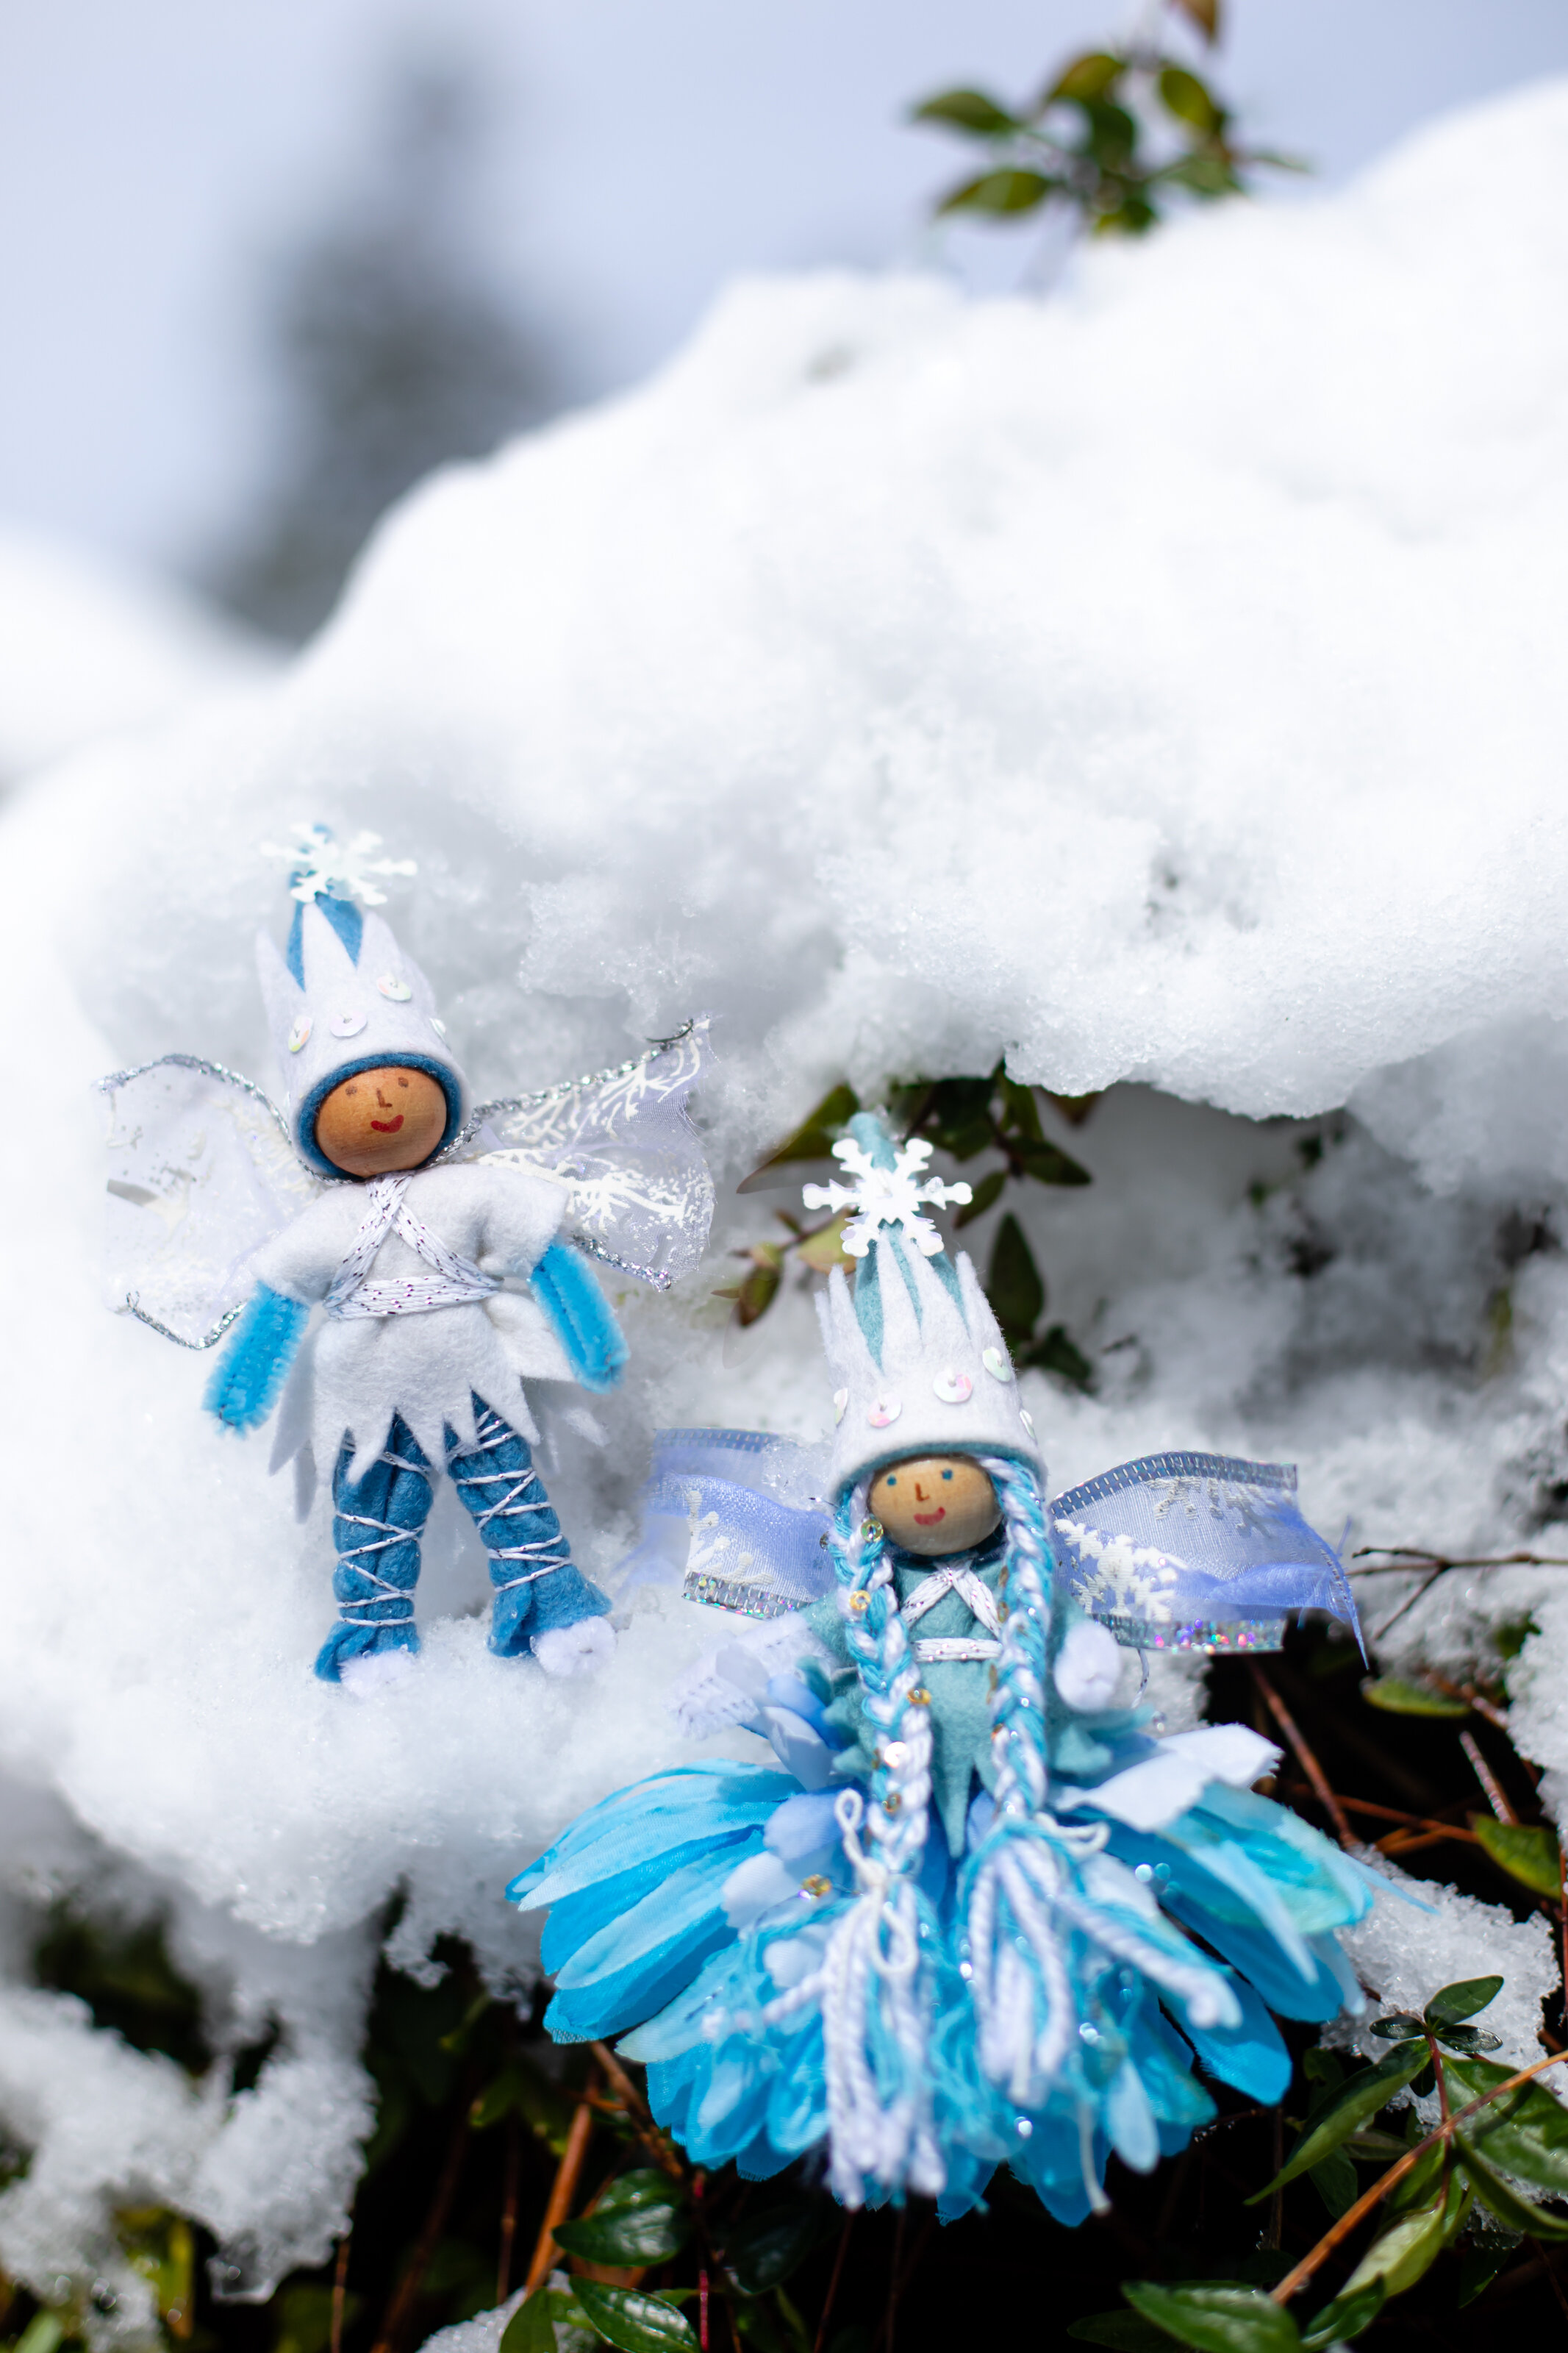
Winter Fairies
Winter Gnome
Sweetheart Fairy Baby and Heart Home
All of our projects, in both books, are invitations. We deliberately write, often, “or choose what you like”. So, a snow pirate? Sure! A winter wizard? Sounds amazing. A few color choices becomes an entirely different creation. It’s skill-building to ask, “How can we make a winter version of this?” And let children use their own logic and reasoning to take what’s presented and change it, using their imagination. Fairies and crafts are their chance to contribute to the crafting process. I’m fascinated to see what inspires them!
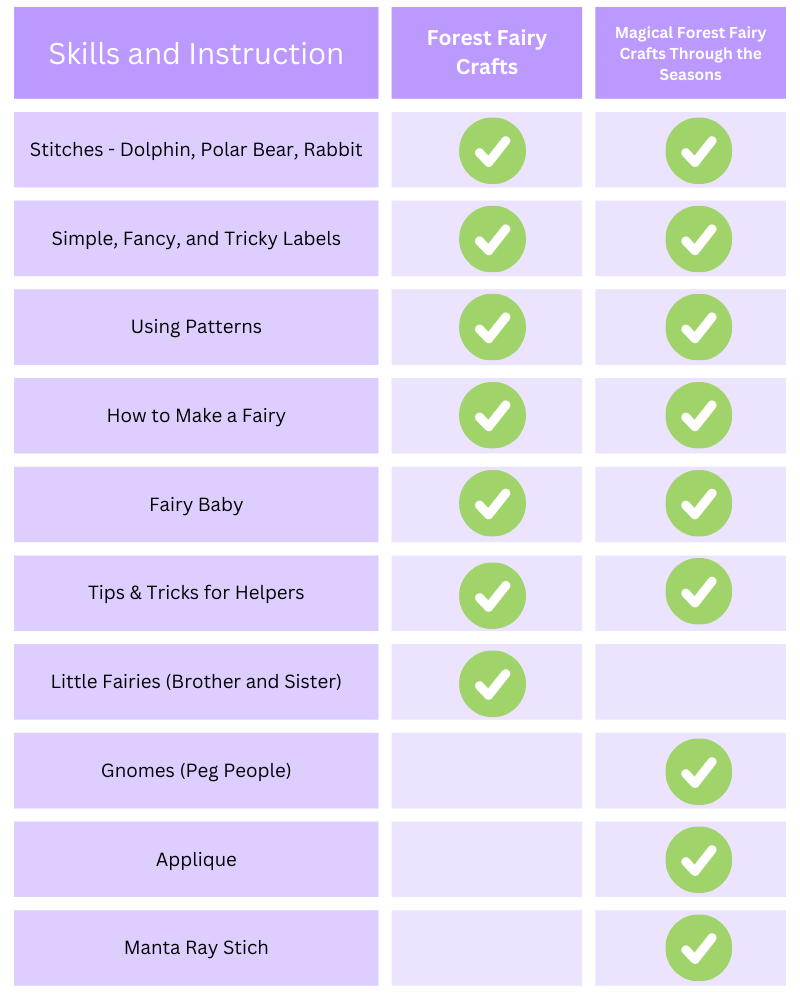
Both books share fundamentals with lots of photographs. If you are curious about other skills and instructions in each book, I make this handy checklist showing which activities are in each book. There’s more, of course, like pouches and bags, little critters or treasure keepers.
And of course, click here for a printable Supply List that works for both books.
Winter afternoons are lovely for making things, and making things together is an extra-special treat.
Coloring Book Pages for December
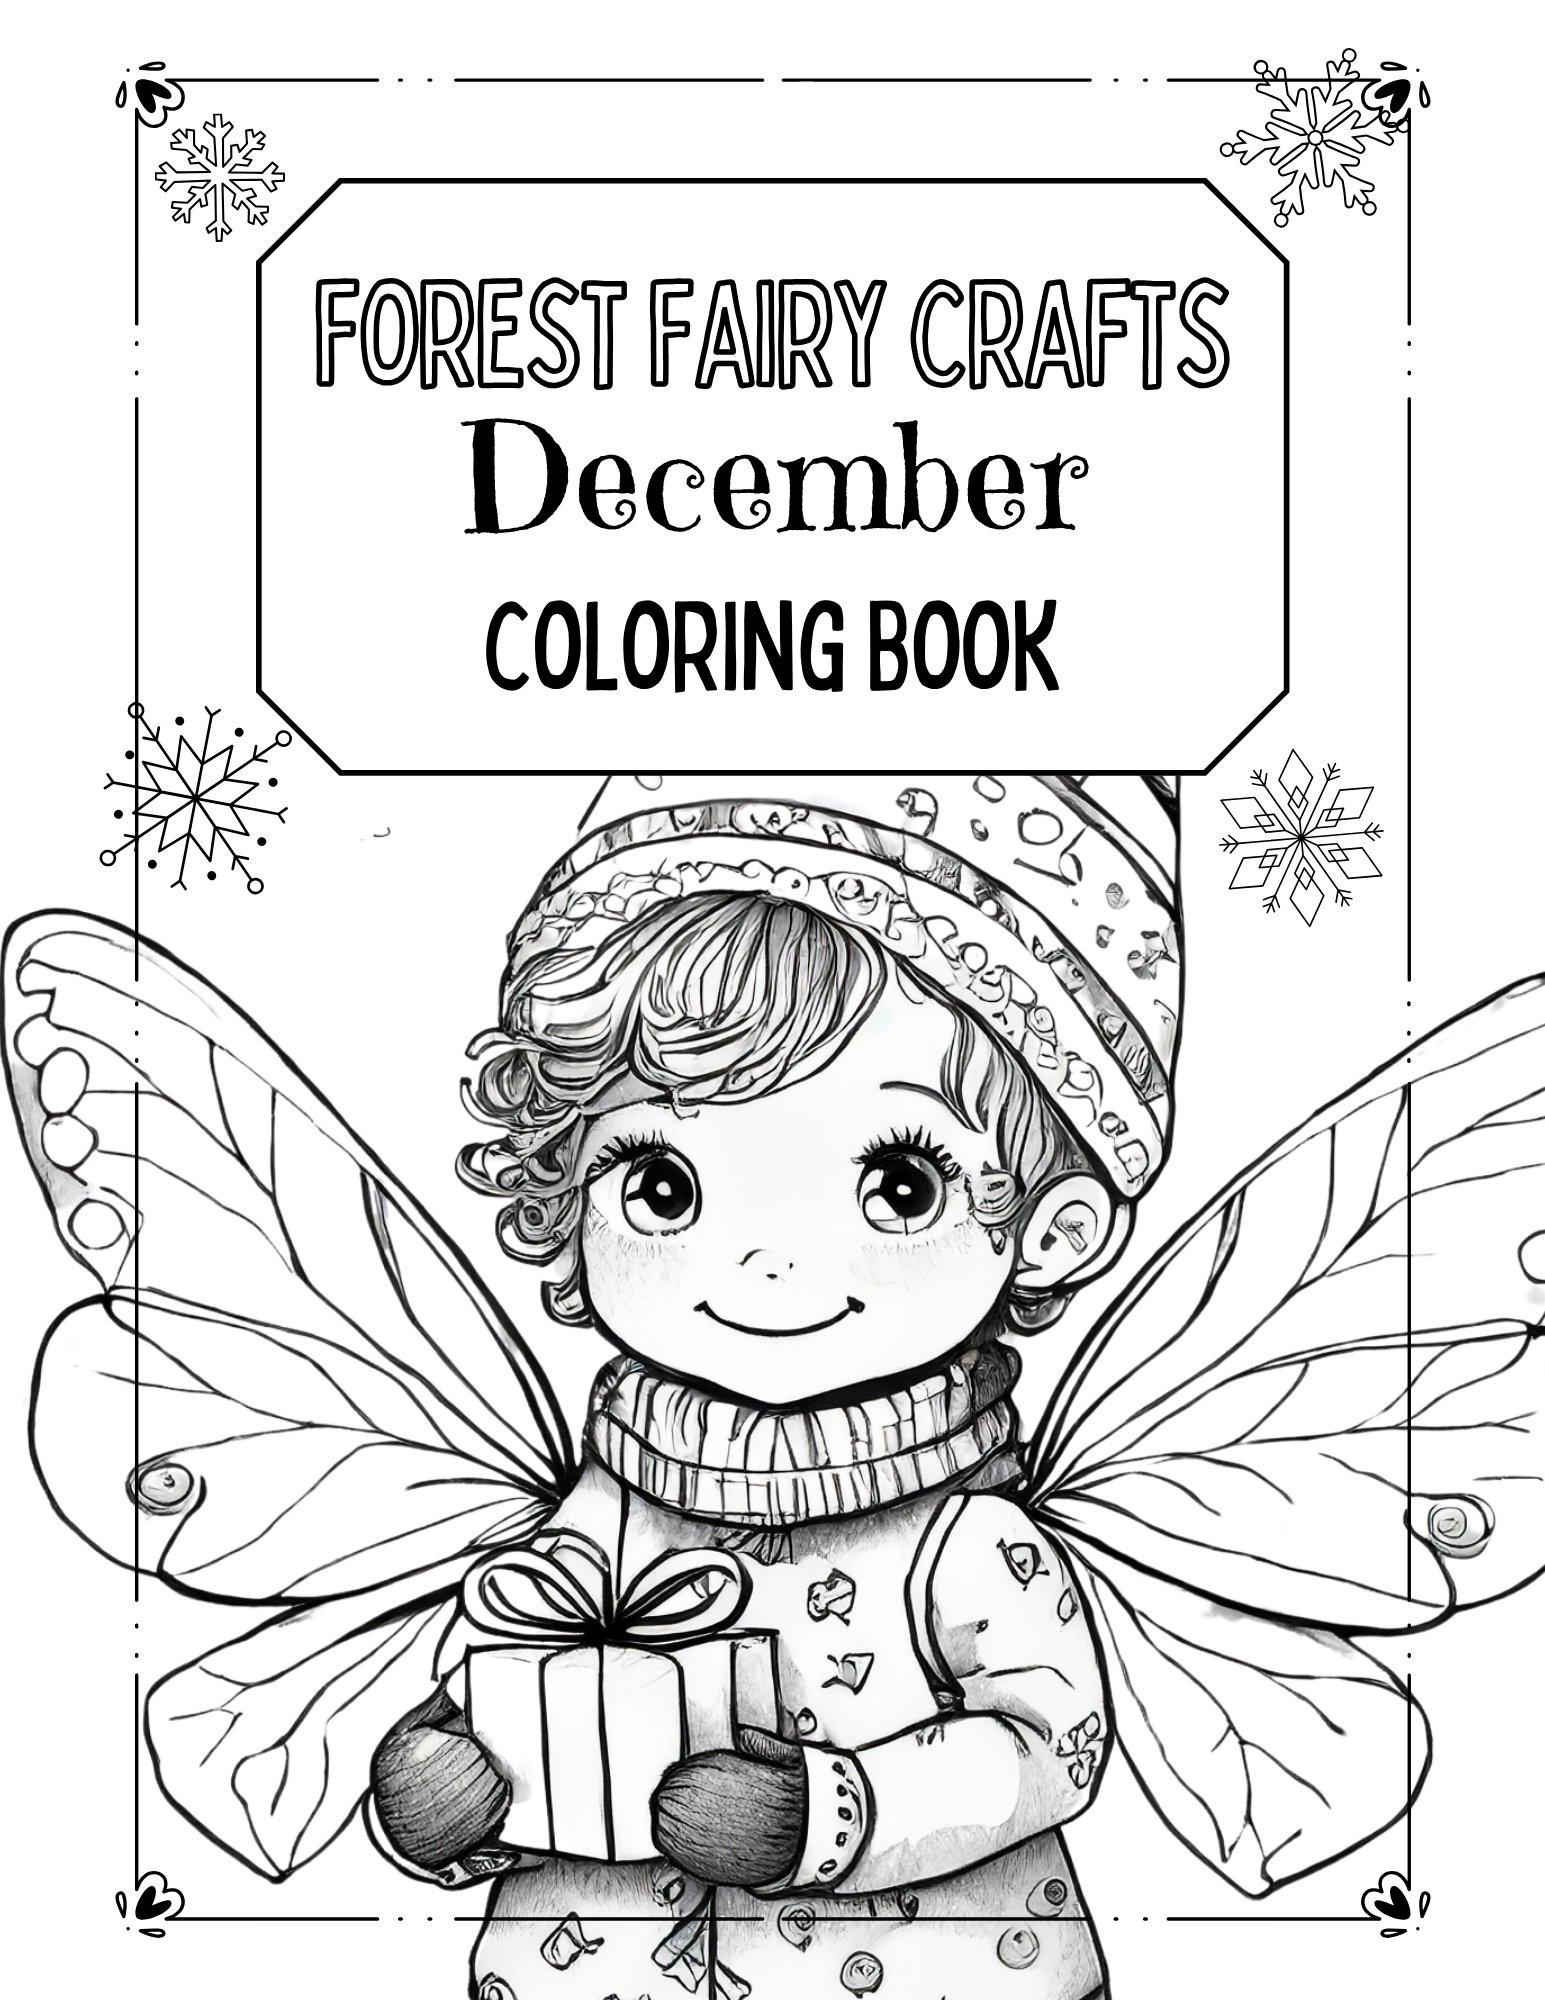
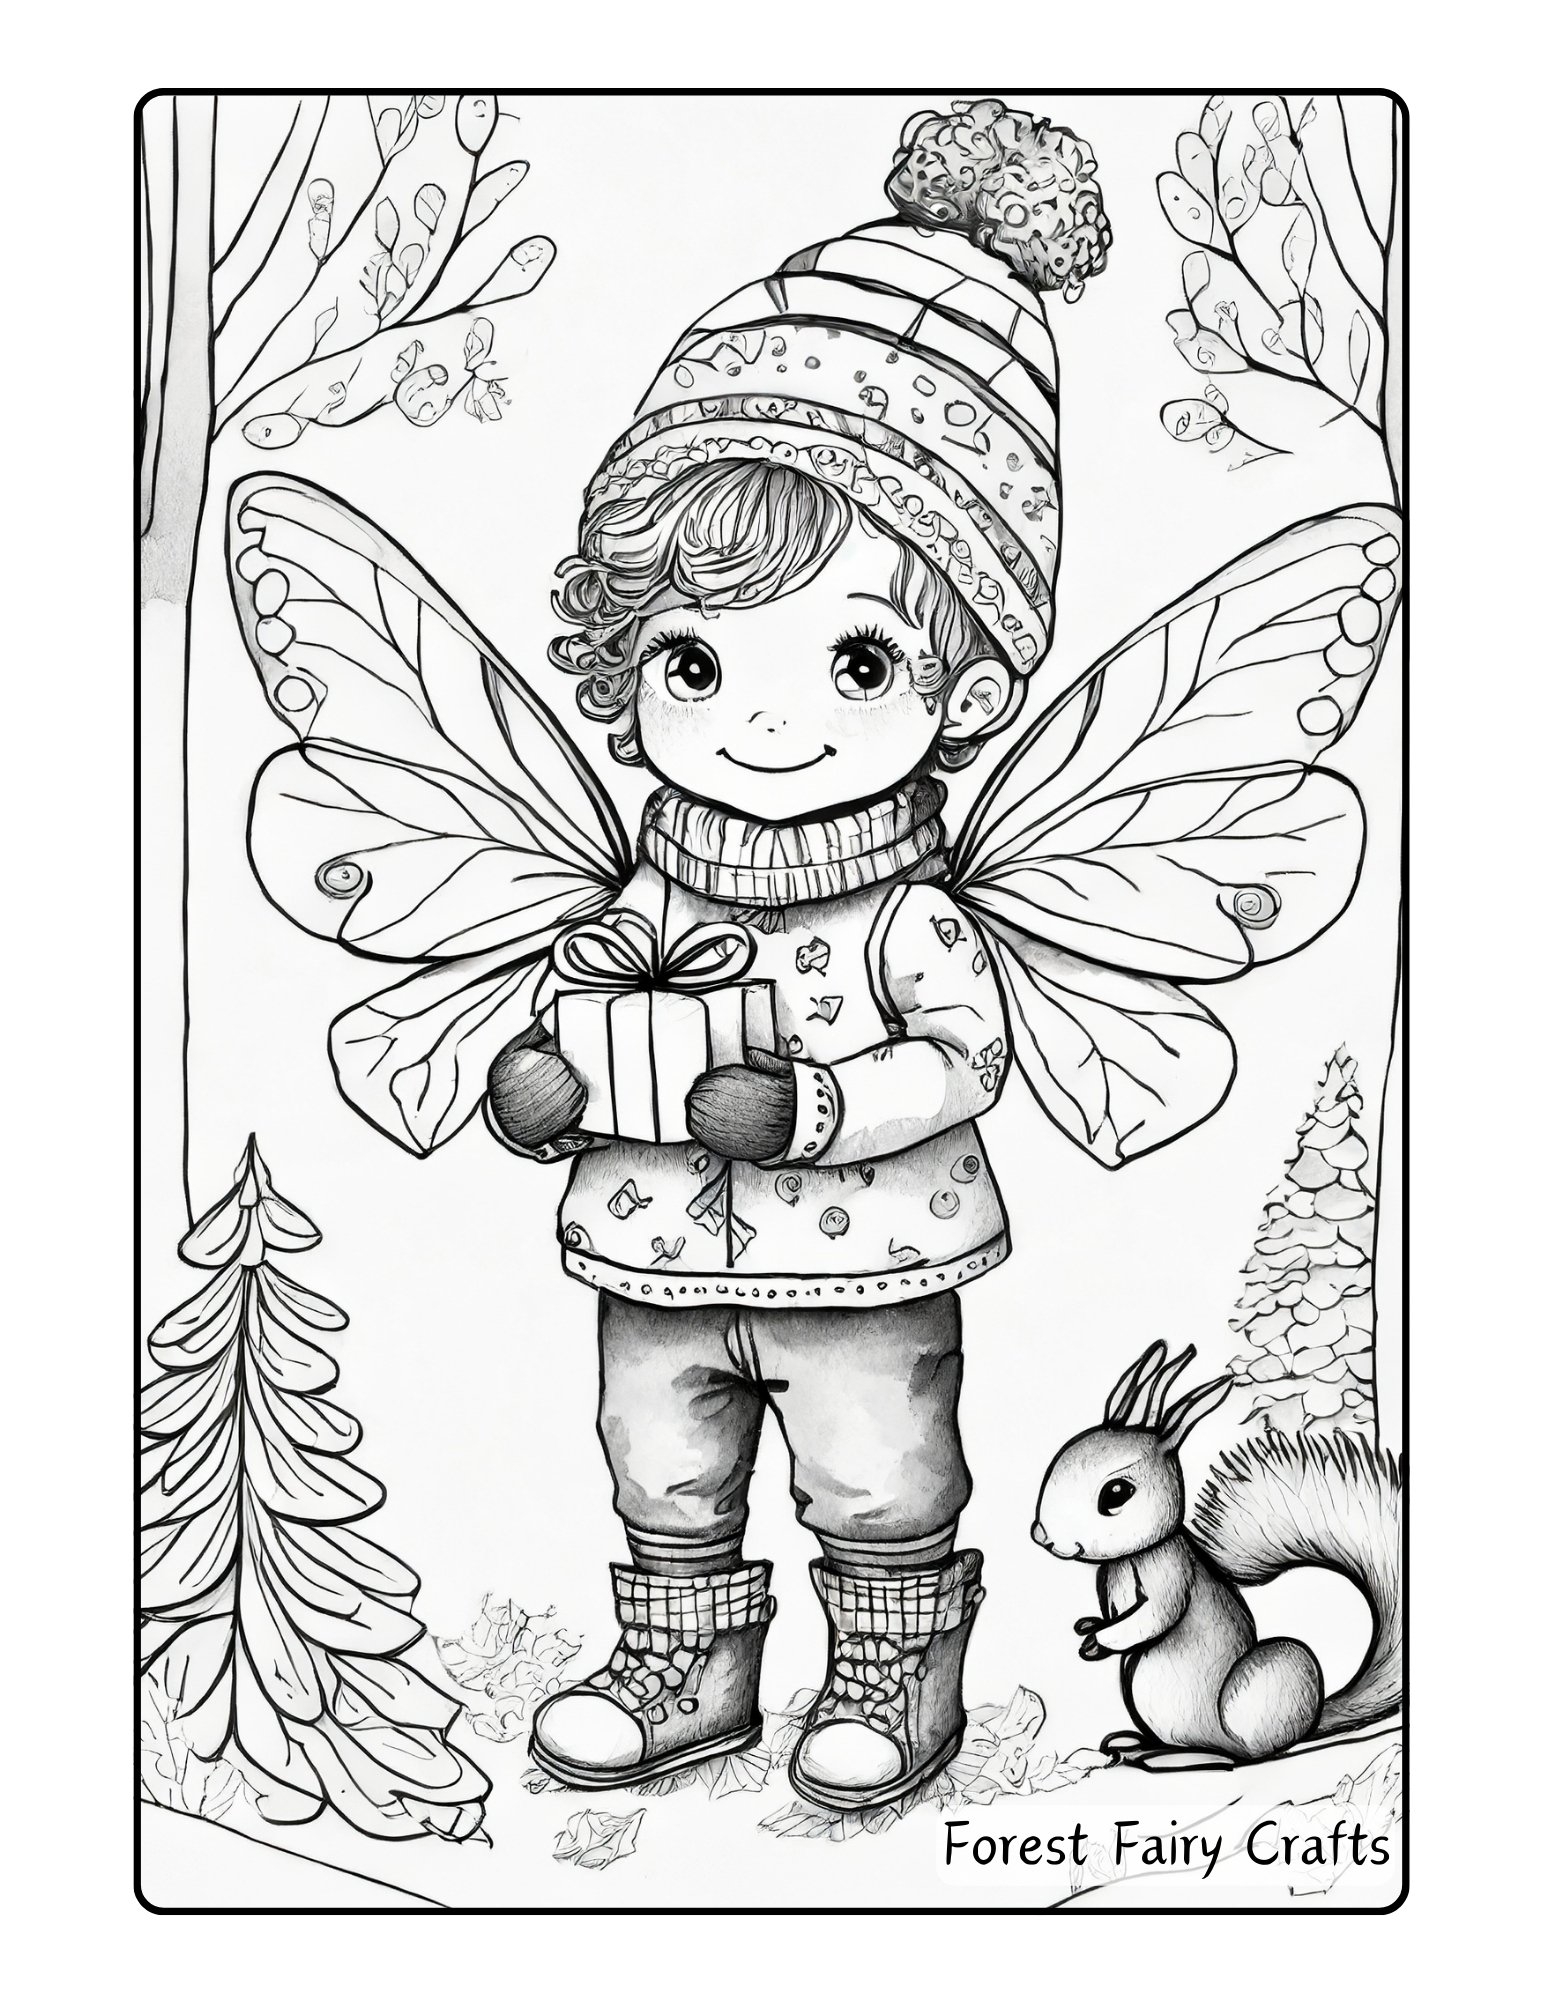
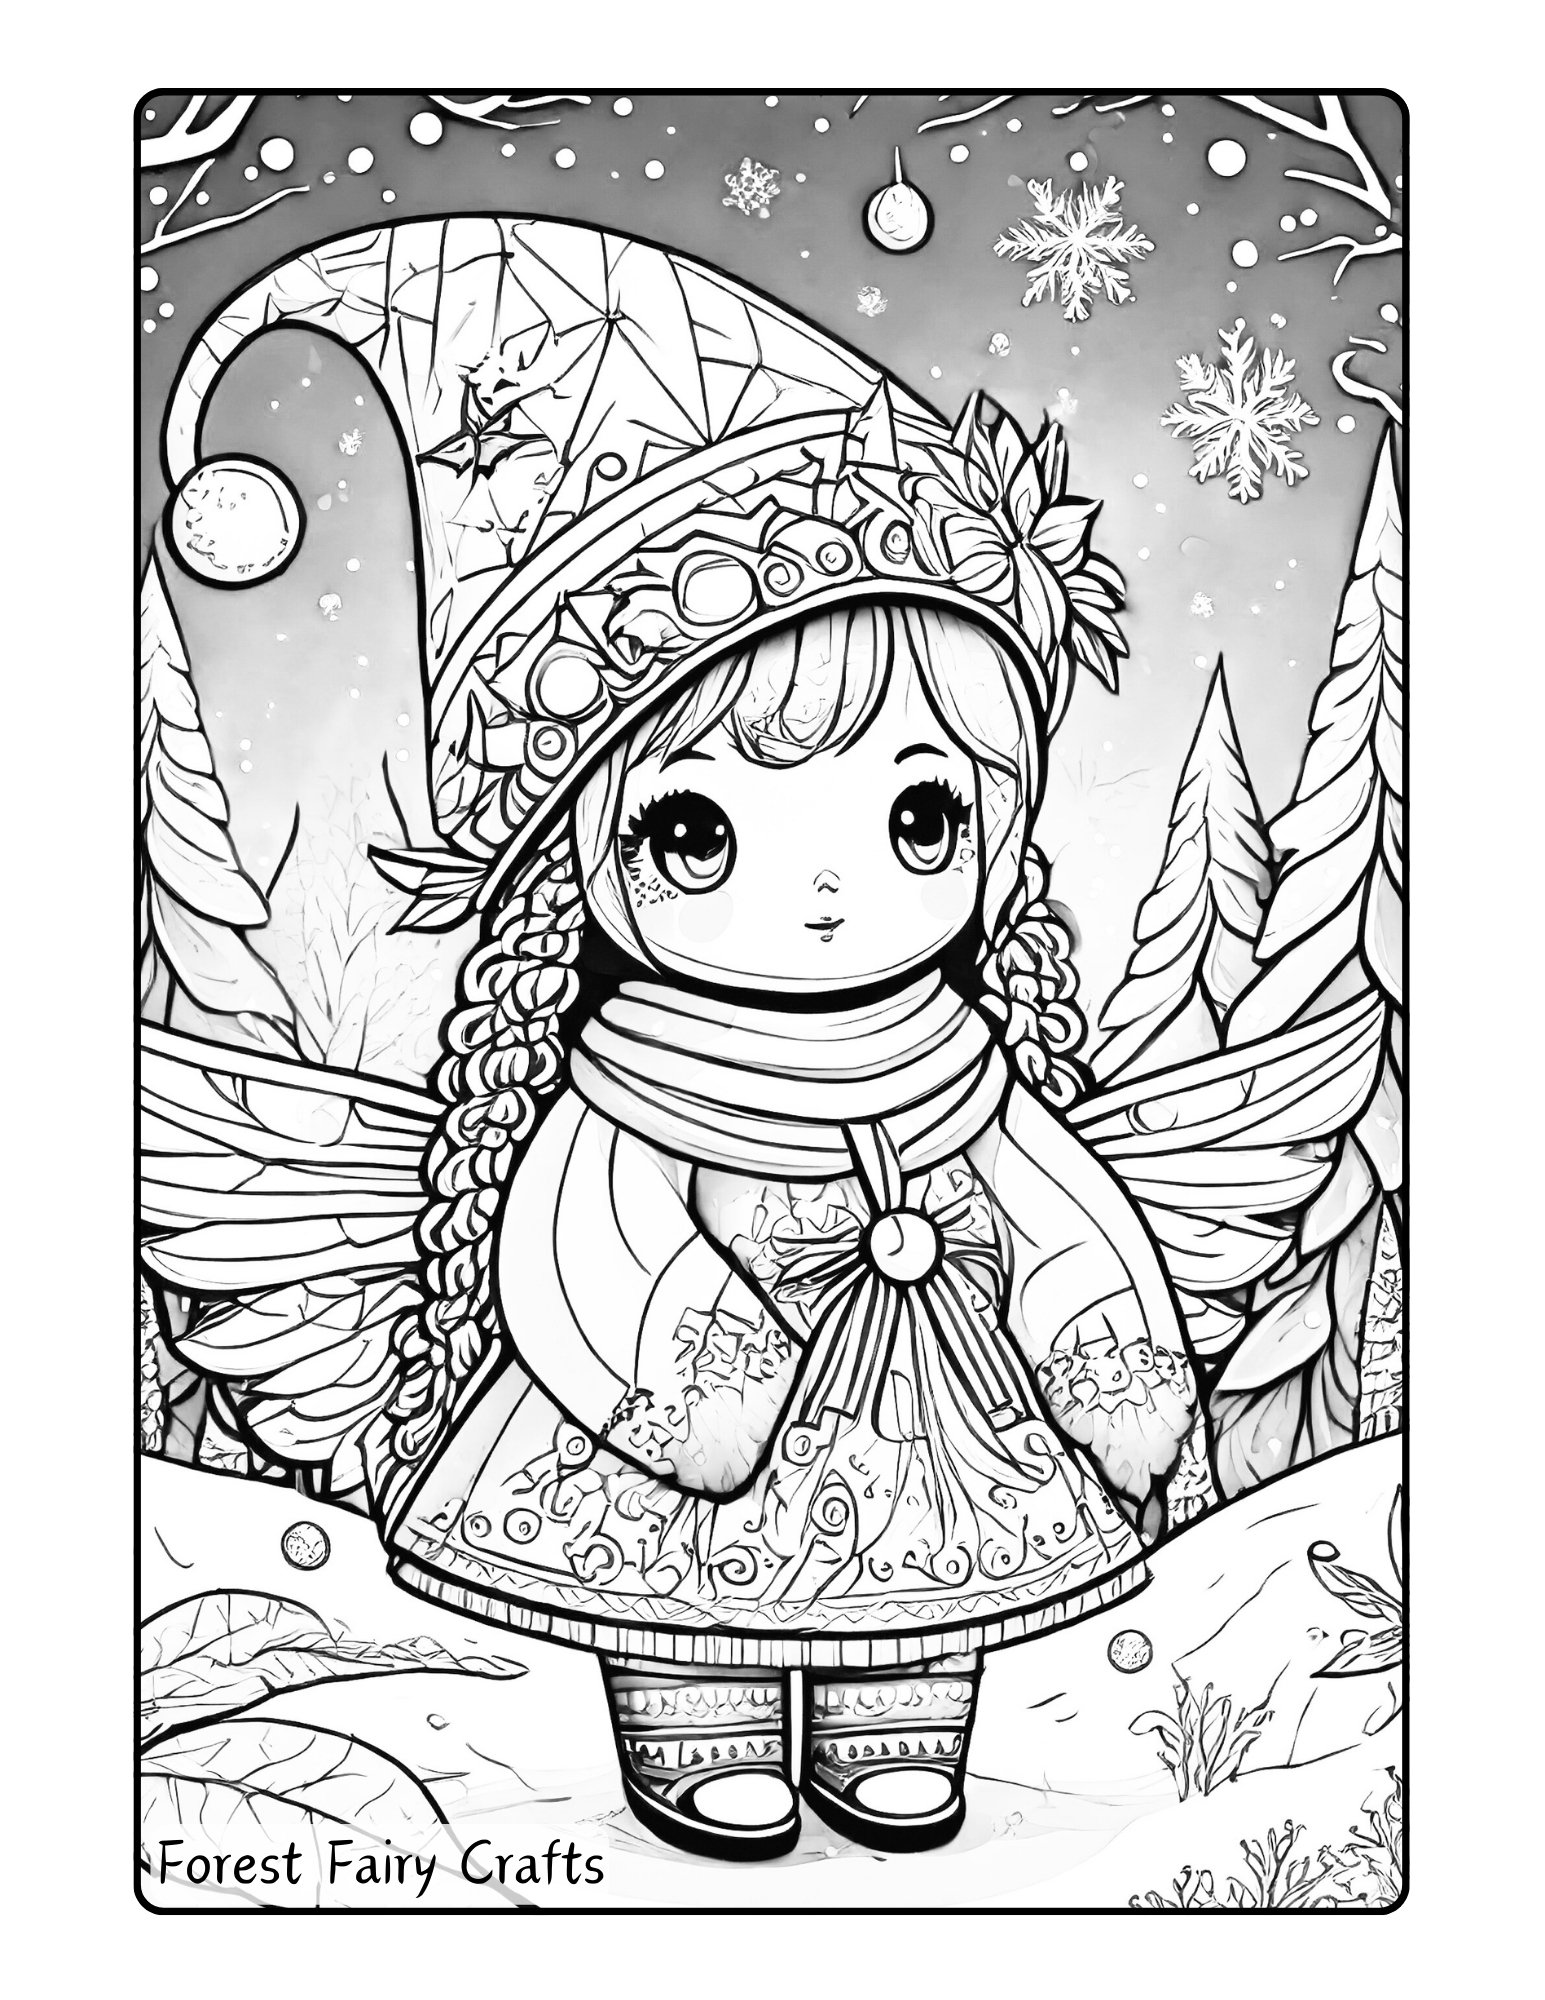
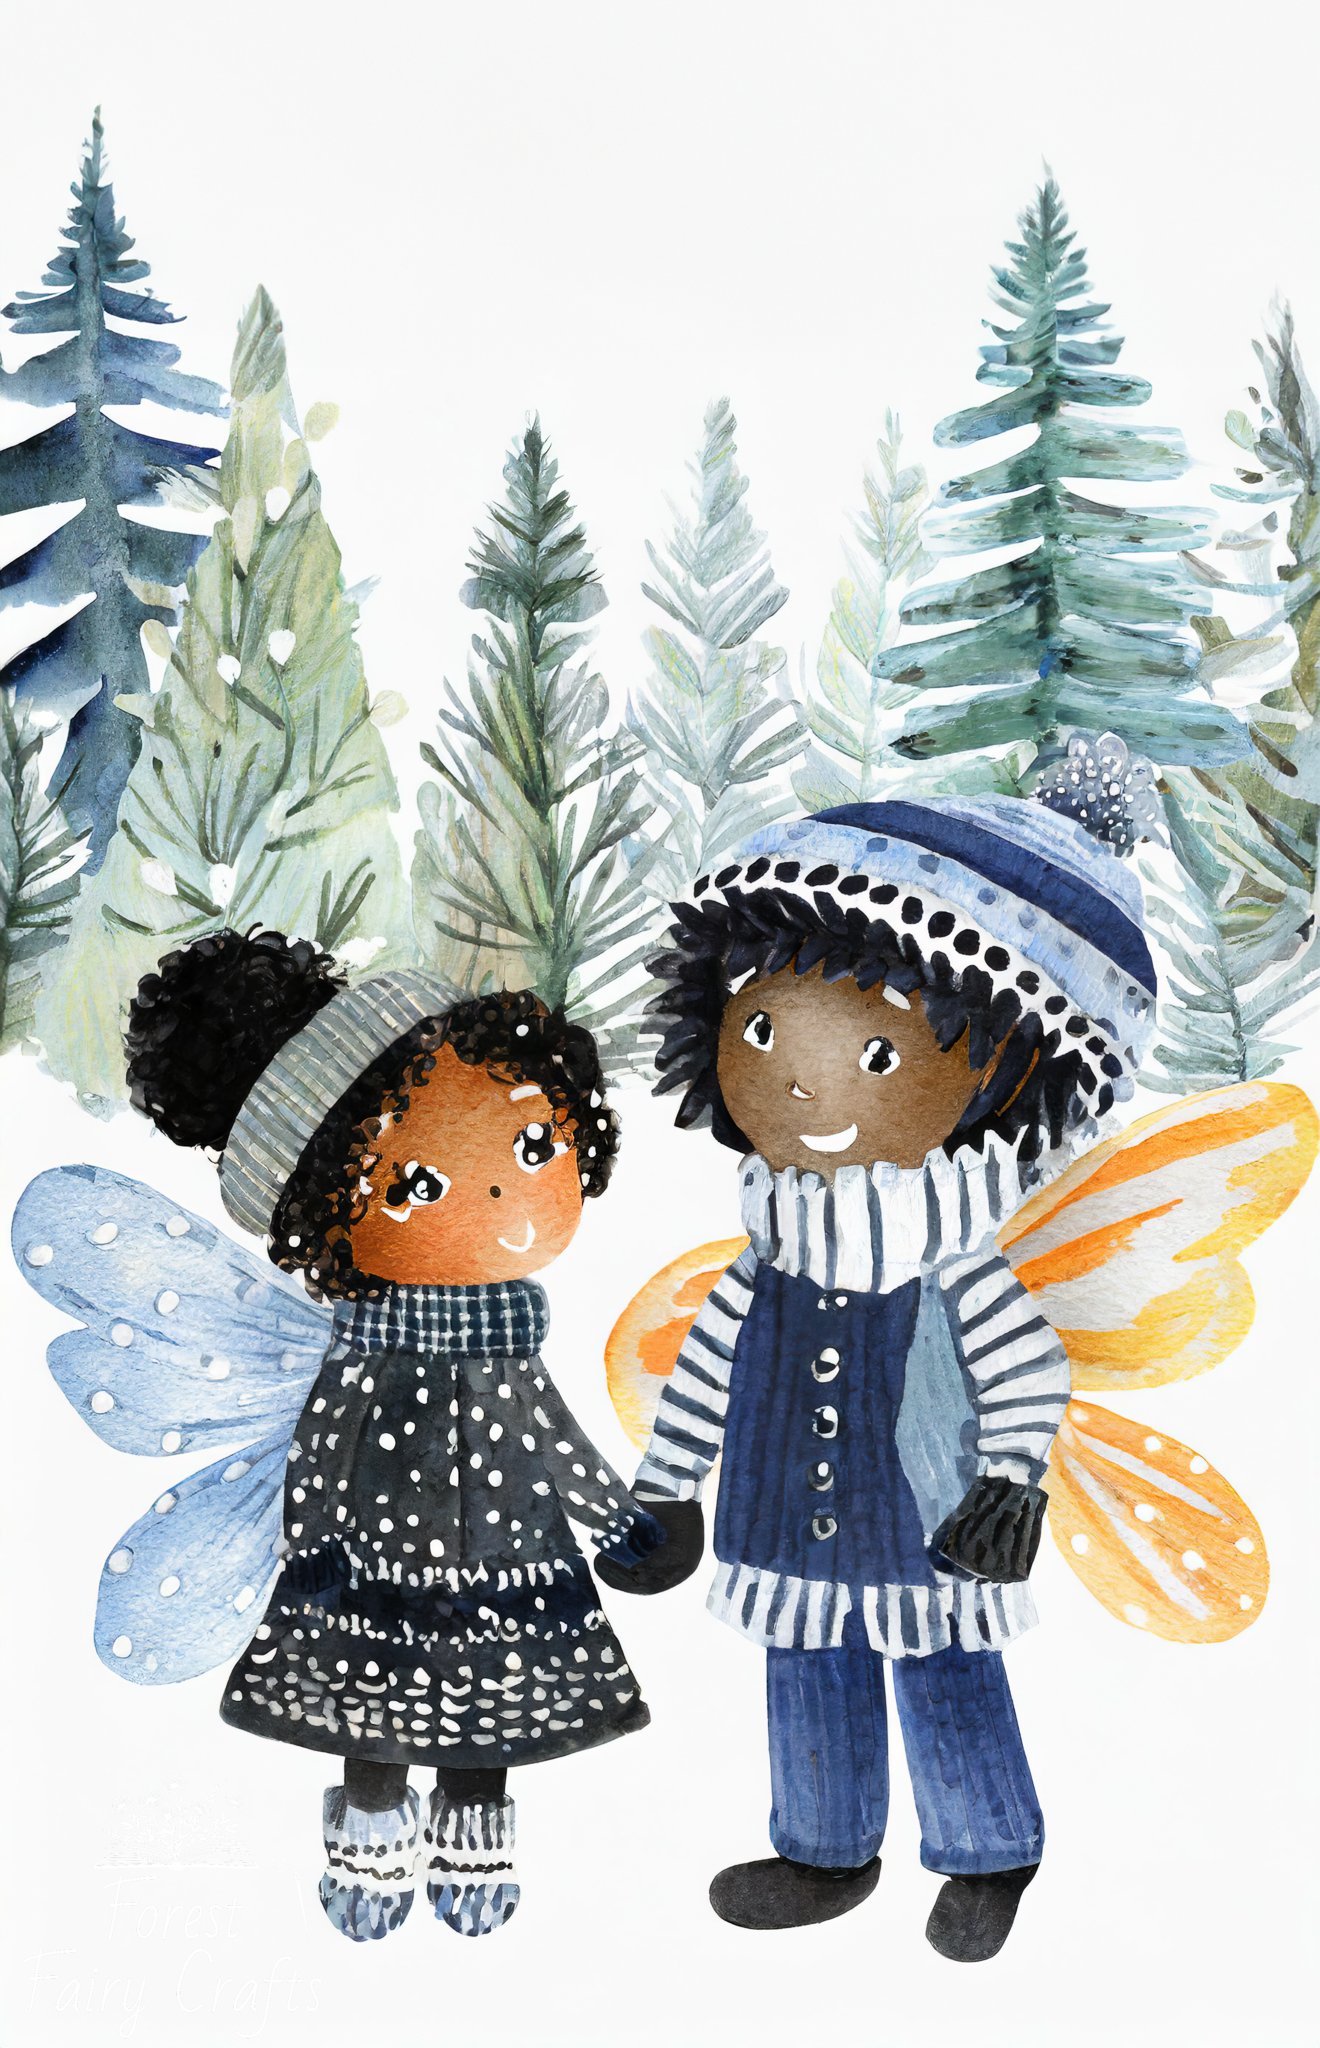
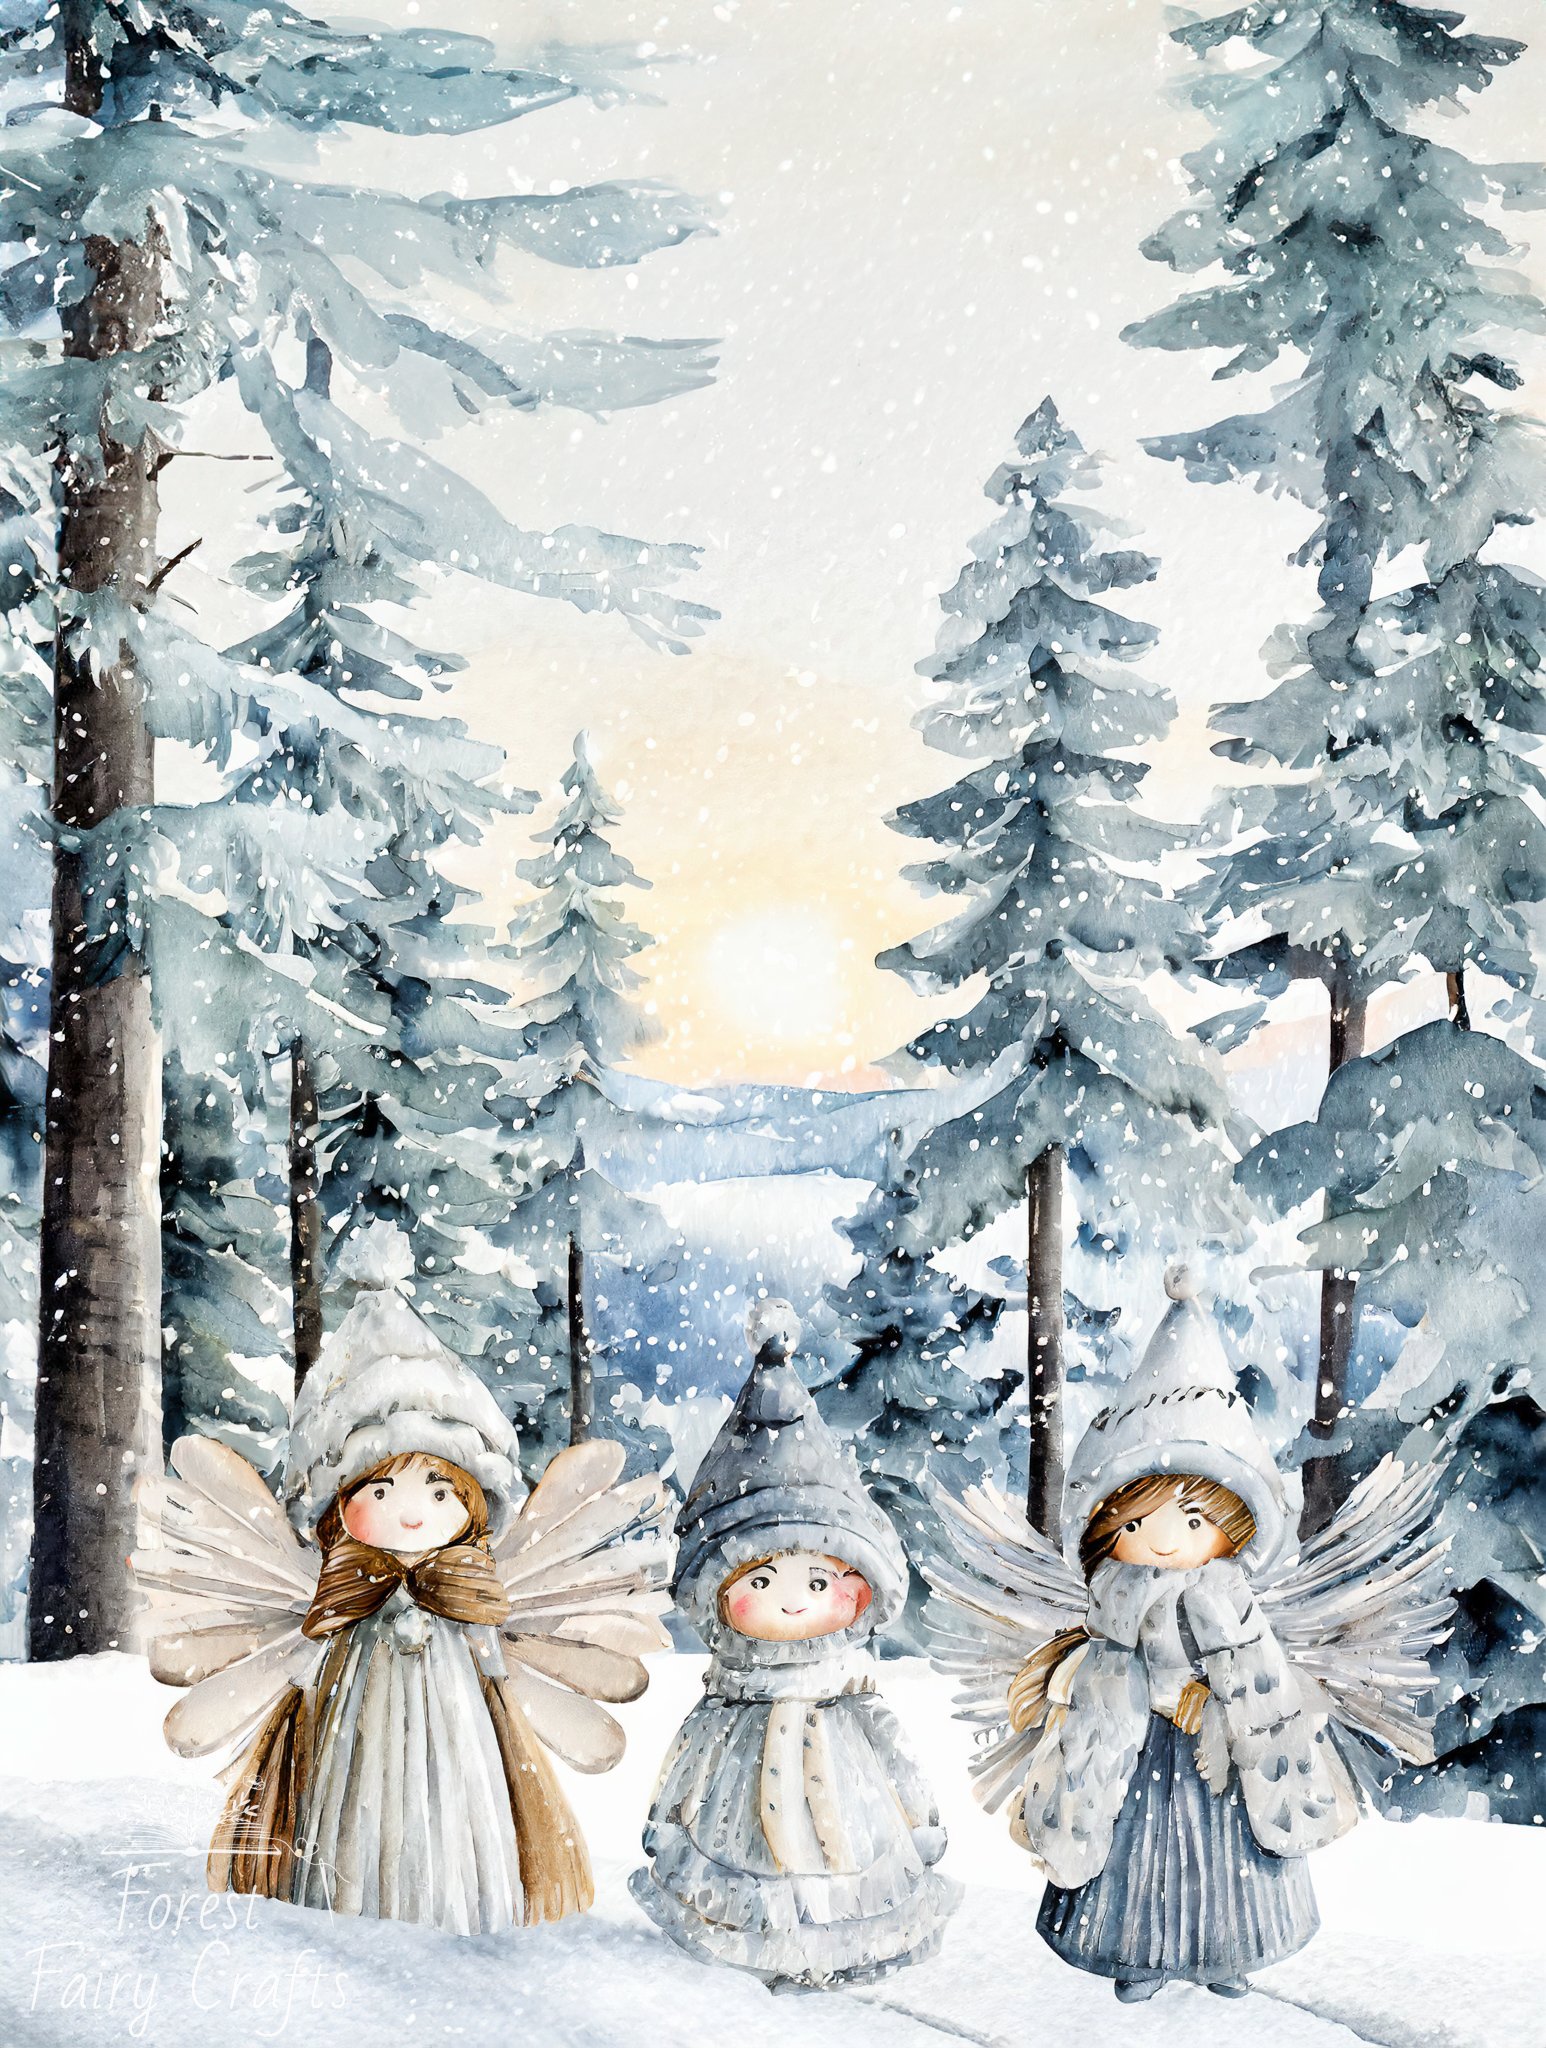
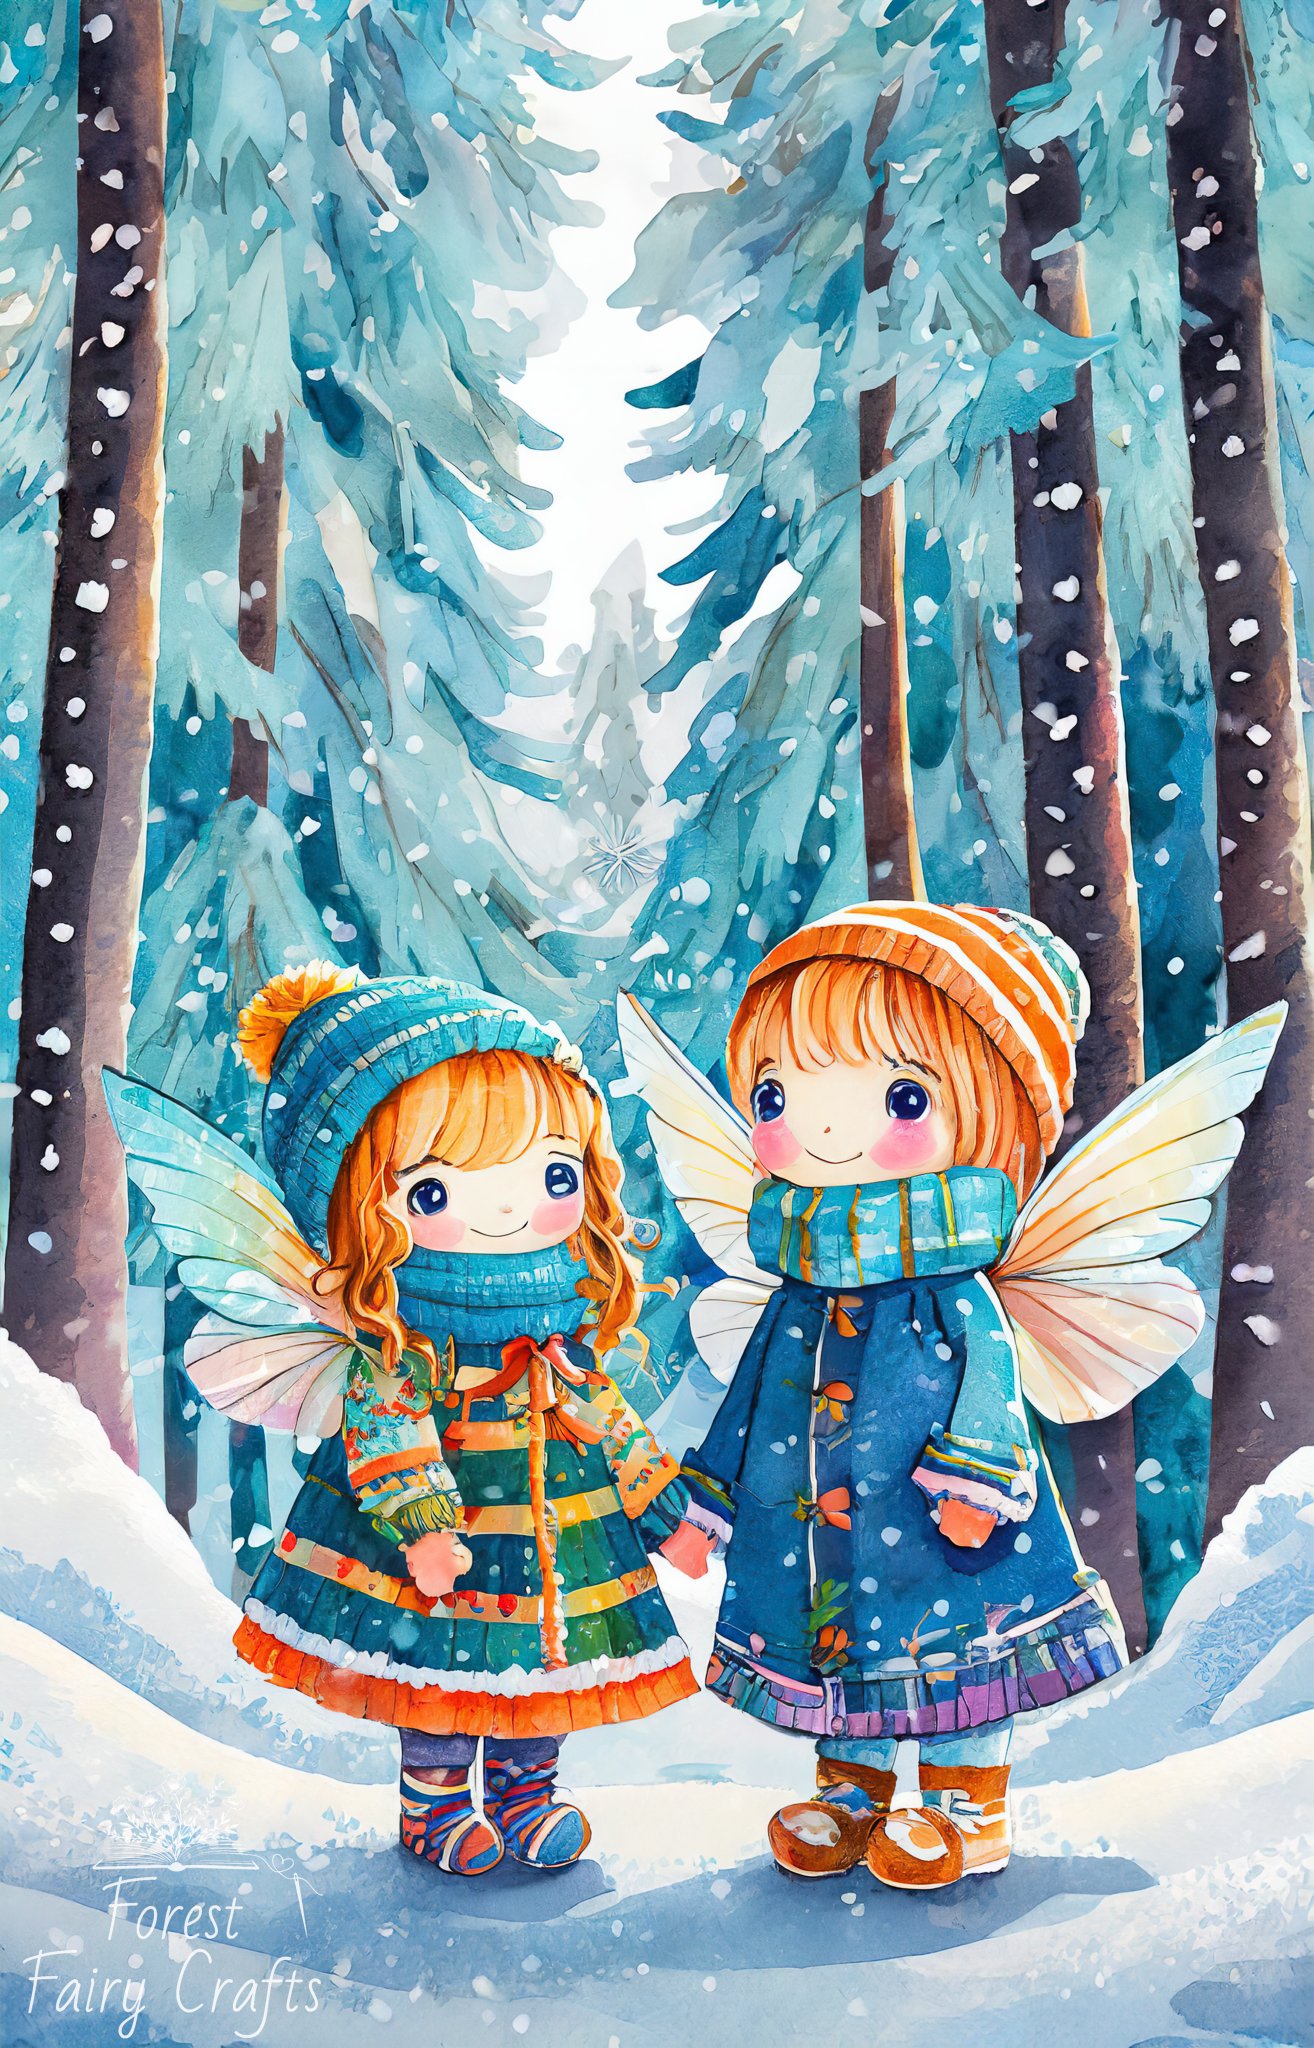
The Forest Fairy Crafts December Coloring Book is not just any ordinary coloring book. It’s created to inspire downtime for children and adults. December is fun, and exciting, and routines are disrupted. Which can lead to emotionally sensitive moments too. All of us can be both things at once. So activities that help us slow down are valuable. They’re perfect for cozy afternoons or evenings, waiting for cookies to bake, or at social gatherings (or classrooms).
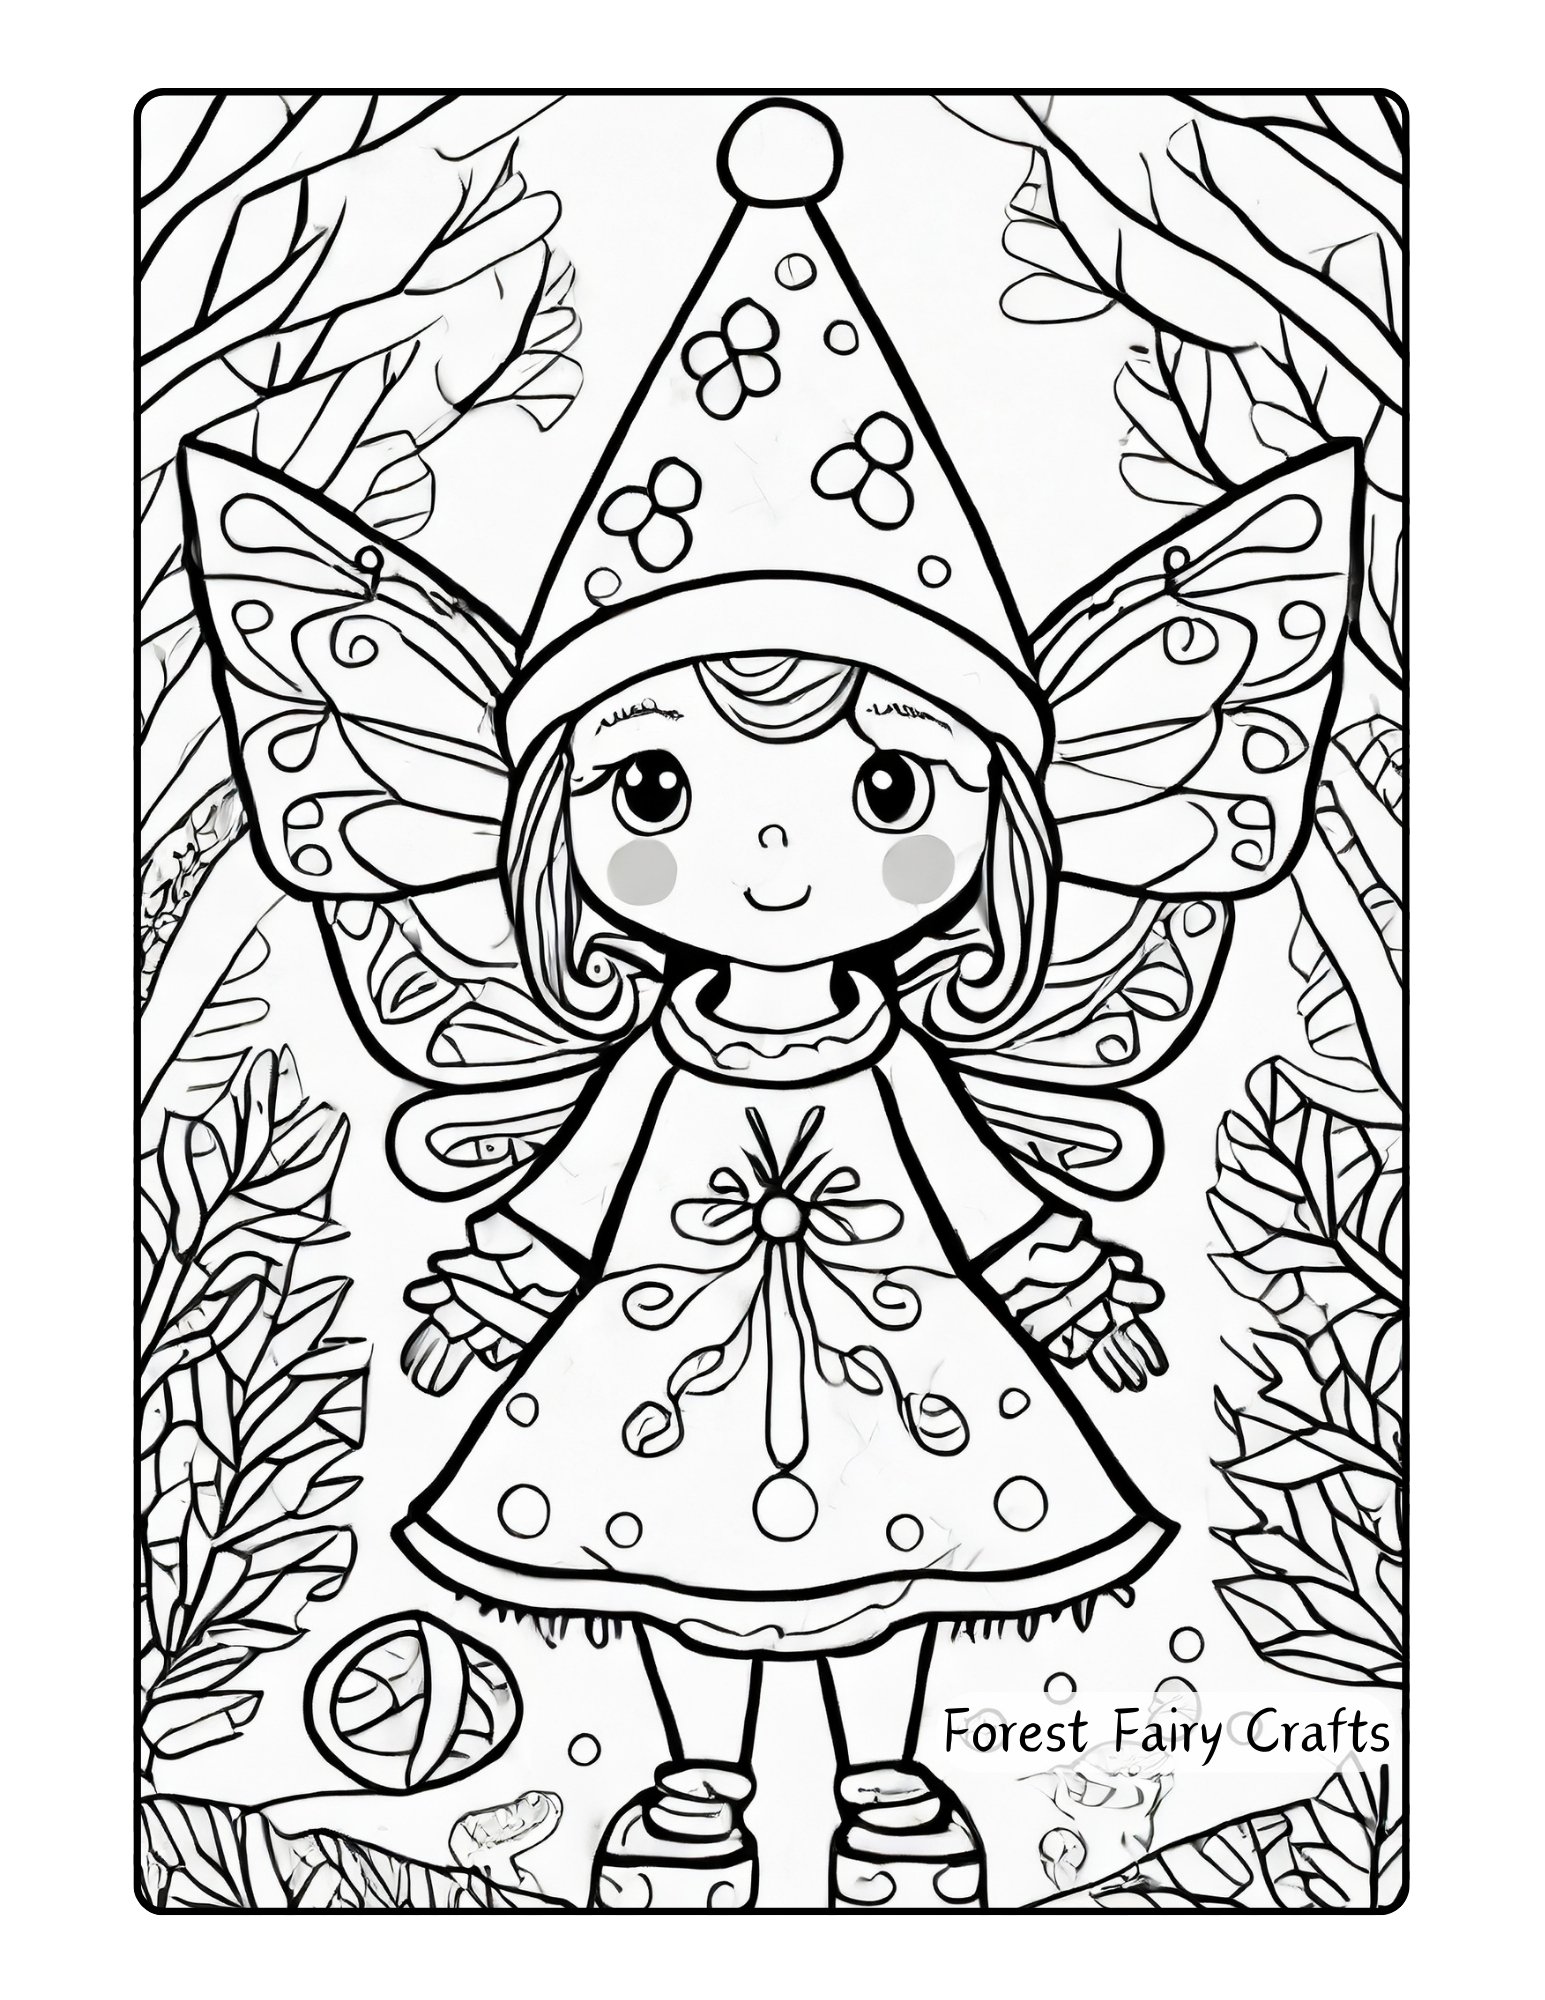
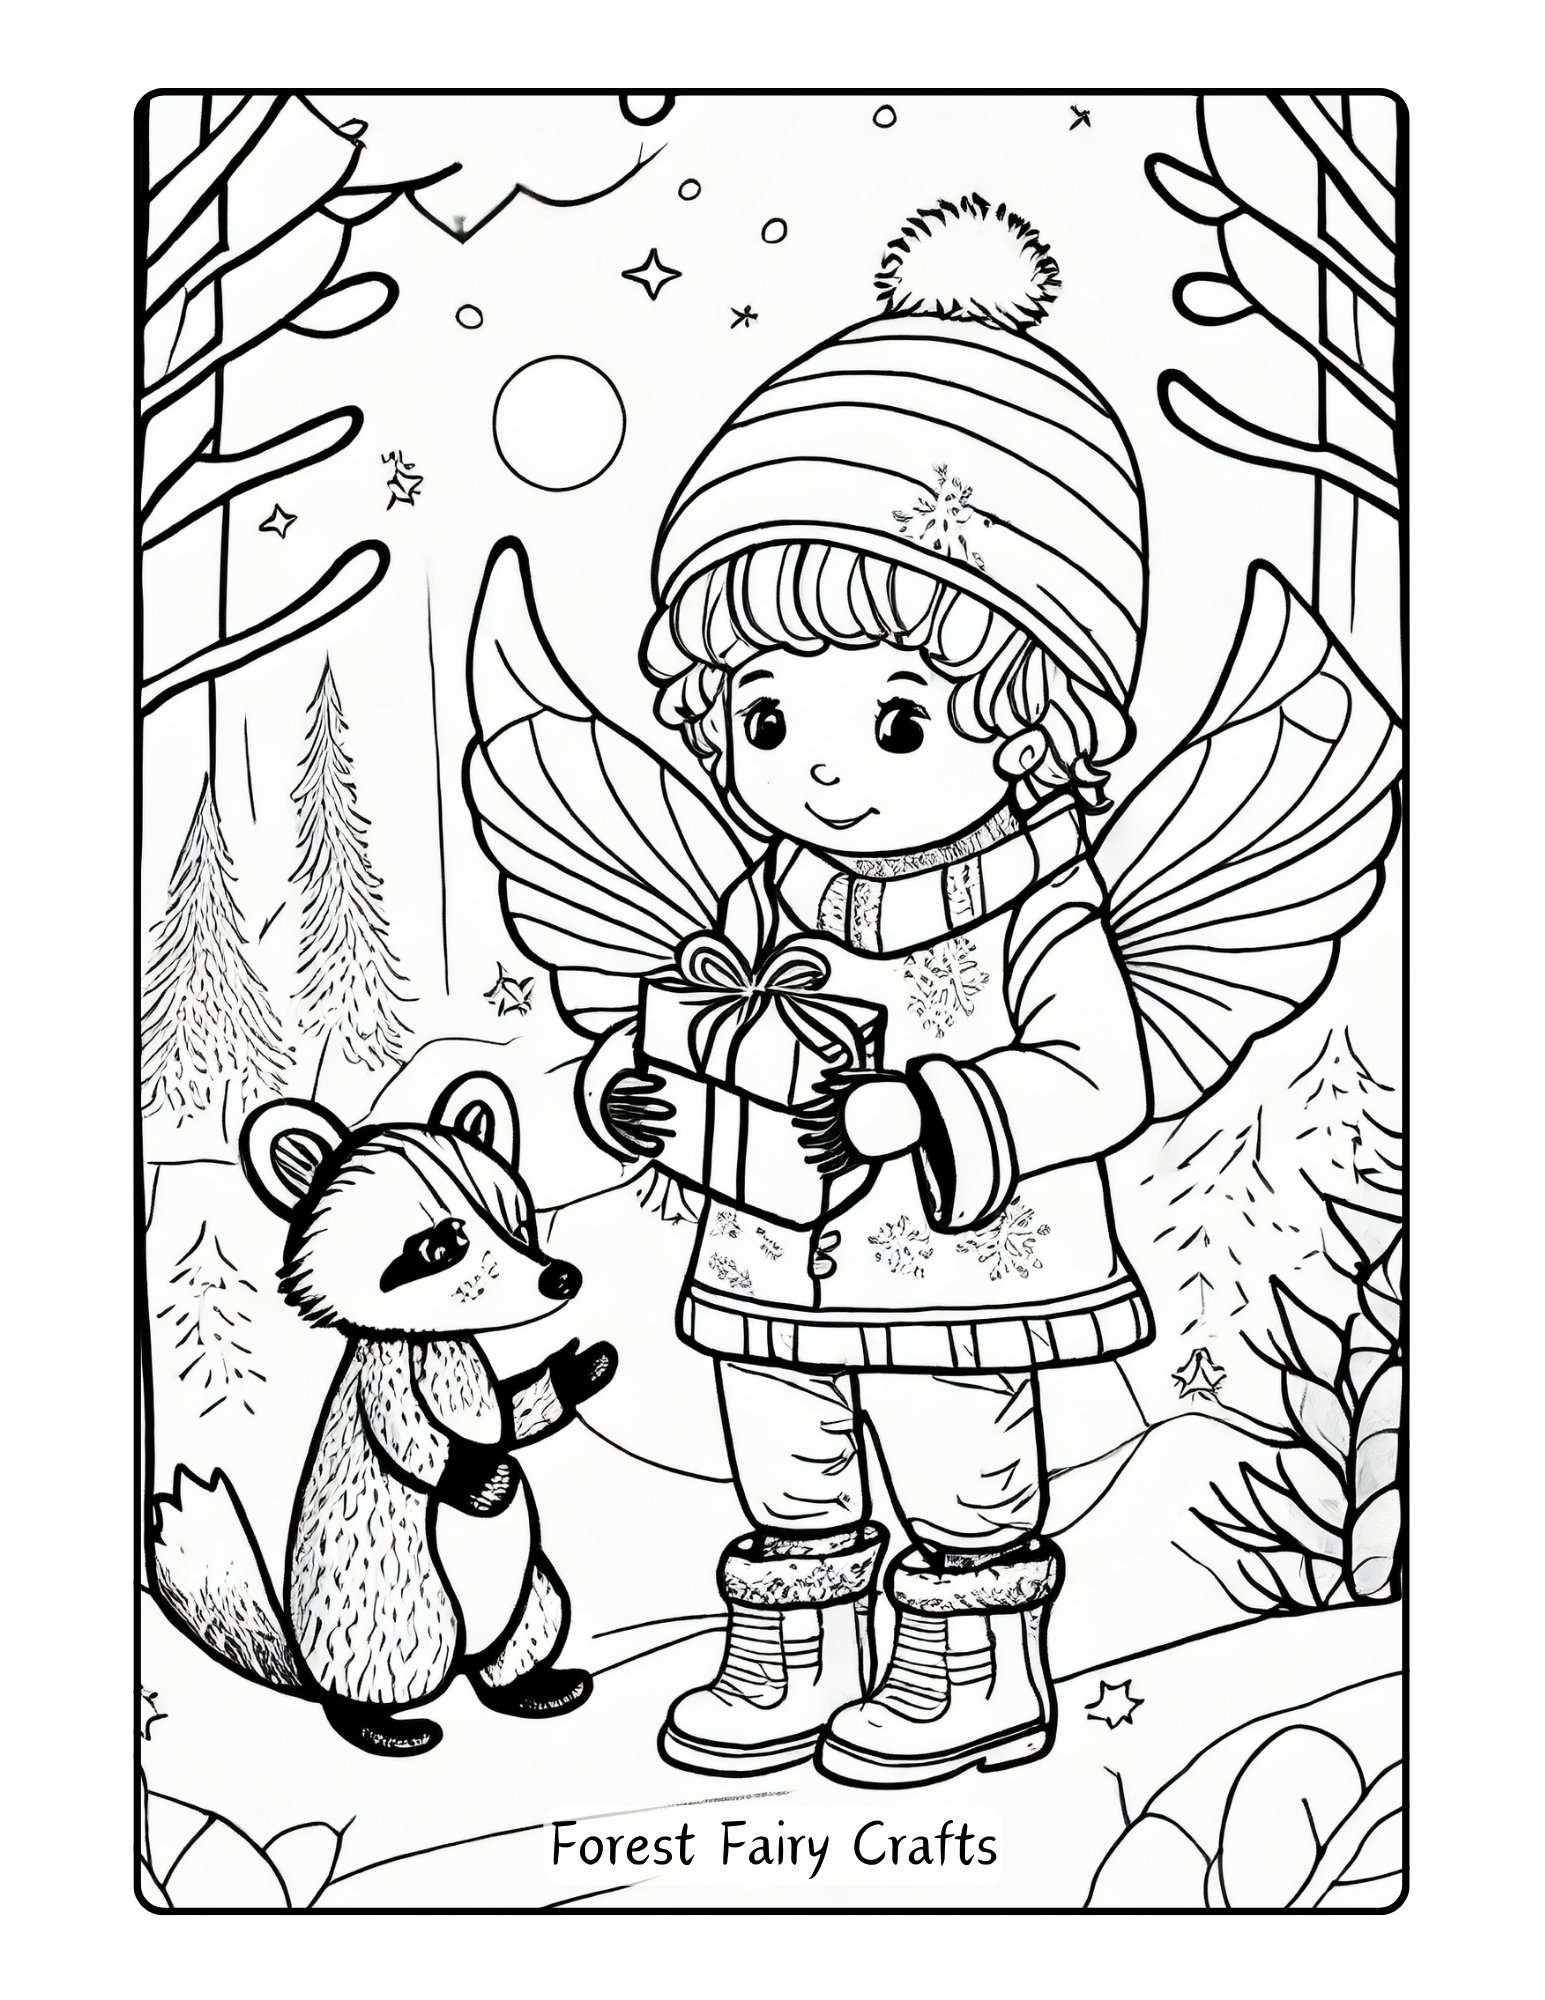
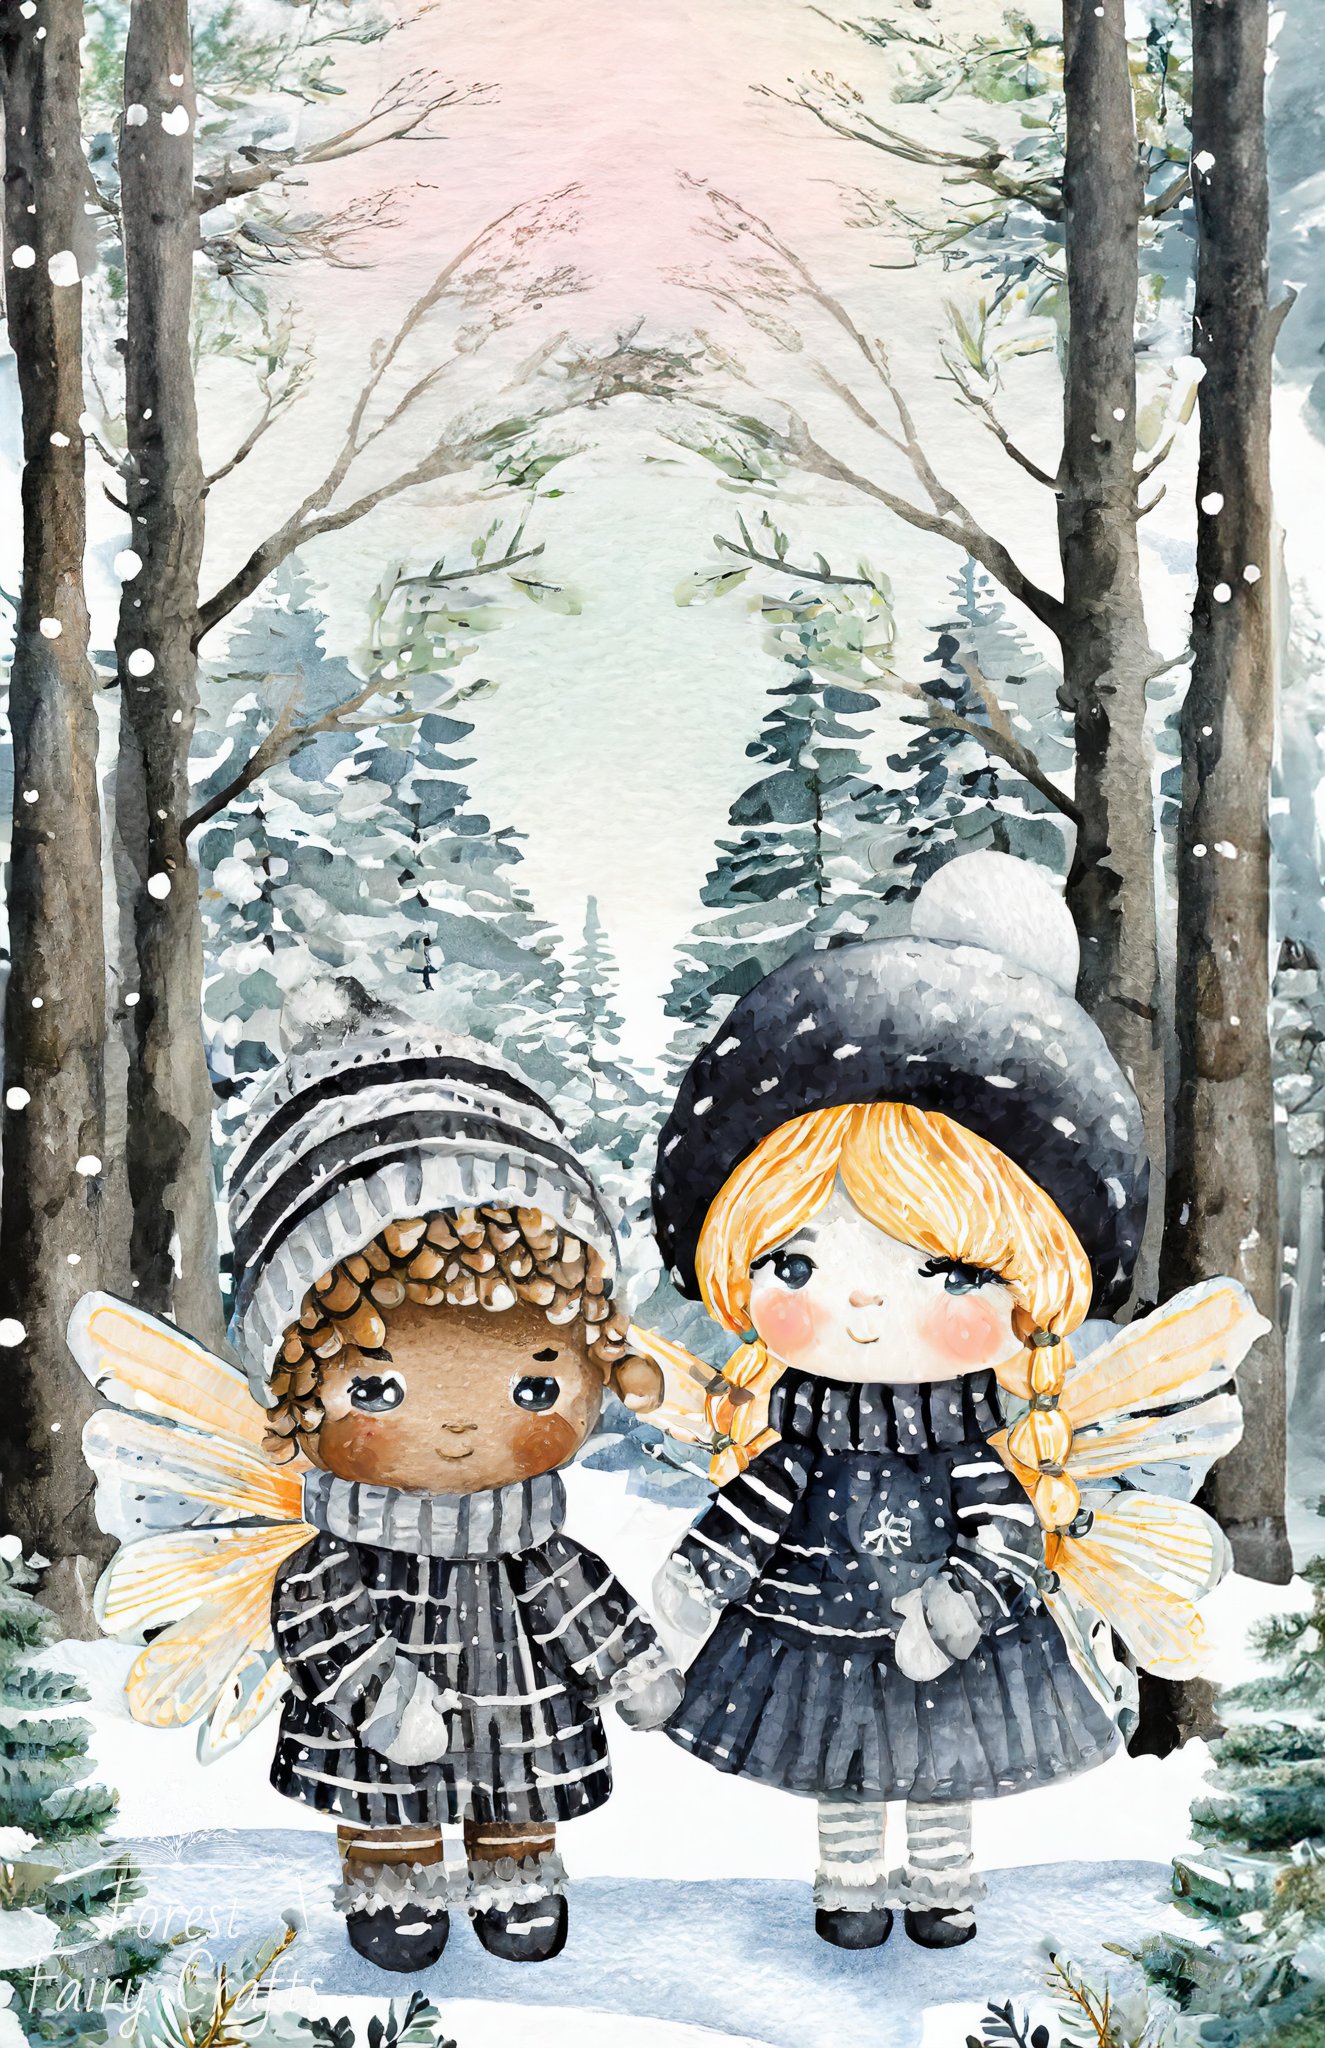
Illustrations are a carefully curated collection of beautifully detailed scenes that will captivate your imagination and allow an escape from the stresses of everyday life. Pages feature enchanting forest fairies, surrounded by winter trees and whimsical creatures. They do not show specific holidays. Use any colors that you like.
Whether you are a parent looking for a way to unwind after a long day, a teacher seeking a peaceful activity for your students, or a caregiver in need of some quiet time, Forest Fairy Crafts coloring pages are the perfect solution. You can easily download the coloring book and choose the pages that resonate with you the most.
And the best part? They’re free. Take a break from the hustle and bustle of life and immerse yourself in the magic and beauty of Forest Fairy Crafts.
Thankful Book for Fall
In early November, we start our book of gratitudes. Each day we add a page or two or three. We collect the loose pages right before Thanksgiving. And we have a lovely read aloud for our family celebration. In my classroom, the pages became an activity center. At home, we write spend time together creating a child and adult version. Children appreciate hearing about adult gratitudes too.
A guideline that I gave myself was to not give children ideas. Beyond a vague, “family, pets, etc.” Some would go big with “air, earth, water.” Others went more detailed. Eventually, the obvious answers (in their mind) were written down. And then resistance, “I’m out of ideas.” And then the real opportunity- “I’m going to remember grapes to write, they’re so good.” Or, “I’m thankful for goodnight stories.” They took their authorship away from the table to open their mind to ideas away from the table. Which, for me, is the real goal all along. To recognize the many gifts in our day.
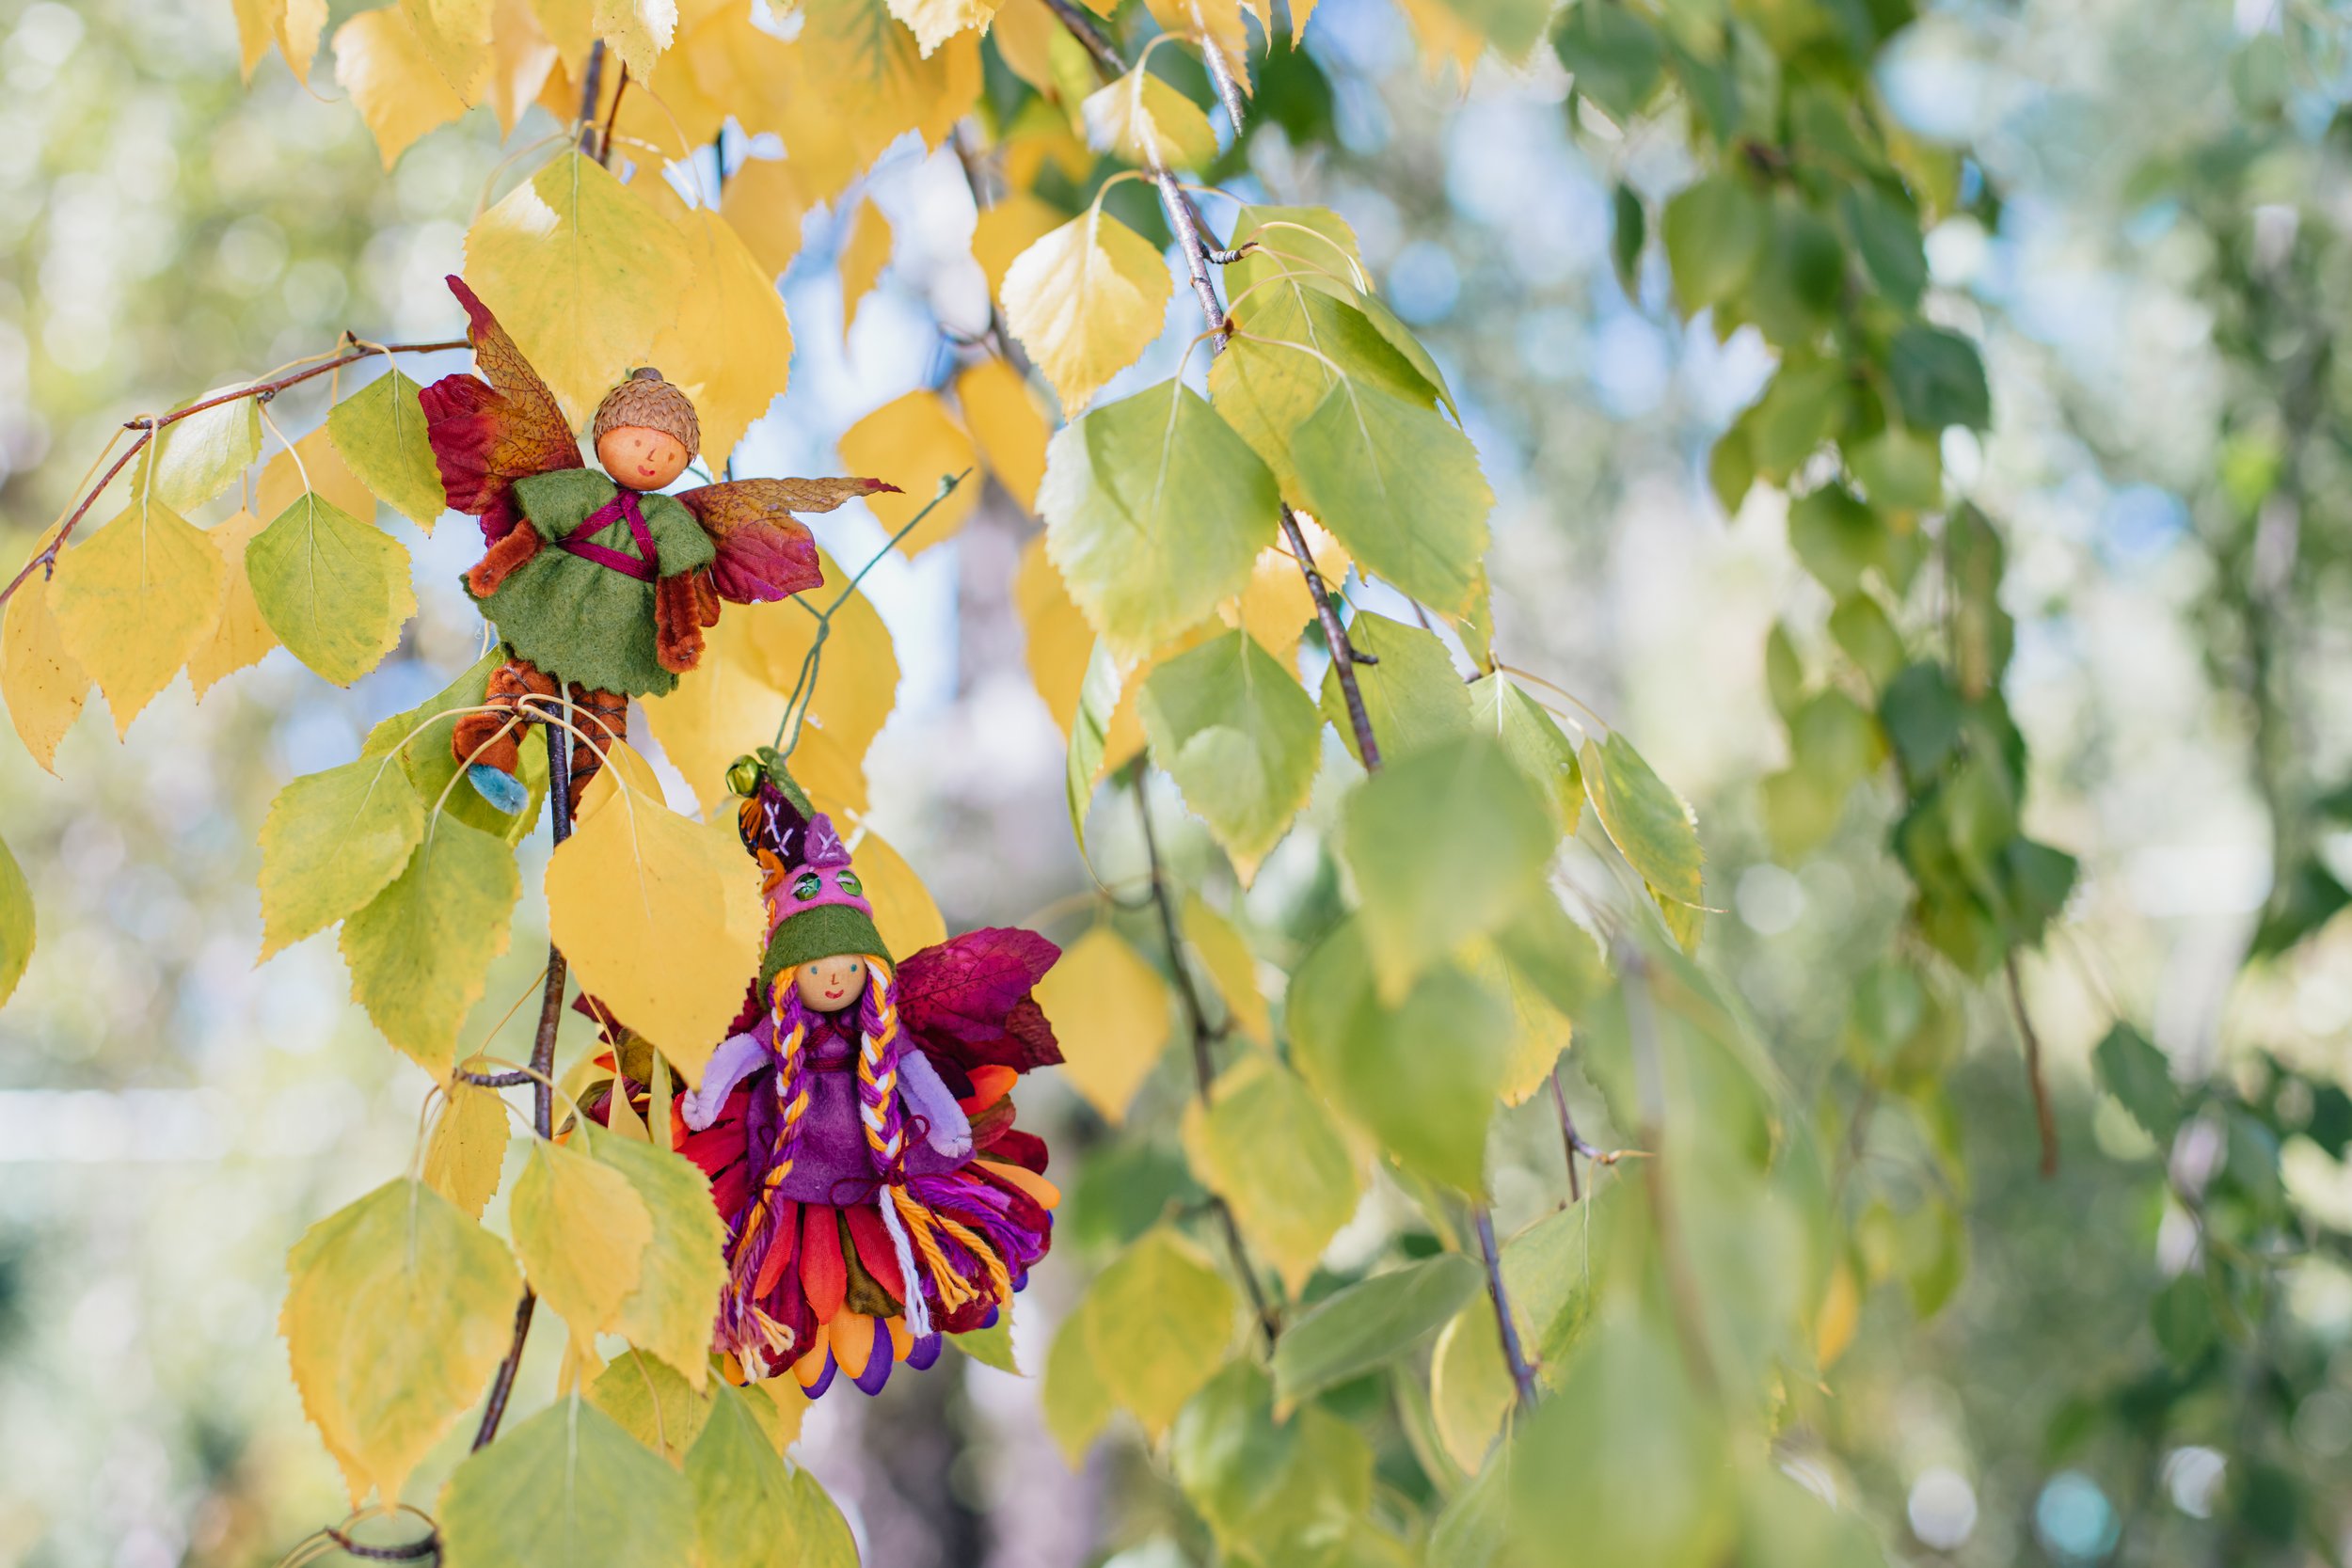
Autumn Fairy in Magical Forest Fairy Crafts Through the Seasons
I created book pages that you can download to use with children in your life. *Not for sale or resale. When you download, you’ll notice the book has 4 pages. Why would I do that? This way, each family or child gets to create their own number of pages. Save them as loose leaves until the day before Thanksgiving. That way, an author won’t run out of pages, or face a pile of empty pages on the last night before binding. Customize your book.
For older authors (6 and above), I use the smaller version which fits two pages on one piece of paper. I recommend cutting in half before binding, or you will have blank pages. Since writing instructions don’t often come easy for authors, here is my ladder of support. A conversation with authors that they understand is that the audience matters. Is this for Grandma and Grandpa to admire? Or is it just for the author? Because one way, the spelling may be more important that the other. And the main goal for a young author is to feel proud of their work. Not for us adults to judge or micromanage to the point that writing feels like a chore, but simply for the author to celebrate what they created. You may choose different styles of support based on the audience for the book.
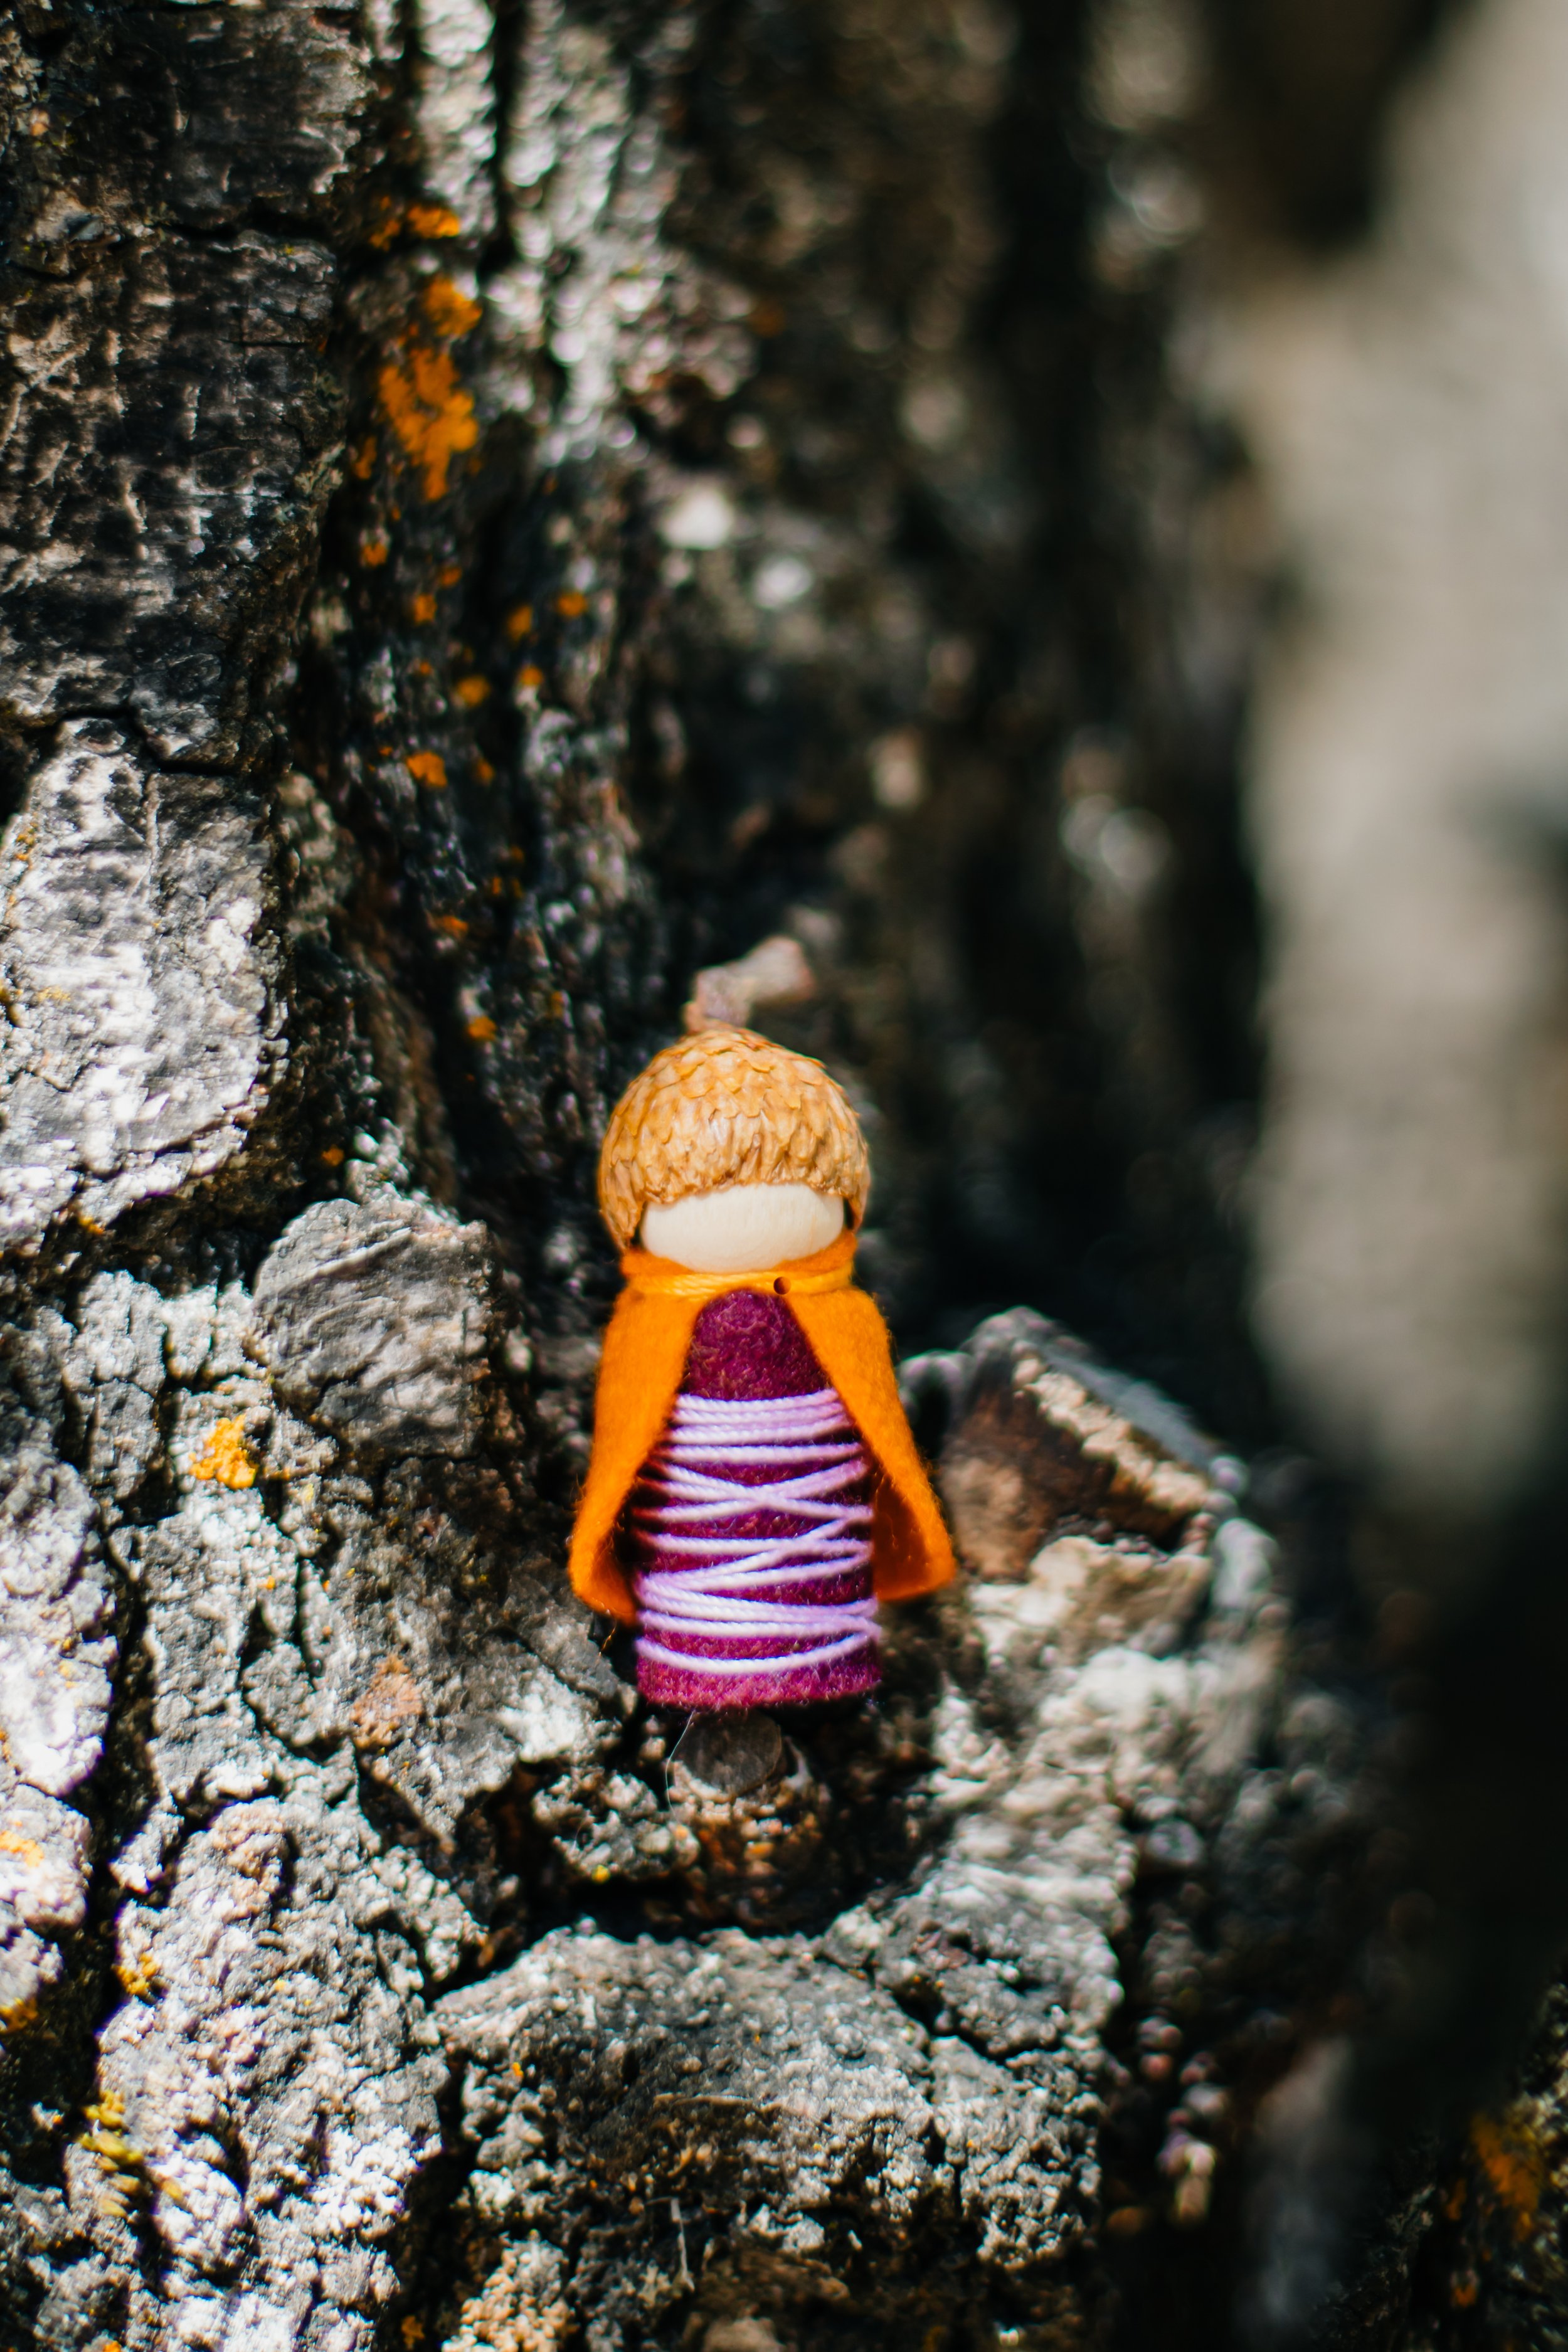
Autumn Gnome in Magical Forest Fairy Crafts Through the Seasons
Also, many supports may be appropriate for different learning challenges. I let my dyslexic daughter dictate while I typed well into high school. She’s in college now and doesn’t ask me to type any of her papers anymore. So give writers the support they need to express their ideas. Which may change from day-to-day.
You can mix and match within the same day/on the same page. They can write until they’re turned and then an adult can finish. Choose a ladder plan, then adjust as needed.
Step 1- writing for the author, letting the author dictate. This is the way to catch all the thoughts and details. This can happen alongside scribbles or attempts at “sounding out” words so that they can be read and understood later.
Step 2- writing and tracing. Use a highlighter or light handwriting that the student can trace with their own pencil. If used, the dictation from above with a step for authors to explore writing it themselves.
Step 3- Write what you hear. This may look incoherent to adults. As long as the child can read it late, then it accomplished the purpose of writing to remember your words later. It doesn’t really accomplish the write-and-share idea, but I can’t read books in other languages, so, for this stage, I let the author reading their own work be enough
Step 4- Write to share. This time, another person needs to be able to understand your words. They don’t seem to be spelled perfectly or have all the right spaces, but another person may want to read them one day. This can be supported with verbal spelling help and room to make spelling mistakes.
Step 5- Write to impress. By this time, sight words should be pretty intuitive. Writing shouldn’t be so much work by this time. Now, spelling corrections and punctuation are involved in the process.
Autumn fairies in Magical Forest Fairy Crafts Through the Seasons
Realistically, think about how long this book will be around. This was created as a process-project meant to help authors notice the world with a spirit of gratitude. Many of these books will go into recycling. You may want to keep them. But then they’ll be a time capsule of where your author’s writing skills were at that point in time. I want young authors to enjoy writing. This project is close to my heart for inspiring young authors.
Feel free to print for personal or small-group use. Print pages 2-3 (large) or 2 (small) for as many middle pages as you may like. Usage rights do not include other teaching sites or third-party websites or sales. I appreciate sharing resources with you.
Add the last page as a bookend, because we are thankful for each and every author.
And of course, Autumn Fairies love to help write these books or hear these books read aloud. They’re always up for an adventure to find more things to appreciate!
We are thankful for you!
Win Cornelia the Corn Fairy
It’s corn! The fairies welcomed this TikTok trend with Cornelia the Corn Fairy. She is ready to enjoy the harvest season out in the world. Especially if she gets to visit a corn maze or two :)
To enter, follow us, like the post, and leave a comment on Instagram, Facebook, and/or TikTok. Yes, you can enter 3 times. A random number generator will choose the winner. You have until September 10, 2022 at 11:59pm Pacific Time to enter. US and District of Columbia only. See full terms and conditions by clicking here.
May the Forest be with you!
The Creative Process and Try, Try Again
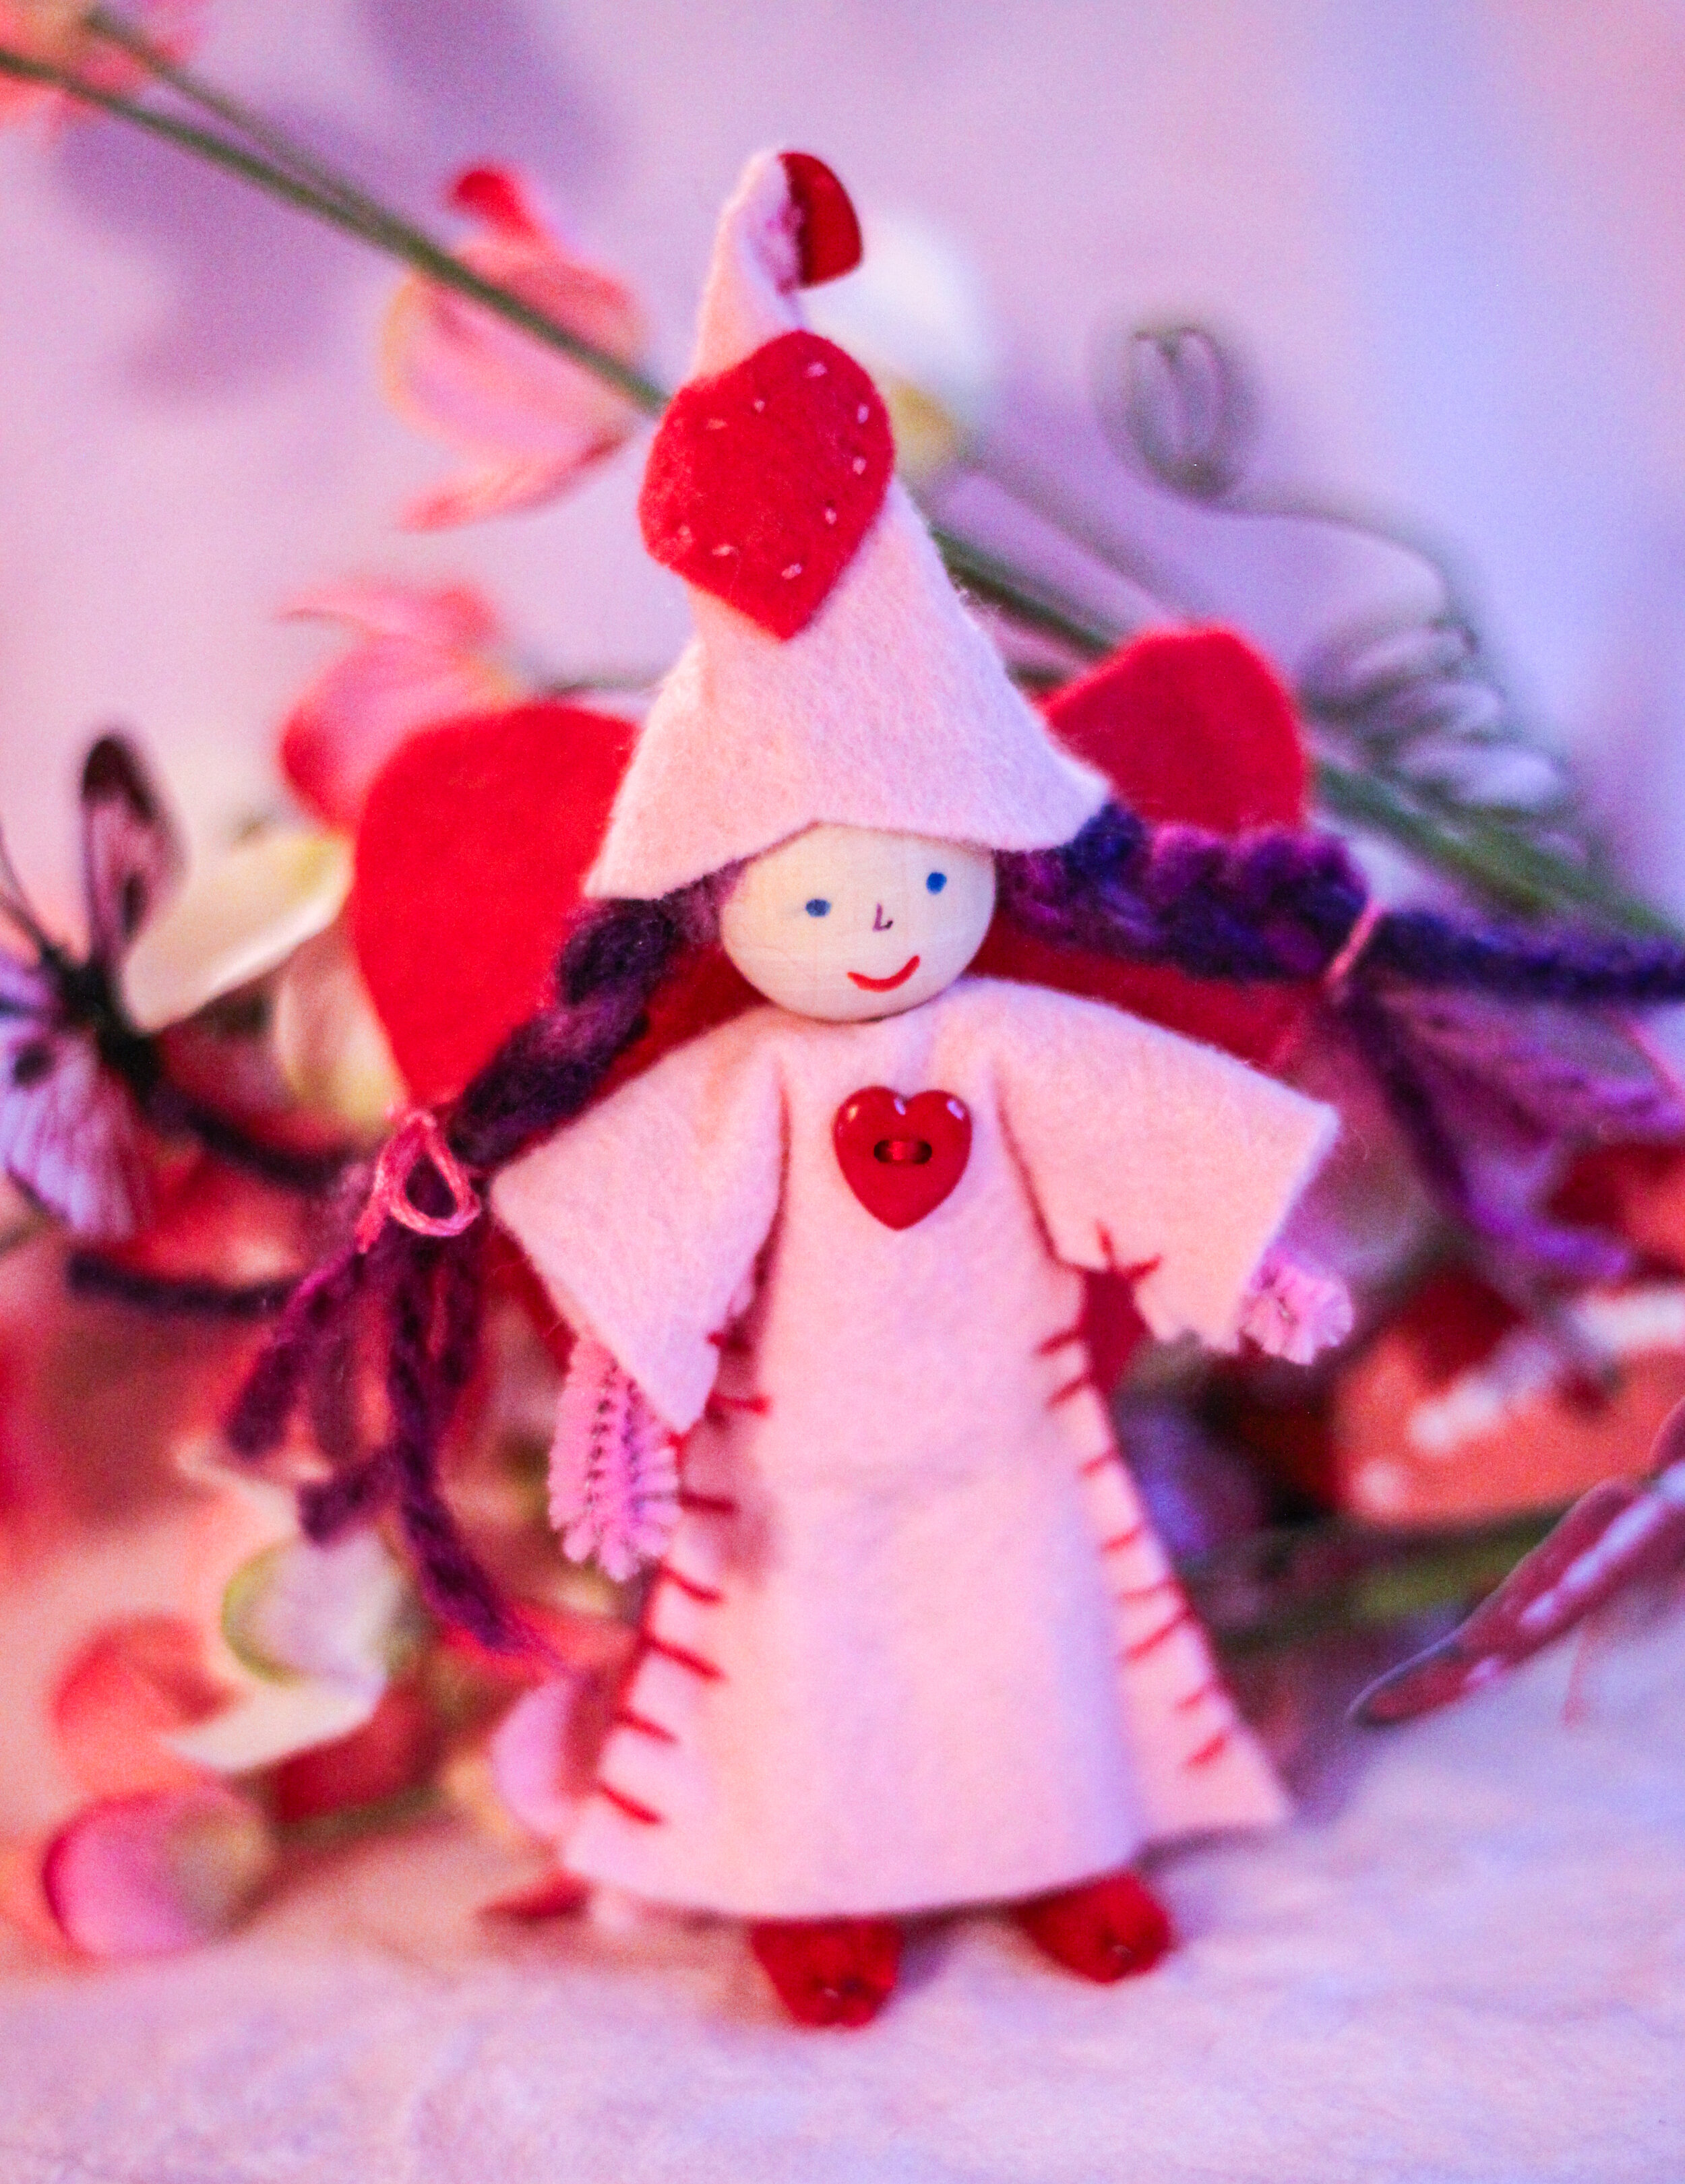
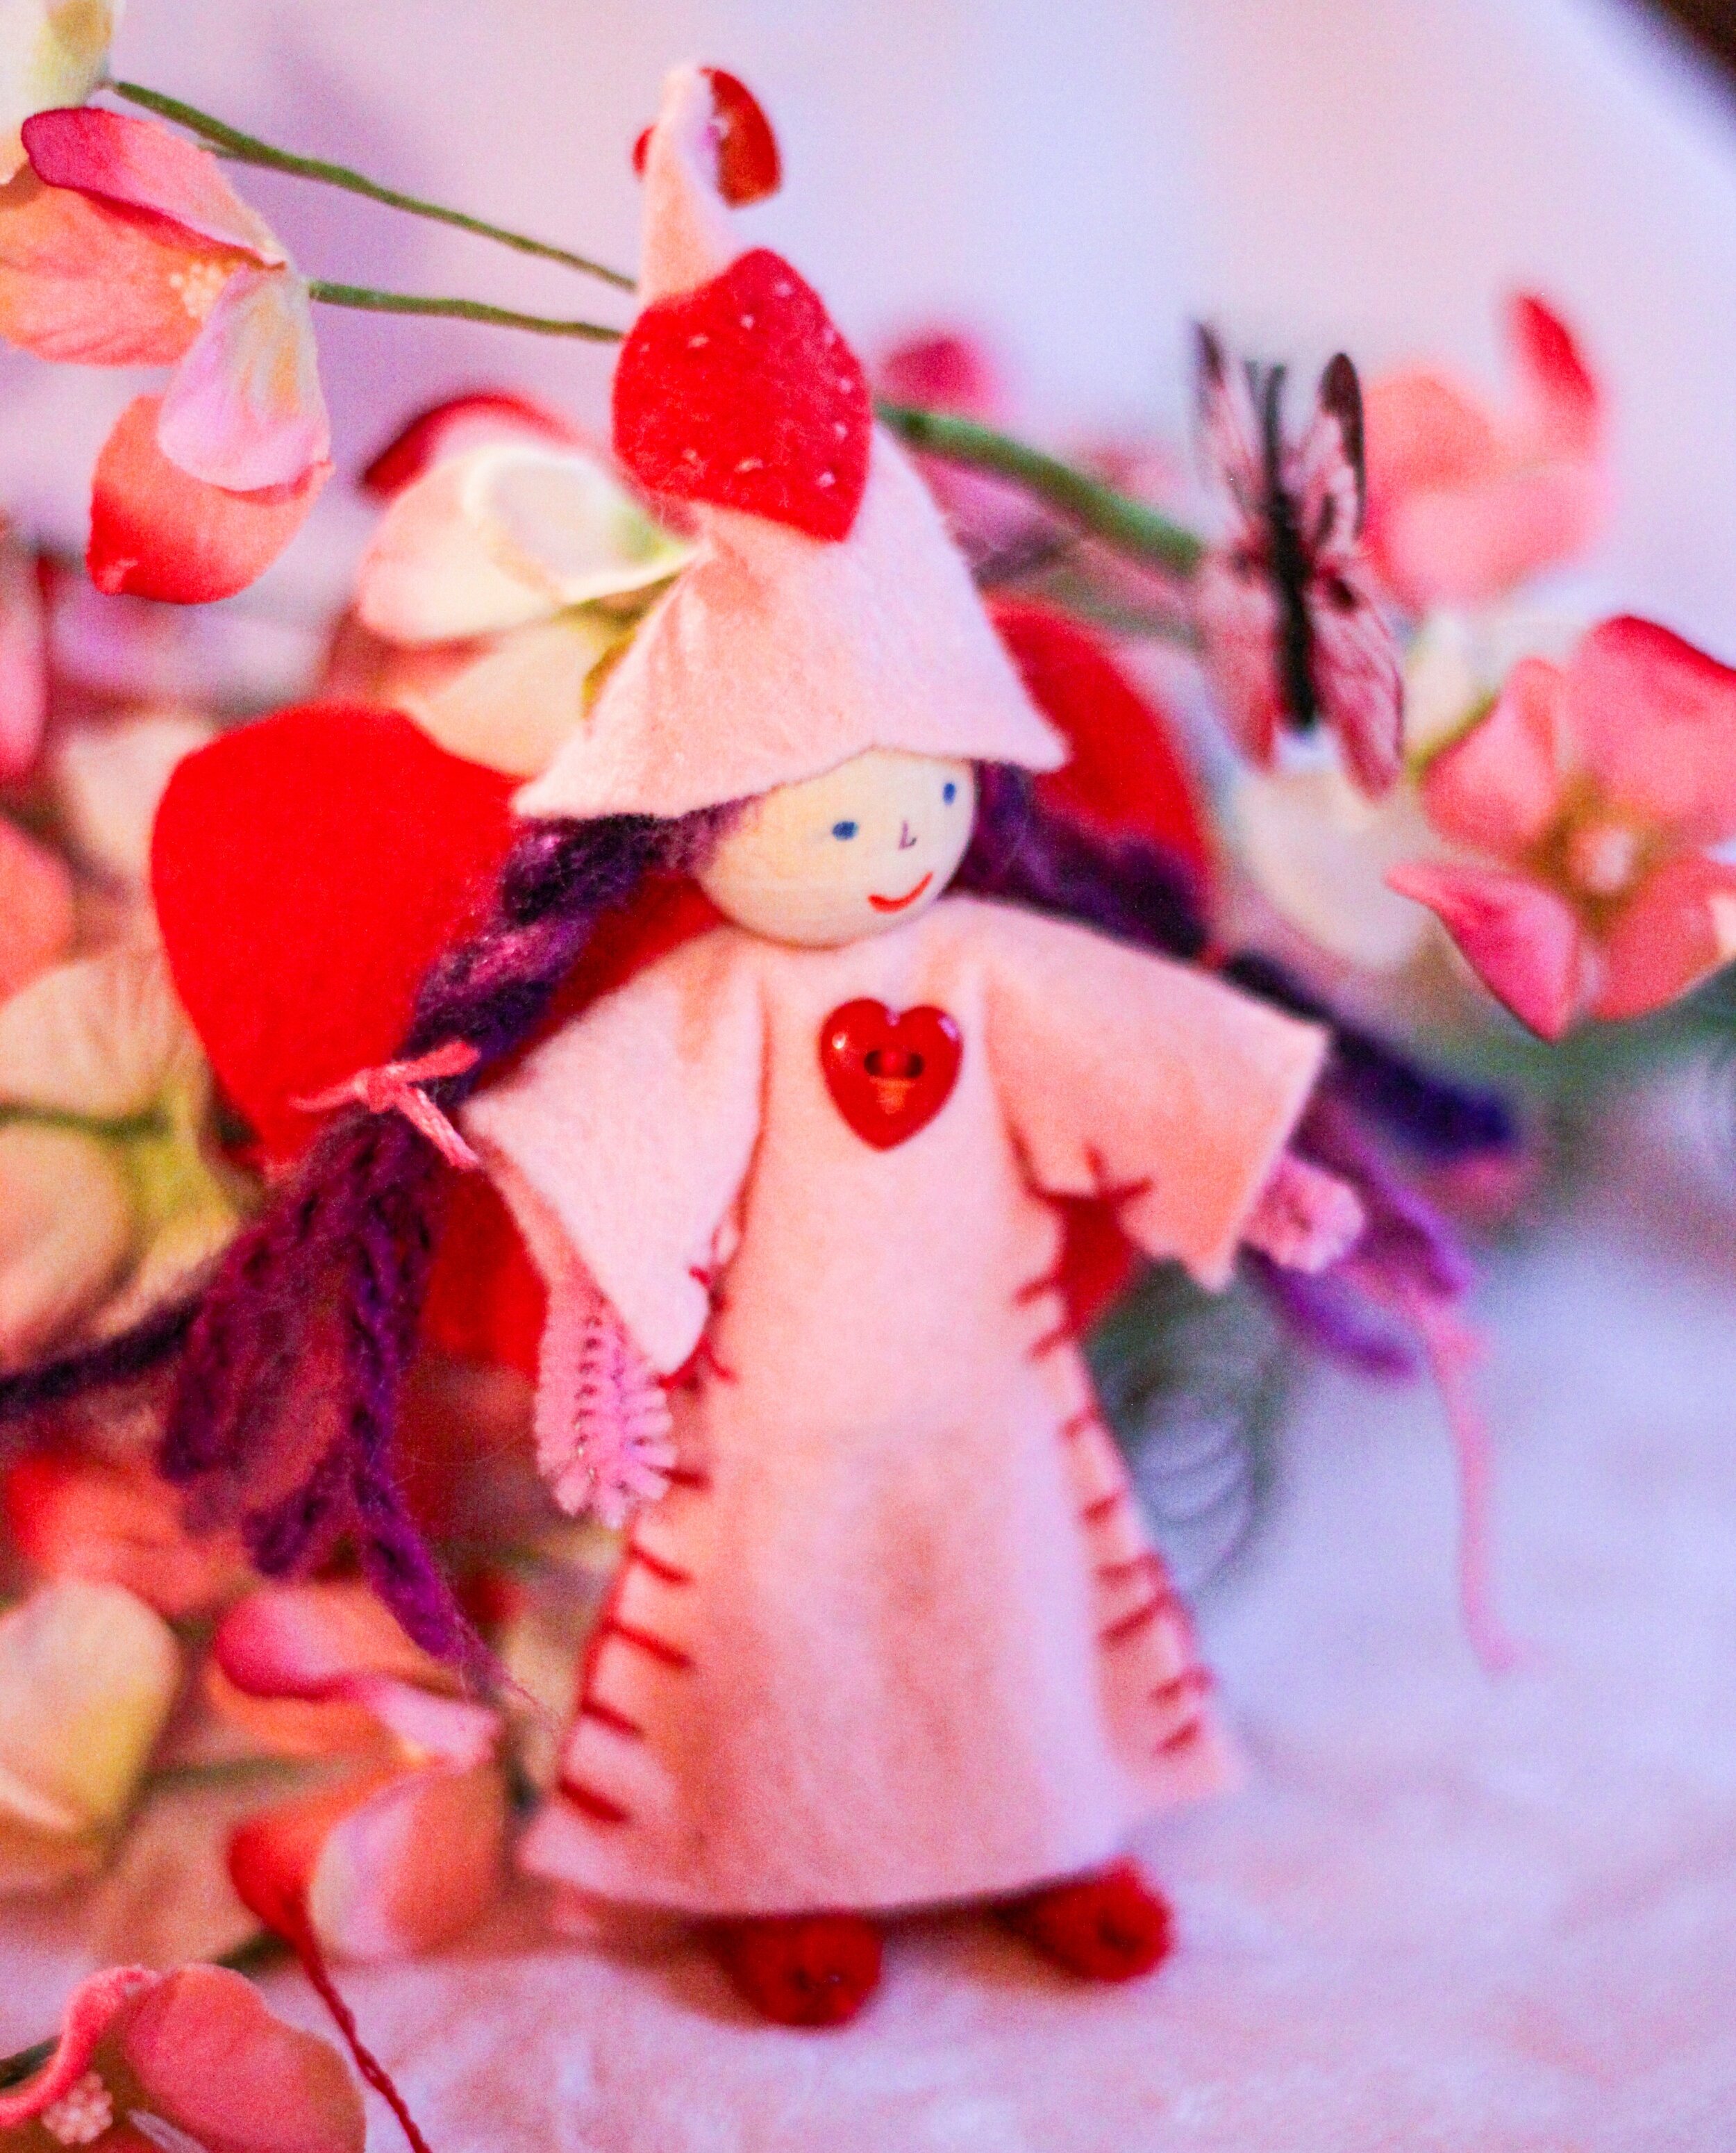
Do you talk with children about ideas that didn't work? Children are fascinated when I share that I tried about forty other ways before figuring out the classic Forest Fairy Craft criss-cross thread. This little fairy was my learning process while creating the Valentine Fairy. I wanted hearts and hearts and hearts. And it worked for her hat, but the wings didn’t quite turn out how I had hoped they would look.
Children value hearing that everyone, even adults, need to try things that don't work in order to discover what does work. I enjoyed this version of her heart-shaped hat, which is in the book. Her wings, though, were a draft on the way to a design that I liked better. And I knew that sewing all the little seams wouldn't work in a classroom setting. Creating is learning.
I had many, many discussions with students about what we called “The Mind of a Maker.” After all, people who make things of all sorts face challenges, frustration, and inspiration. Children really enjoying discussing how everyone, even adults, keeps learning and growing. Sometimes the most valuable part of crafting isn't the craft after all ❤️
Heartfelt Hearts with Children
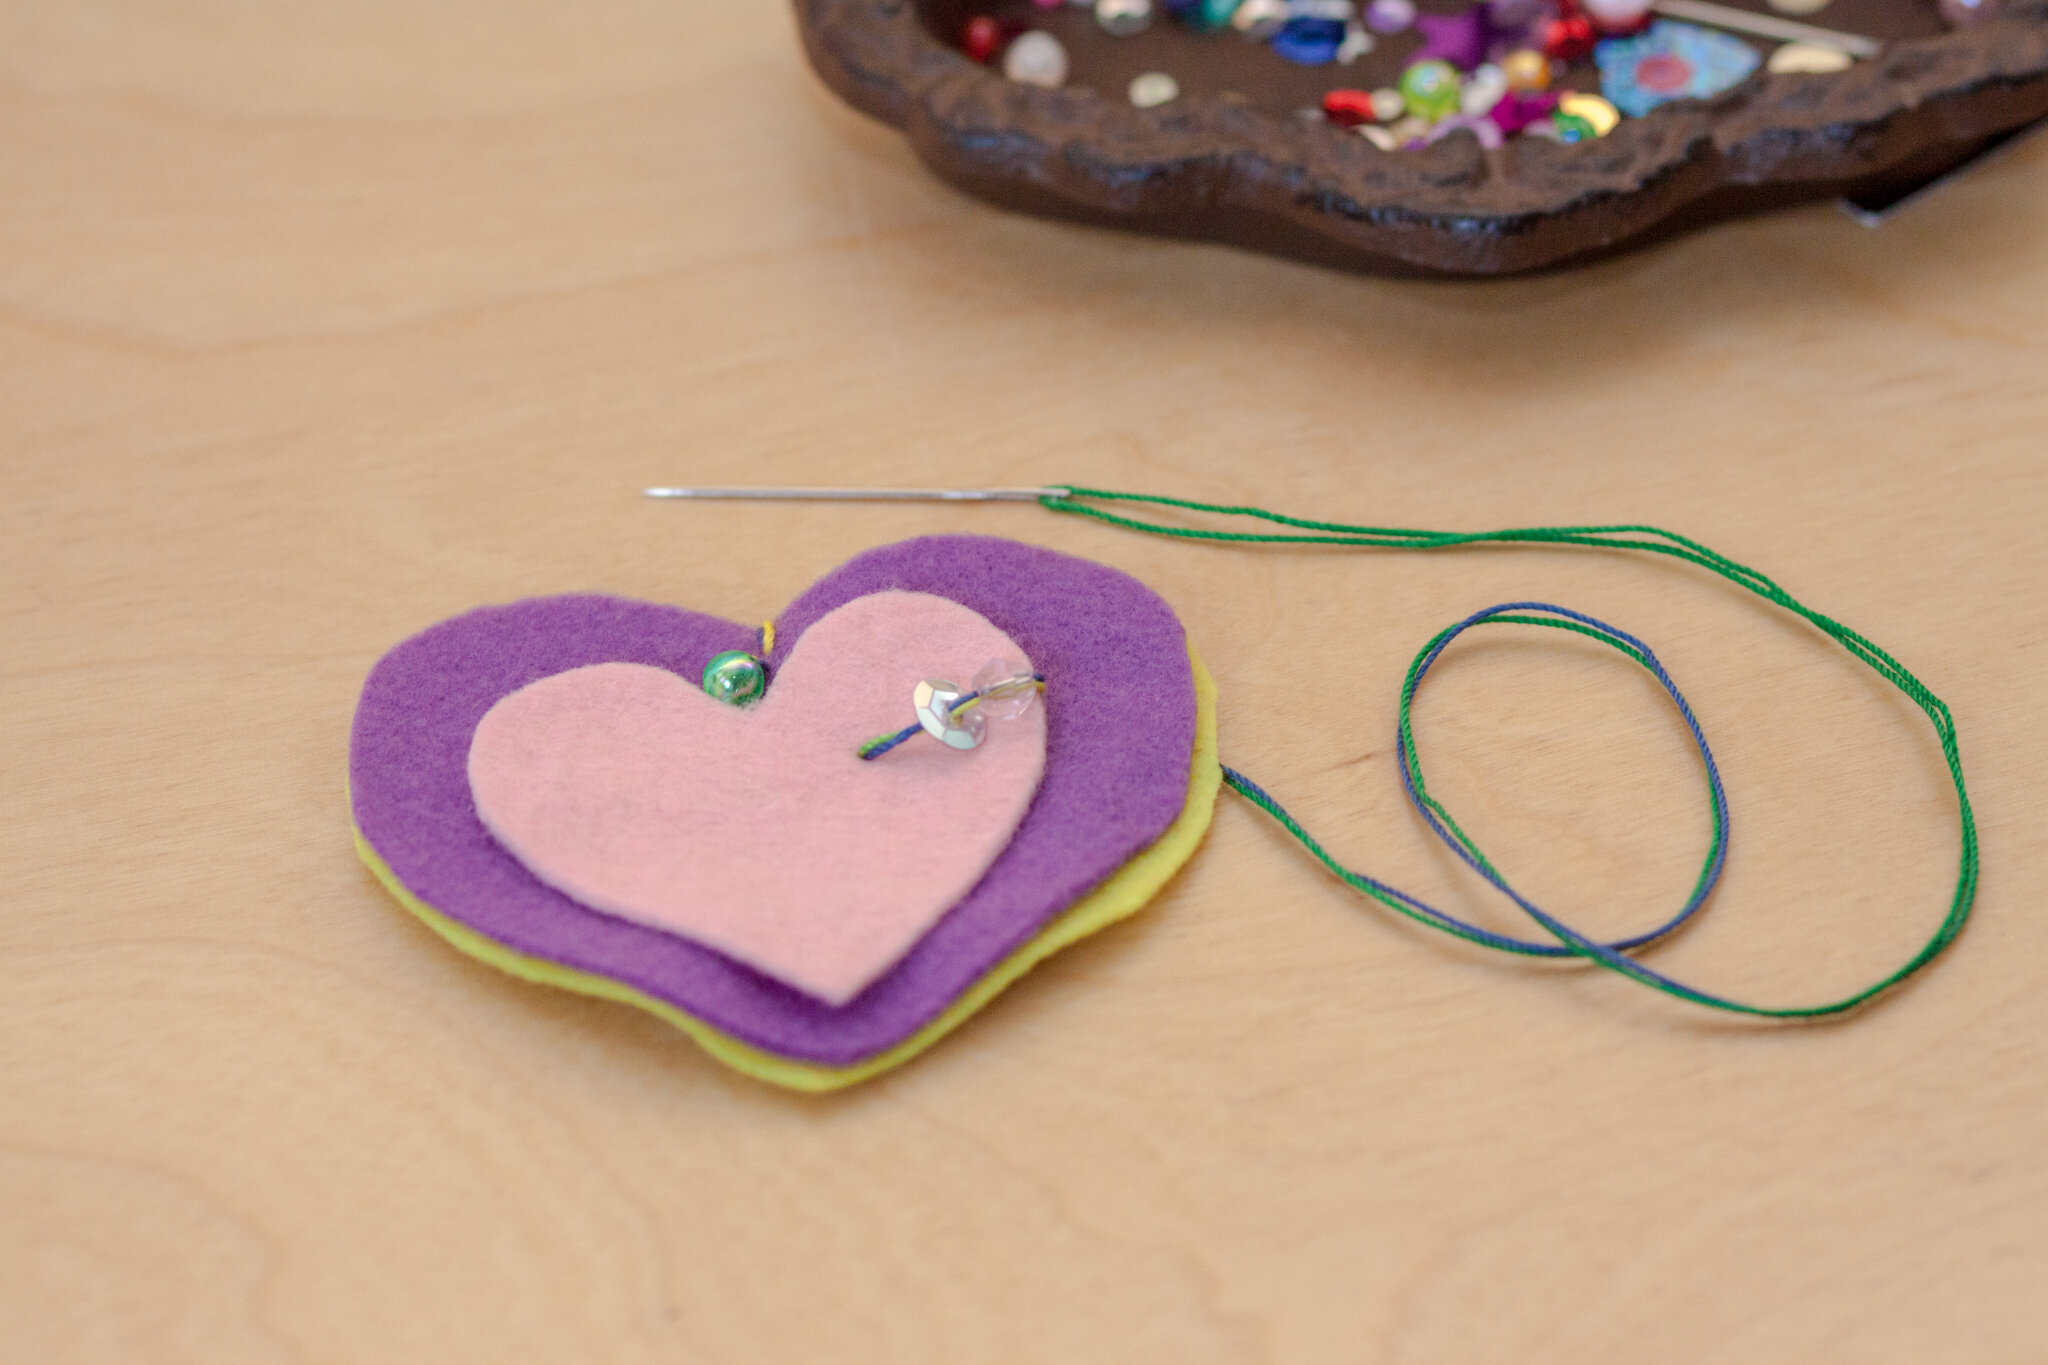
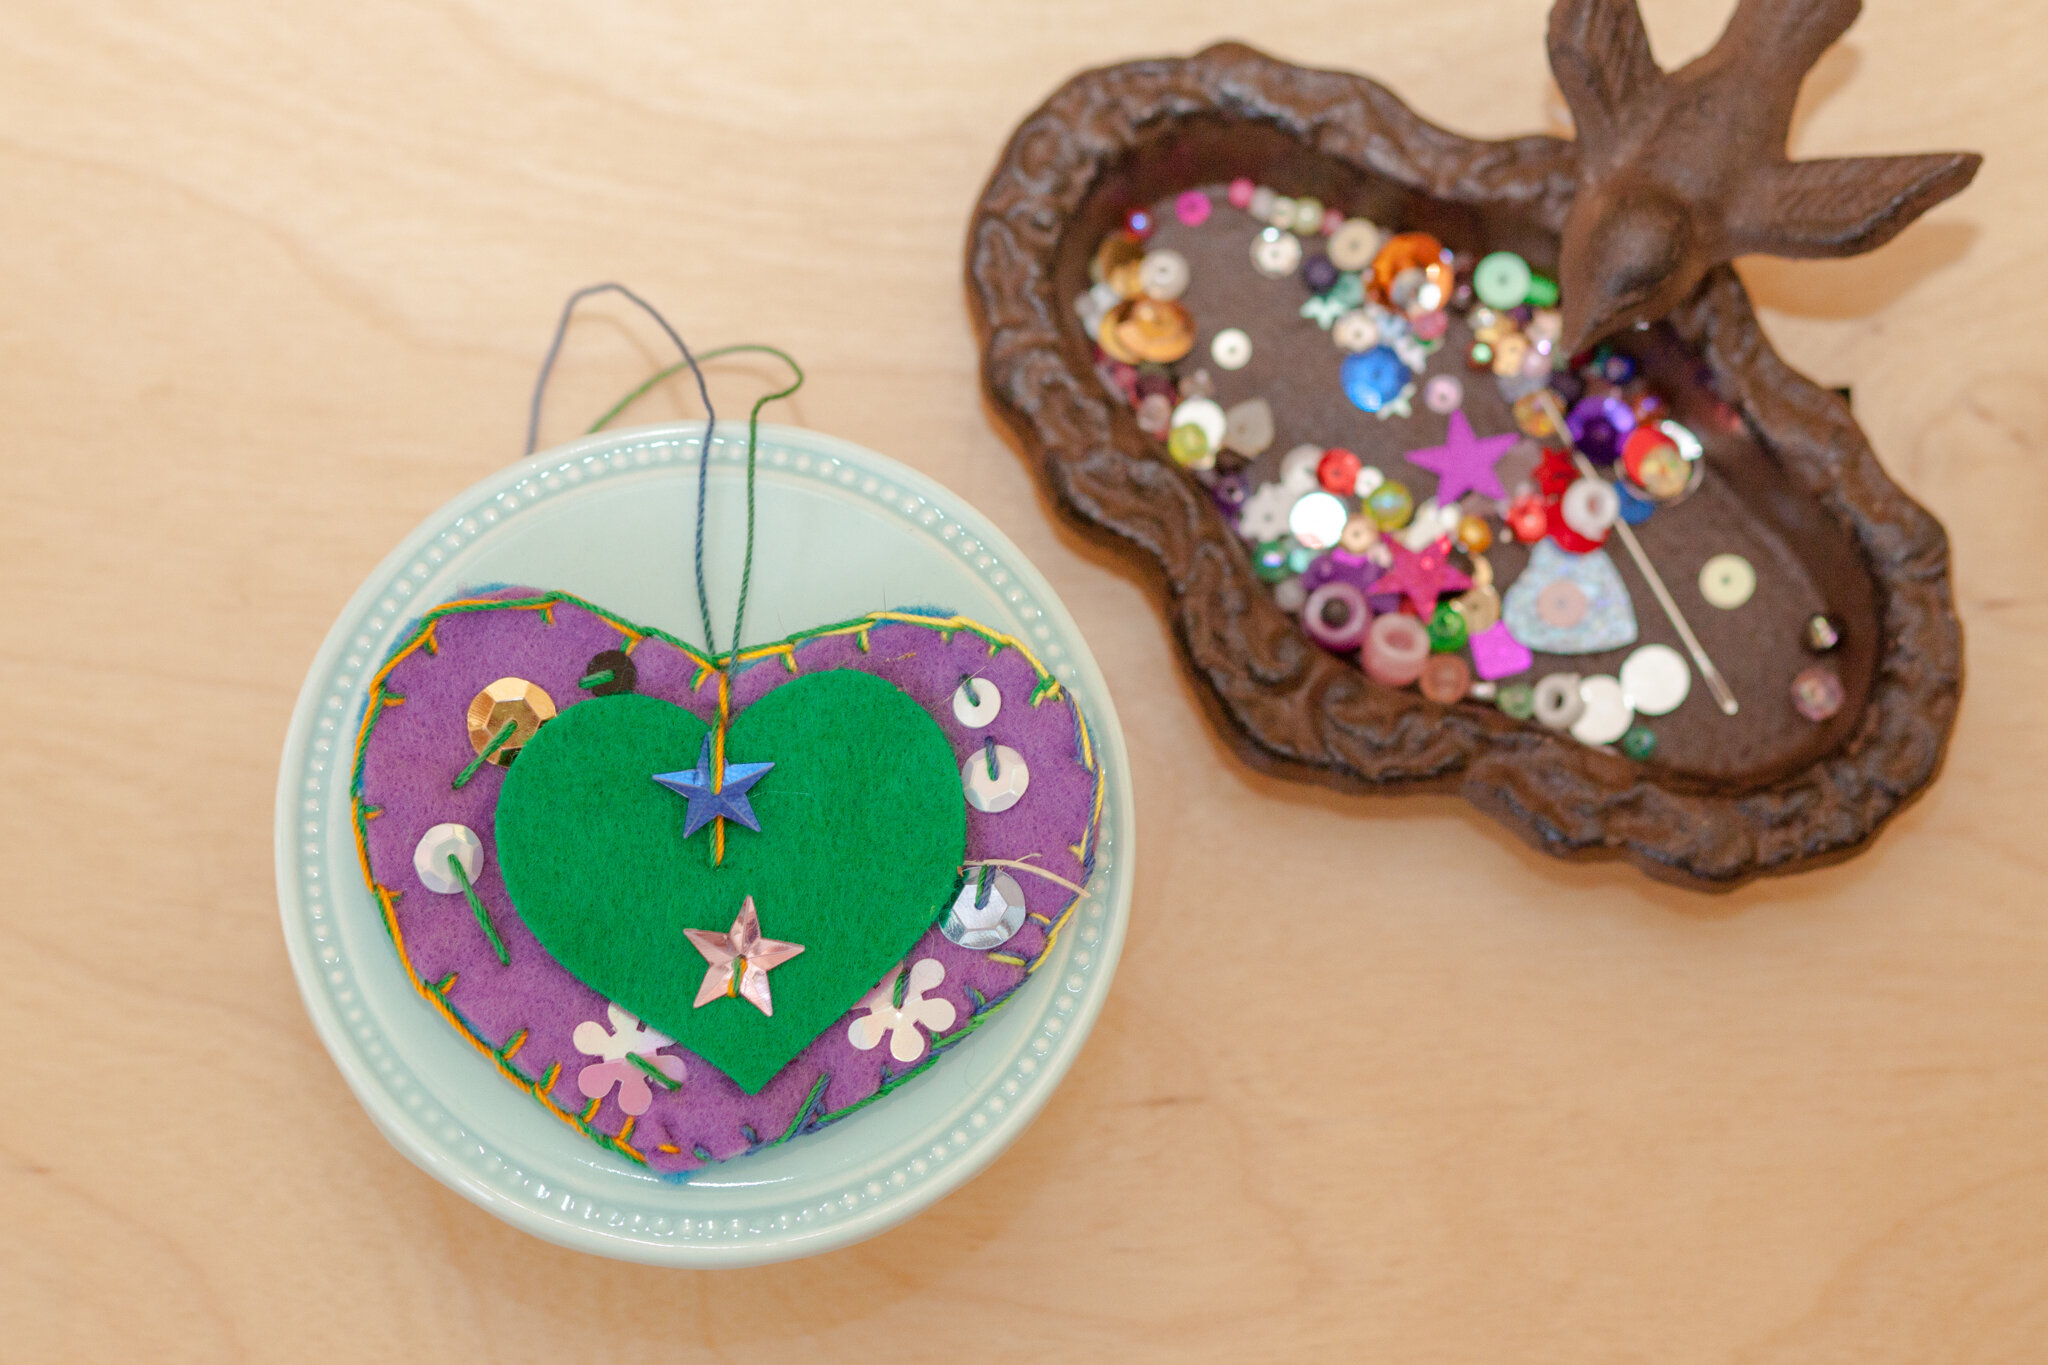
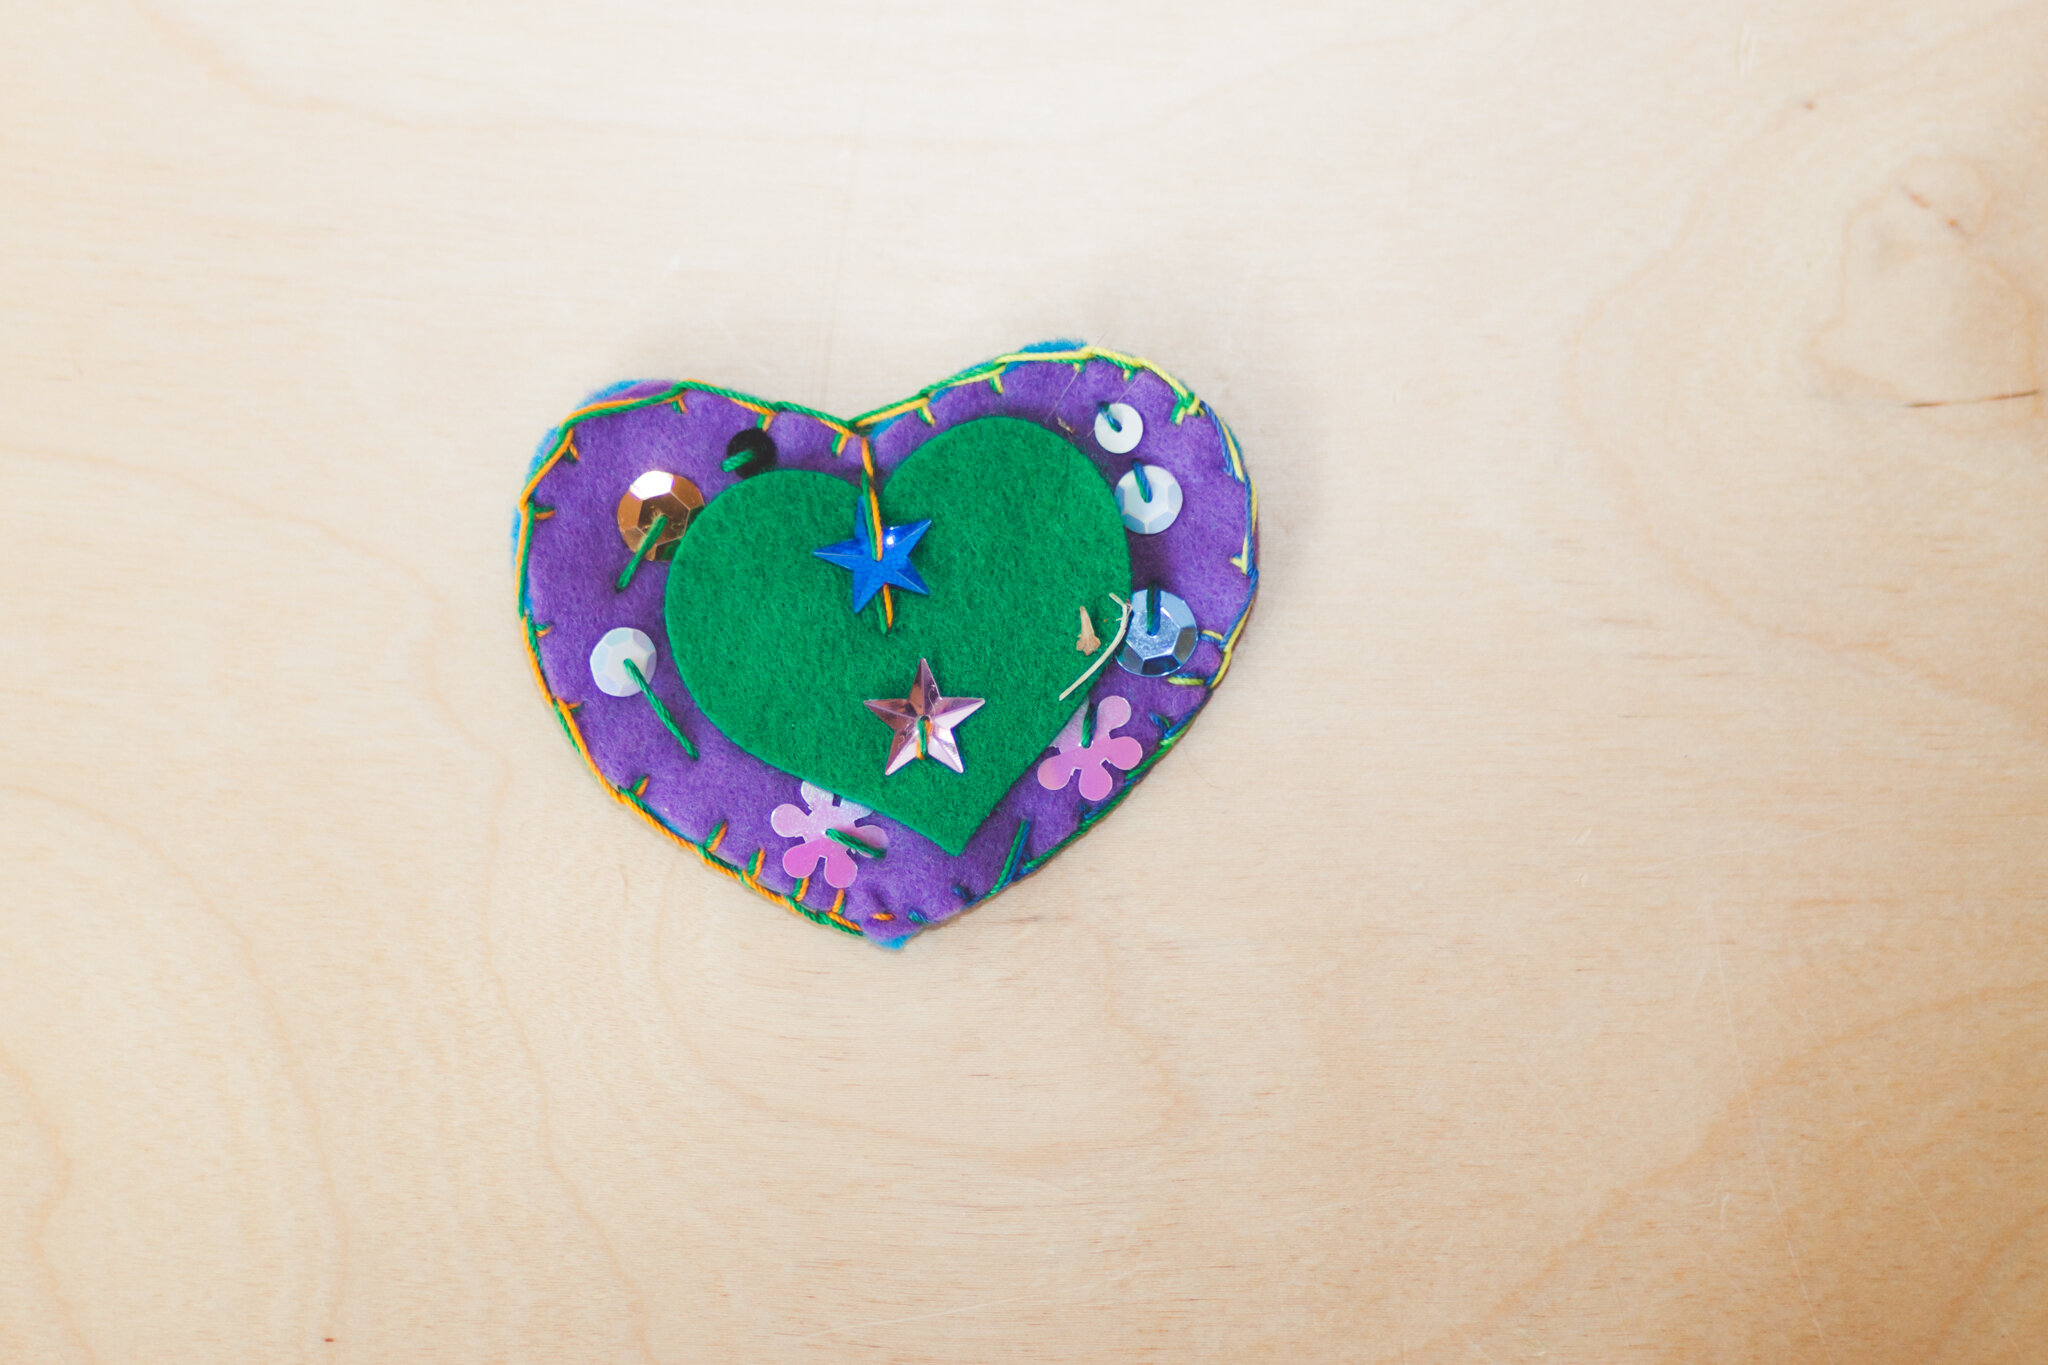
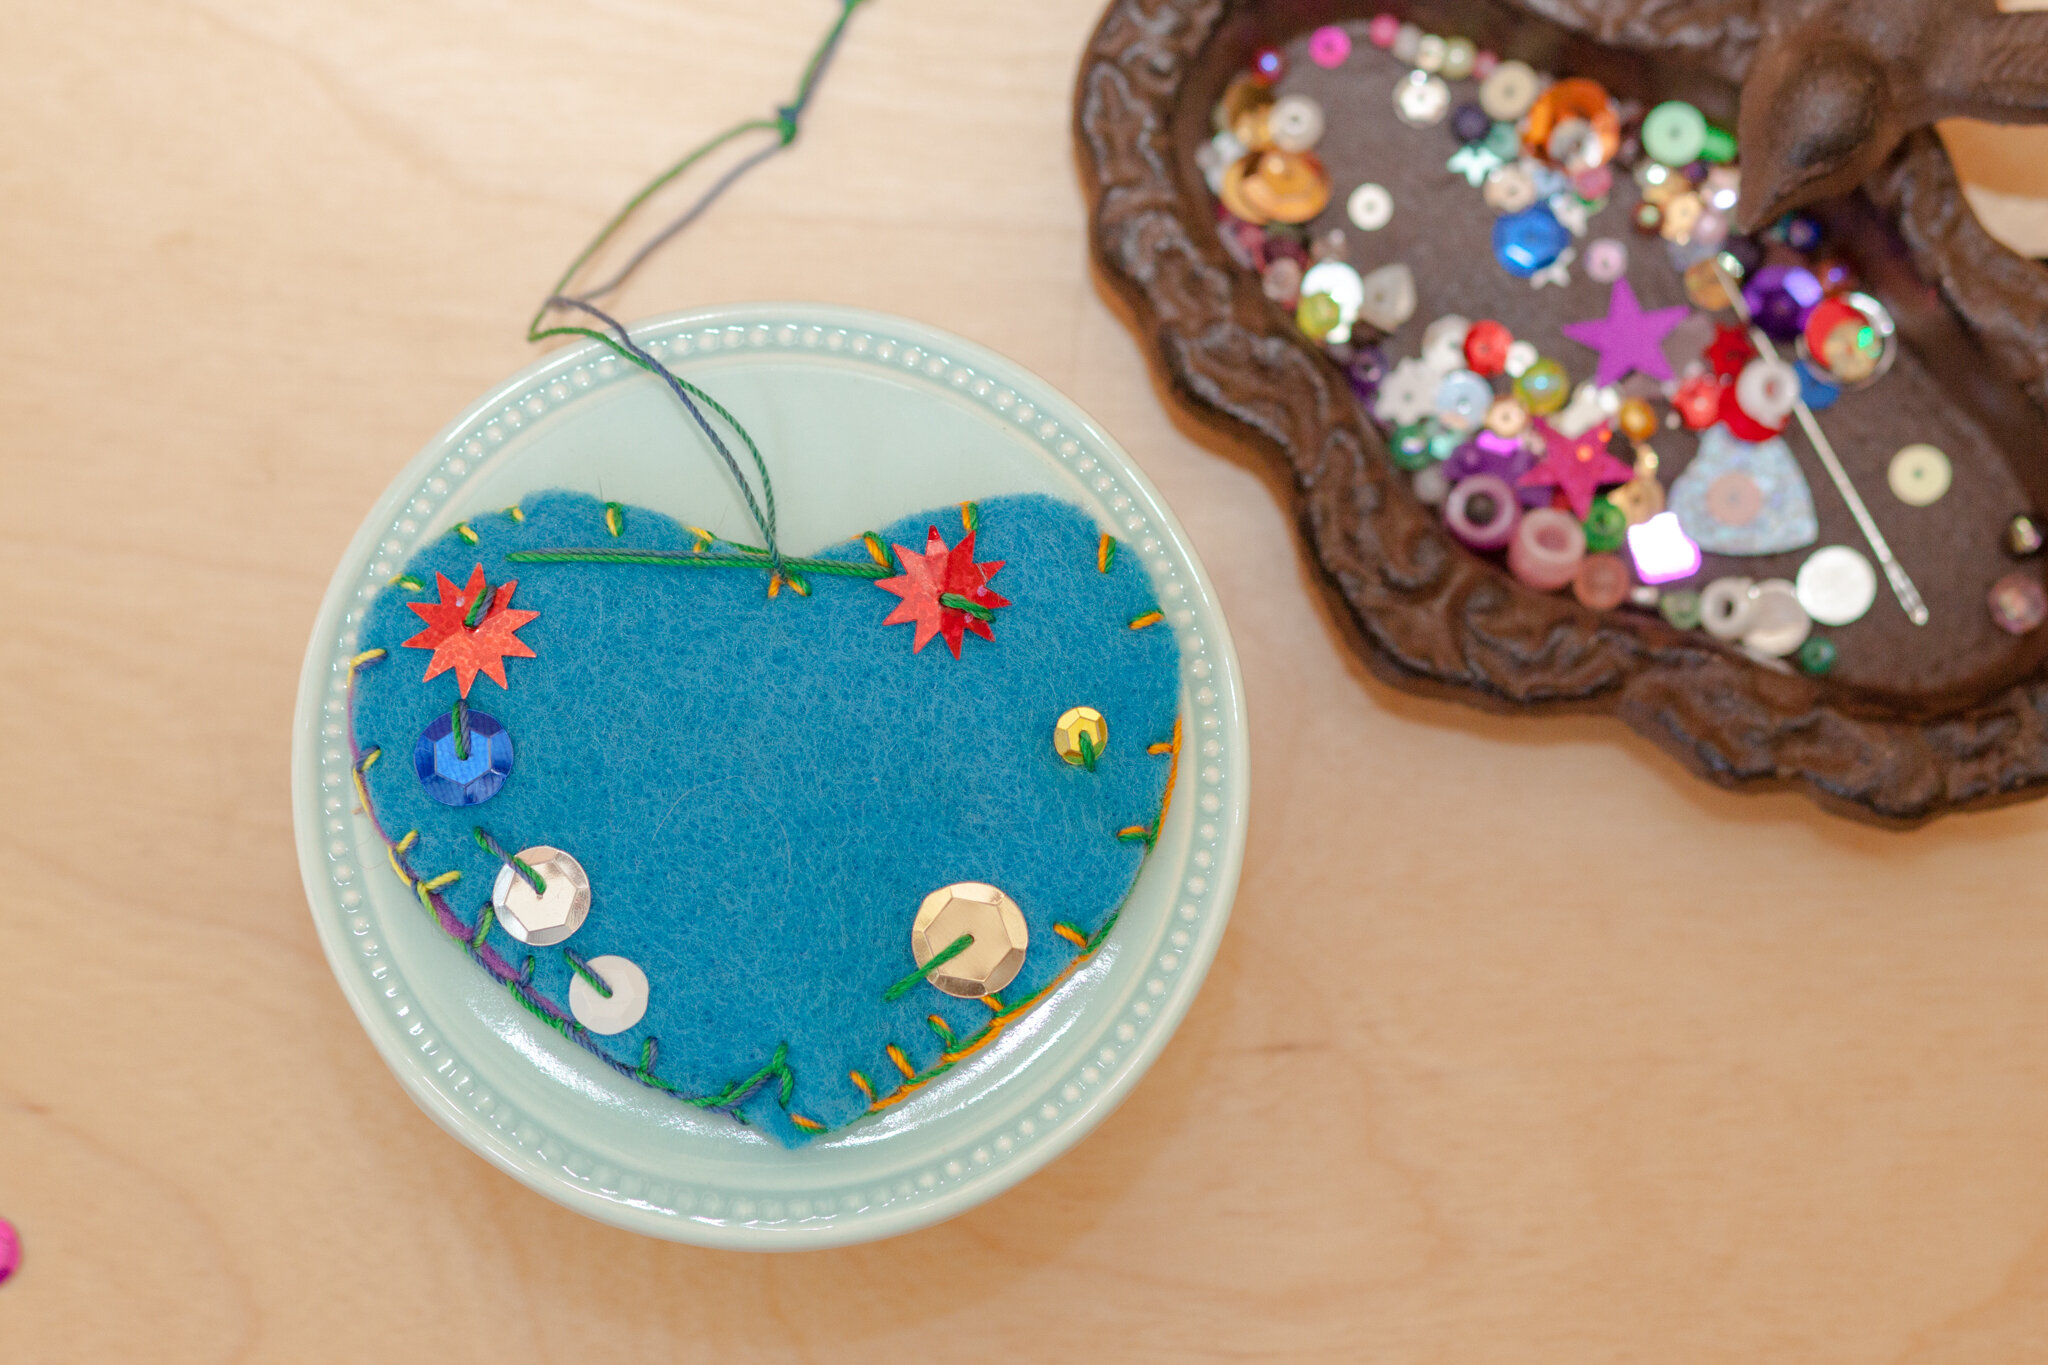
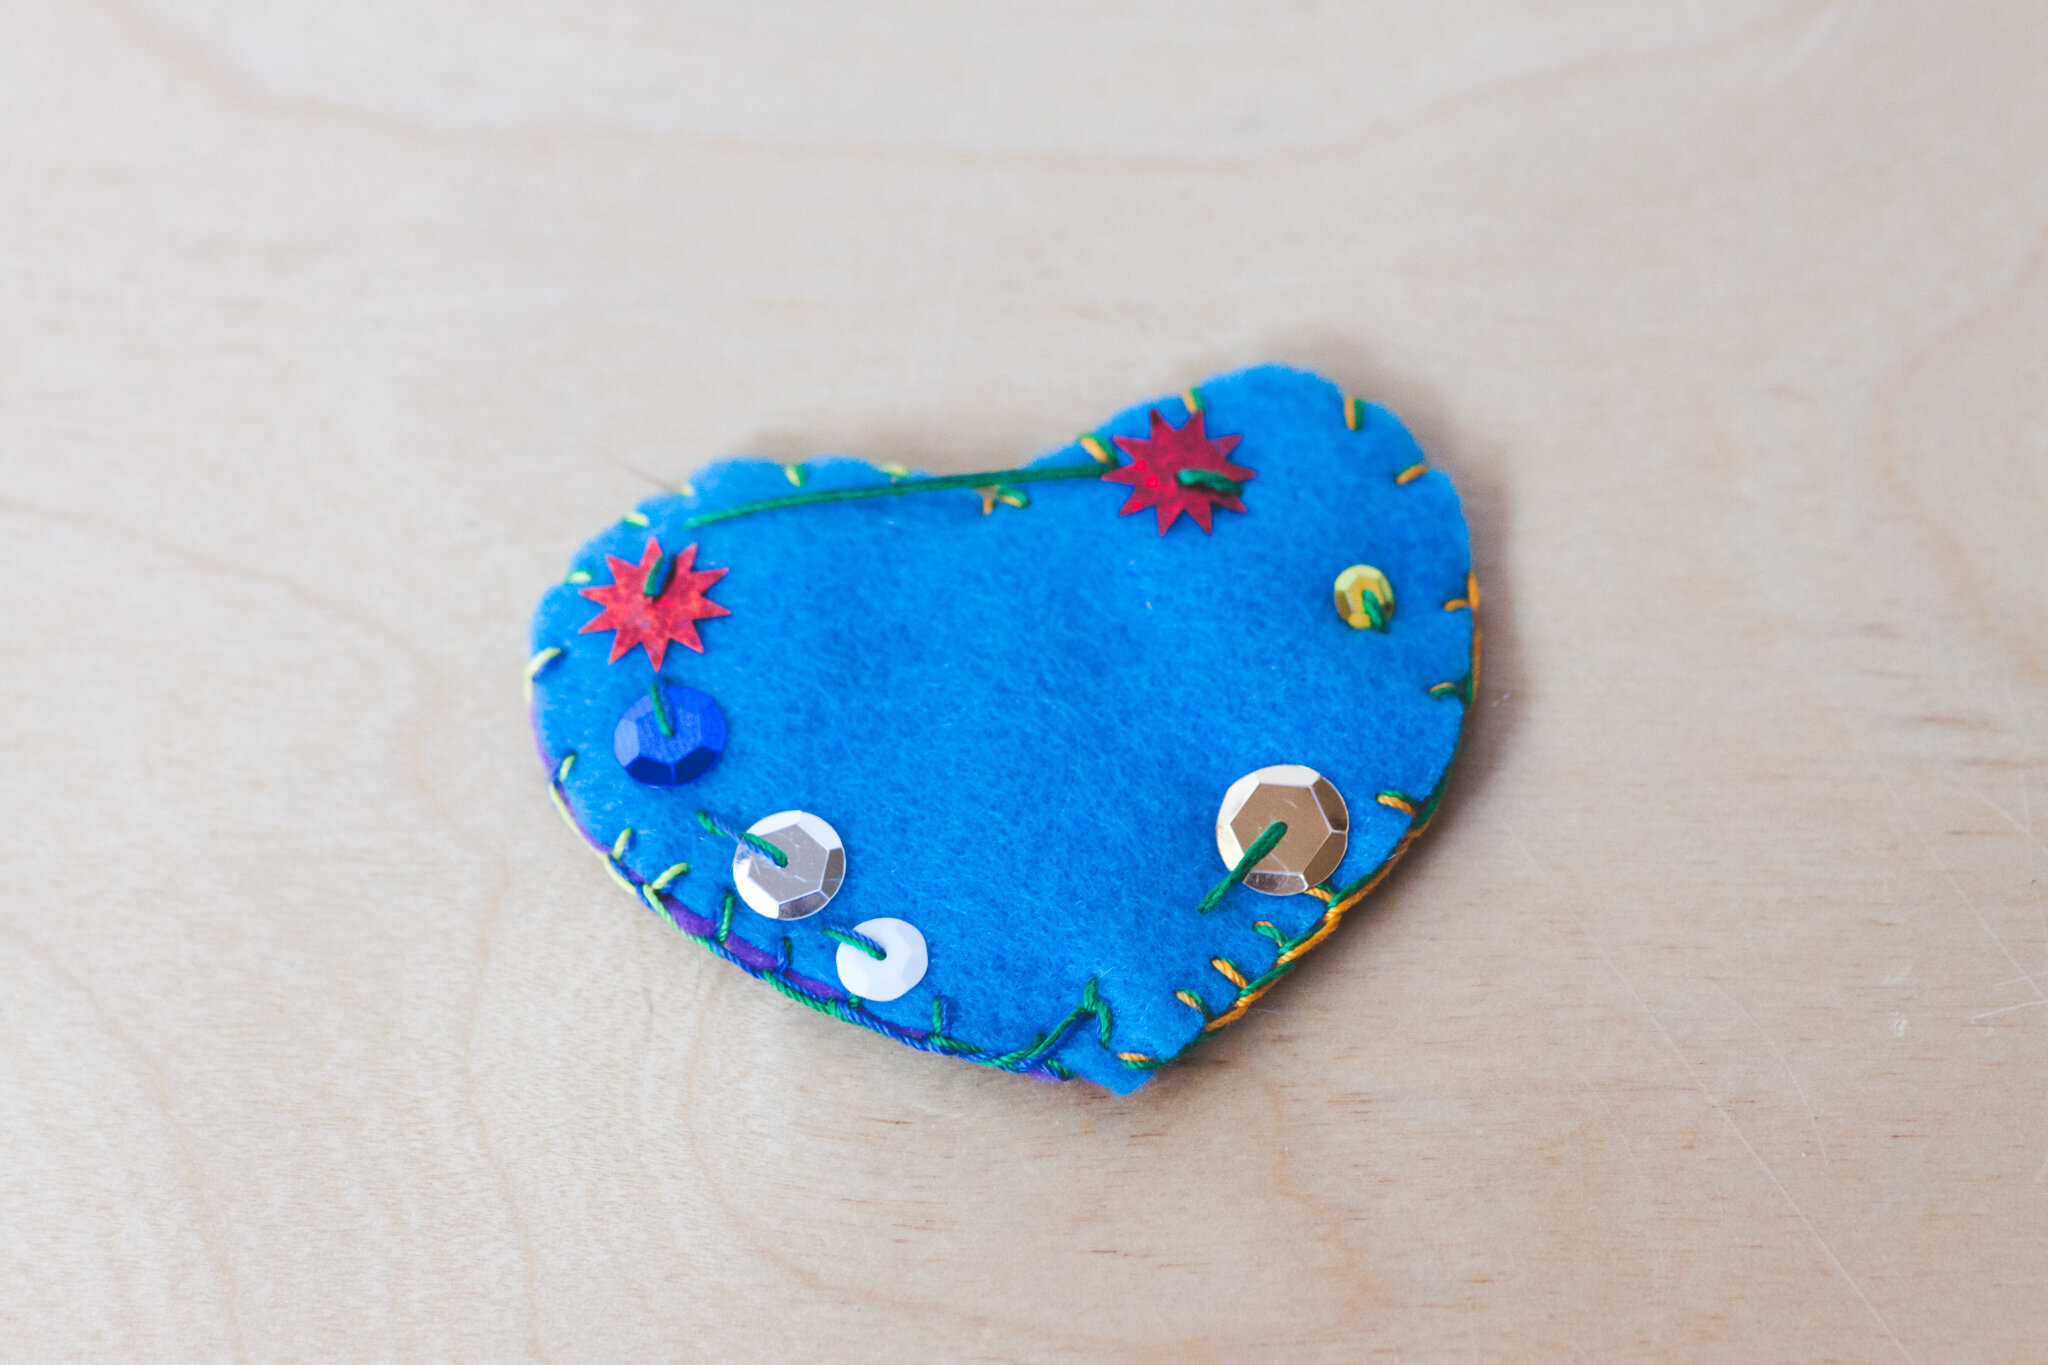
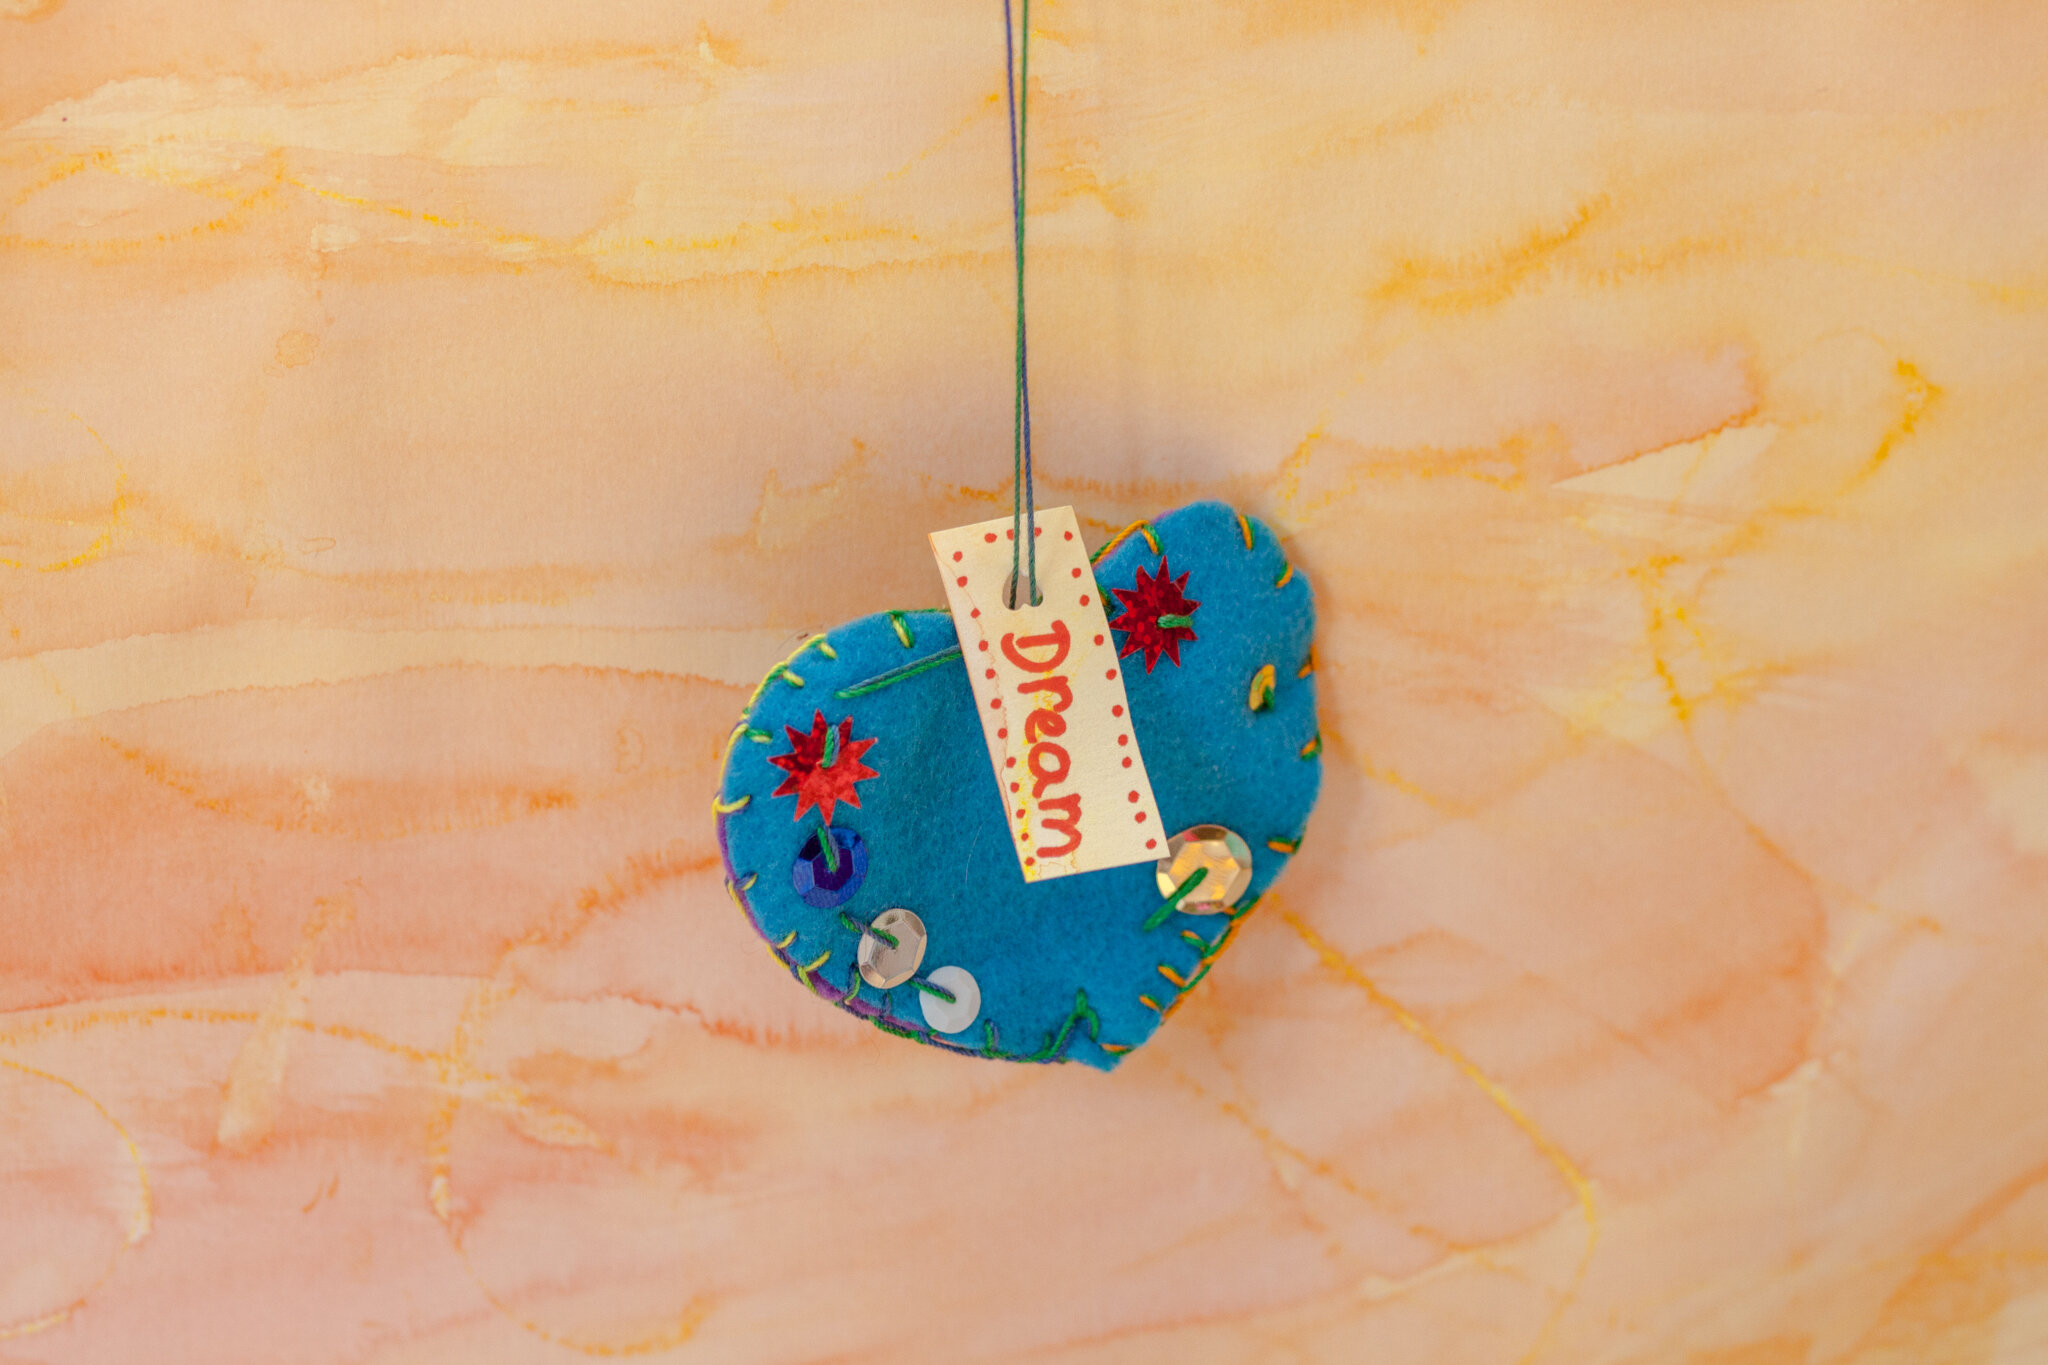
Invite children to decorate to their heart’s content. This felt sewing project is an opportunity for children to add many decorations. The resulting heart is lovely to hang as decoration or gift to loved ones.
As with all of our projects, be mindful of a child’s abilities and the sharpness of the needle. If you’re using a blunter needle (like a tapestry needle), more layers may be too many layers of felt.
You can also make the heart any size. We recommend not making it a size where the felt becomes floppy and won’t hang straight. You can draw your own pattern on a piece of paper before cutting out of felt. Or we have a heart pattern in Forest Fairy Crafts Through the Seasons.
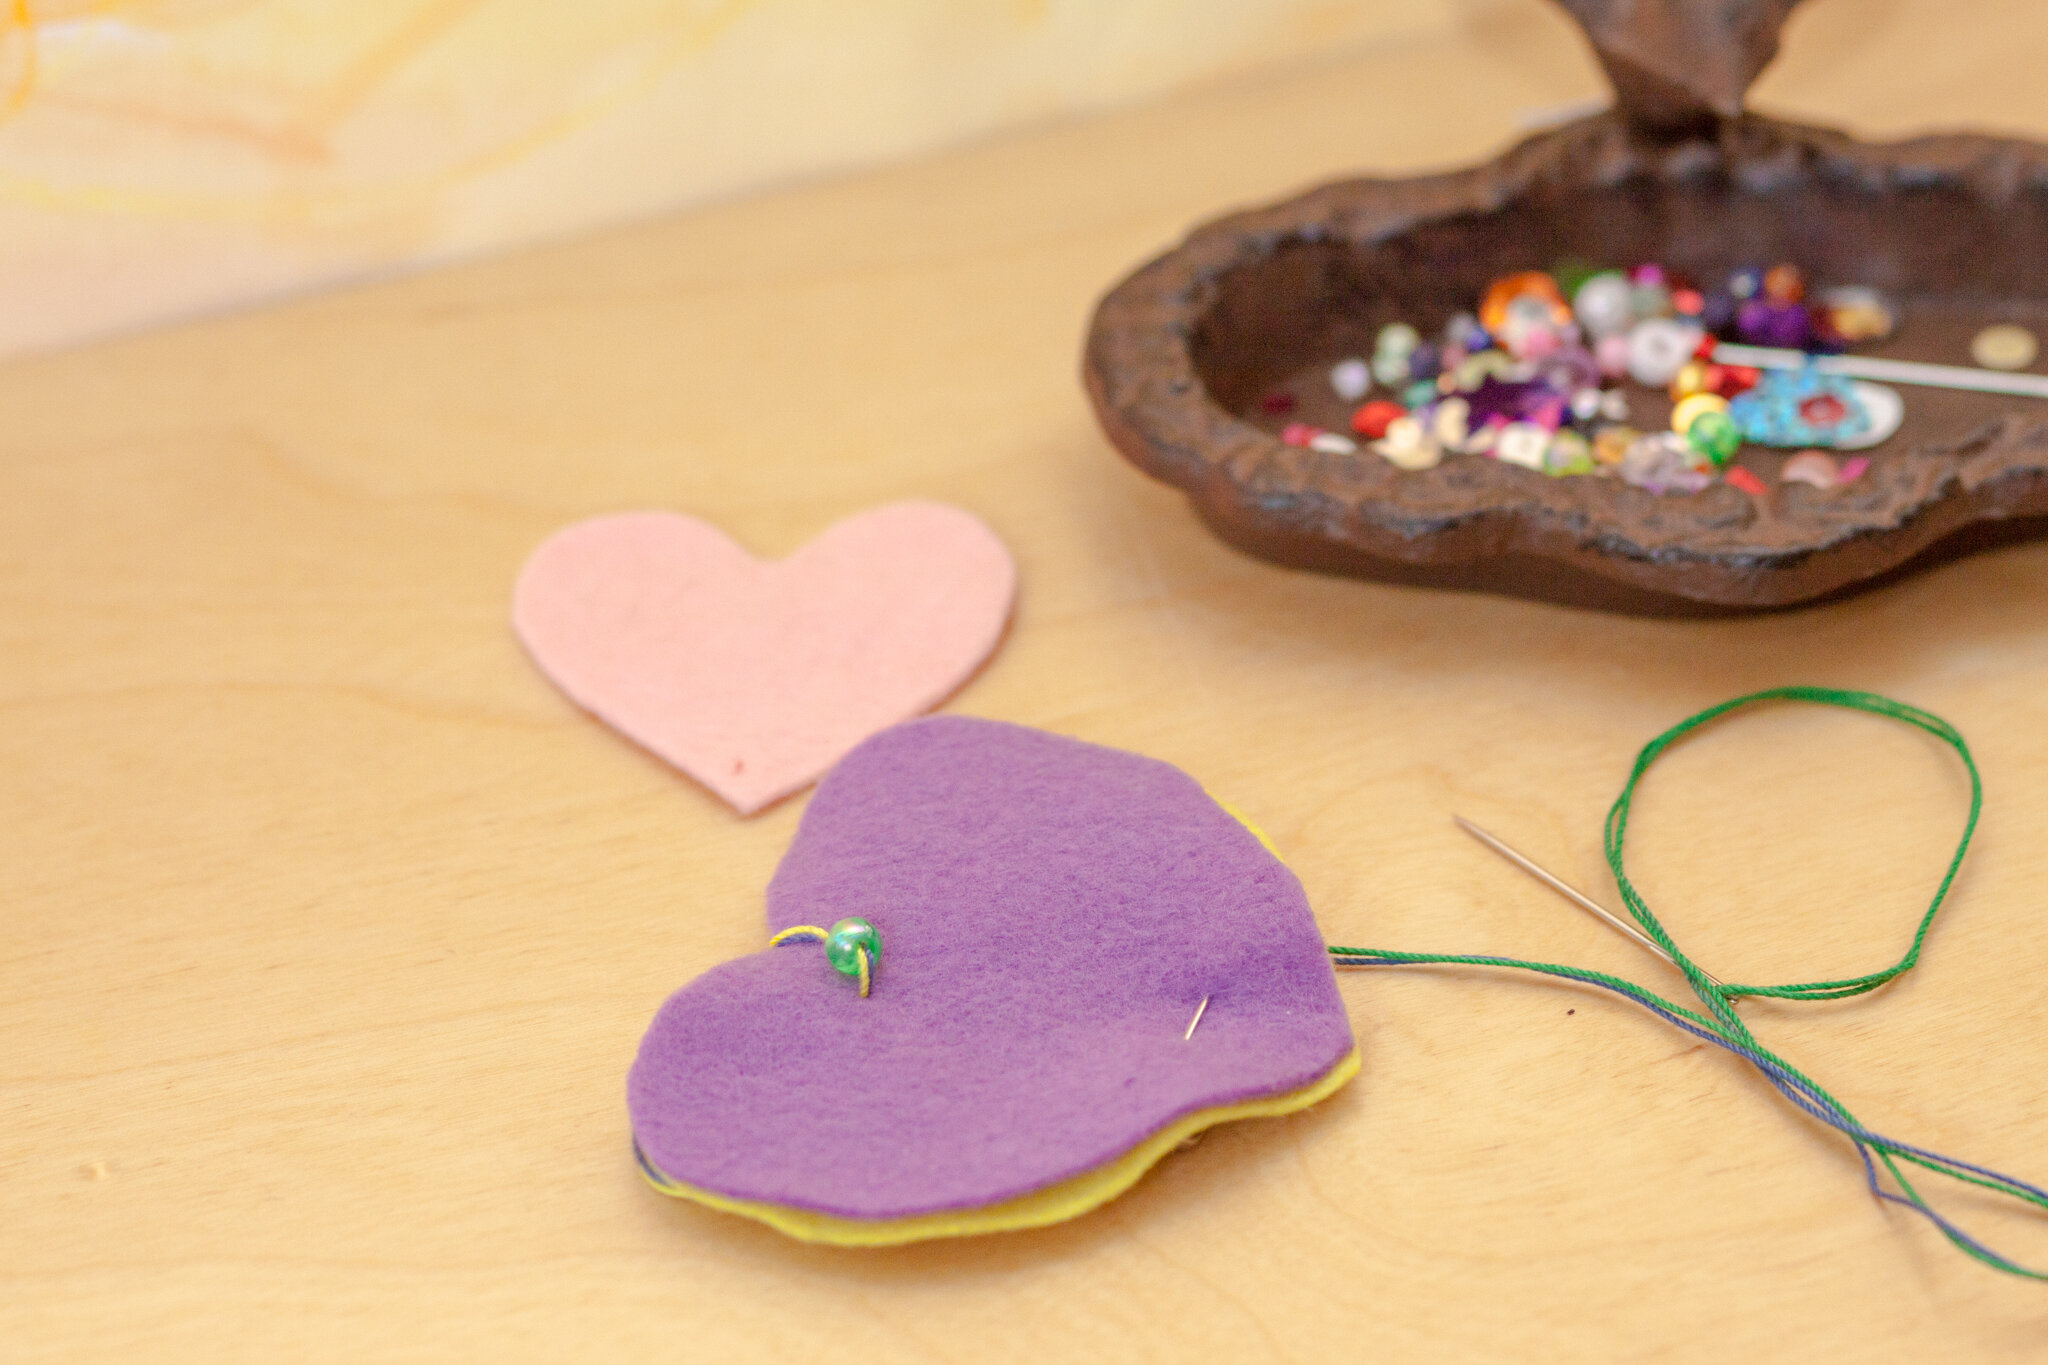
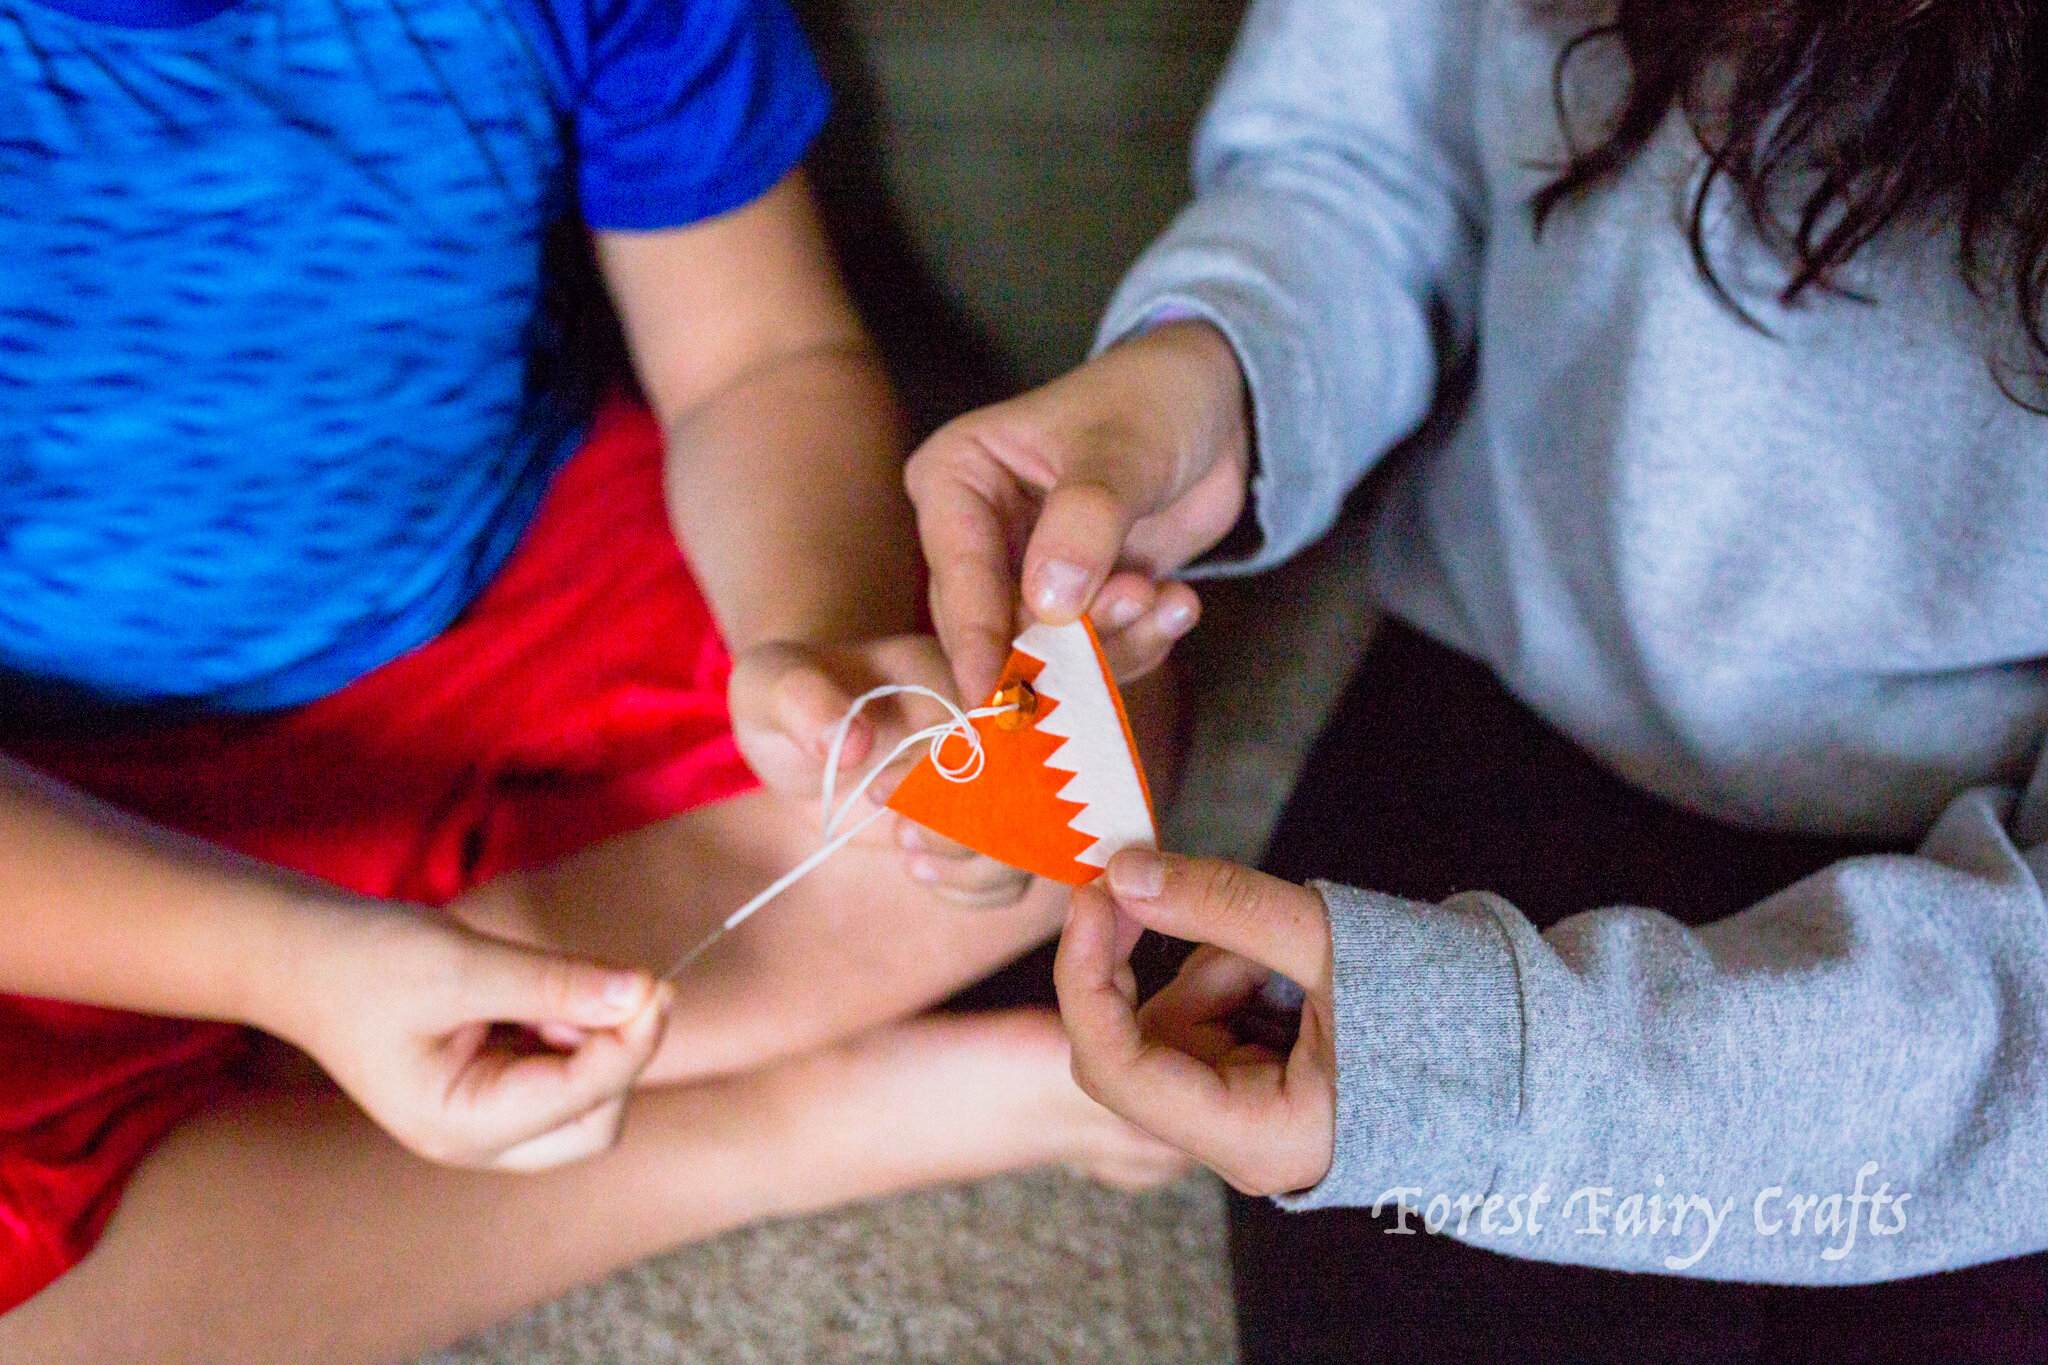
For any version of the heart, cut out your felt heart shapes. We use crochet thread which doesn’t tangle as easily as embroidery thread. For children, we always put the thread through the eye of the needle, fold in half, then tie slipknot securing both ends together. This prevents the needle from pulling off when they pull the thread taut. The multicolor thread in the photos is due to a variegated thread which changes color on its own.
Use a safety pin to hold the felt hearts together at first. Sew through one piece of felt so the knot will be “sandwiched” between the two felt hearts. Loop around the first stitch so the hearts won’t wiggle (or you can secure with more than one safety pin). Lay a smaller heart on your hearts after a stitch or two.
The direction is to “add decorations, push your needle through, then add decorations.” Repeat and repeat.
These can be strung together to make a garland or mobile. We enjoyed a class collection hanging from the ceiling overhead. They become such expressions of whoever sews them. May your heart’s wish come true!
Upcycled Owl and Cat Treasure Keepers
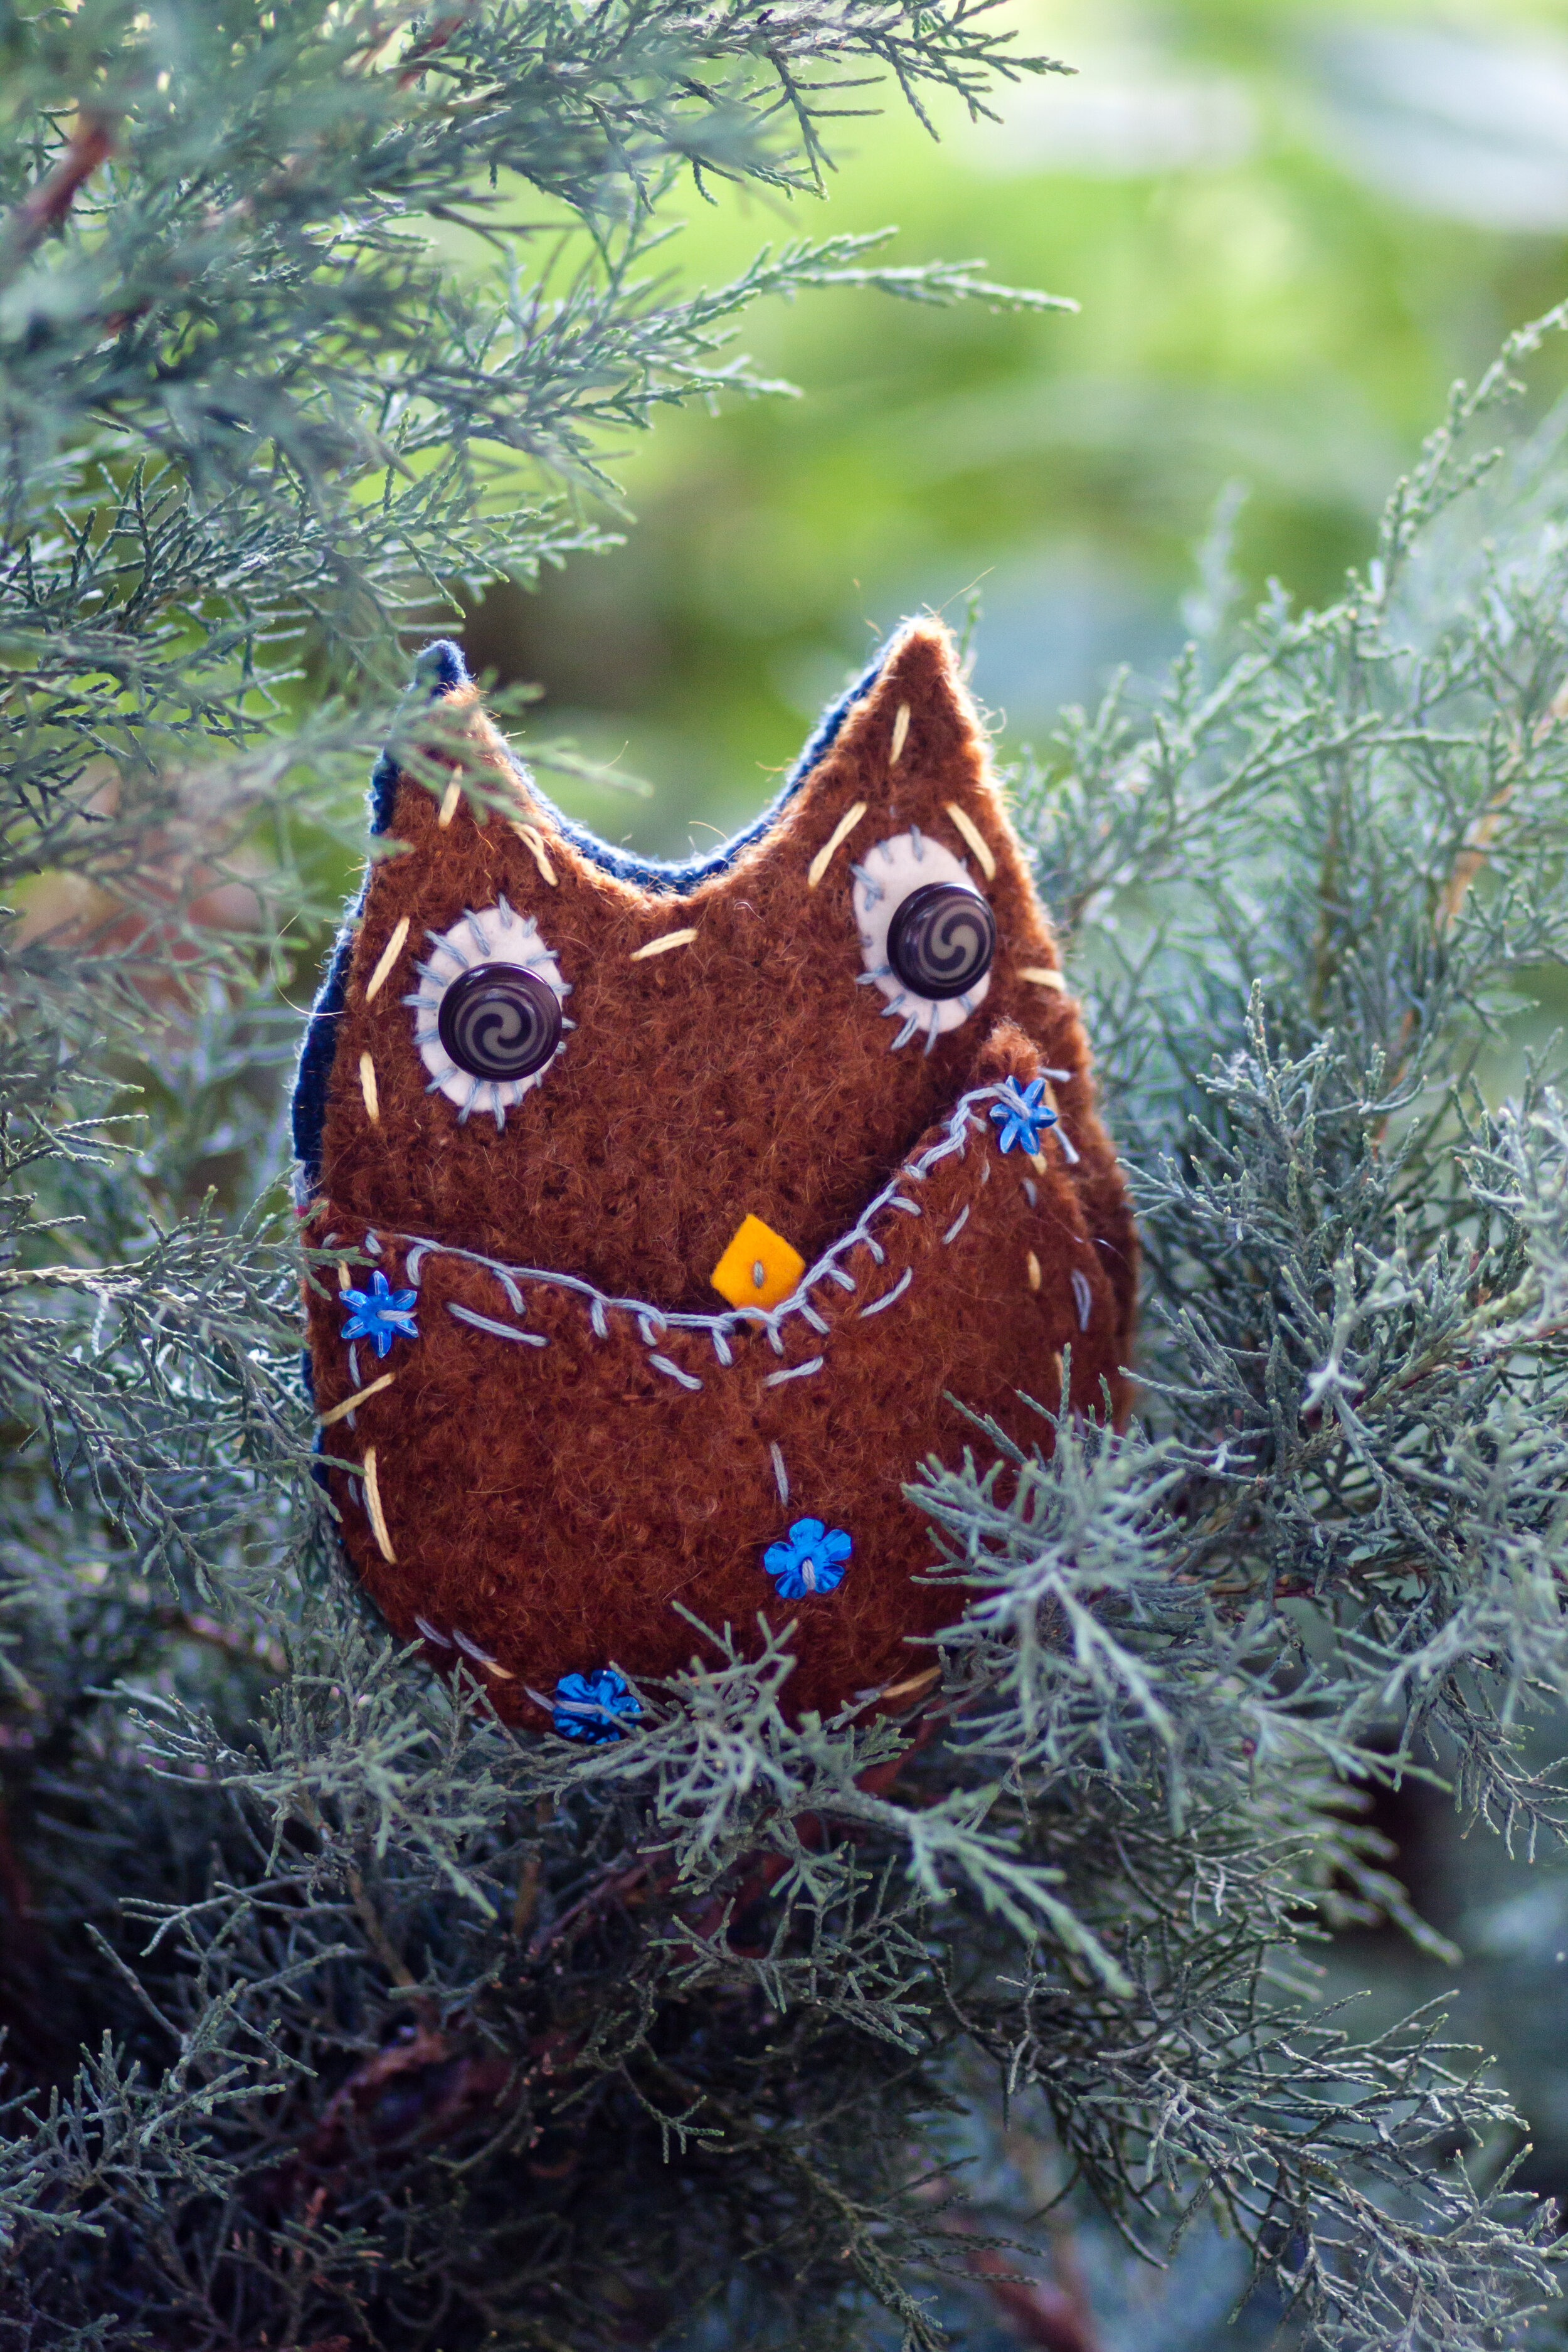
Upcycled owl and cat treasure keepers by students feature incredible personalities and embellishments. Upcycled means to take one item and use it for another purpose. Worn clothing with holes can become toys. Upcycling is a fun way to repurpose fabric instead of throwing things in the trash.
Any fabric that doesn't fray easily and isn't too stretchy or thick for pushing a needle through it will work fine for fairy crafts. We see every project as an invitation to create. We welcome exuberant self-expression when children sew. The pattern and tutorials for the Owl and Cat Treasure Keepers are in the first Forest Fairy Crafts book. They're a wonderfully fun activity when it's chilly outside. The front decoration is actually a pocket. Perfect for little treasures. Or tooth fairy pillows. The Forest Fairy Crafts book shares patterns, tutorials, and photographs for making your own little critters.
And they’re so cute!
Handmade Holidays
Every year is a fantastic year for handmade holidays. This year, especially, is a perfect time for gathering simple supplies and creating little gifts or toys for family and friends. One of a kind gifts are so appreciated! And many of us will be spending even more time at home this holiday season due to the pandemic.
I recently looked for a photo in the archives and found all of these fun ideas that I made through the years with students and as gifts for my kids, friends, and family. The pattern for fairies or crafts is a perfect seed that can grow in many different directions. I collected a few of my favorites here. Our invitation, of course, is to take your inspiration and make it your own :)
I share a photo here with the idea, and which book has the most similar pattern. Some are loosely based on existing projects. Making gifts is one of my favorite seasonal activities.
Child Made Fairies
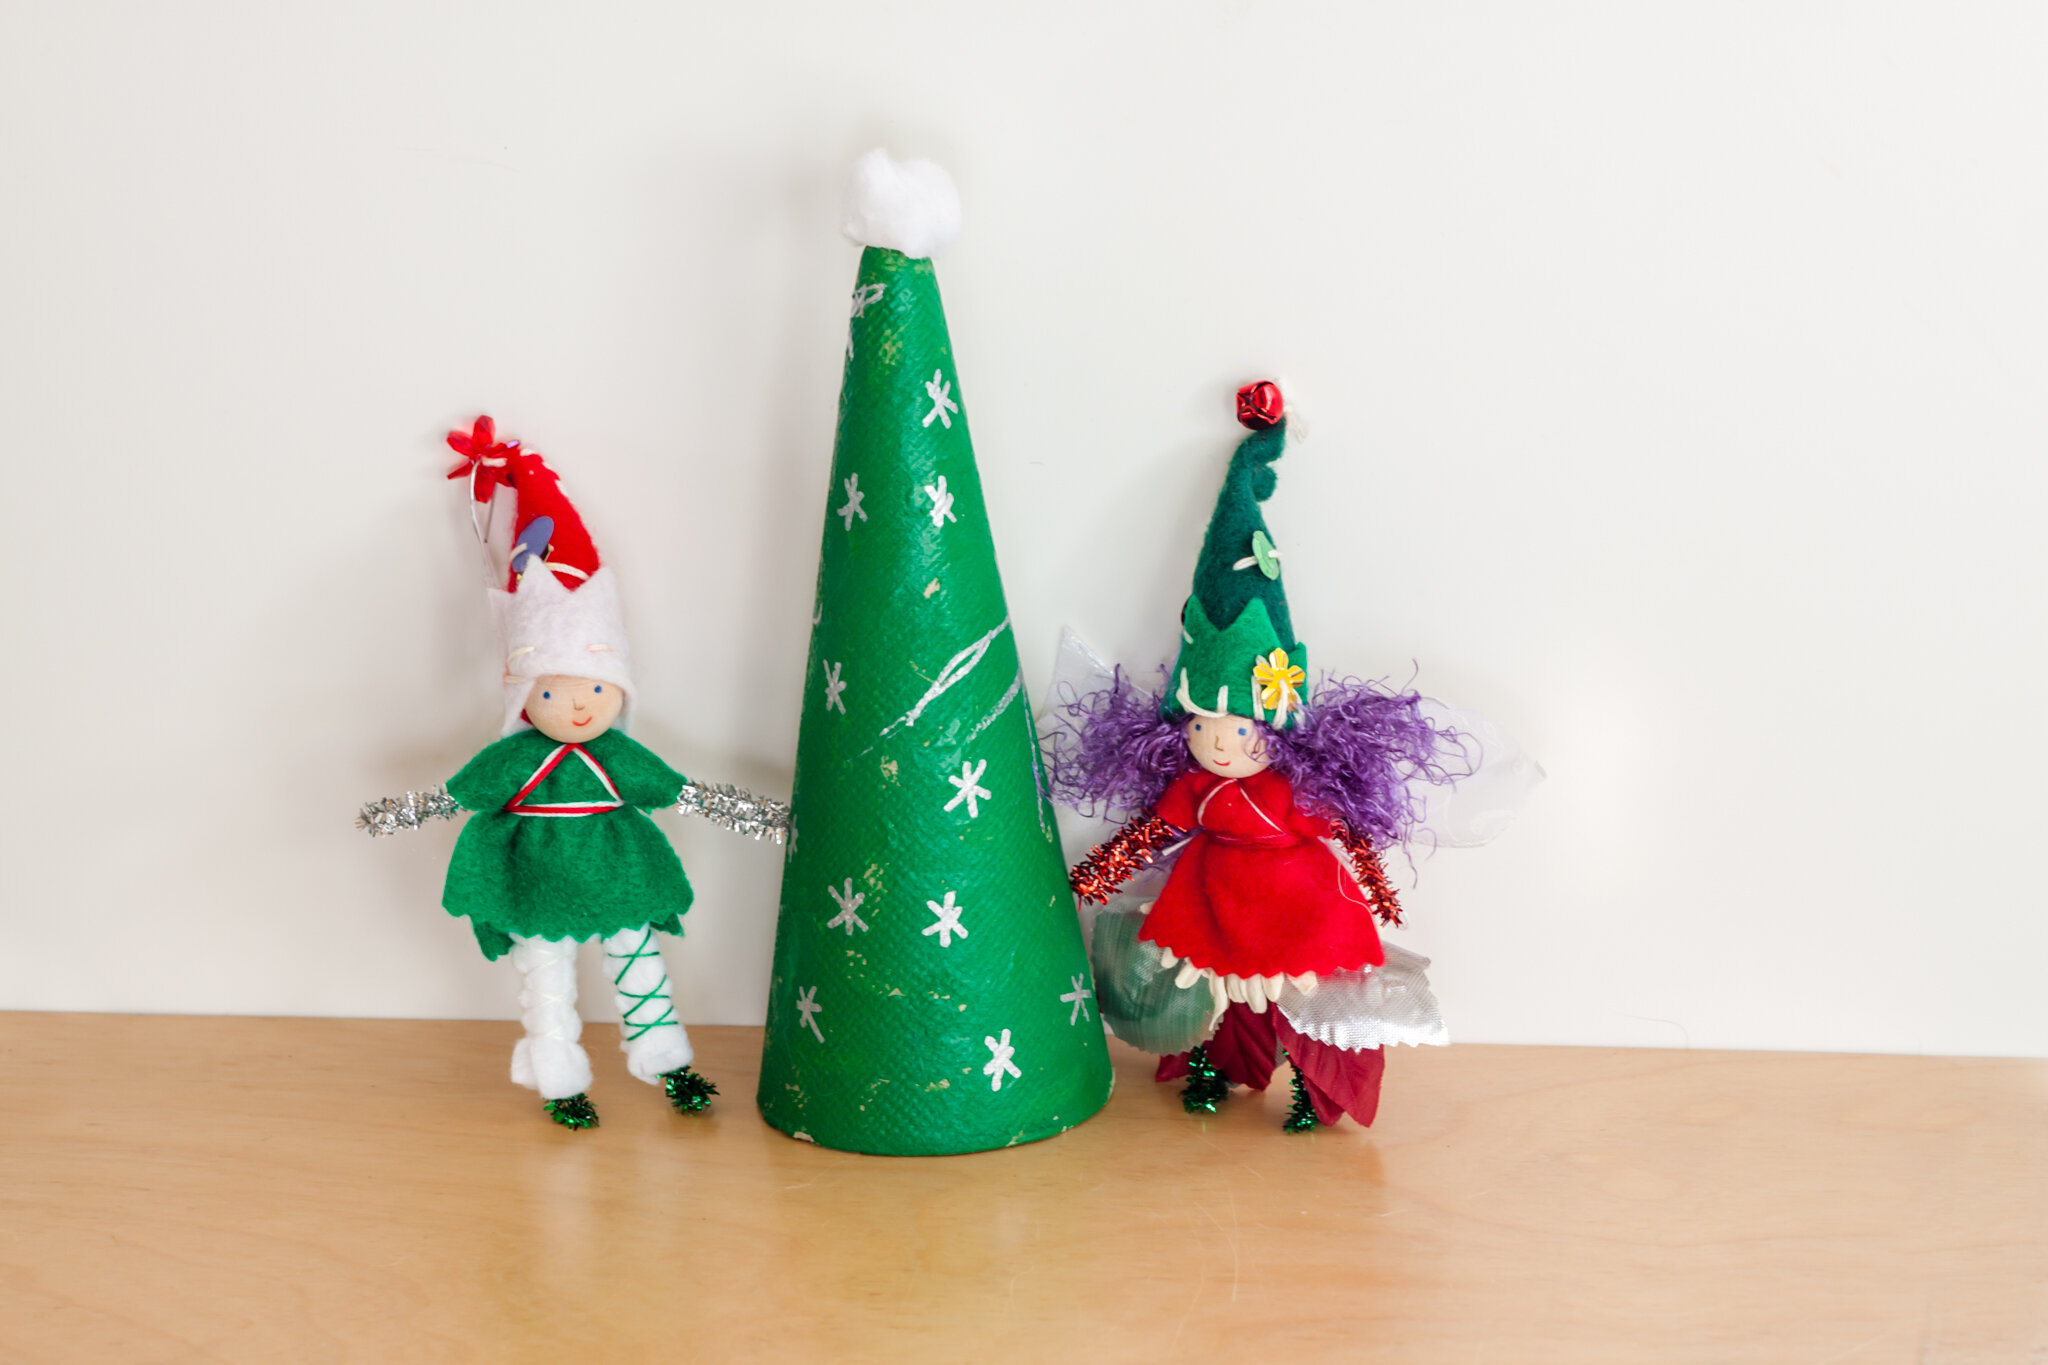
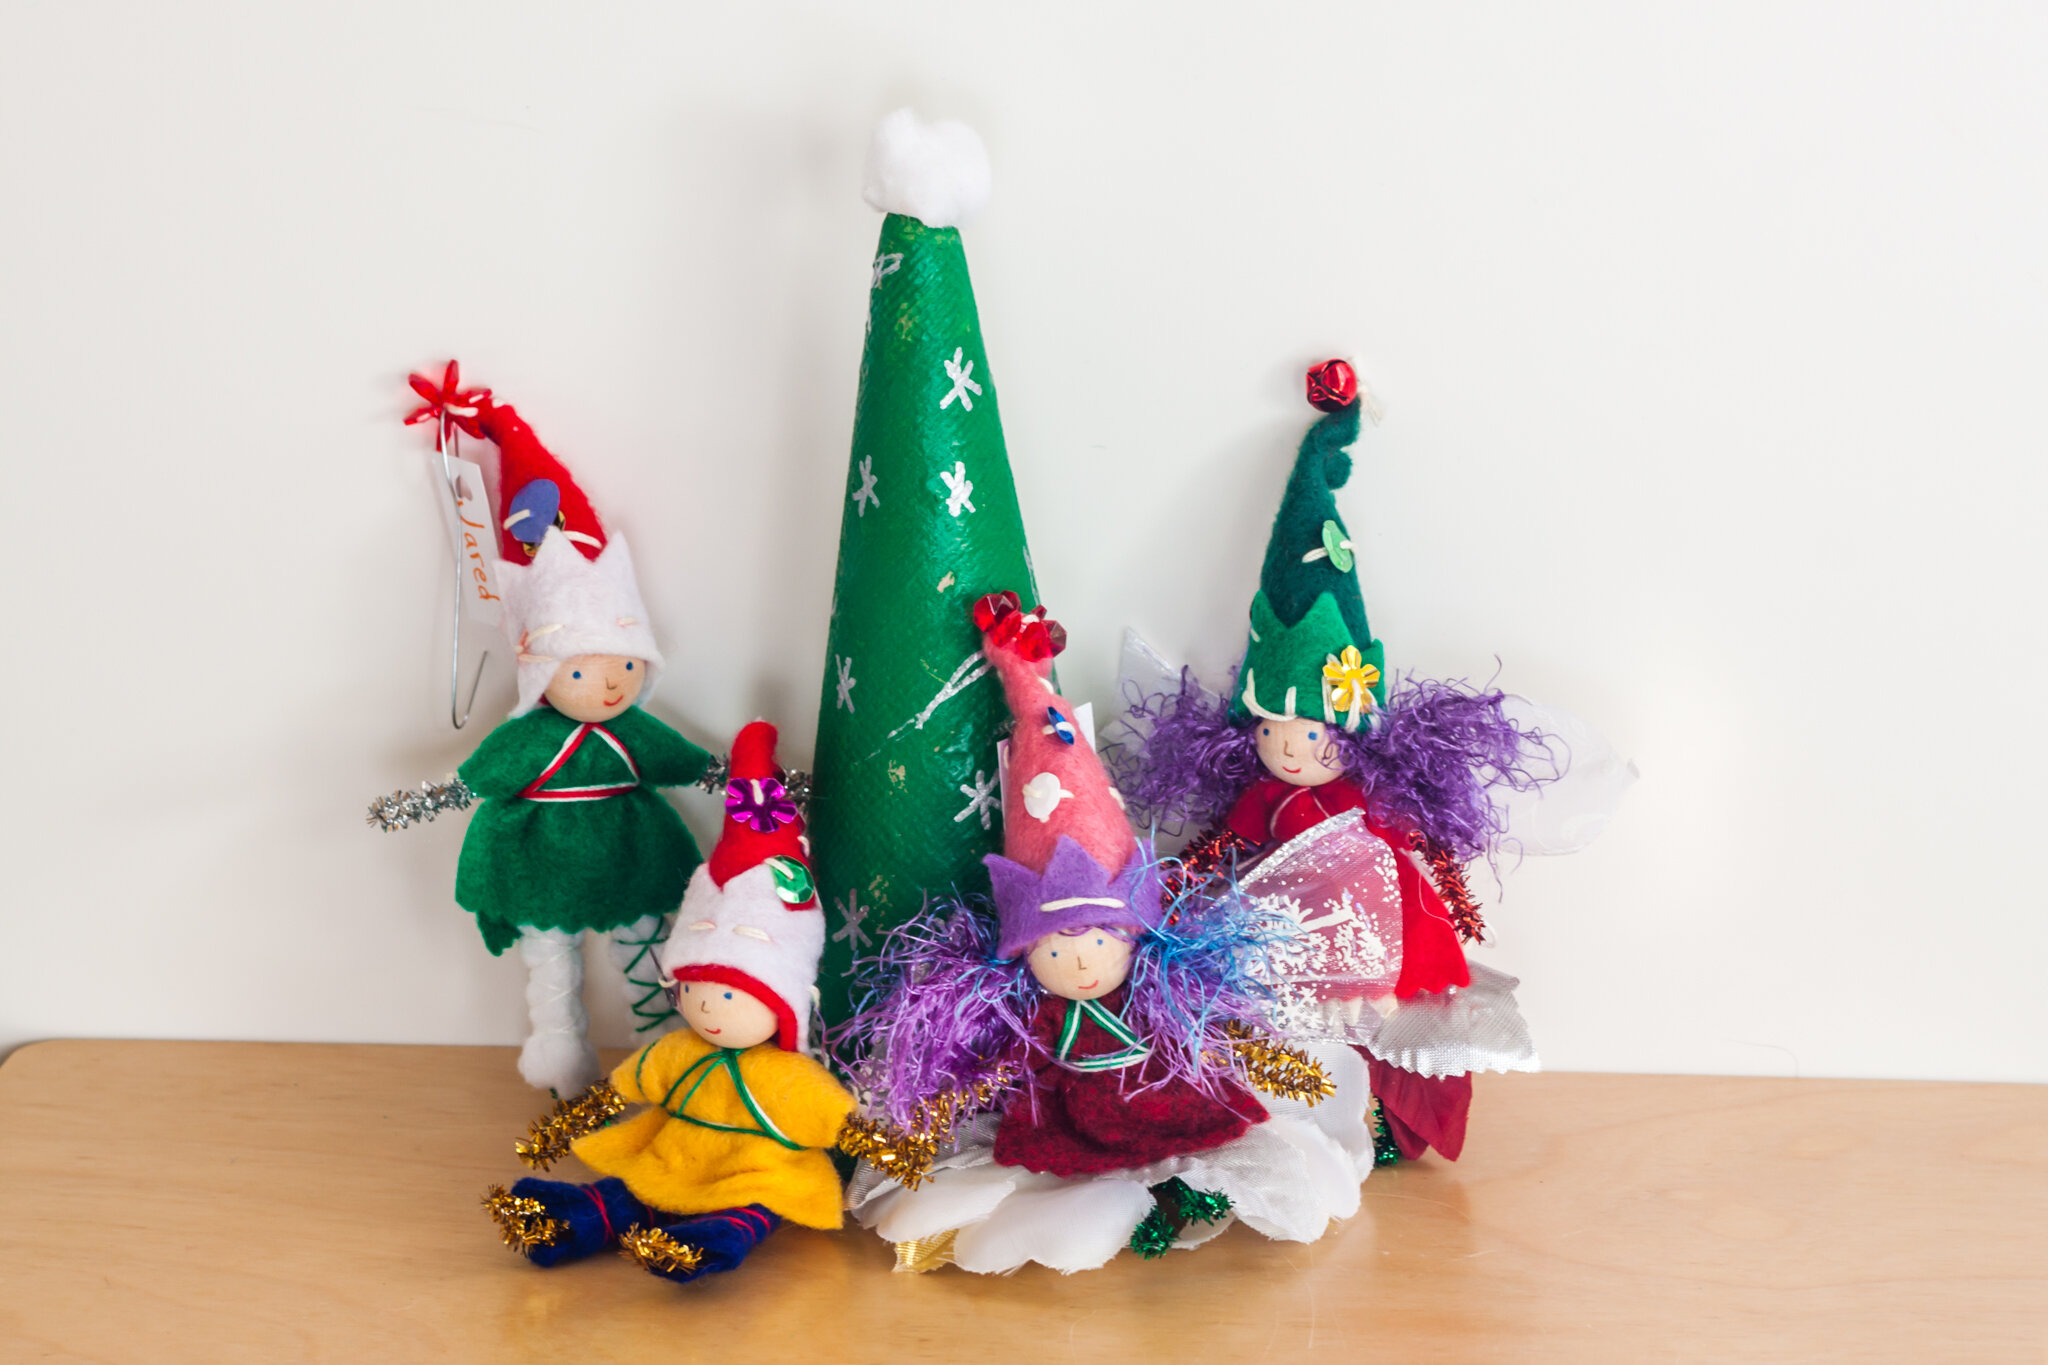
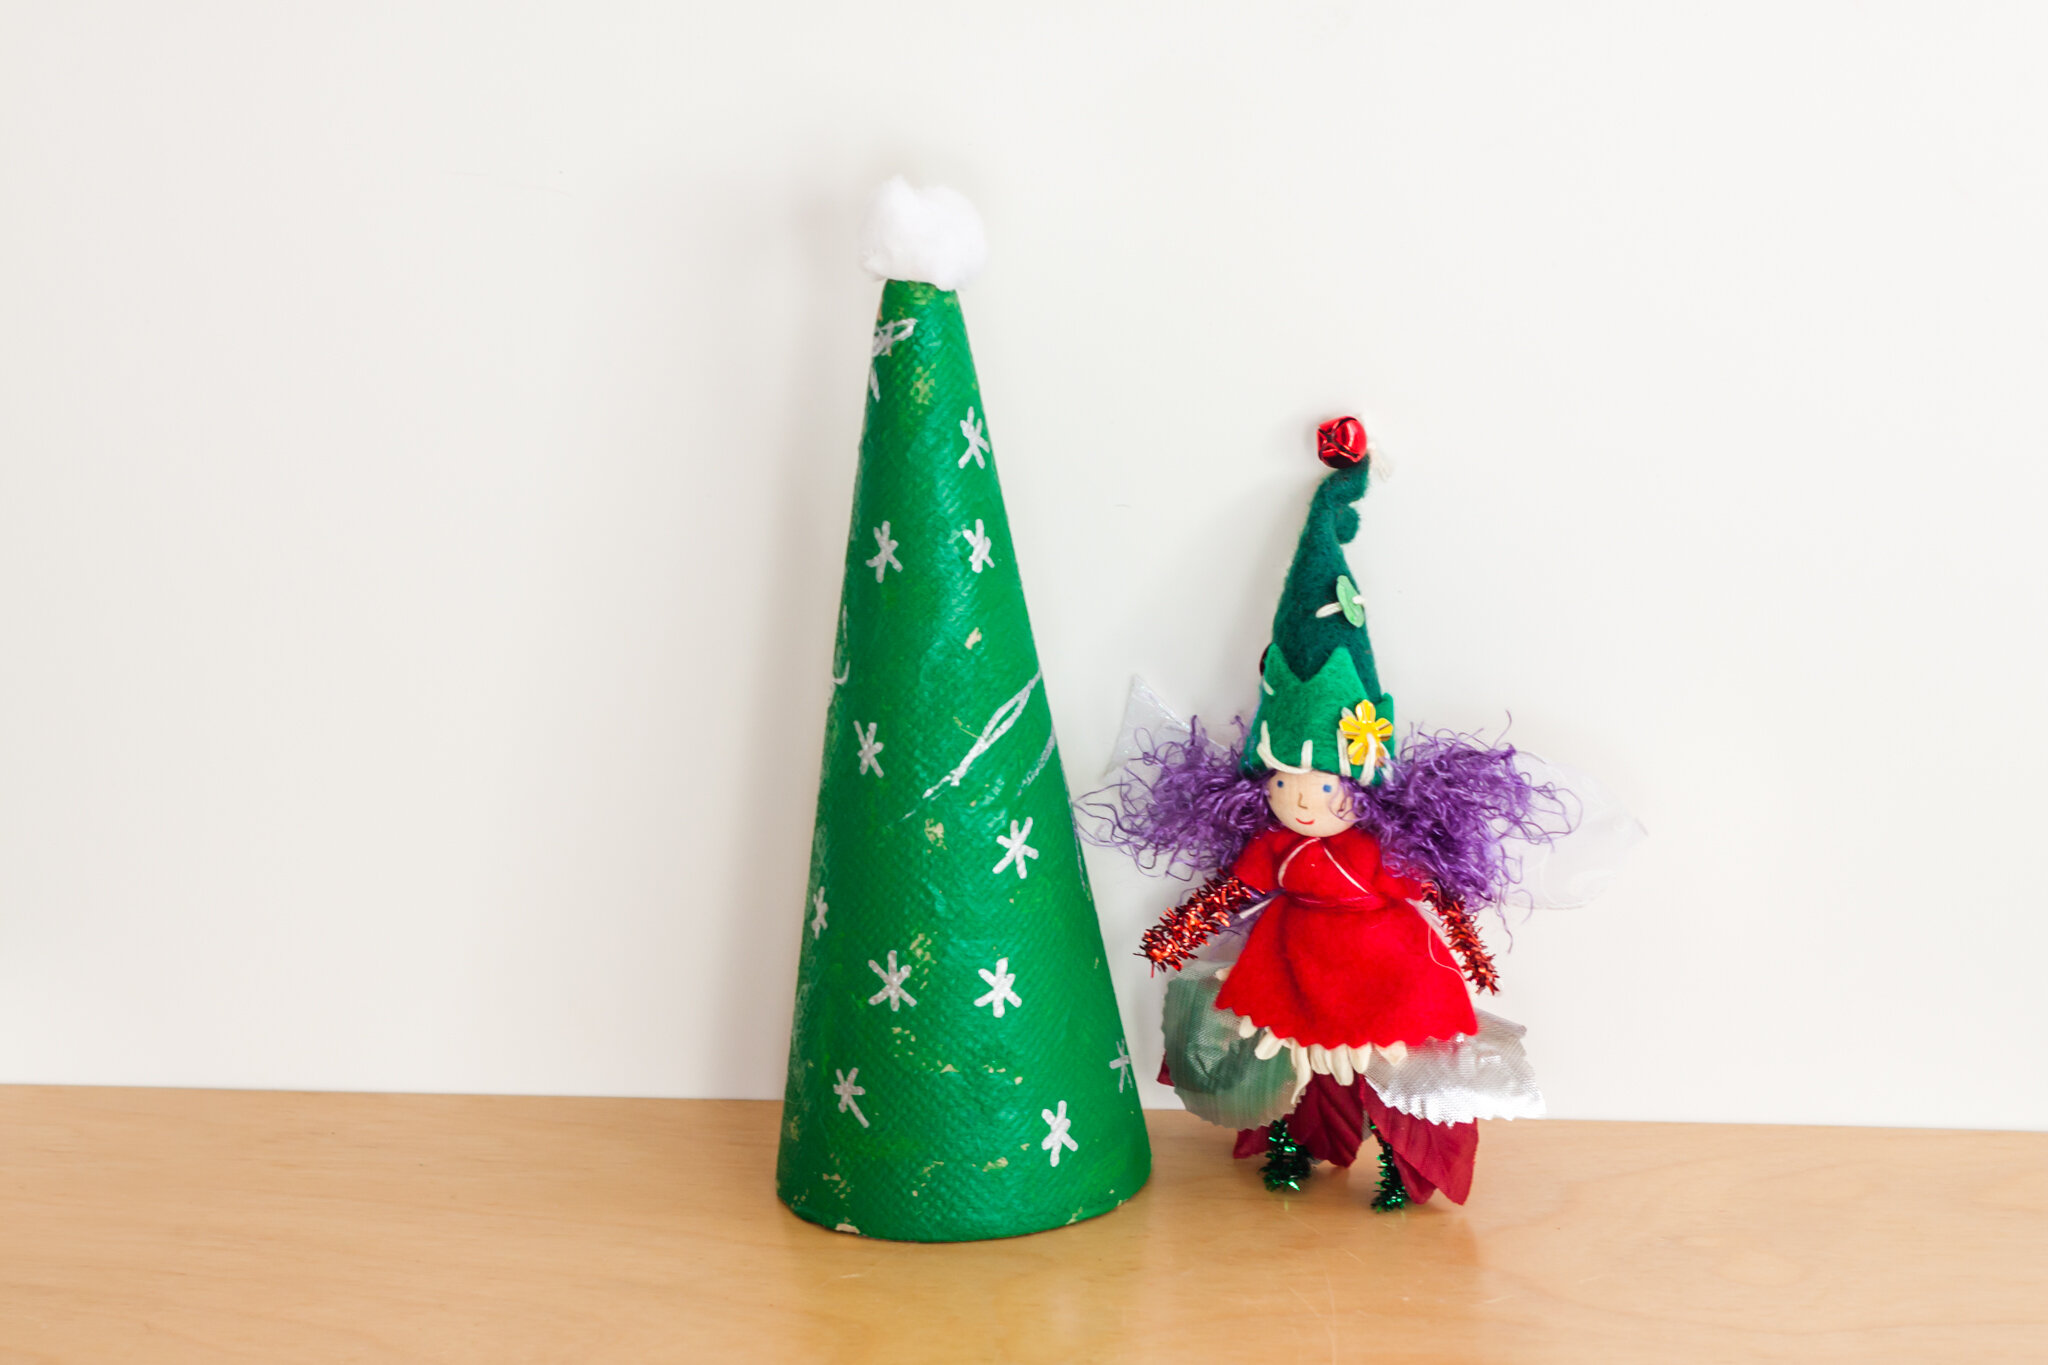
We made these many years as gifts for students to give their families. Children chose their colors of felt and sequins. I loved the variety and how each fairy spoke to each student. We wrapped them and gave them to a family member so they would stay on the student’s holiday tree (which students appreciated). Of course, they often made another for grandparents :). The fairies are the introductory fairy design found in both books which sparkly pipe cleaners and variegated red/green/white crochet thread.
Oh, and the tree was a cone sold at the craft store that my son painted. When the paint dried, he used a silver pen to draw the stars.
Favorite Characters
Whether your favorites are a certain ice queen, or Santa, you can create storybooks with fairies. For the ice queen, I used the Leprechaun pattern from Forest Fairy Crafts for her dress with curvy lines instead of triangles. Her hat uses star-shaped sequins. Santa was made with the wizard robe from Forest Fairy Crafts. His robe is edged with faux fur, which is visually perfect but super-fiddly, fair warning. If you haven’t tried it before, practice cutting before making your strips to sew on the robe. You need to “part” the fur to clip the underlying cloth. It can be tricky for pushing a needle through depending on how tightly wound the underlying fabric is. I sewed two strips along the front of the robe, not around the neck because the fur is too stiff. You can achieve the same look with white felt edging a red coat. You could even make it shorter to look just like Santa’s jacket. Mrs. Claus can be made with a red and white felt dress.
Children would have a difficult time sewing faux fur. If they’re sewing, I recommend white felt and white sequins. The little pompom on top of his hat was found in a packet of pompoms at the craft store.
I also gave Santa a white shirt and red pants using black thread with the basic fairy pattern. He’s a favorite ornament on our tree now :)
Winter Fairy Ornament
The winter fairies are wonderful ornaments or toys for kids that love a certain ice queen movie. They’re in Magical Forest Fairy Crafts through the Seasons which has their exact instructions (no modifications necessary).
The Fairy Family
This was a gift for my niece when she enjoyed dollhouses and little worlds. This family featured many of her favorite colors. I’ve given them as well when the fairies matched people in a child’s own family (two brothers or two moms or more children). I even add gnomes to show a baby. You can make the “adult” fairies and “baby” gnomes with either book. The “kids” aka little brother and sister are in Forest Fairy Crafts.
Mermaid Ornament
These are above-and-beyond mermaids I made when my daughter was obsessed with mermaids. A mermaid by herself isn’t that seasonal until you give her a Santa hat. The faux fur is fiddly, and not the most fun for hand sewing, so I wouldn’t expect a child to enjoy sewing with it. The hat looks great with white felt as well if the faux fur is too fiddly. You can make mermaids with the mermaid pattern in Forest Fairy Crafts. I wanted a challenge so I tweaked the mermaid pattern to the curve (currently not in a book). You don’t need a curving pattern to make a cute mermaid ornament for your tree. When I do tweak patterns, I first trace the top of the pattern that needs to math onto a blank piece of paper, then draw the curving tail. I cut that out and hold up to a wireframe fairy body to see if the scale will work, then cut a piece of scrap felt to again see if I like the shape and scale (too small or too big). If it looks good, I cut the final version from the felt I’ll use for the ornament. You can use this technique to adjust just about any pattern to match a new idea.
Hand Sewn Ornaments
These are in Magical Forest Fairy Crafts through the Seasons, including the shapes for appliqué. You can tuck a tea bag into them for cinnamon or minty scents. These (not as fancy stitching) were one of the first sewing projects we brought into classrooms. They were favorite family gifts. If you do add a tea-bag, they can be gifted as sachets (though don’t get the tea bags wet. Tea will stain the felt).
Angels
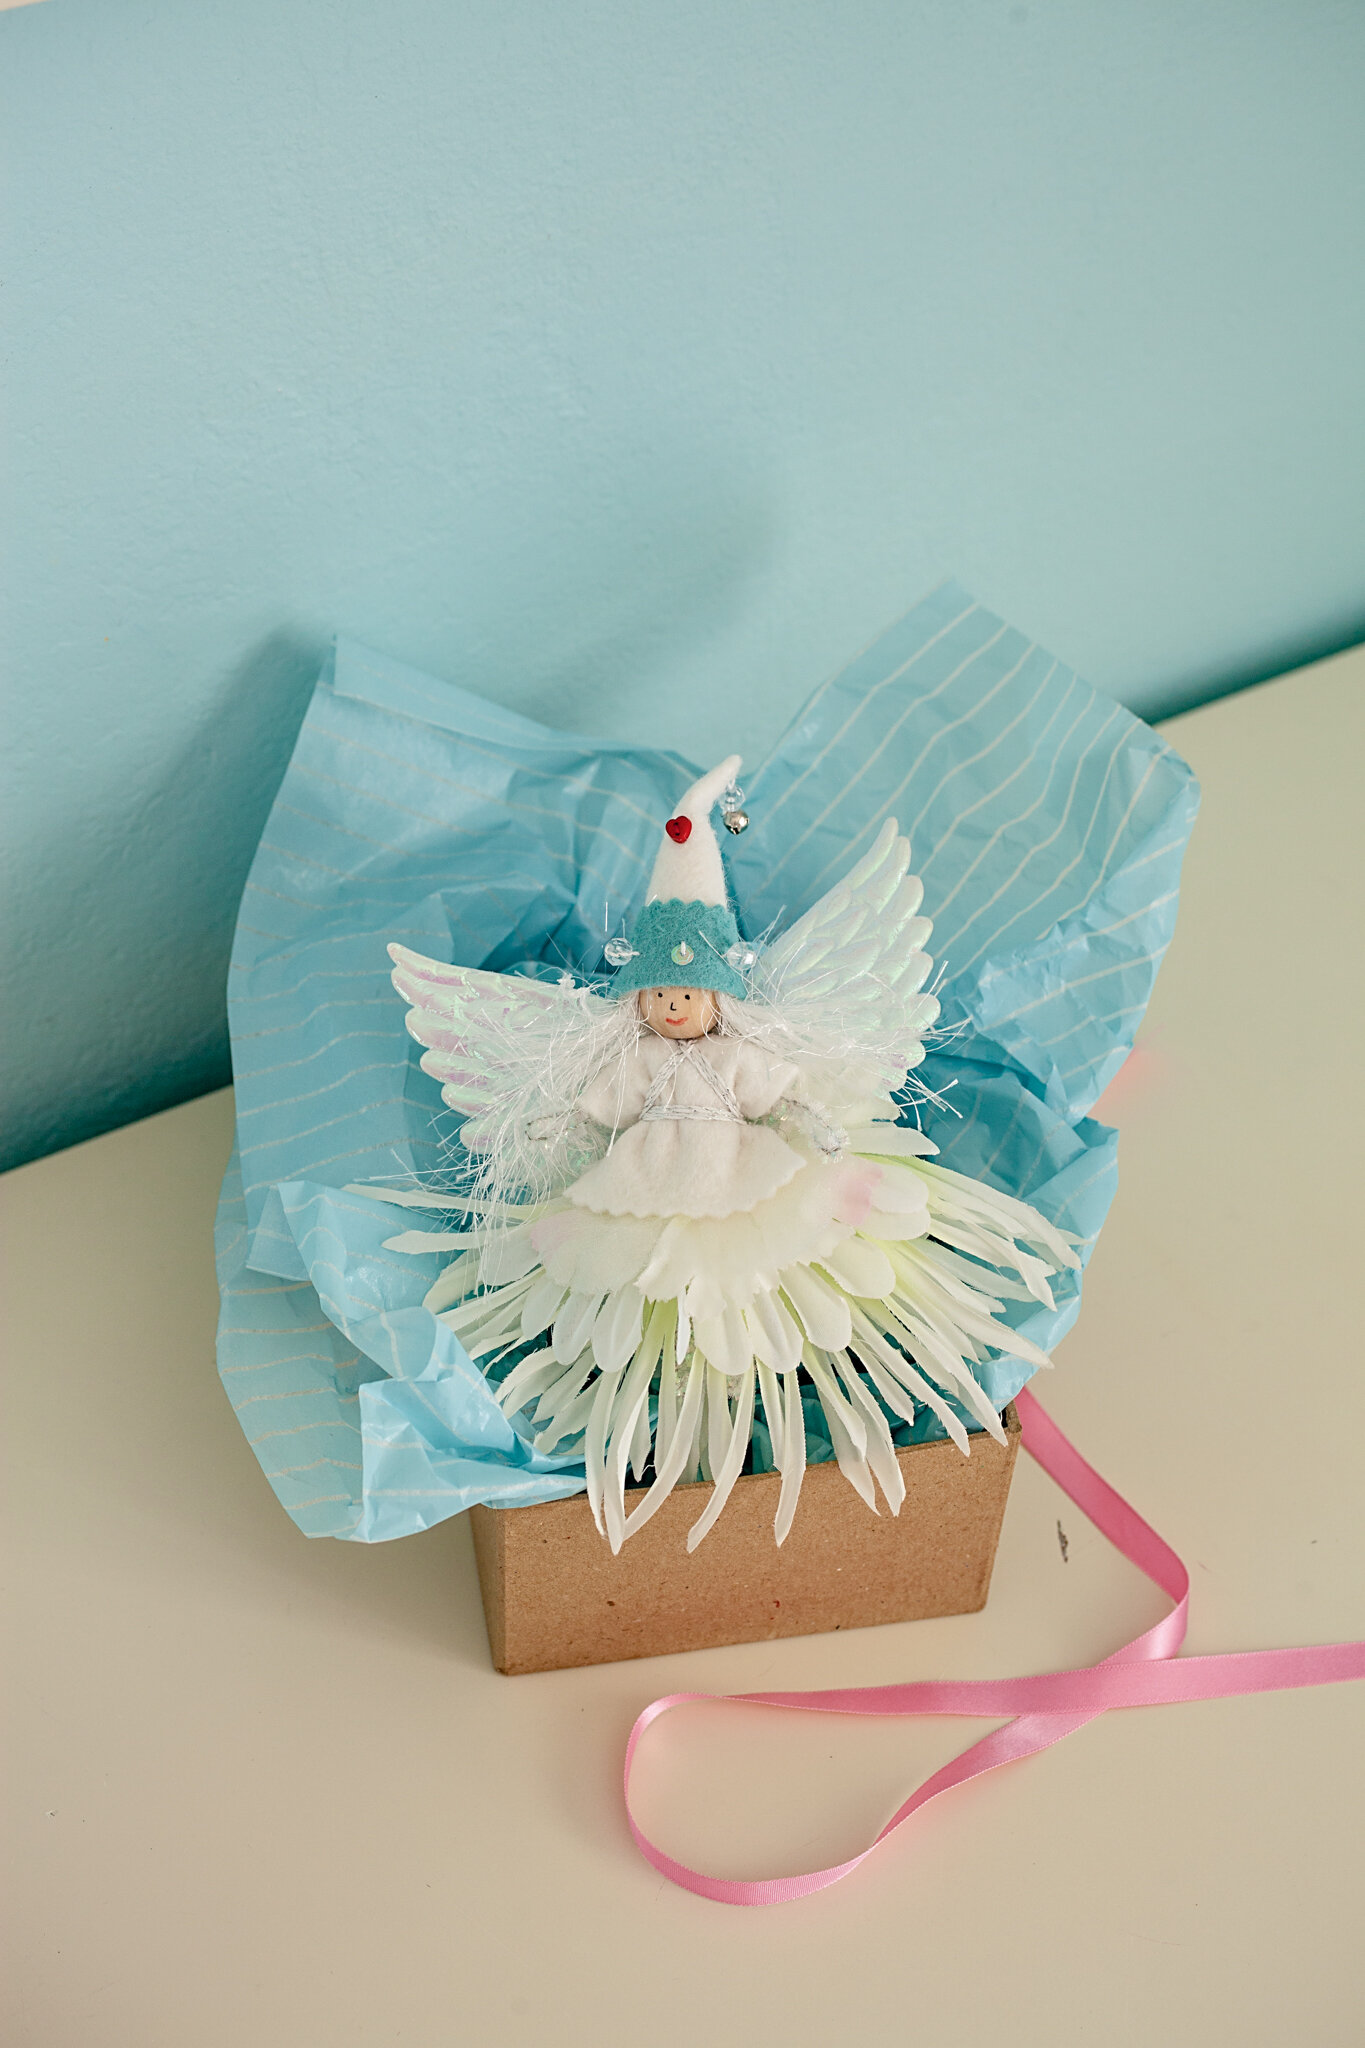
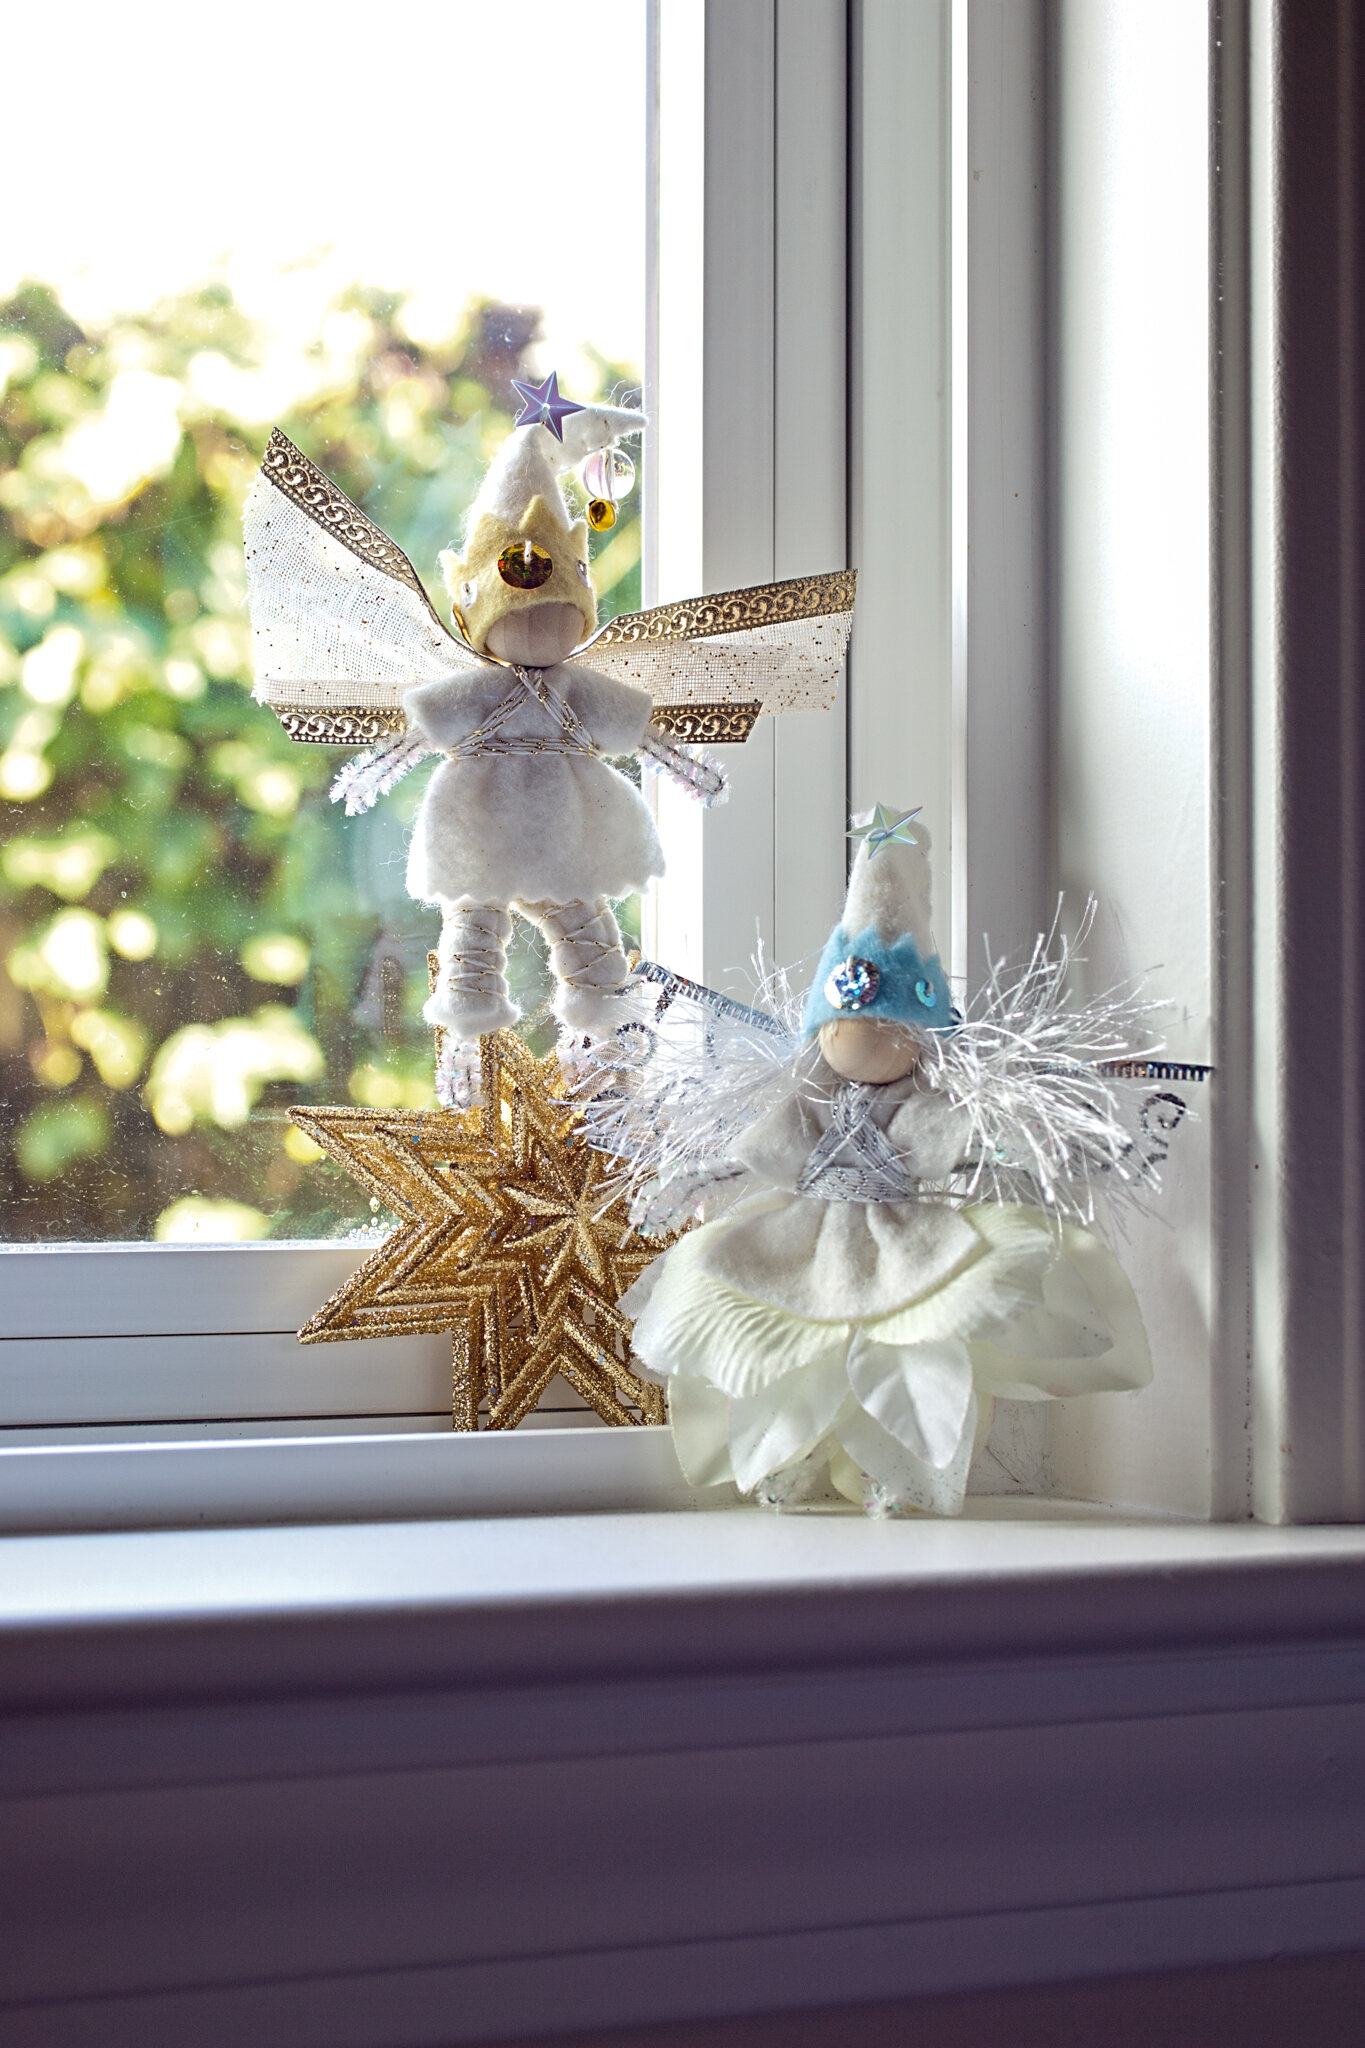
You can create guardian angels that can stay on a shelf or hang in a window all year round, or they can be ornaments. I’ve made them with soft highlight colors, like in the photo above, or leaning into silver or gold, like in the photo below.
For the fancy fairy, below, her iridescent wings were at the craft store and I knew they would look amazing on an angel. I added them the same way as I make any other fairy wings winding the thread around her shirt and wings. I added the red heart button on her hat for the love she holds in her heart.
The angel is in Forest Fairy Crafts.
Star Babies
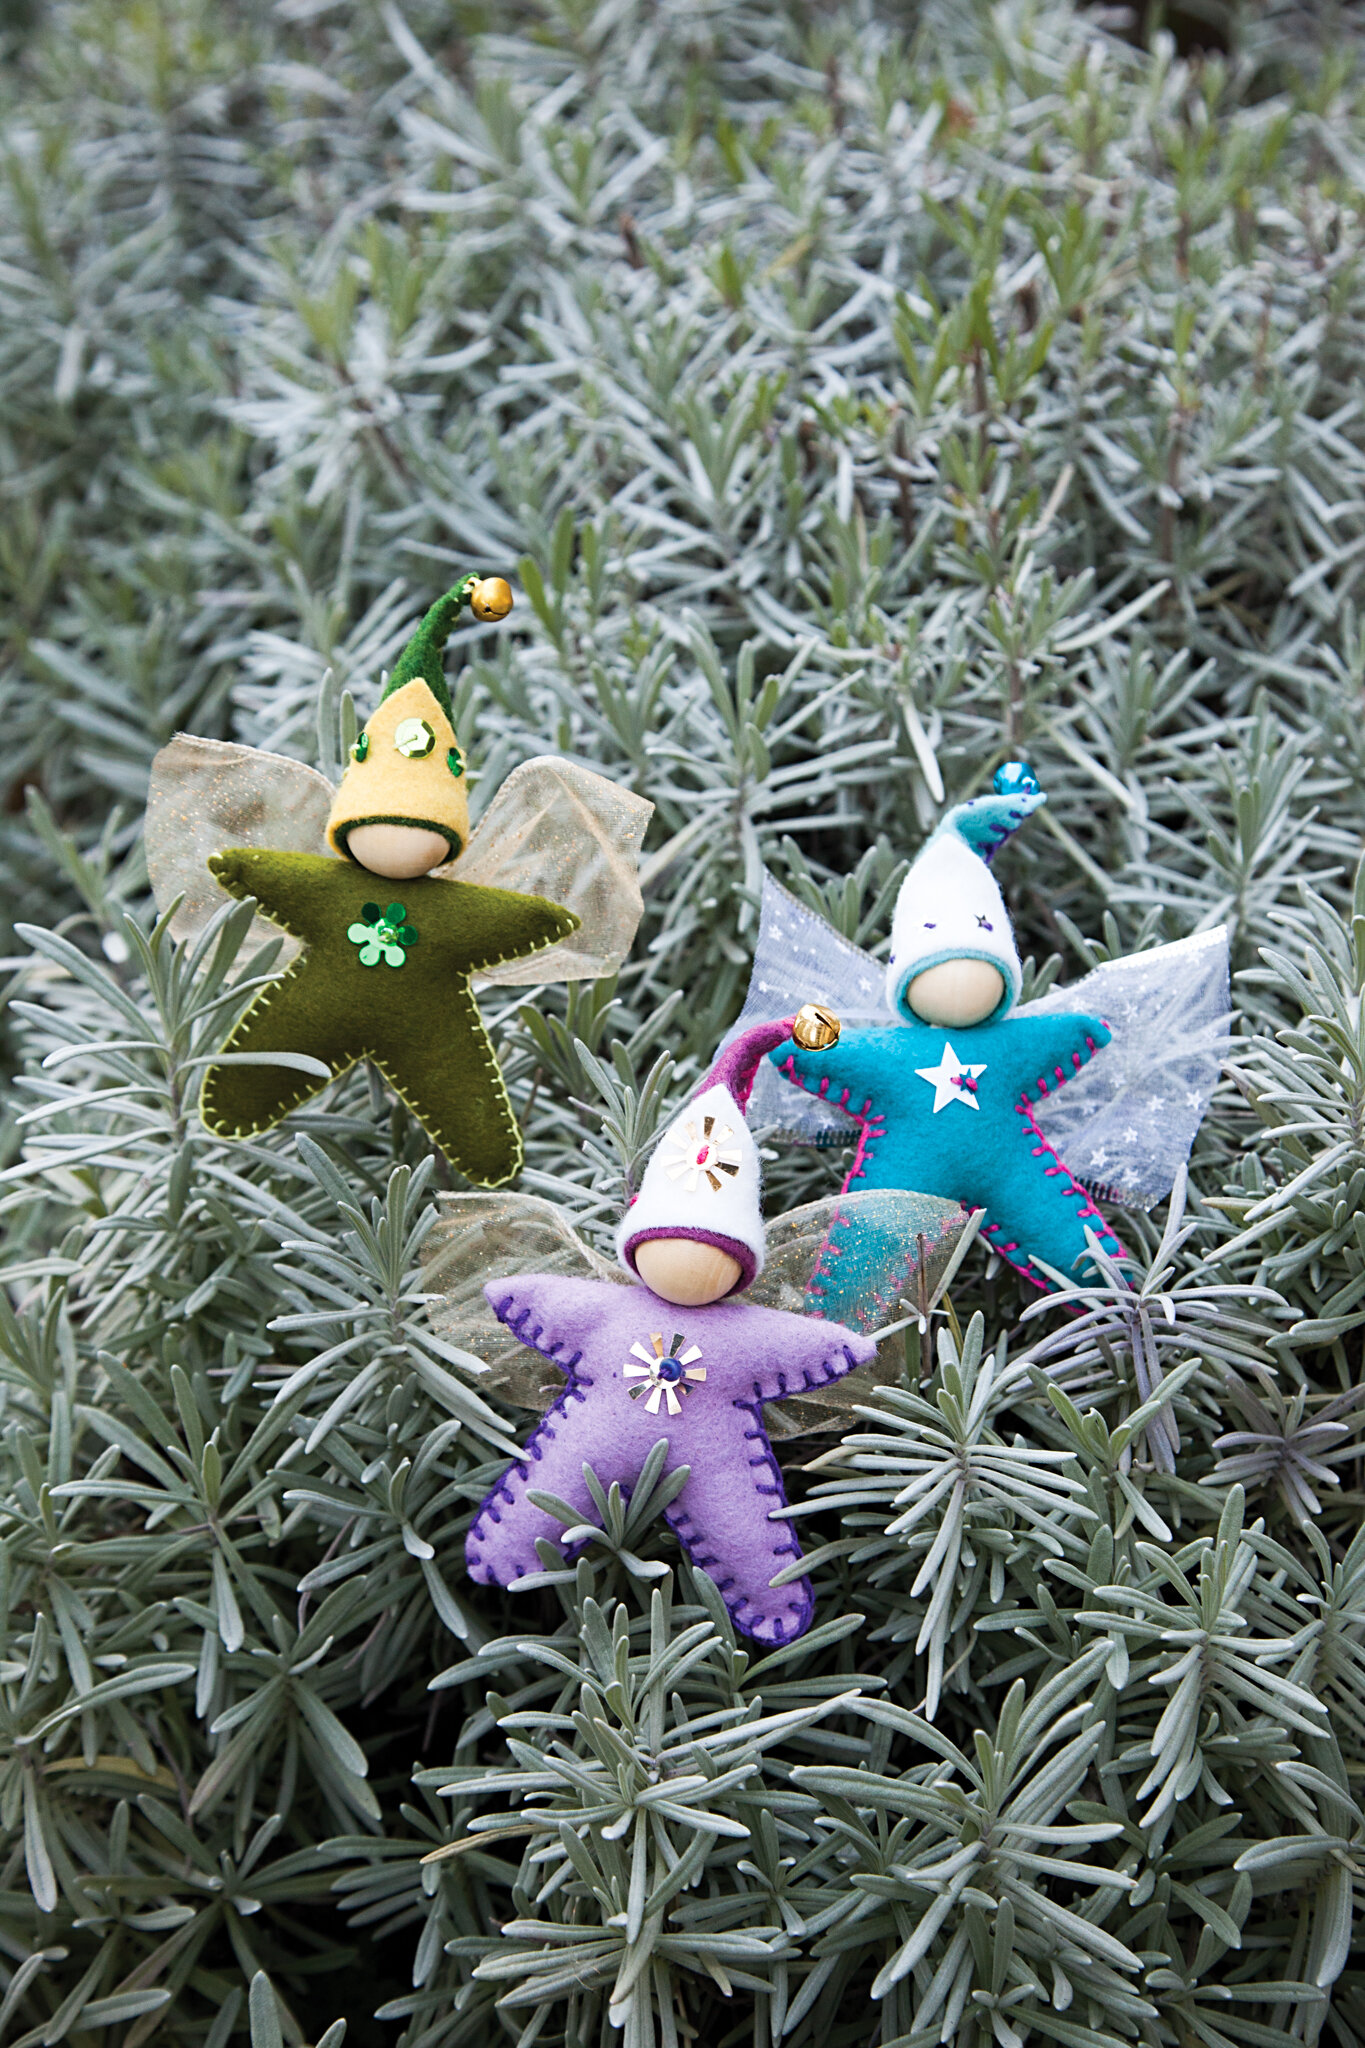
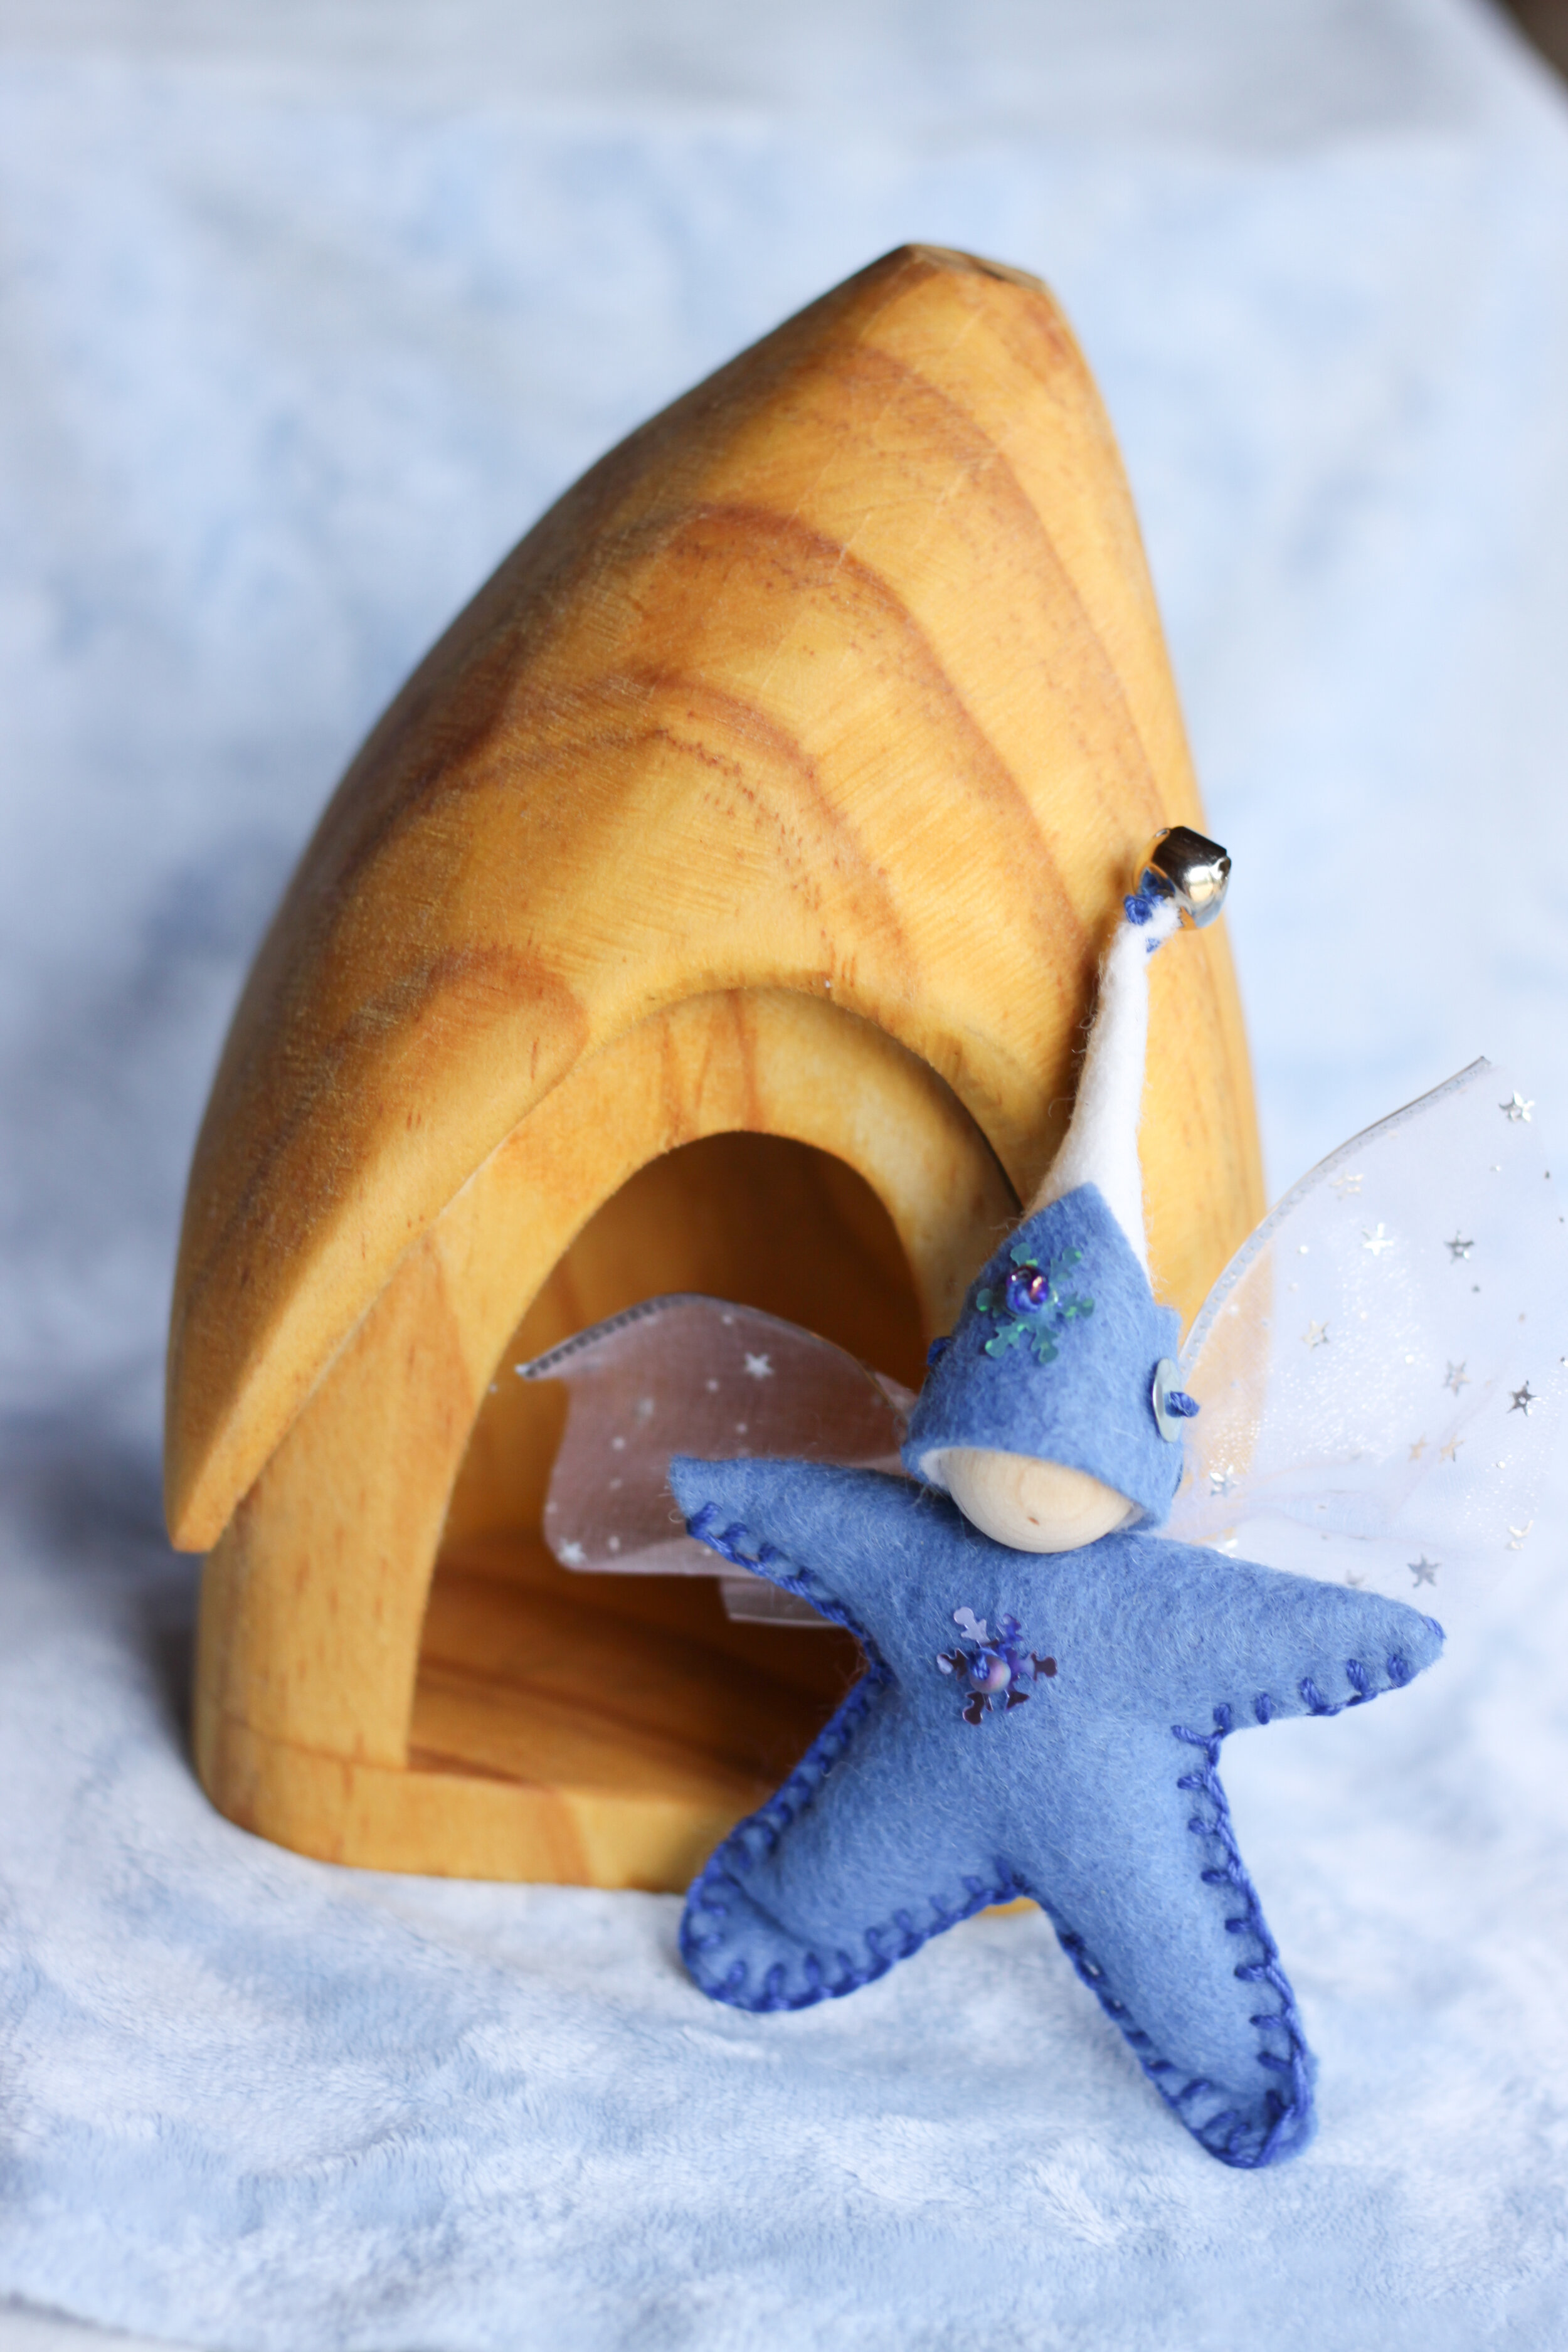
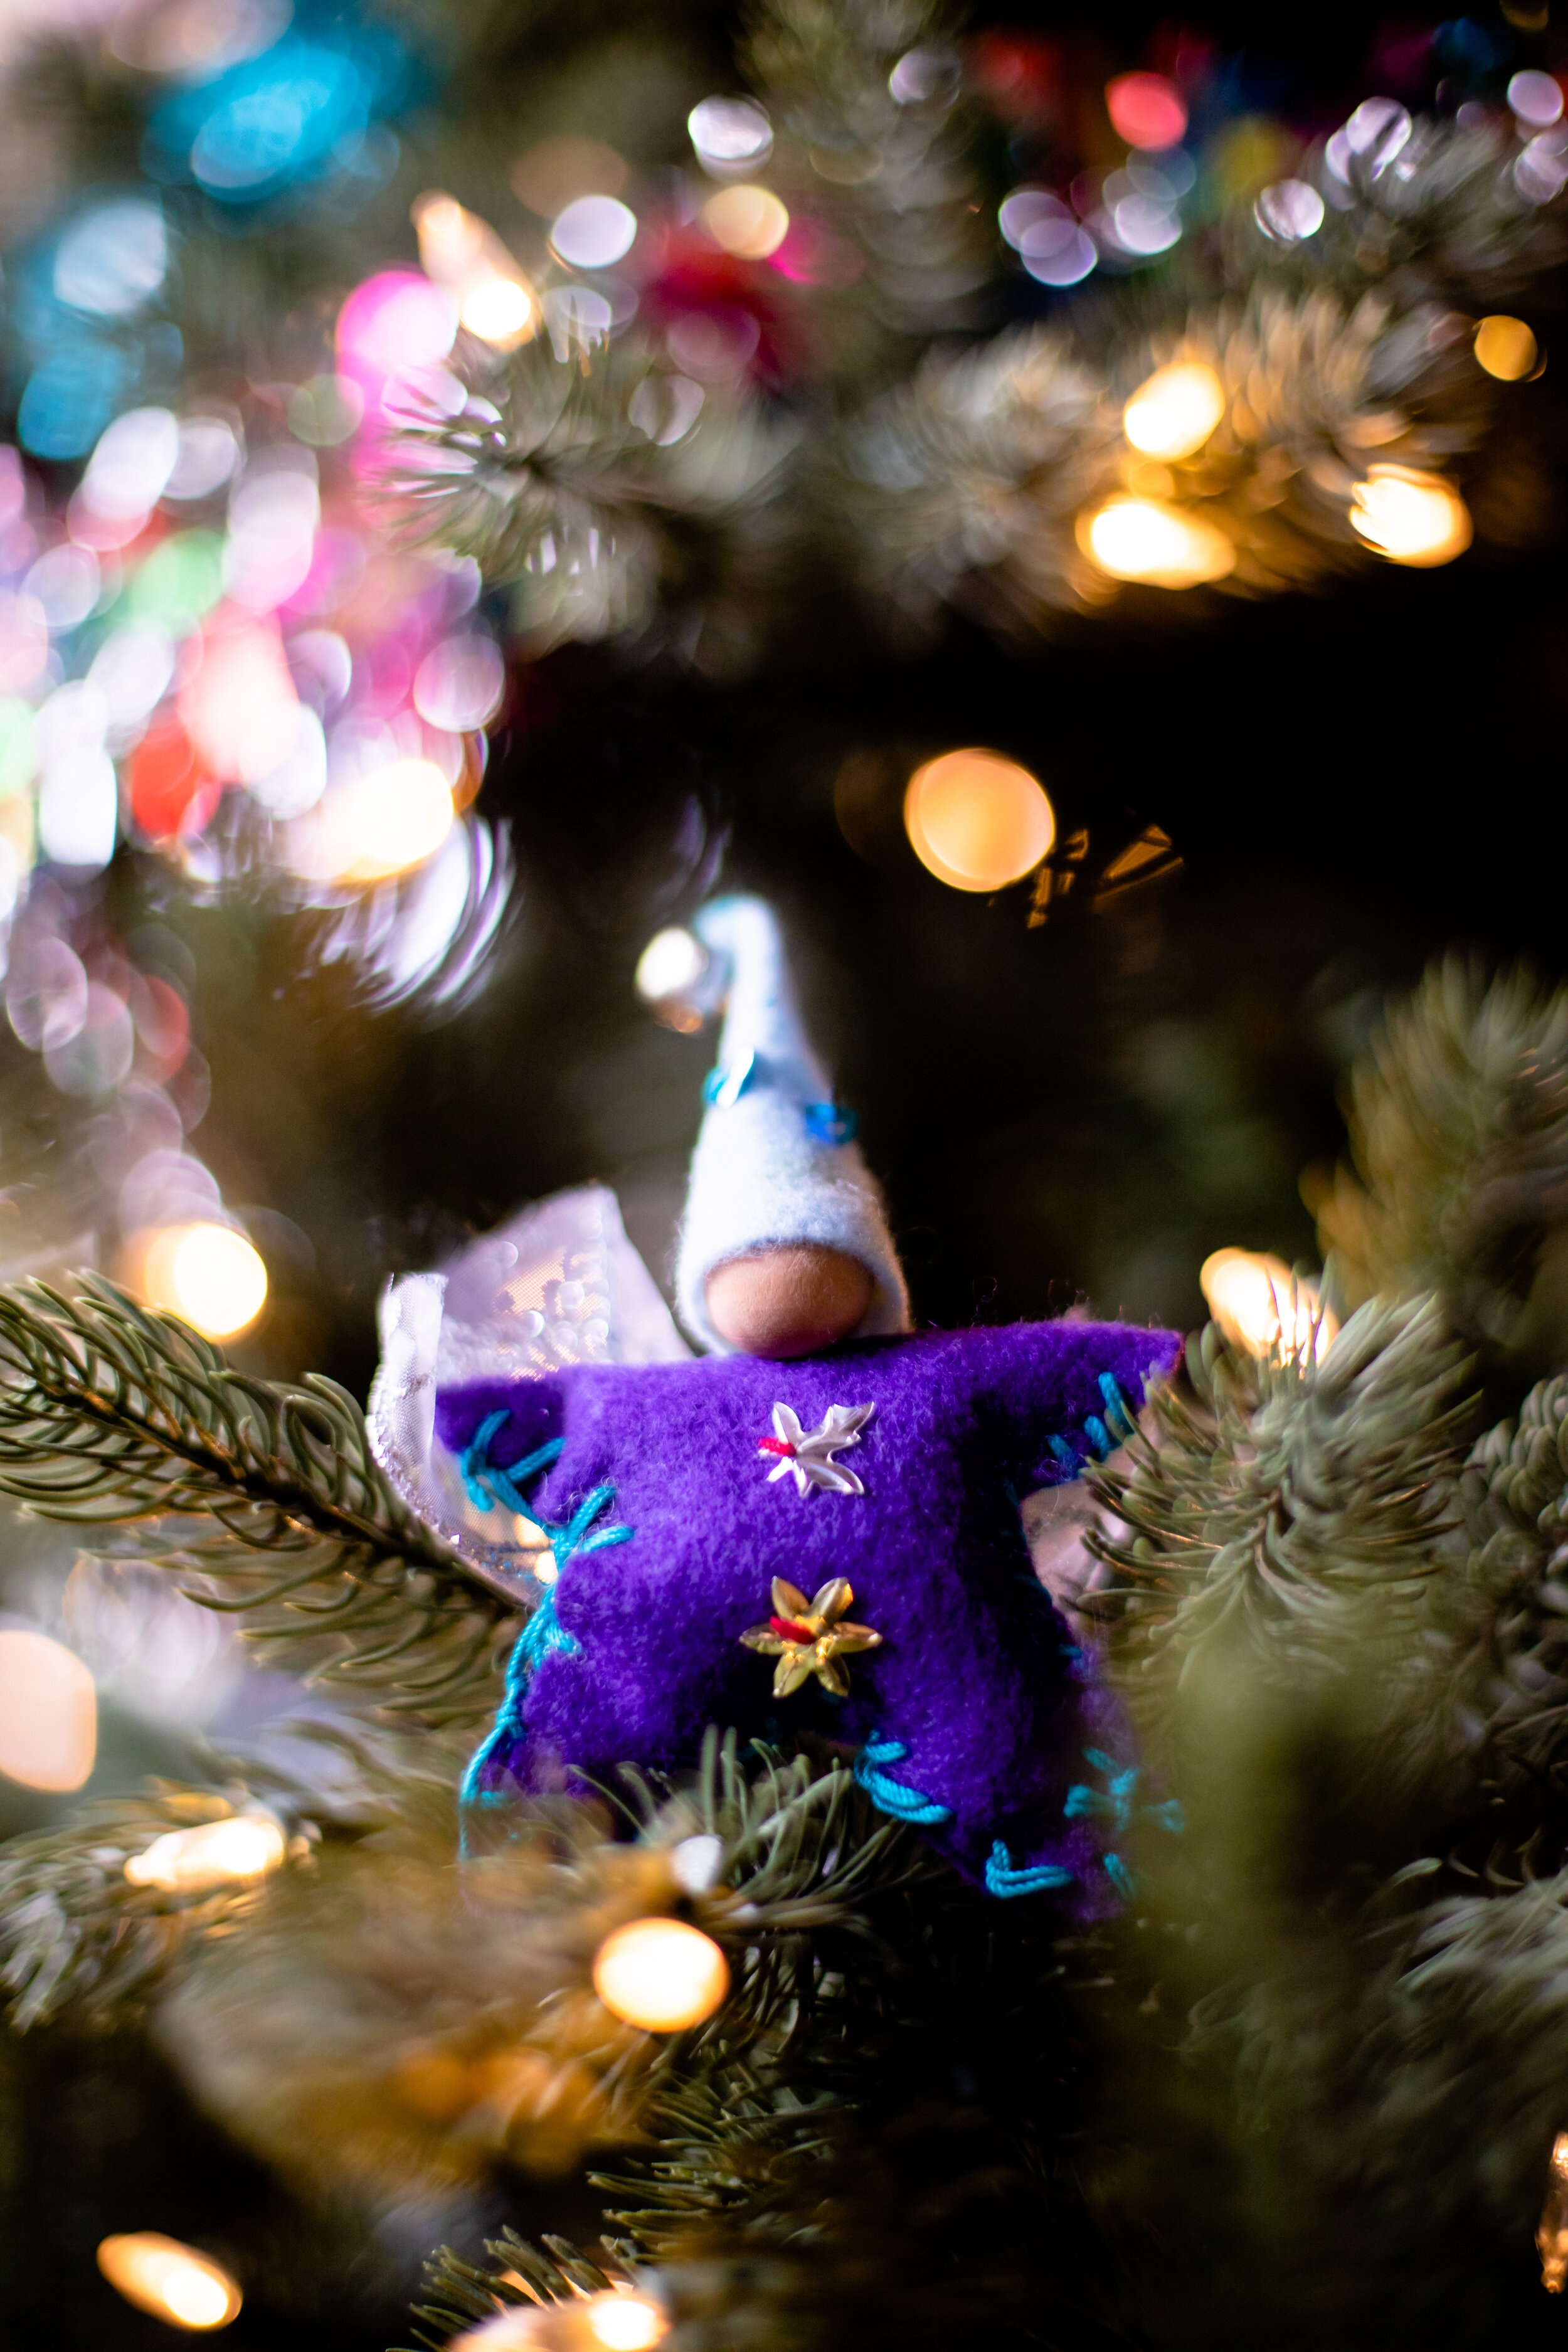
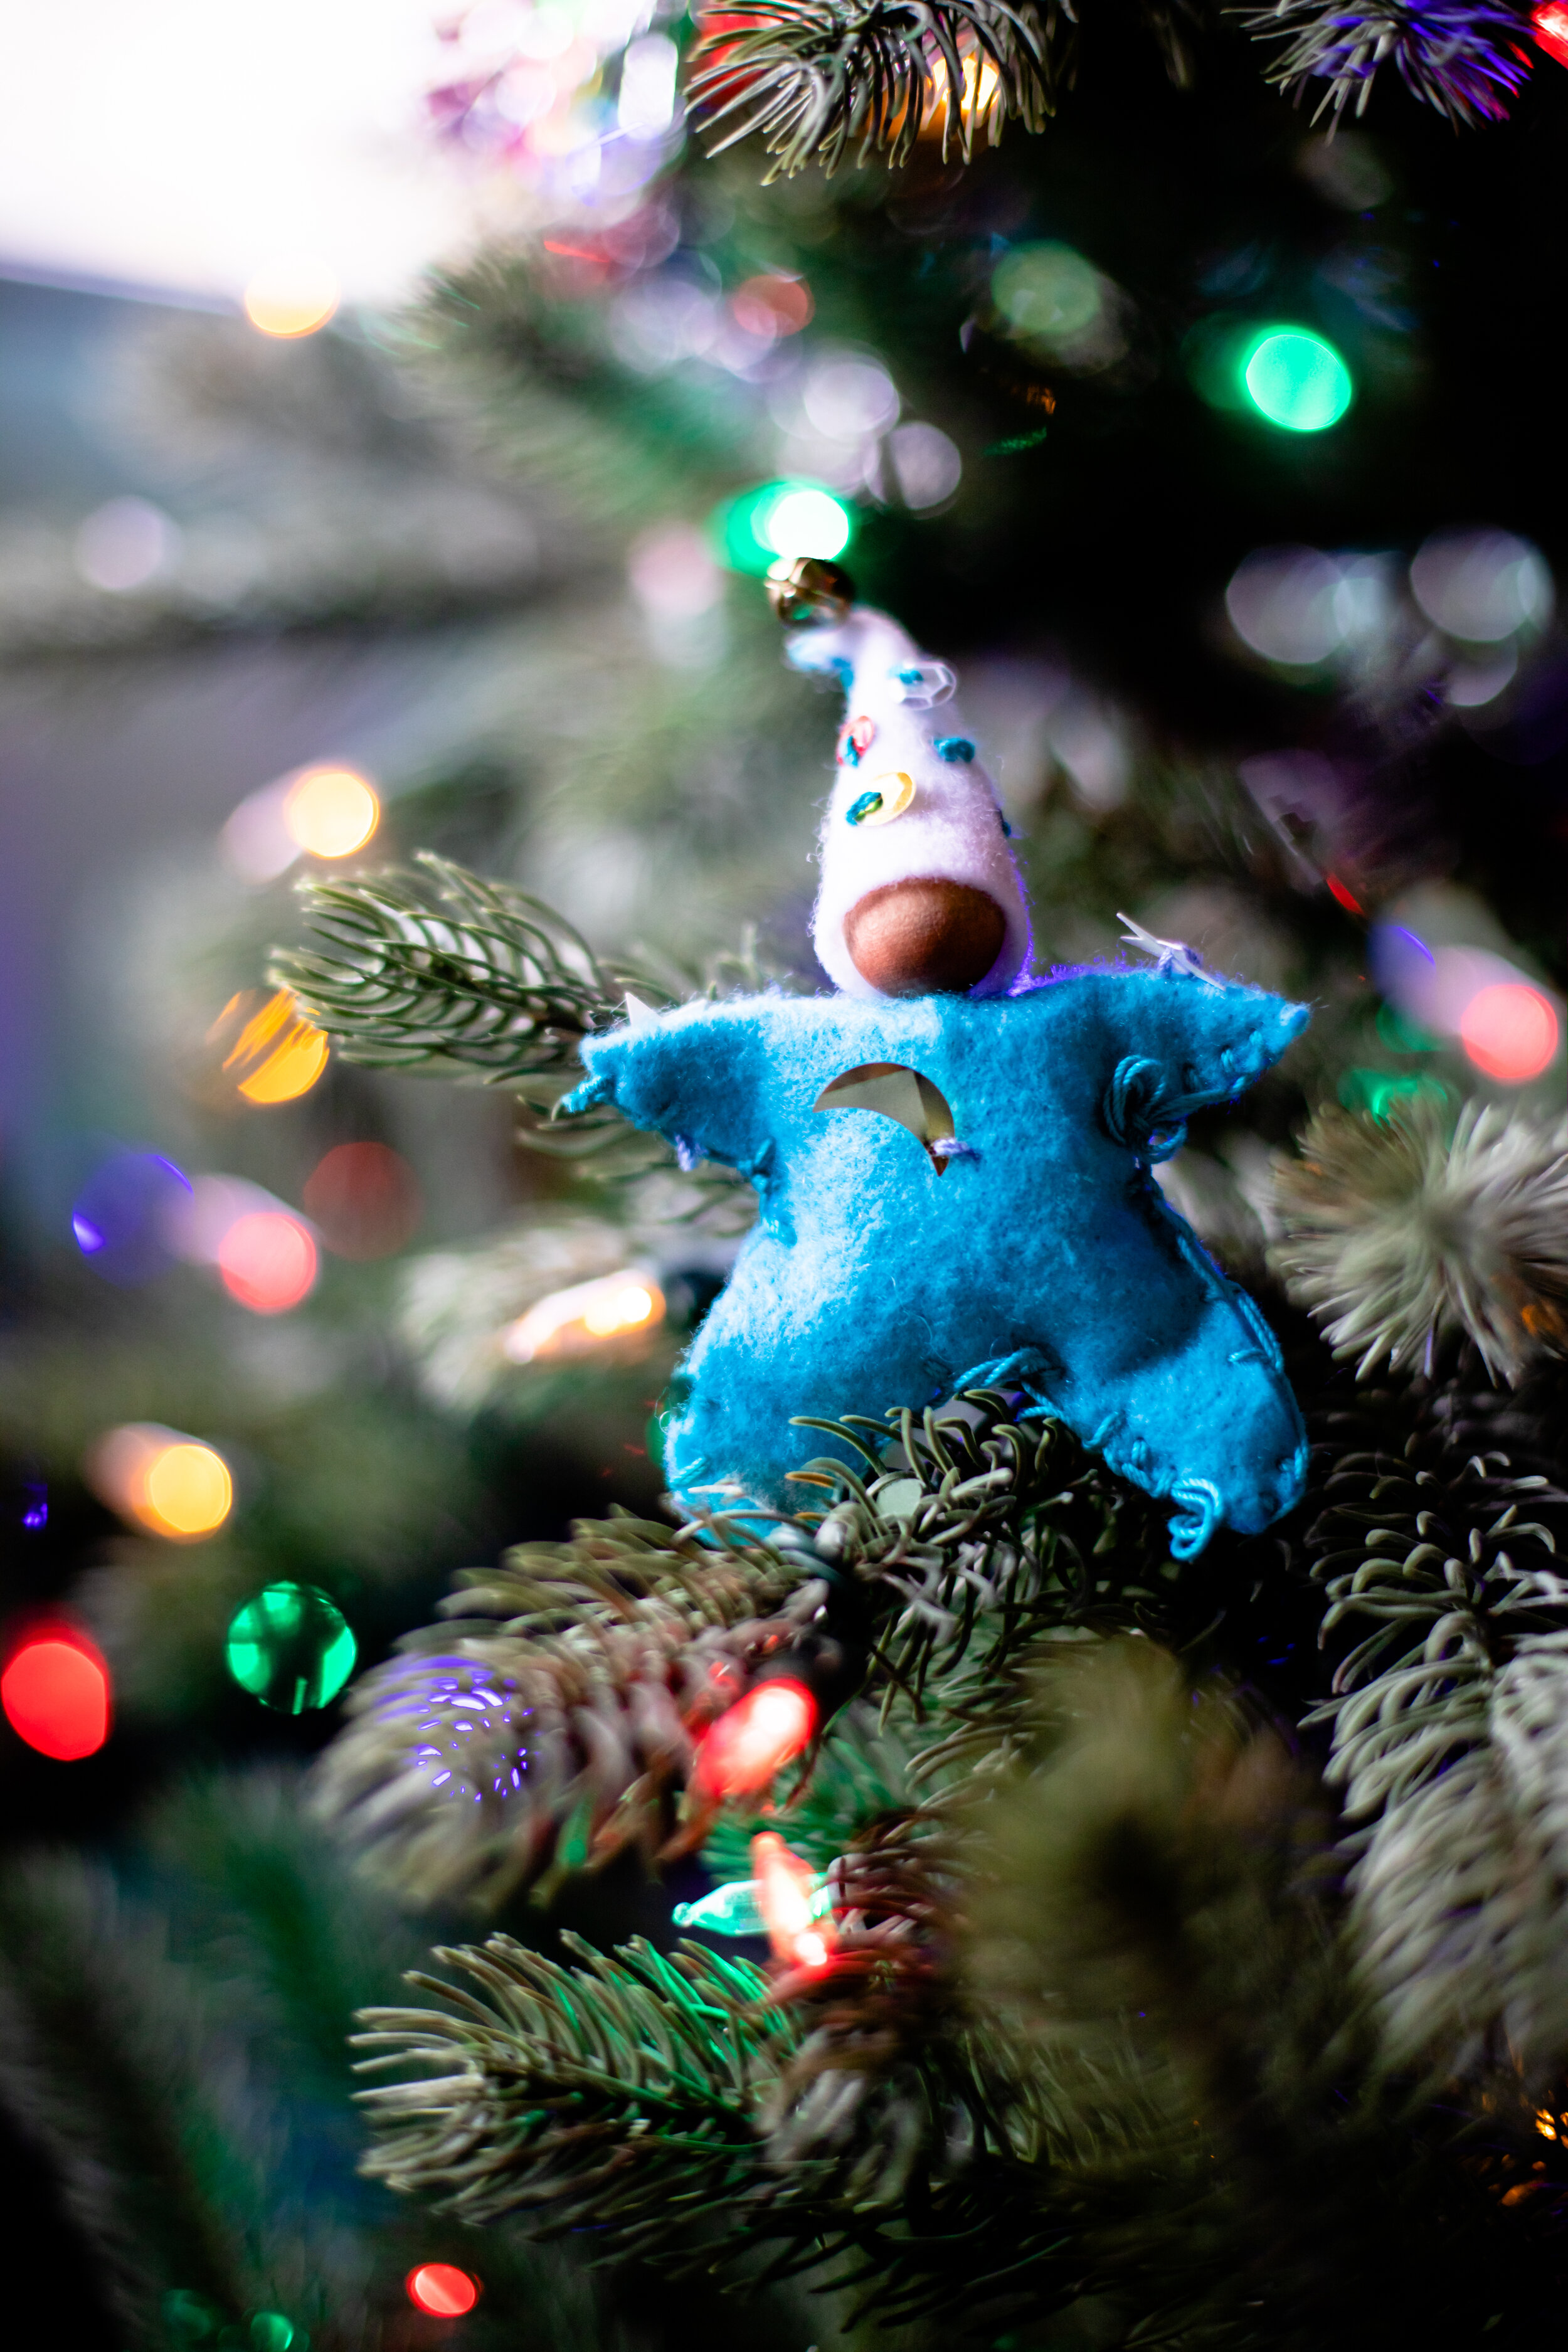
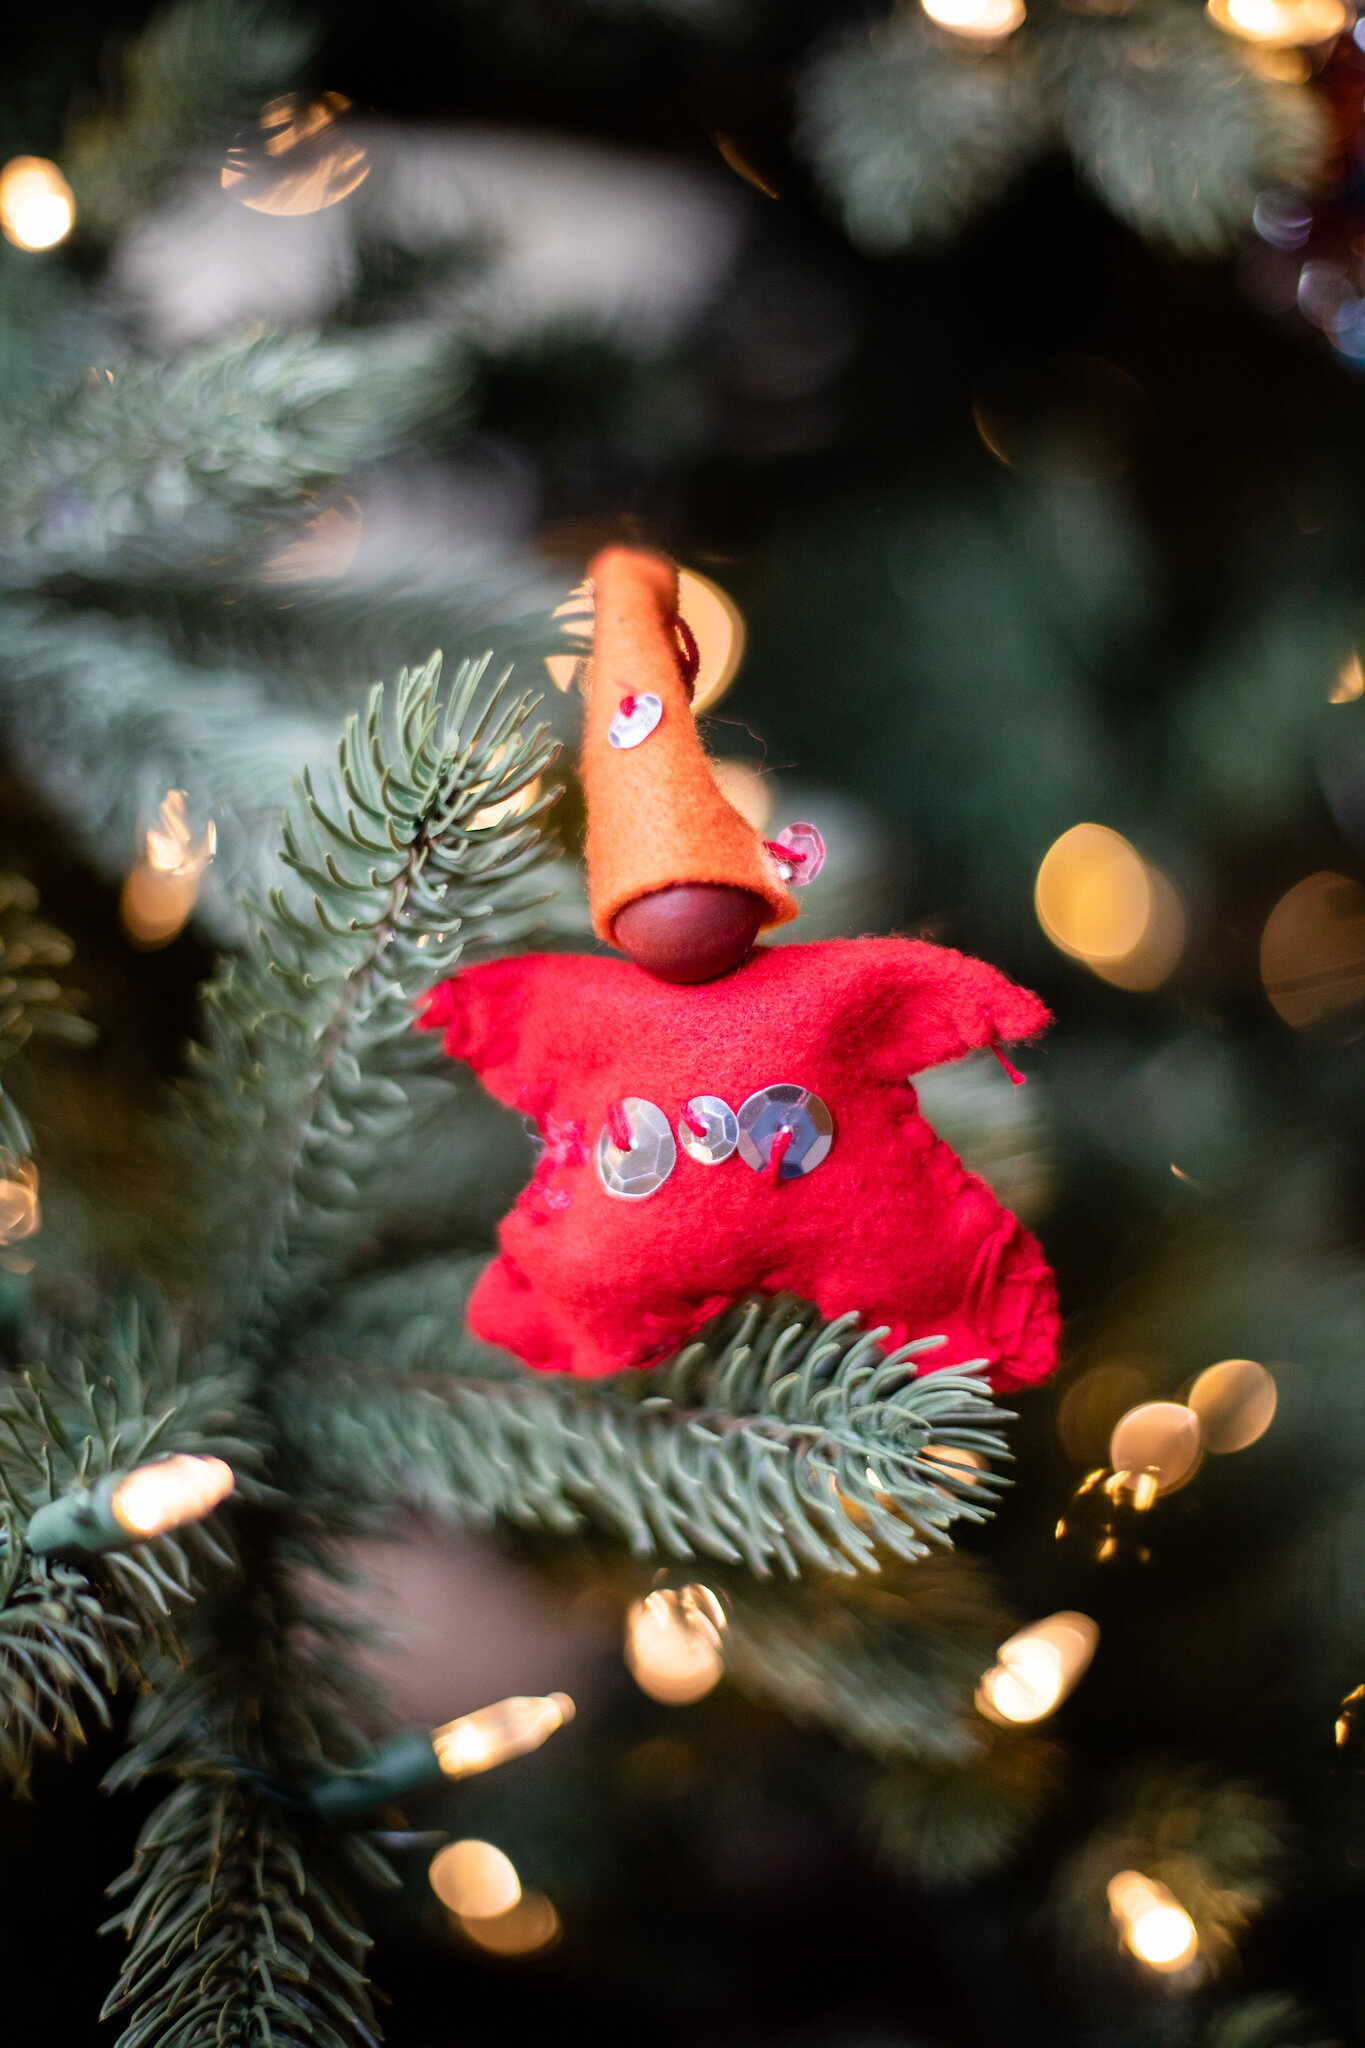
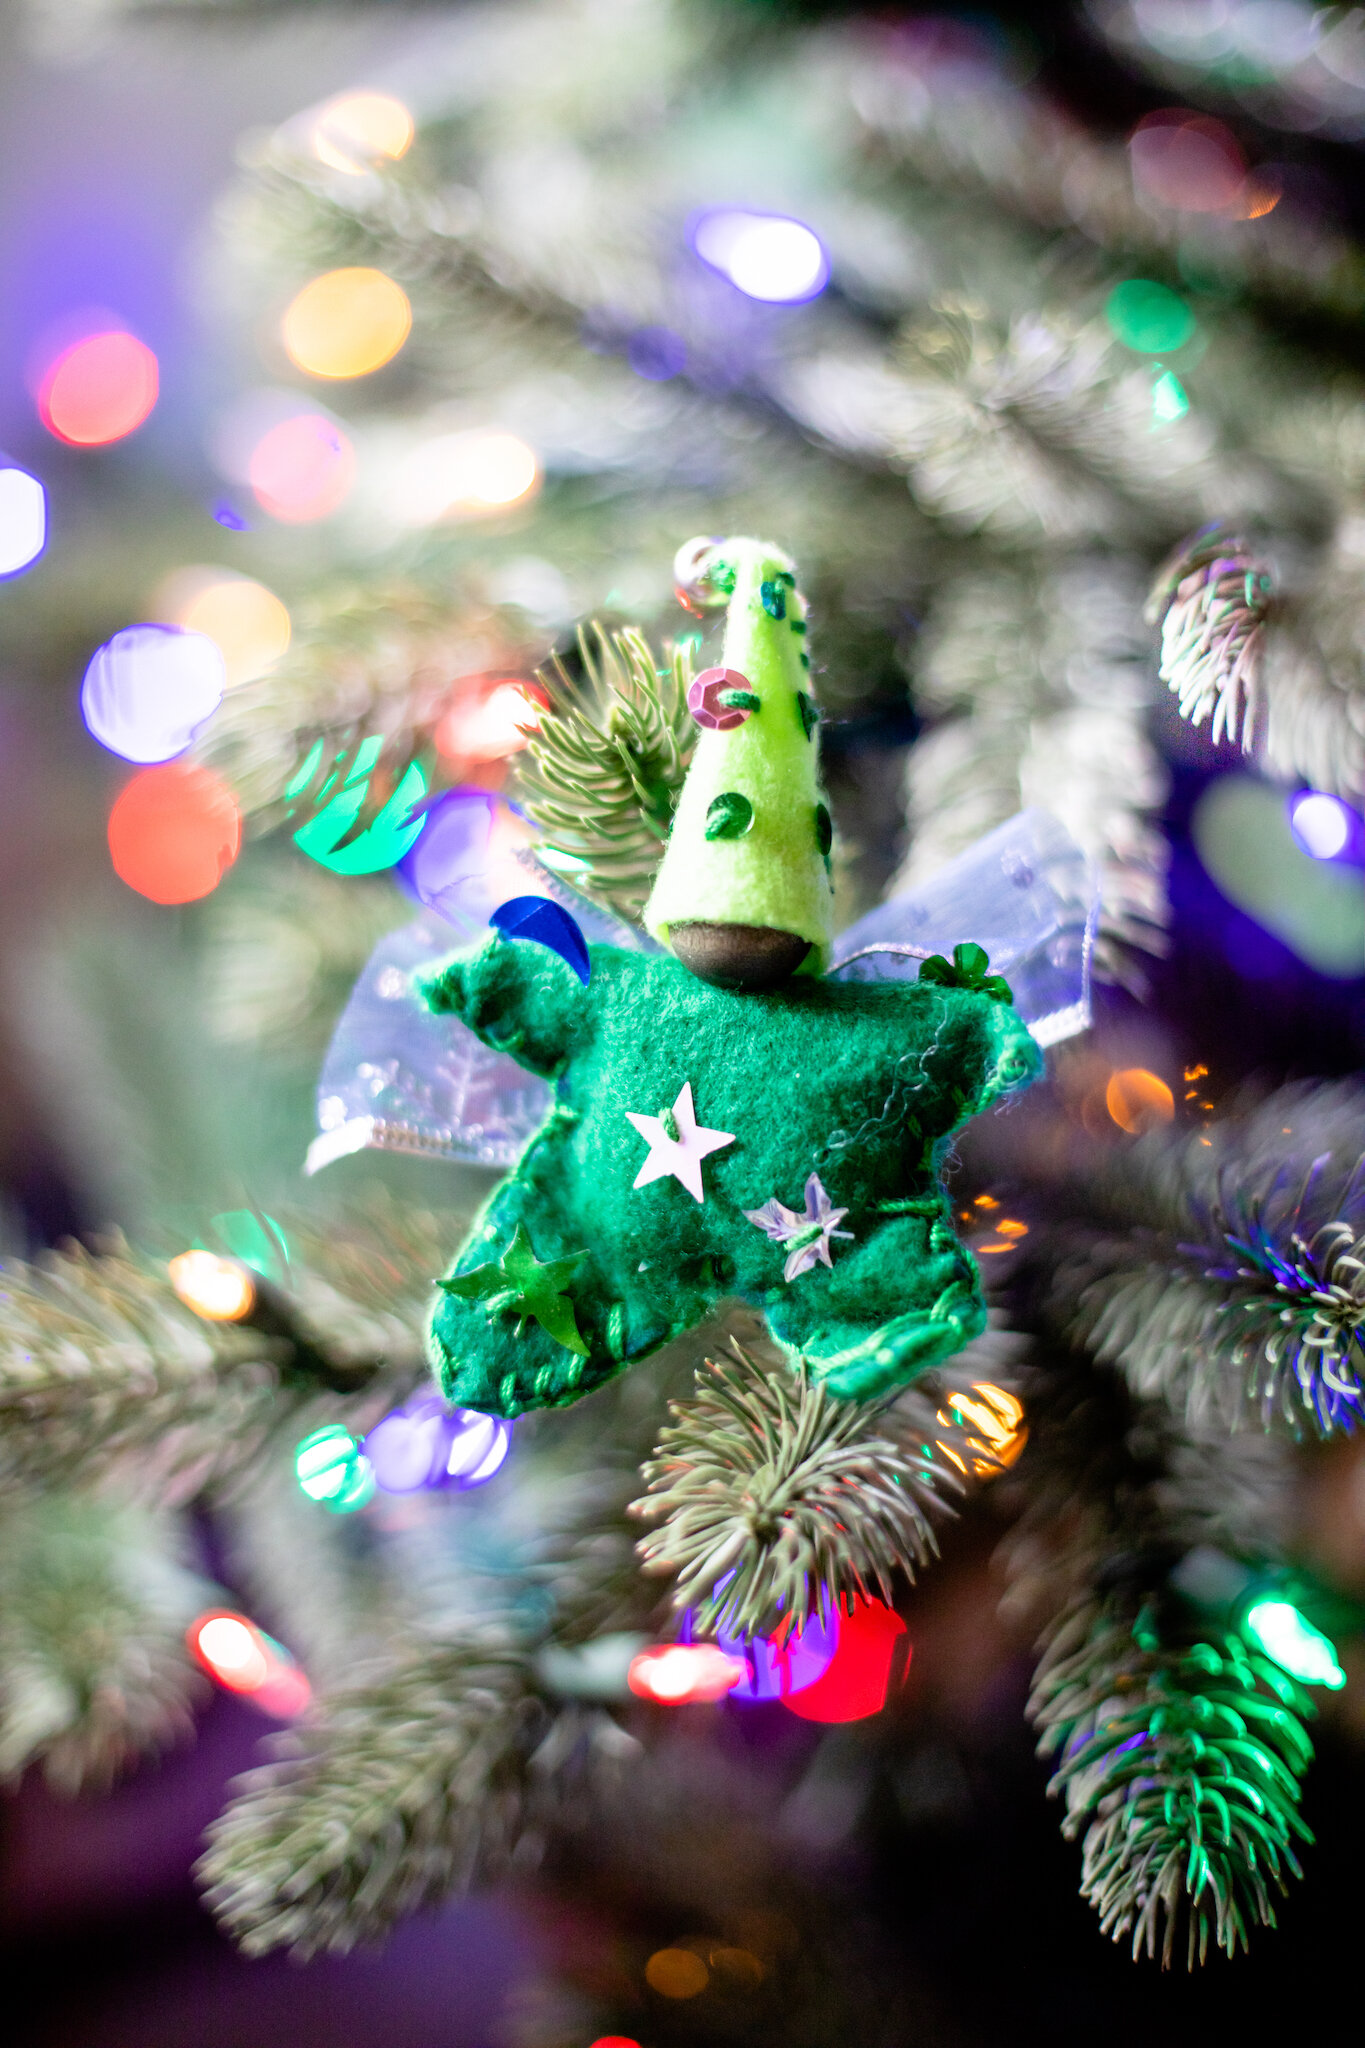
Star babies were a favorite with second-grade students. They were so charming and lent themself to a “wish upon a star” thought to go with the ornament as a gift. With my son, I let him choose a favorite color for his star baby. The star babies that my kids made at school are treasured ornaments (scroll to see a few made by students a couple of years ago). Star babies are in Forest Fairy Crafts.
Christmas Fairies
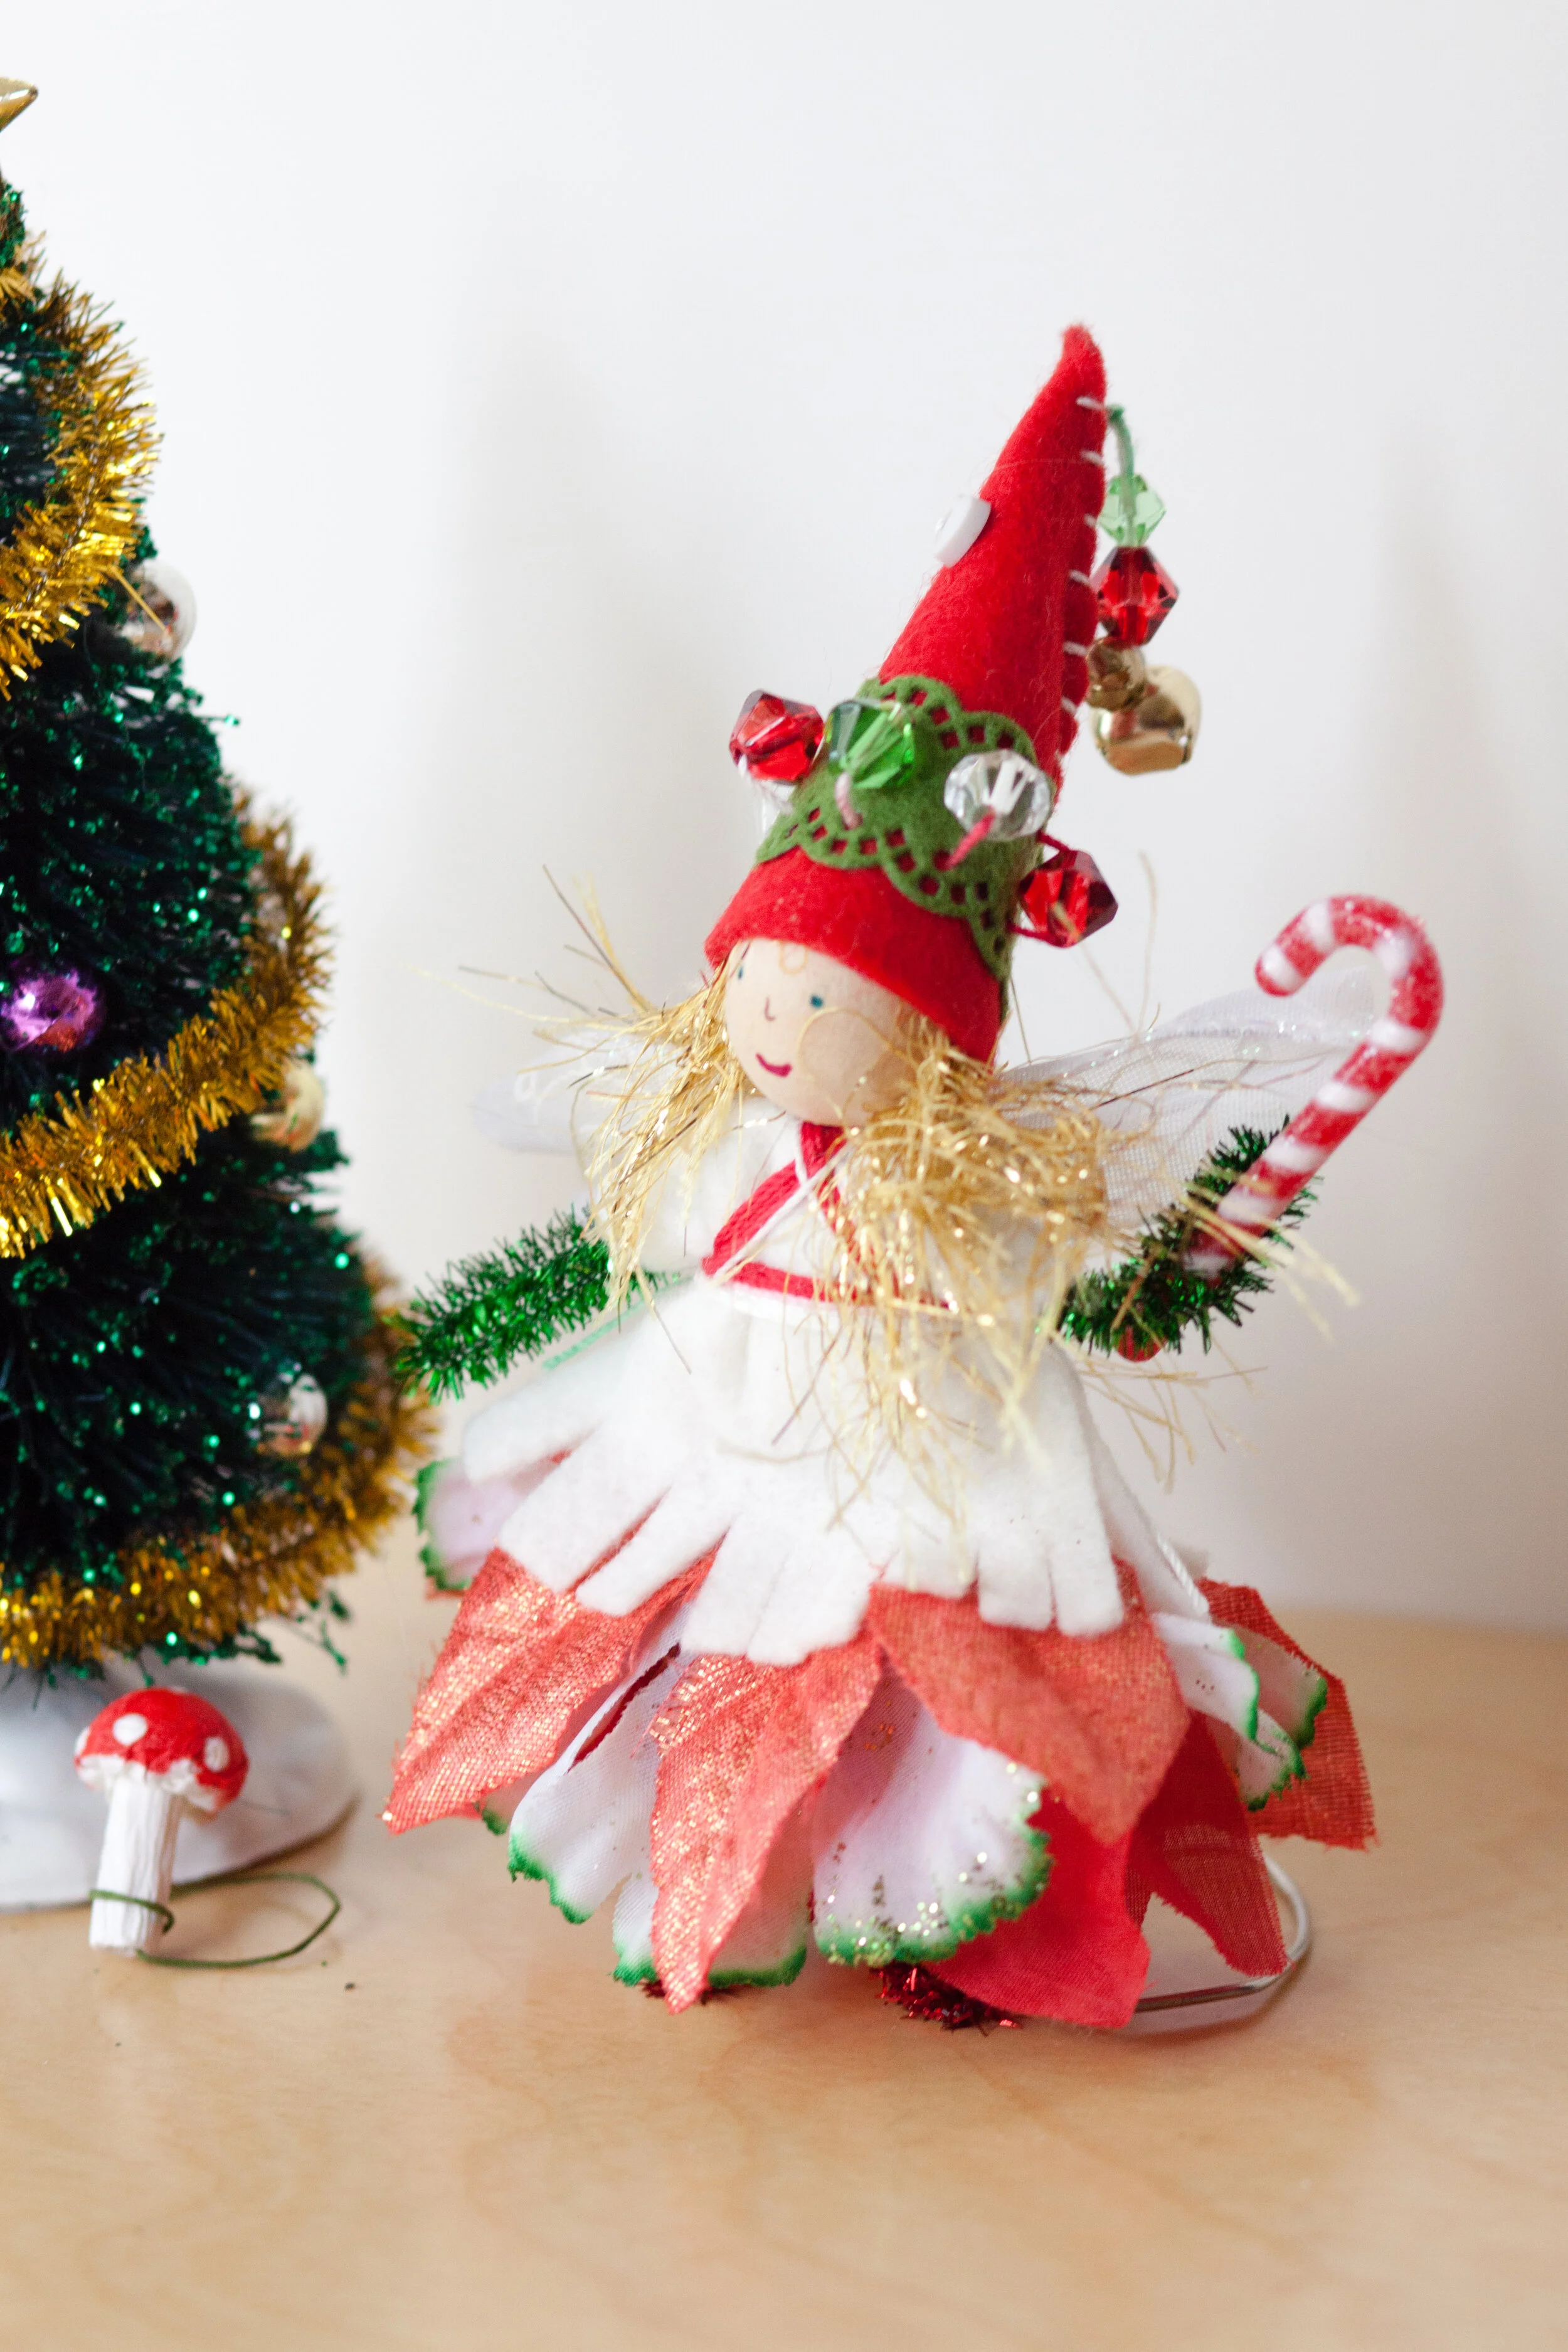
They may be simple, but they’re still magical. The premise for these fairies is seasonal colors. Red, green, and white for Christmas. With gold bells. They’re a celebration of nostalgic Christmas celebrations. I found the little candy cane in the miniatures section of the craft store. And the fancy ribbon with edging was also in the craft store. The nice thing with fairies is a little of a supply goes a long way. I like the beads because they look like ornaments themselves. The sparkly pipe cleaners are also fun when Christmas lights shine on them. You can find many seasonal petals at places like the Dollar Store. The pattern for Christmas fairies is the basic fairy pattern in both books. The Christmas fairies in the left image are in Forest Fairy Crafts.
Modern or Mod Christmas Fairies
While I love classic Christmas colors as much as anyone, playing with modern colors delights me (or are they retro colors, or mod colors?). Regardless, they’re so fun to play with pink, turquoise, and lime green. The scalloped ribbon was a perfect decorative accent (you can see another shade on the Christmas fairy, above). And you may recognize the star sequin from the ice queen fairy with Santa. You’ll start seeing elements appearing on very different fairies. After all, a little decoration goes a long way :). You can use the flower from Forest Fairy Crafts or spring fairy from Magical Forest Fairy Crafts Through the Seasons with whatever colors inspire your holiday vibe.
Phew, if you made it this far, congratulations! I created galleries below that may inspire you. All of the projects are the same as those mentioned above. I do have more projects that didn’t appear in either book. I’d love to share more for different holidays. And I have more, like the peppermints fairies. More inspirations for other posts. For now, I hope one of these has sparked an idea that could entertain you, and/or your children, in the weeks before the holidays. Once you learn one, it’s easy to make more and more. I’ve heard of people gifting them to local children’s organizations. And one person made quite a few to decorate a tree in the local children’s hospital, that could be gifted to children on Christmas. The holidays are all about sharing magic.
Enjoy!
My favorite holidays are handmade :)
Handmade Holiday Gifts in the Forest Fairy Crafts Books for Decorations and Giving to Family and Friends
Disclaimer: This post contains affiliate links. Should you choose to purchase after clicking through a link, a small commission is paid to us while your pricing remains the same. Thank you for supporting the Forest!
A Gratitude Book
The first day of November starts one of my favorite classroom projects- the gratitude books. The idea is simple enough. Each day, children wrote one page for a book that I put together for them to bring home before Thanksgiving. We created books for a number of years, which gave me additional ideas and perspectives on how to inspire and support students along the way. The good news for all of you this year is that I made printable PDF pages to jumpstart your child’s creativity.
You can start the book anytime (and any time of year). You can complete one page a day or a page a week or multiple pages a day. Whatever works best for your children or students.
All of our projects are invitations. Take the idea and make it your own. The templates are set up to be half pages that you can print, cut in half, then staple or punch holes to thread yarn for binding the book. Your book can be 5 pages or 50 pages. I recommend not binding the book until you reach the end of the project. That way you don’t find yourself either with blank unfinished pages or running out of pages. I kept them in a folder. This way, too, I could shuffle pages that a child had already completed, and they could read the pages to me before adding a new page (massive reading practice reinforcement). And students could plan the order of pages before we assembled the final book.
Creating pages itself is fun. The real magic, however, is what happens as children plan pages.
The idea is simple. Make a stack of pages- blank or use our template or make your own. Each day, the child adds another page. They write the sentence (or more if they want) and illustrate it. The only guidance is that each page needs to be different- choosing dogs, dogs, dogs, every day becomes repetitive. However, if they want to vary the dogs- thankful for black dogs and spotty dogs, that’s fine. Here’s why-
They start noticing things throughout the day.
In the beginning, I say that it’s fine to use obvious/easy answers. Some children go right to “air” and “food”. They eventually run out of easy answers. And that’s when they start paying attention to plan the next day’s page. If they get stuck, I’ll ask for details. What’s your favorite food? Or your favorite place to go? But mostly I try to stay quiet and let them simmer ideas and choose on their own time. They know that they need an idea for the next day, and eventually, they realize that paying attention can give them an idea before they sit at the table to write.
The original book project was a daily activity during group time. You could easily change the duration of the project for whatever is available for your family, classroom, or group. The pages can be made in an afternoon or over a number of weeks.
One way that I make it easier for younger children is to write the beginning of the sentence because the goal for me is thinking and writing unique ideas. The templates use a gray font because I would encourage children to trace the written letters if possible. Tracing takes less brain-power and reinforces the spelling for later. If students are tired or overwhelmed by that quest, skip tracing the letters.
A supportive idea for their own words is that they could tell you the end of the sentence and you write the letters lightly for them to trace, or they use a colored pencil over your letters to make it colorful. For very young children, you can write the words and they draw the pictures.
As with all my projects, I ask myself, “What is the goal?” If the book is going to be shared around at Thanksgiving, you may want to pay closer attention to correct spelling and neatness. If the goal is an immersive celebration of all the wonders of a child’s life, then don’t worry too much about neatness and correct spelling.
And I guarantee you, they love reading this book. By having the first words exactly the same on every page, it builds confidence for early readers.
With older children, I encouraged looking for details. Why say cats when you mean super fluffy cats? Why say food when you mean garlic mashed potatoes with gravy?
I encourage adults to create their own books as well. Show that appreciation continues through all of our years. This year, in particular, brings massive challenges. Yet the appreciations are so sweet. I appreciate my fluffy black and white dog that cuddles throughout the day.
Further ideas and notes: you can make the book resemble a scrapbook. Collect leaves or look through old magazines for images that inspire. Add them to pages. Use watercolors or paint or stickers. Give students room to imagine how each page can express their ideas. By assembling at the end, you won’t worry about paints smearing onto other pages. Feel free to let children express their creativity. I am so grateful for that!
Our template has a text box and another page with a line. You can add more lines, or a top line and dashed middle line if that matches your child’s learning process. It’s easier to add lines than remove them :)
If a child wants to write more than one page a day, that’s totally fine. Some students wanted to write many, many pages. When you assemble the book on a date instead of binding it in the beginning, making a page a work of art won’t damage other pages.
We hope that you enjoy the project! The Gratitude Book was a delight to create and read with students. And they were so proud of their books (as they should be).
As an added bonus, children went to Thanksgiving celebrations with plenty of answers to “What are you thankful for?”
We’ve included a “print” font version and a “handwriting” font for practicing cursive. Both can be printed on printers. Enjoy!
Autumn Leaf Decoration: Nature Craft
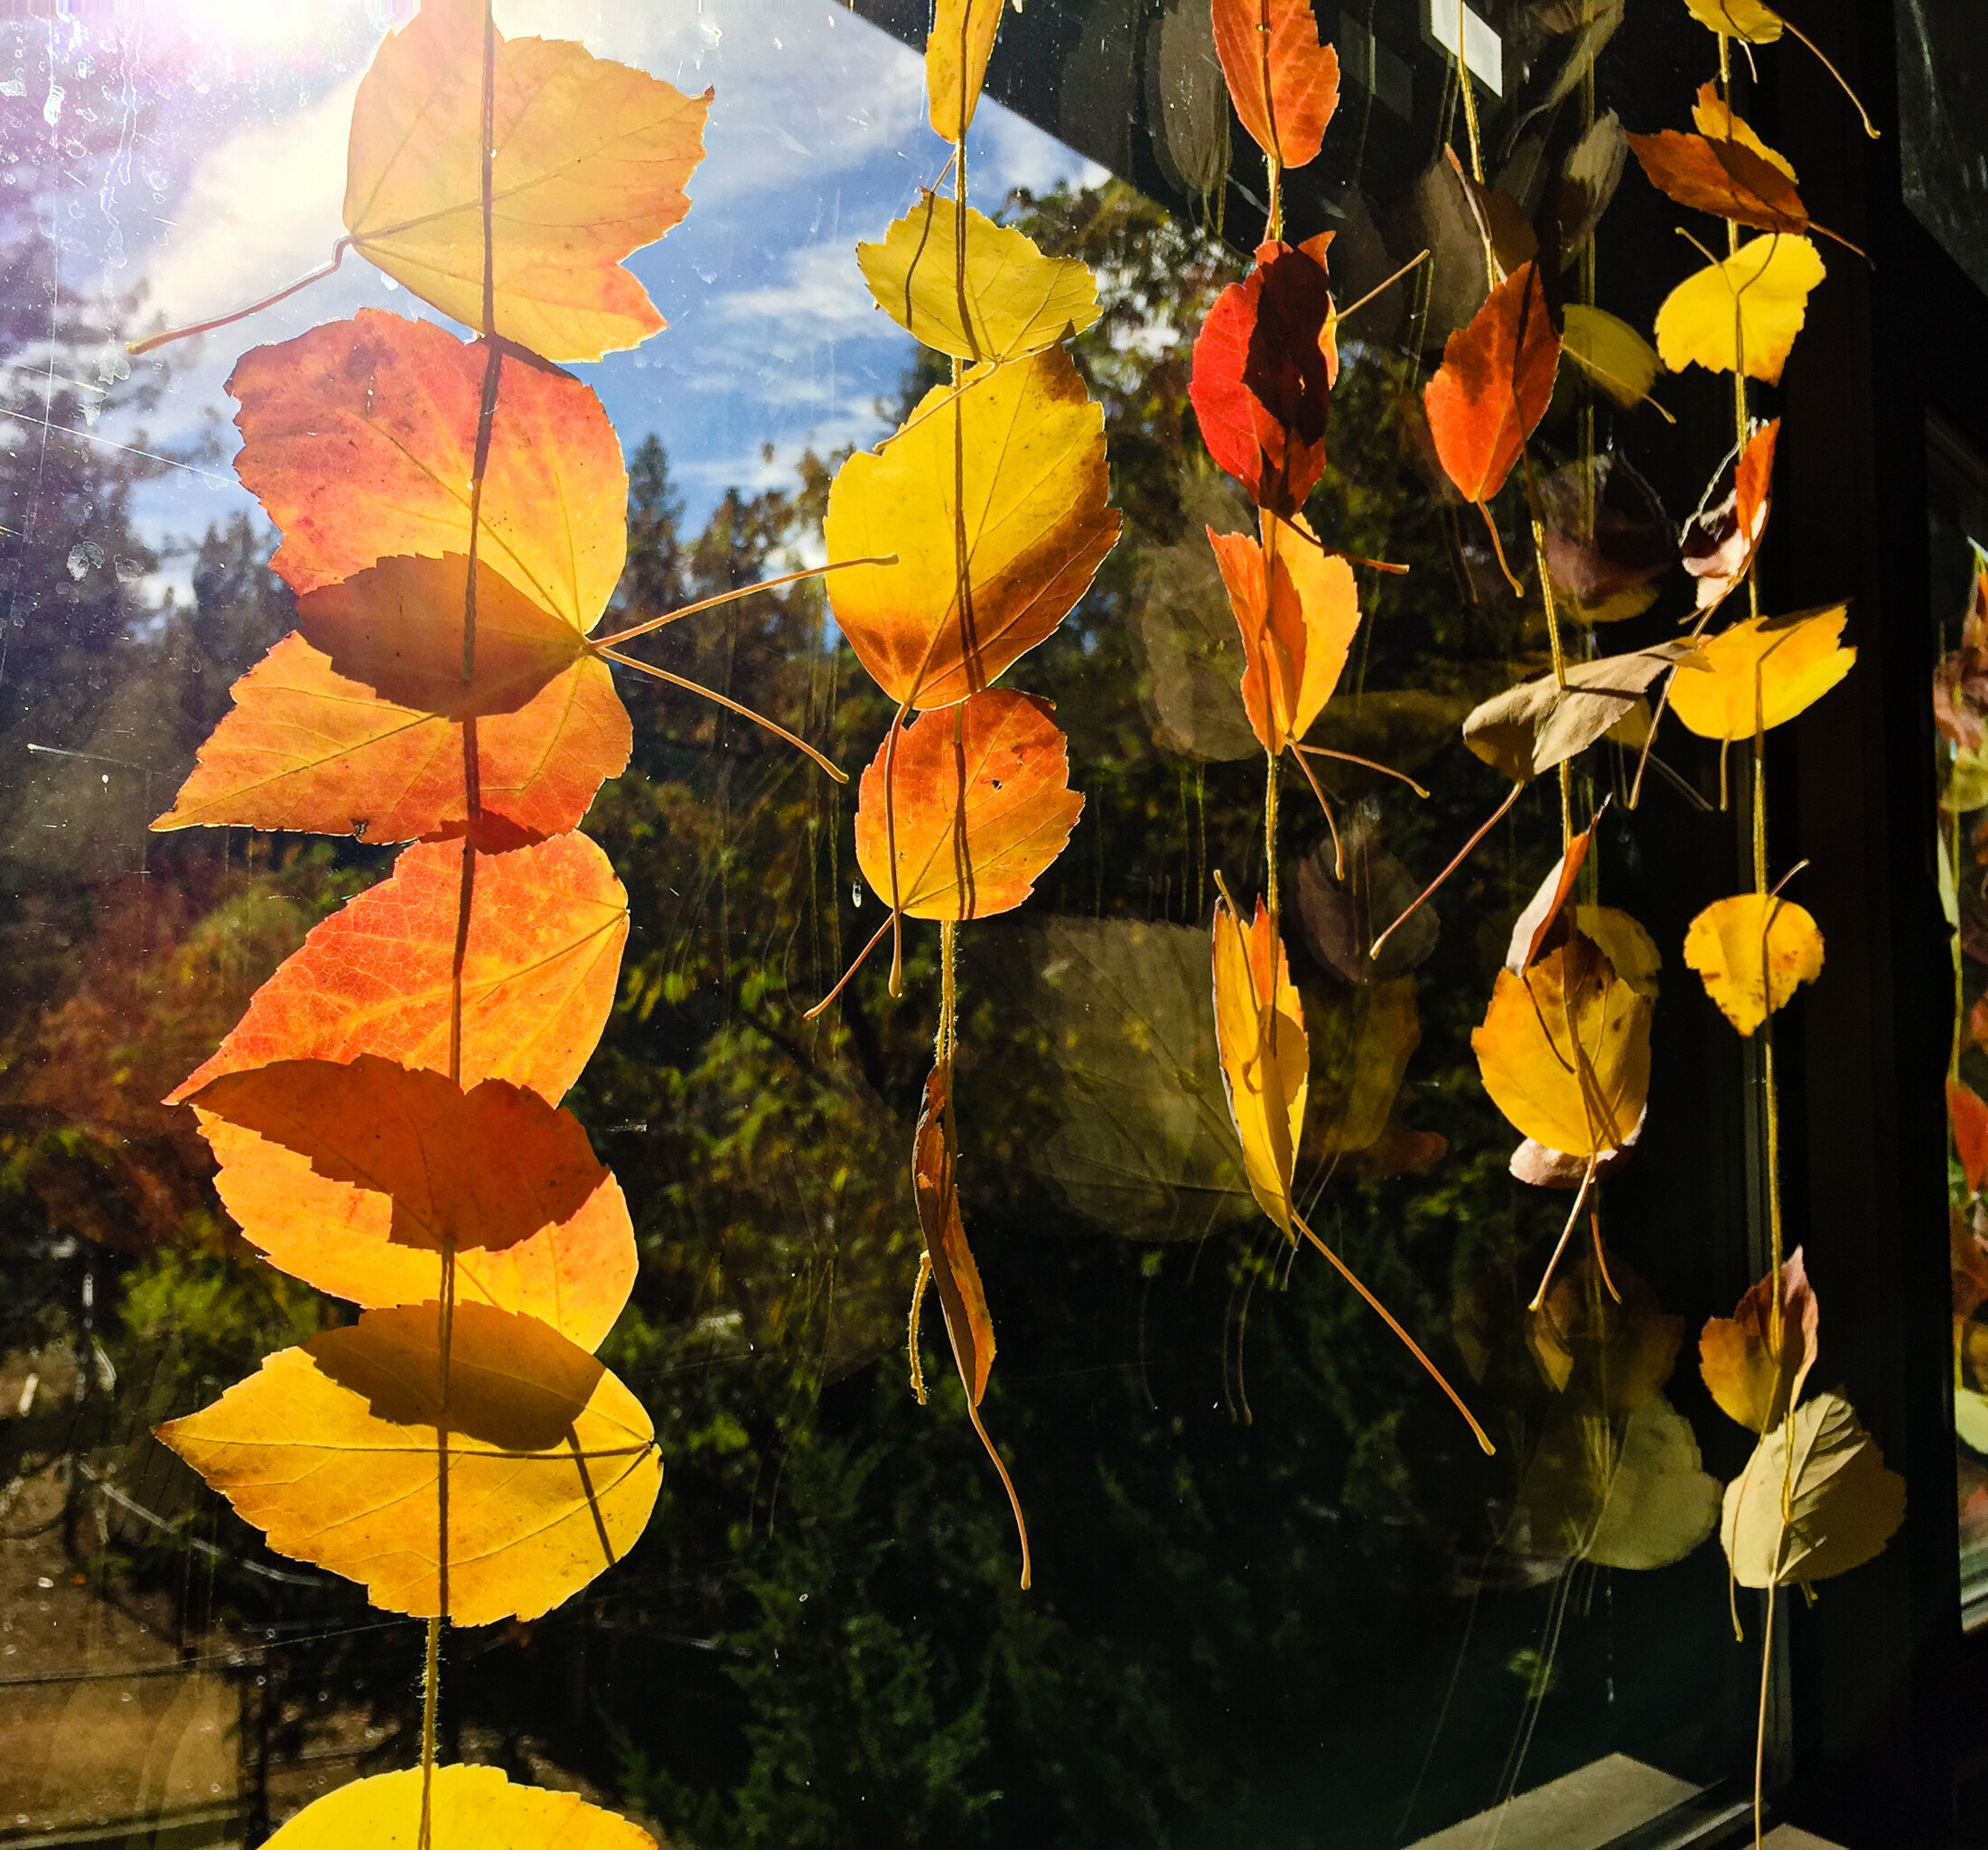
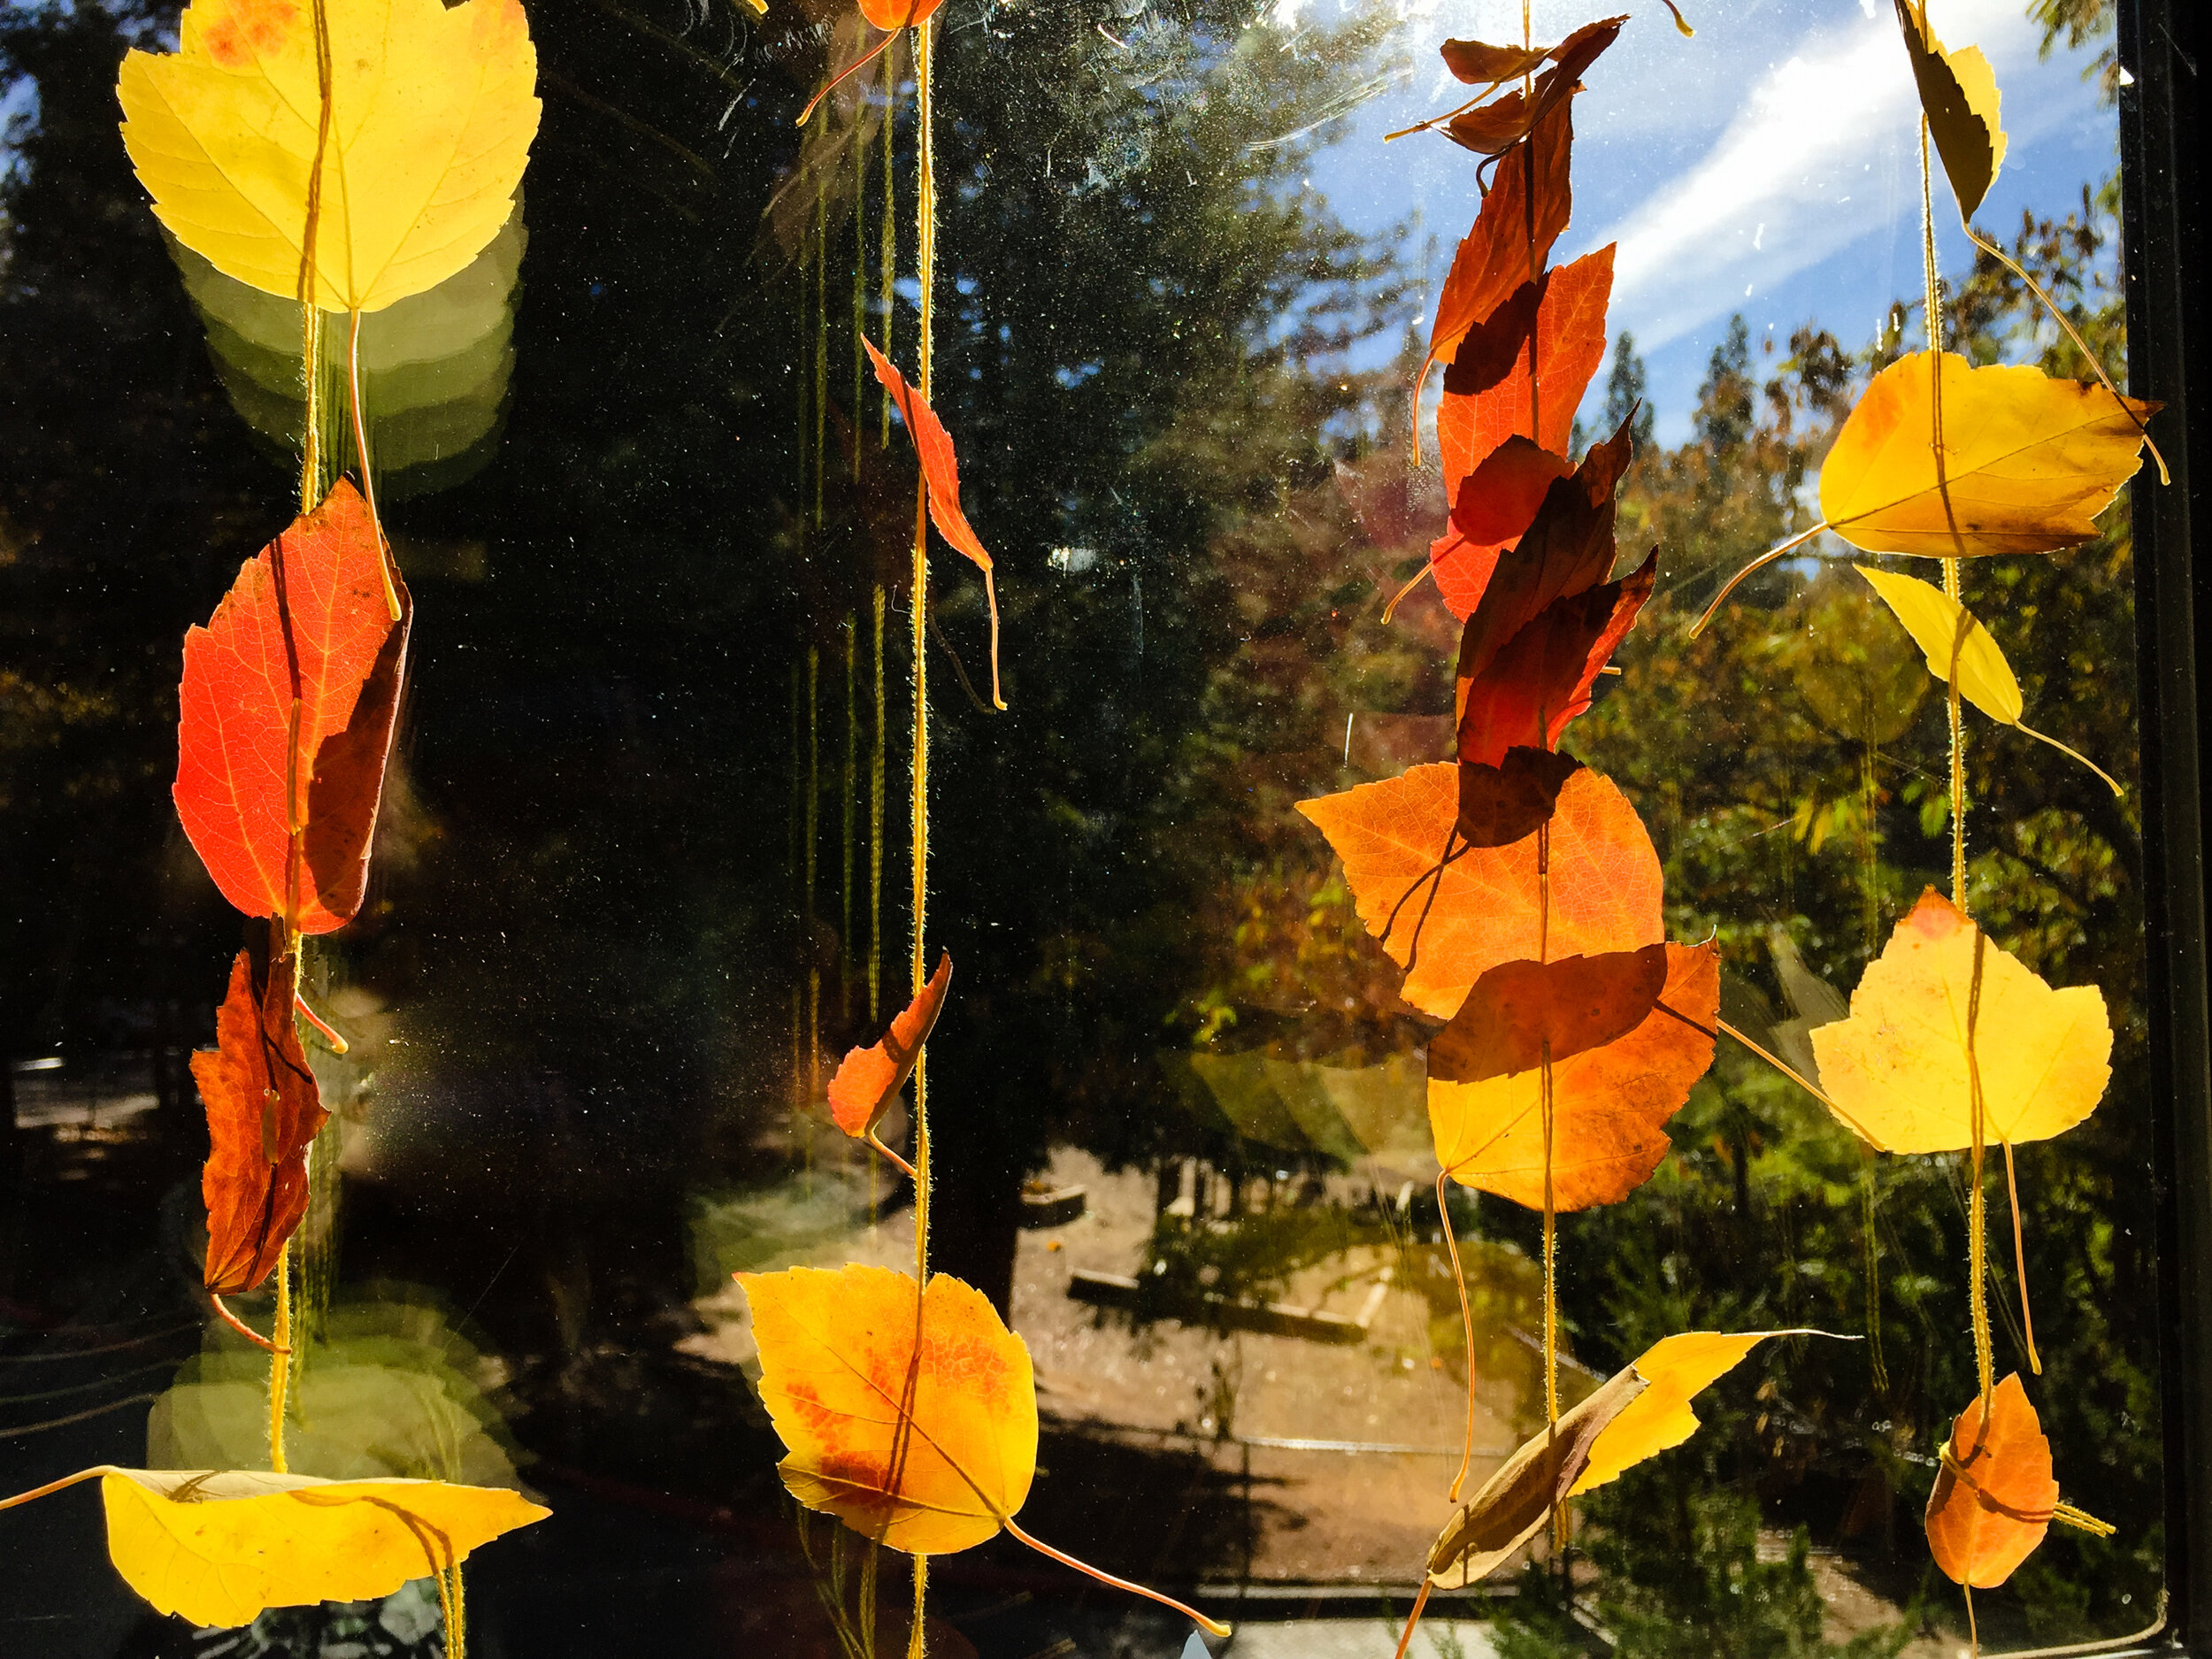
Children (and adults) enjoy collecting autumn leaves. Wandering around neighborhoods or trails shares any number of splendid fall leaves. We collect them on the nature table and use felt leaves for garlands. Then I wondered if we could create something lovely using real leaves.
The real leaf garlands brought gorgeous color into our classrooms. The concept for them is incredibly simple.
Step one was usually a question. Could we sew leaves? And that prompted lots of ideas for yes or no. Then I shared that we could make decorations for the window (or anywhere- we love the light through colorful leaves). We created a plan to collect leaves on a walk around the playground. We have guidance not to pick leaves off of plants or trees. Only choose leaves on the ground.
I might share that the leaf needs to be soft because if it’s crunchy or brittle, it can fall apart when you sew through it. If you are creating these with children of your own, you may want to let them discover this on their own- like what happens when you try to sew a dry leaf? In a classroom, that meant quite a messy project.
We use crochet thread (size 3) which doesn’t tangle very easily. We cut a length of red or amber thread (any color would be fine). We use tapestry needles with very blunt tips or embroidery needles with large eyes for older students. We thread the needle and bring both ends even to tie a slip knot. This way, the needle cannot be pulled off of the thread by accident.
Sewing the leaves is a very simple process of pushing the needle through one leaf. Pull that leaf where you like it on the thread. The leaves tend to stay where you slide them on the thread since they’re light. Then add another leaf. By having thread go through a leaf once, the leaves “lean” one way or the other and look like they’re tumbling down in the window. Once you reach near the end, snip the needle free of the thread and tie a slip knot or double knot to hang anywhere.
The leaves will dry out eventually (which can be a science observation in itself- how long does it take for them to dry out?). You can take them down and outside to crunch them into mulch to return to the soil. The thread can be used for another project if you like.
I have read about preserving leaves with beeswax, which you could research if you want a display to last longer. I did find it lovely to see how nature is astonishing and fleeting all at the same time.
If you are making these with a class, or group of children, it’s helpful to thread the needles and tie the first knot ahead of time.
The walk to discover leaves, the sewing of leaves, and the enjoyment of leaves catching the light means that this activity combines nature and fine motor skills. I would often invite children to sew a second garland to take home because they enjoyed it so much.
Autumn is such a lovely season.
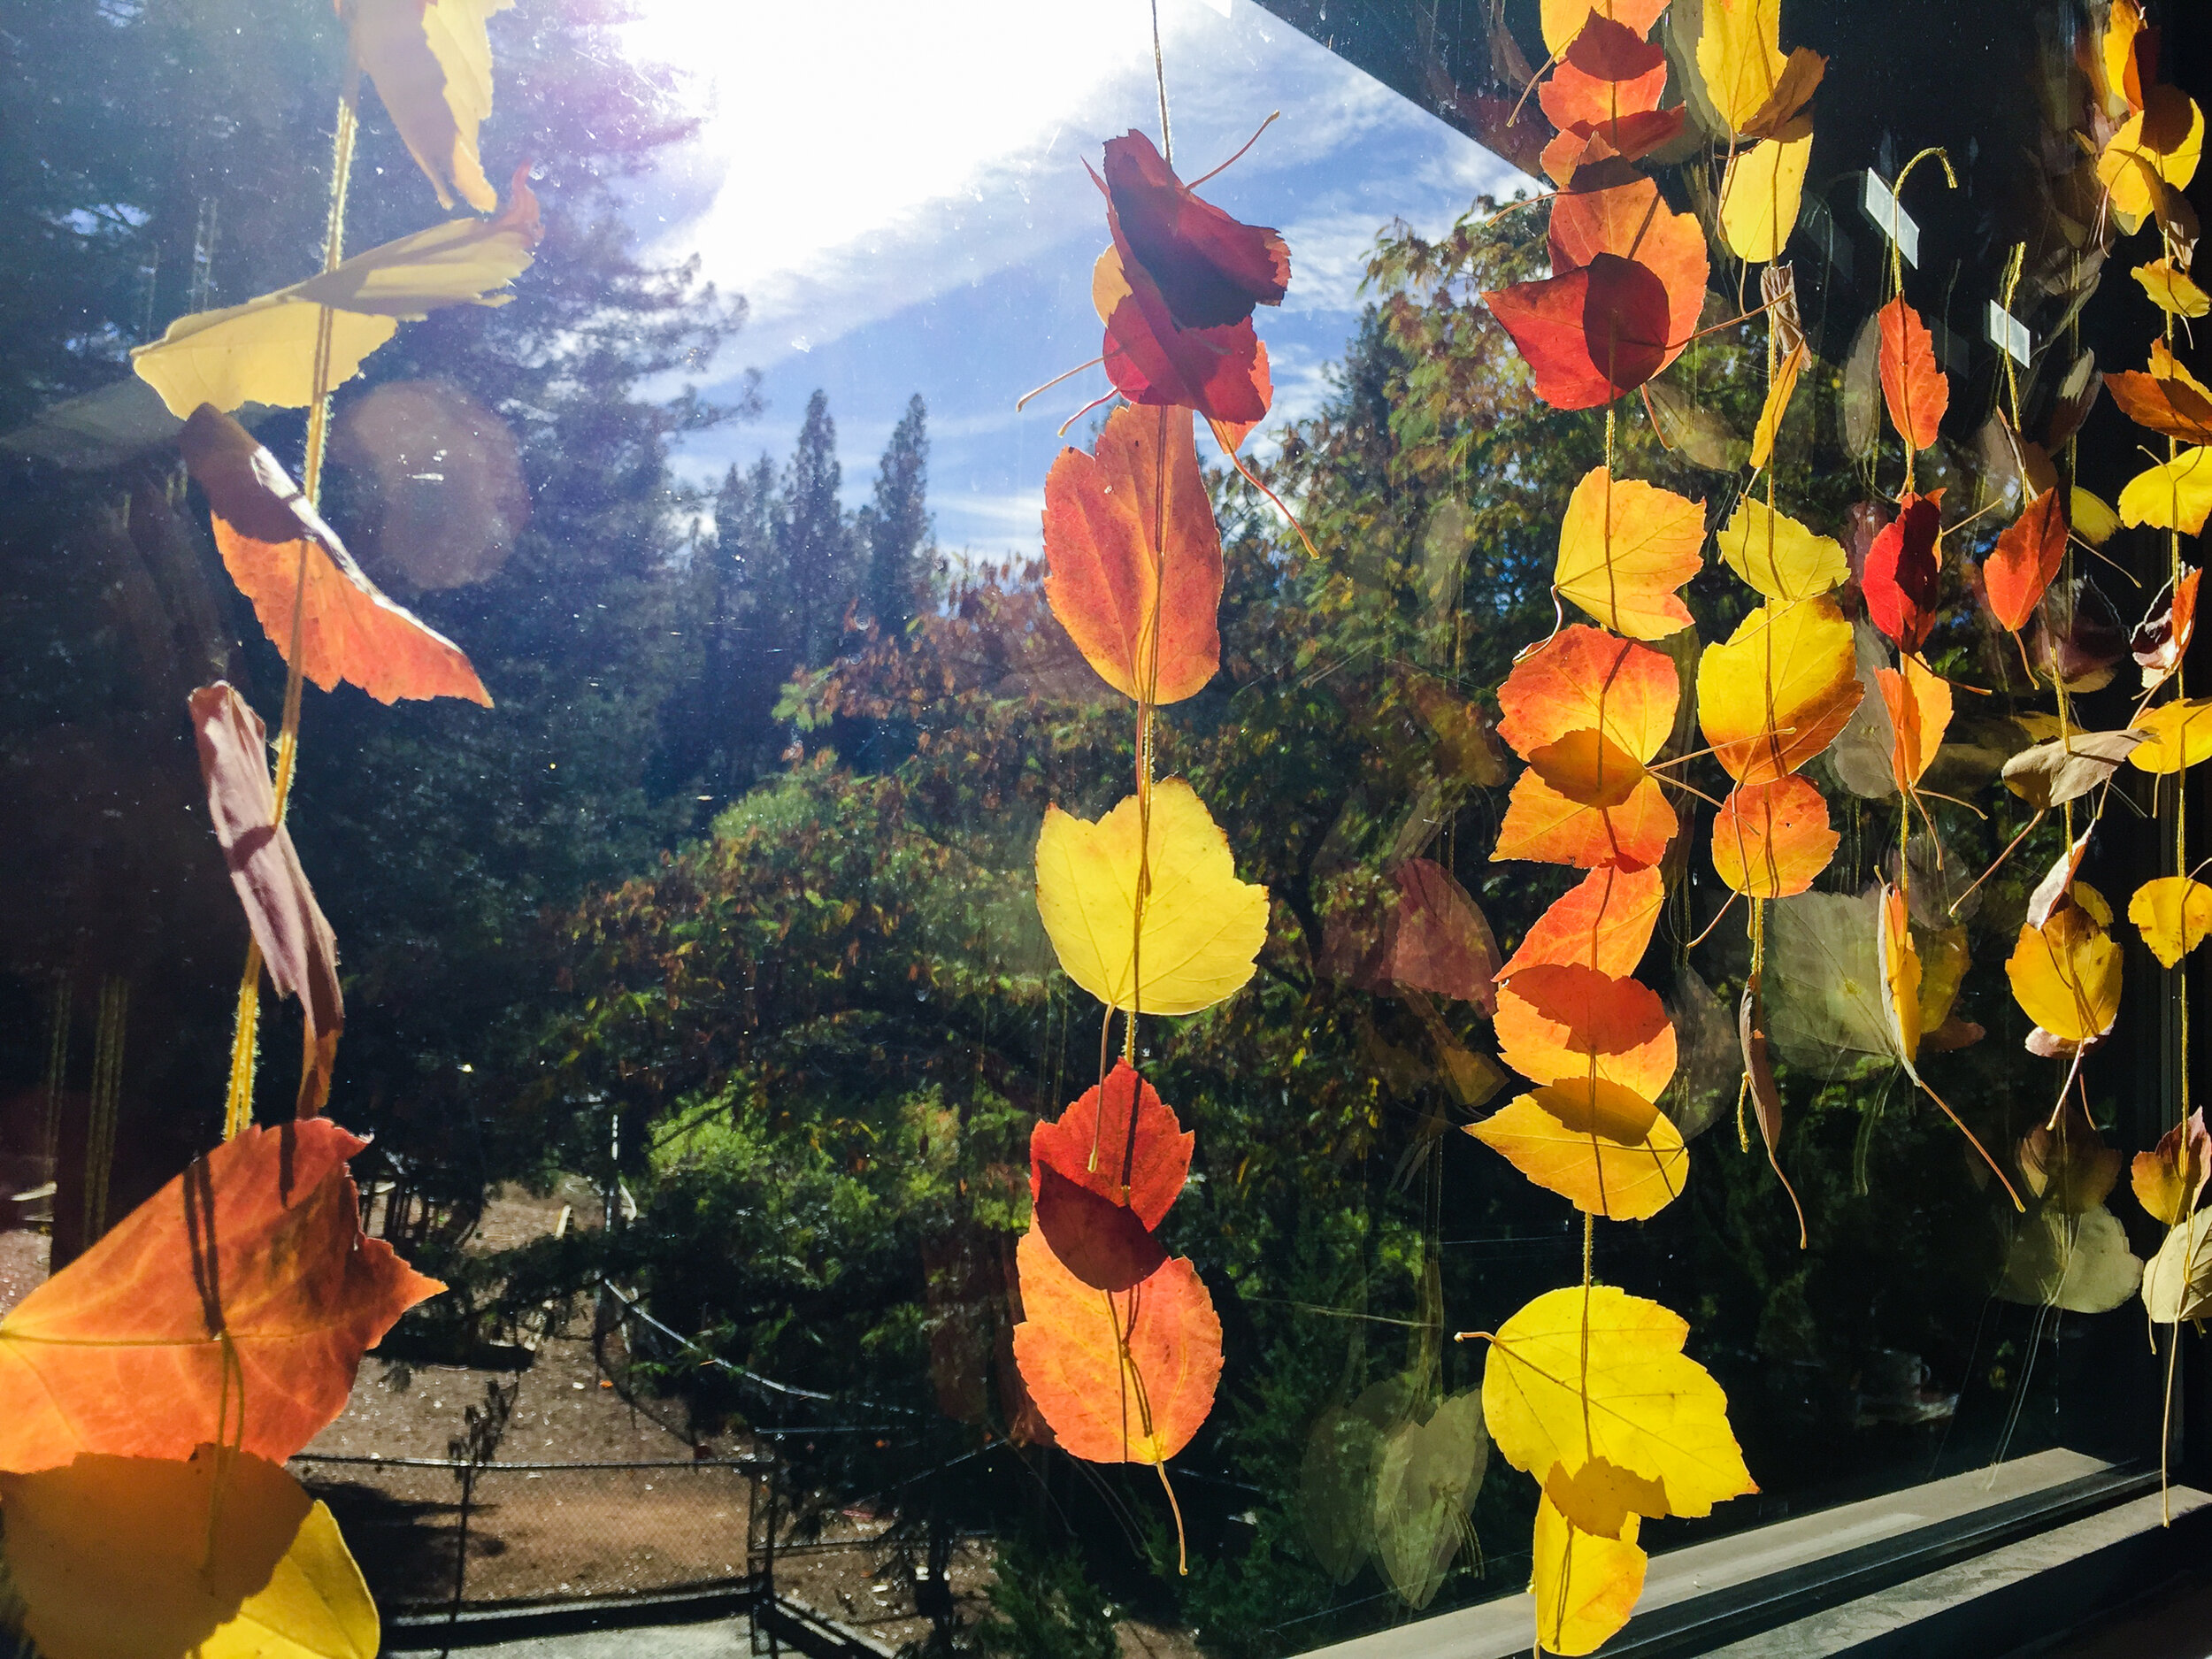
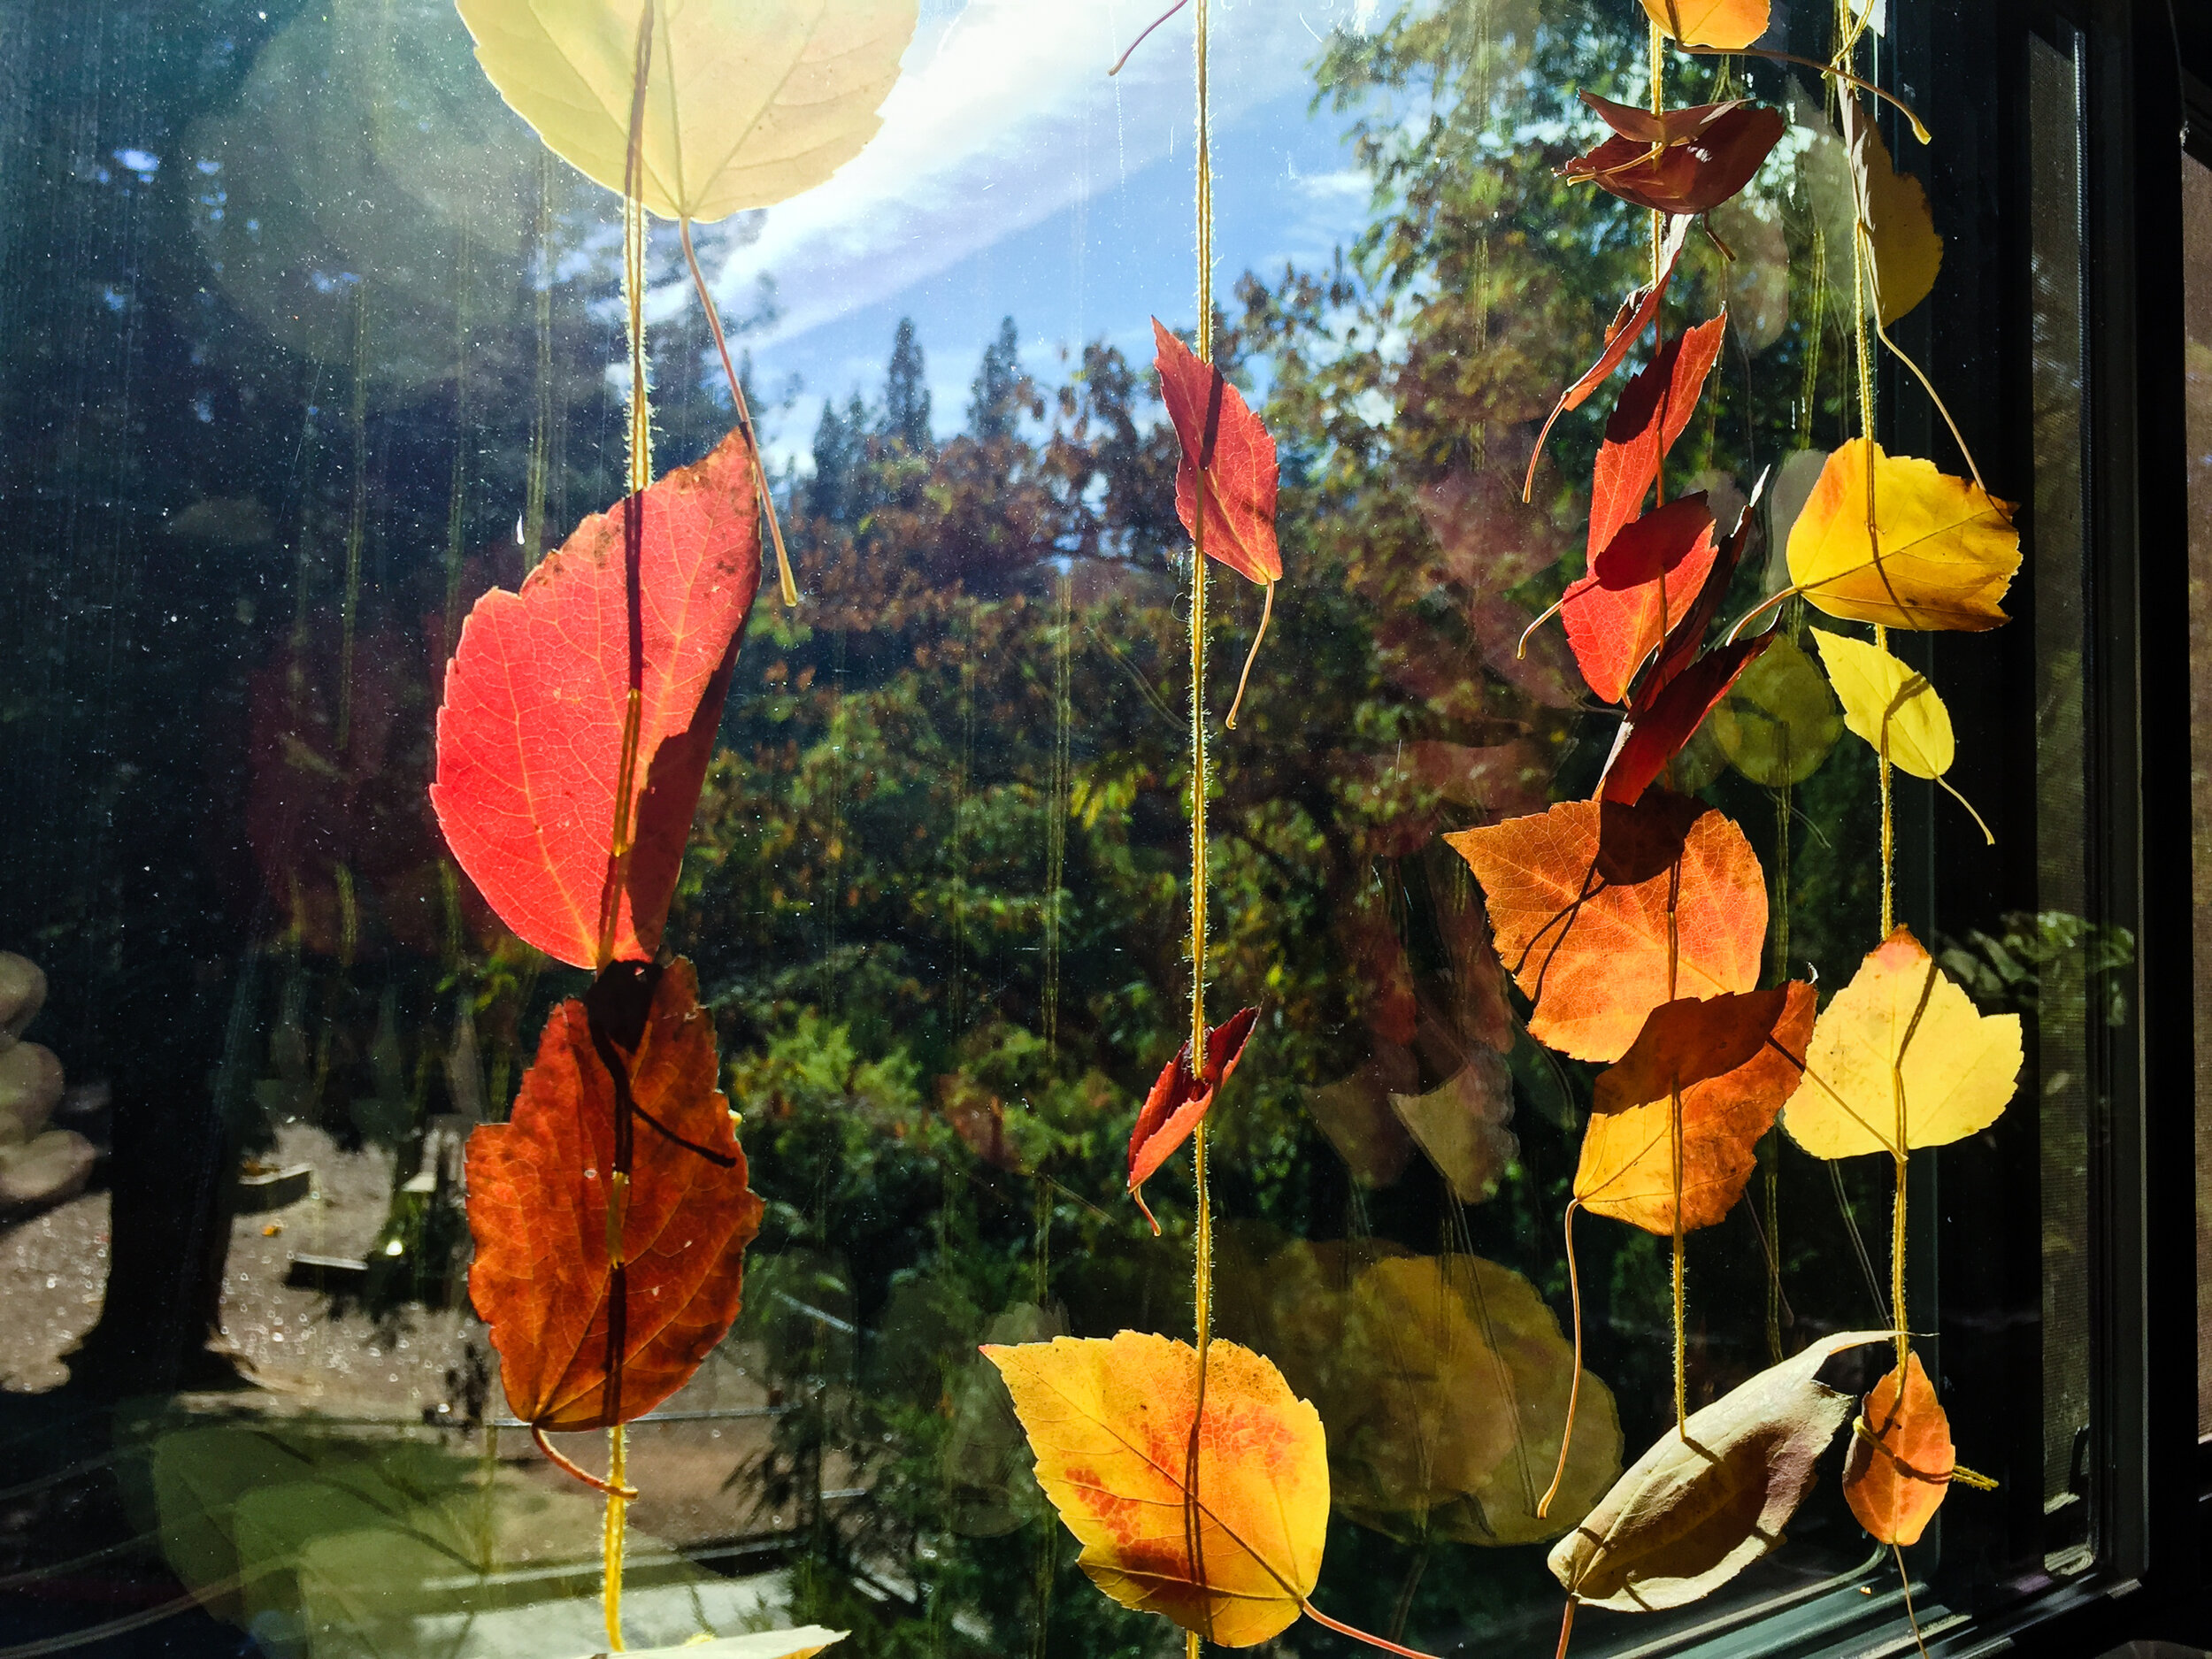
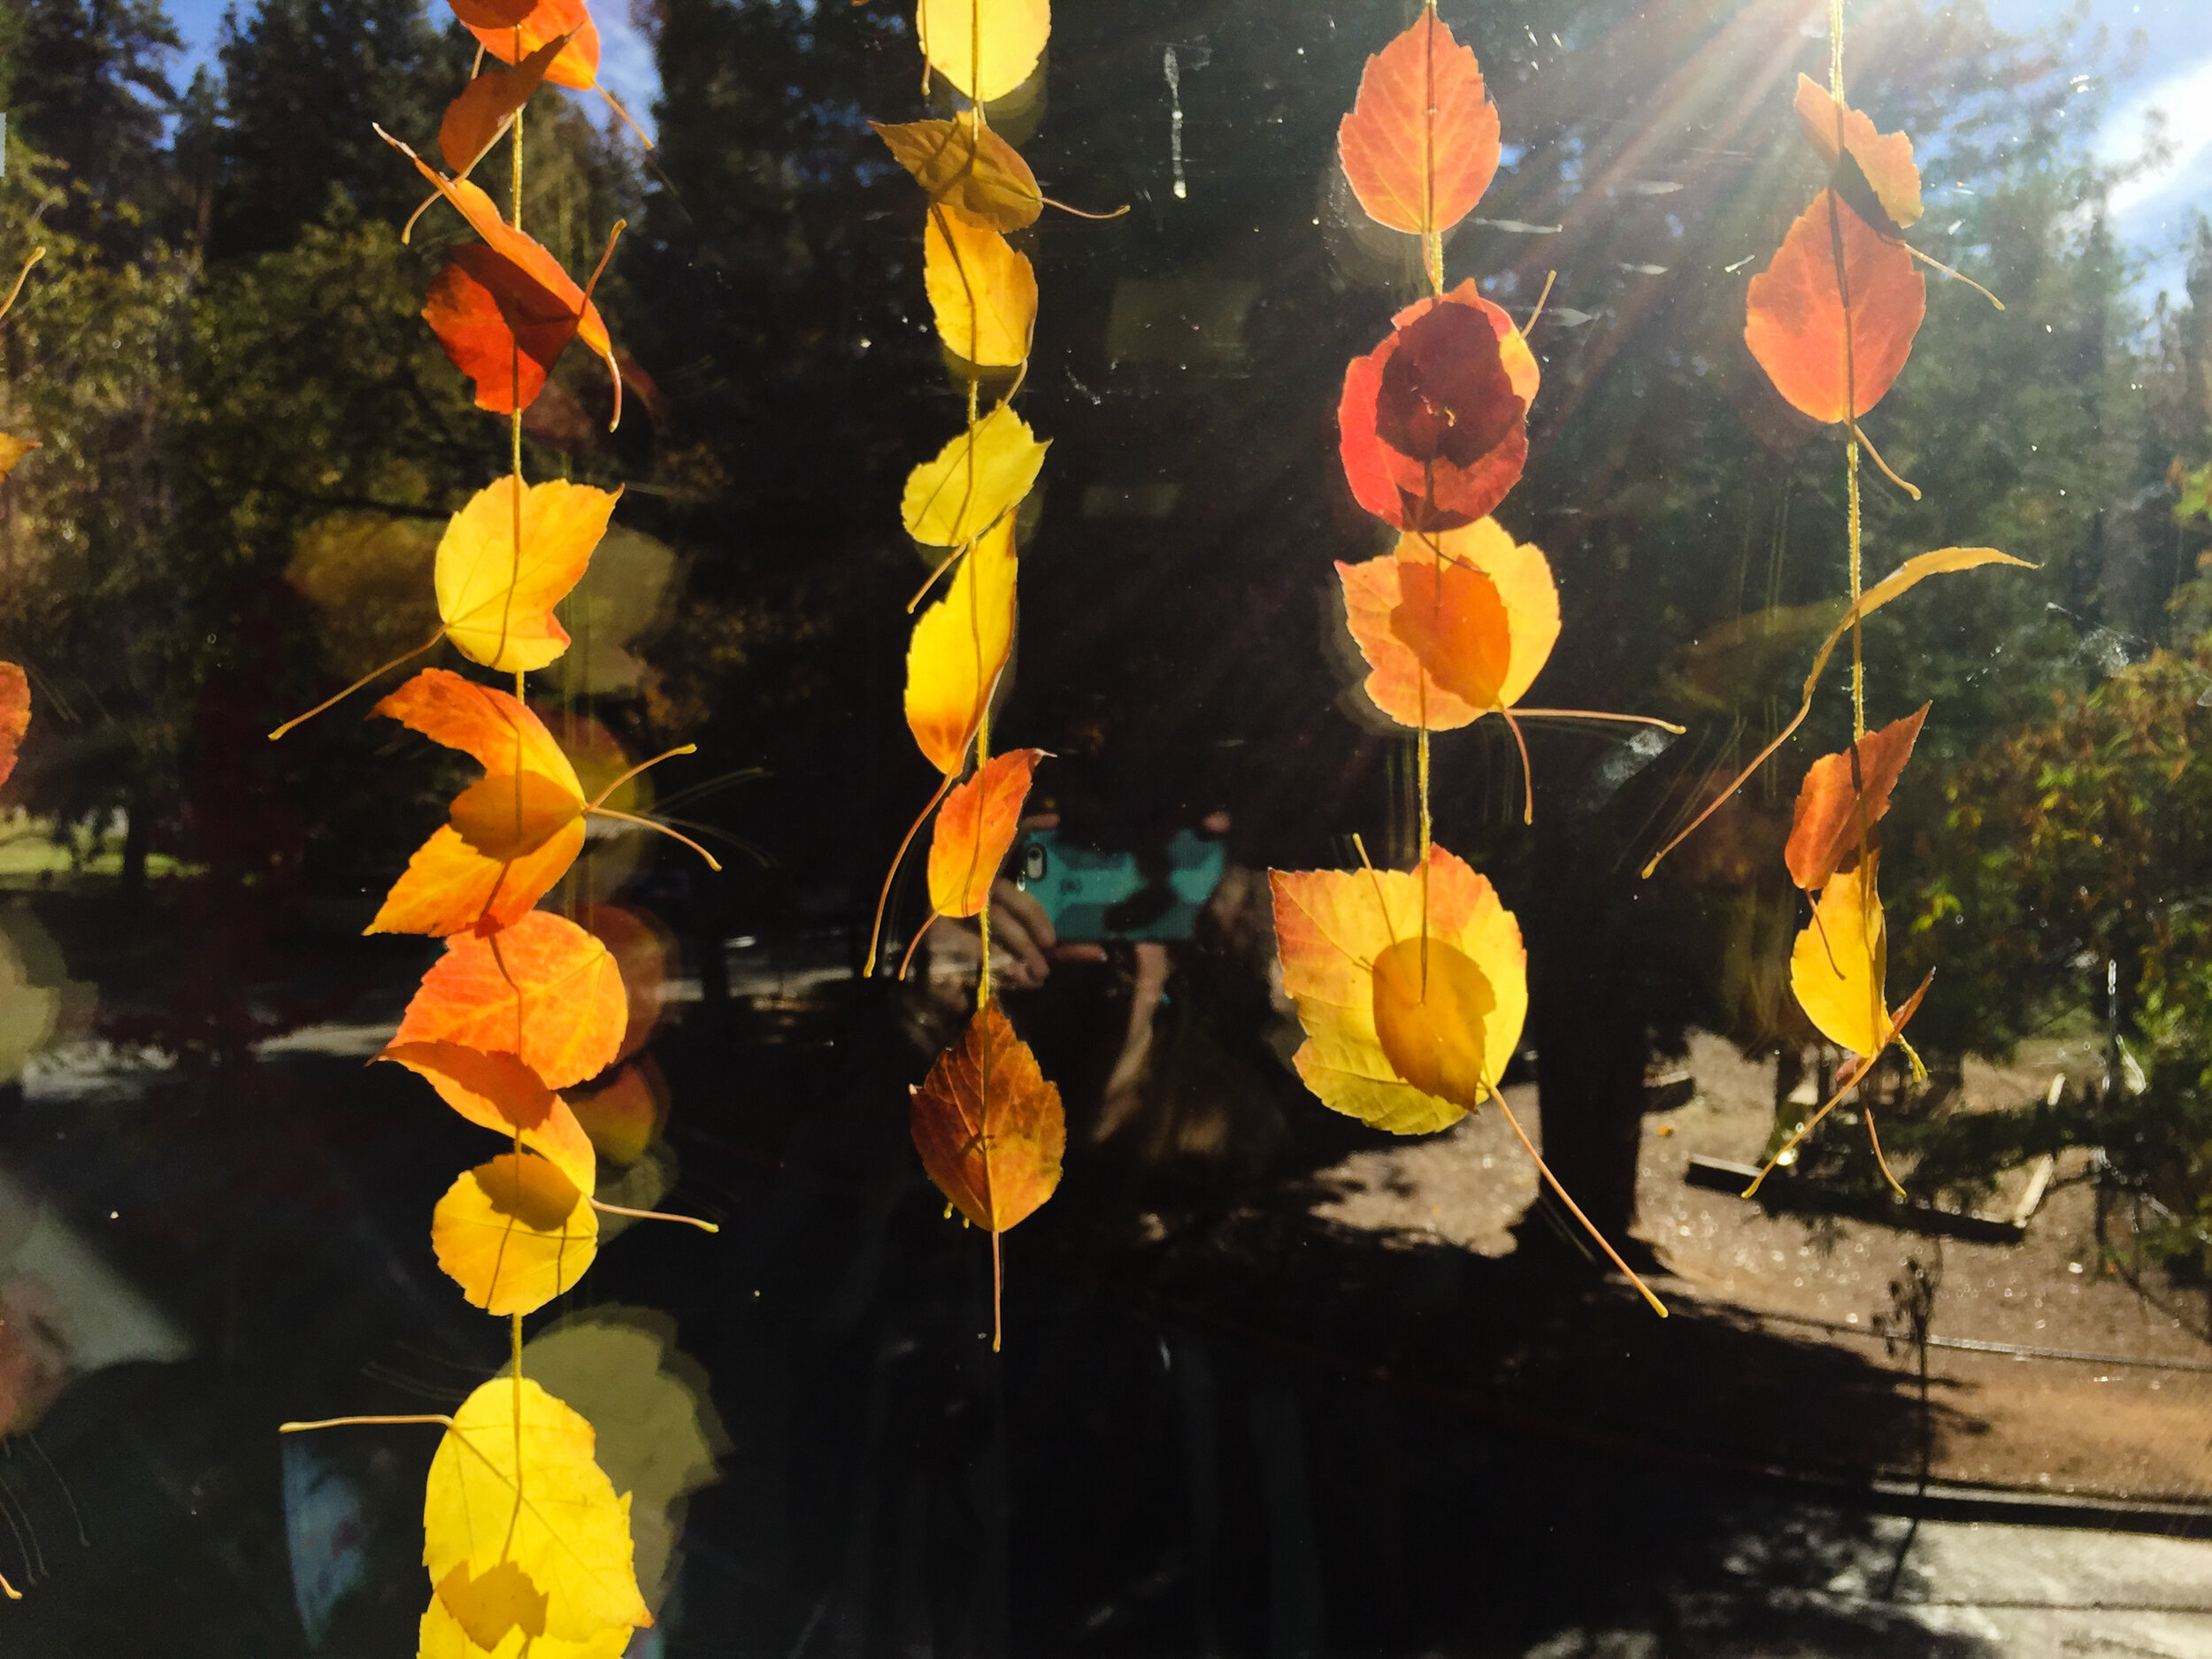
We hope you’re inspired to create a few garlands for your own space to celebrate the season.
Another idea- identify the trees from their leaves. Look them up online or use a leaf identification book to learn more about the trees in your neighborhood.
Happy autumn! 🍂🍁🍂
Reading as a Garden
Before crafts and writing, I was a classroom teacher for over ten years. I taught kindergarten-second grades (along with handwork to third graders). I considered the path to reading one of my most important quests. And, as conversations swirl around reading and children learning to read, I want to serve up a tray of goodies and a cup of tea and chat like I once chatted with parents of children in my class at school. Most schools treat reading as a straightforward path. Follow these skills- learn the alphabet, learn your sounds, and tada, you can read!
Reading is not nearly that straightforward for some children. Especially when I was a “Reading Teacher” and my own daughter struggled with reading. Turns out that she has dyslexia, which was easy to overlook in younger grades because she was bright and engaged and eager to learn. Often, children that don’t meet benchmarks, or goals, by certain ages are called “Reluctant Readers.” They’re not reluctant in my experience. If anything, they want to read so badly. They want to curl up like their peers and wander through stories. They simply, through no fault of their own, haven’t followed the traditional path to reading acquisition (which is a fancy way to say they haven’t “learned to read”).
These are big ideas and big discussions that I’ll keep adding with ideas, insights, and, hopefully, inspirations. Writing Forest Fairy Crafts connects to this idea about creating a world where children are empowered. Not only do children learn to make things, but non-fiction can be an excellent resource and practice for beginning readers. More on that soon.
First, let’s start with a story. Imagine that you need to grow a garden. You’re responsible for a patch of dirt. And you are promised, if you do your work, if you show up, if you dig and plant and care for the soil, you will enjoy the fruits of that labor. Sweet strawberries and blossoms with jewel-tone petals. Leafy shade and lush greenery. The hard work will pay off so many times over.
You can do this. After all, everyone wants to help.
But the soil is full of stones. It’s not easy. Instead, it’s heavy toiling work. The sun is hot and the dirt is hard and maybe your tool is a spoon. Still, you work and work and work because it will be so worth it.
Yet, somehow, every single day, when you return, the rocks are still there. They’re heavy. They’re constant. And just when you think you've made progress, you return to find even more rocks!
You glance over to your friends’ gardens. They must be struggling too. Except they are munching on sweet strawberries. They sprinkle water on growing vines. Their gardens are easy. And they say to you, “We just followed directions. We planted seeds and the seeds grew. Why can’t you do that?”
Then, at some point, the adults get frustrated too. Maybe if digging rocks isn’t enough at school, maybe you should dig more rocks at home. And when you say that your spoon is bent and broken, they say that you can do it because they believe in you. Or maybe you’re lazy. Maybe should practice digging rocks at recess instead of playing with the other children.
By the time a child is called a reluctant reader, they have probably been digging at rocks for years. And, somehow, we think more digging will make reading better. We think that more flashcards, more drills, more time sounding out words will change everything. Sometimes it does. One of the reasons this happens is that some gardens are developmental. Meaning that a student’s garden grows a little later, but it’s part of brain development, so the rocks kinda melt away (usually around 7-9 years old- late enough to cause concern but not long enough to cause lasting skill deficits). Another group is found to have a learning disability that drops tons of rocks into a garden. And targeted lessons can help a student make progress with the rocky soil.
By far, the hardest challenge to overcome is when the rocks become a weight around reading for life. When “practice” becomes a chore. When that “Reluctant” label lasts even after the soil grows strawberries and wildflowers. That label can last long after the rocks are cleared out of the soil.
My goal as a teacher was to hold every student as capable. To recognize the hard work. To realize that reading skills did not equal effort. And to assure children that I was there to help them, to make their garden easier, not to make it all their fault if the soil didn’t grow a garden as easily as their peers.
What can we do, as adults, to help children struggling with reading?
We can recognize the effort. We can say, “You’ve tried so hard, let me read a few pages so you can have a break.”
We can observe without judging. We can see them wildly guess at words that don’t make sense, or sound out every single letter in a word like "s-o-m-e-d-a-y”. We can notice that they do great with books about machines but struggle with stories. We can notice patterns without saying things like, “Why are you like this?” or “Just try,” or “You could do this yesterday.”
We can believe kids. When they say something is hard. Or they have a headache. Or it doesn’t make sense. Believe them. I understand wanting children to work hard, and encouraging them to rise up to challenges. At the same time, there’s incredible relief in hearing, “I believe you.” Believing children can build trust that helps both of you work forward together instead of pushing a “reluctant” learner towards a goal that you both wish they could reach faster. And, trust me in this, they may have very good reasons for struggling. I’ve worked with many children that discovered years after we worked together that they had a processing disorder, learning disability, or additional challenge that meant twice as hard to get half as far as their peers. Struggling was not their fault. Listen to children when they say something is hard.
We can let them read what they like. Who cares if it’s an “easy” book or board book or graphic novel or any other book that doesn’t fit an academic agenda for part of the day? Who cares if they pretend to read a weighty novel to match their peers? You can set aside time for focused practice, and give time for self-selected reading. Let them fly through pages sometimes. Let them have “easy” days where they read the book that you know they have memorized. Let them feel what success feels like. One of the challenges in our learning model is that, once a child masters a skill, we give them a new skill and a new skill. Children do enjoy challenges, and need new quests, but balancing that with comfortable confidence pays off every time.
Let them read wrong. When we call attention to every mistake, that can make children hypervigilant for mistakes. If the error doesn’t change the story, let mixed up words slide. Especially if they can tell you what the story was about at the end.
Let them know when they’re reading well. We can focus on mistakes and miss the ten words that were read fine. At the end of a page, for short texts, notice that they read “the, cat, went, to, the,” wonderfully. Reflect places of strength alongside where they needed help.
Let them read more than books. Let them read food boxes and brochures. Let them read non-fiction. Let them read recipes. Let them read directions about how to put favorite toys together. Let them read rules for games. Let them read until they’re tired and then help out with reading with them (or for them).
My hope is to collect more stories and ideas in the coming months. As a parent, I relied on other teachers to help me understand how to help my daughter. But with all sorts of questions about school during Covid, I want to share my insights with parents and students that may not have the usual school resources.
My main quest for young studetns was to nurture an interent and fascination with stories and non-fiction. Skills can come in time. We can help them dig rocks. But if they learn that gardening is awful work, that attitude lasts long after they can successfully grow (or read).
One of our goals with Forest Fairy Crafts was to create books that could inspire meaningful reading for children. I look forward to sharing how we hold that vision, and how that can inspire children of all skills and abilities, in the coming weeks. We can create magic. Because reading, like growing sweet strawberries, is one of the best magics in the world.
Mermaid in Summer
One of my all-time favorite projects is the mermaid. My daughter still loves mermaids. I know how they connect with children in a magical and delightful way. And they inspire swimming! Because mermaids learn to put their faces in the water and hold their breath for swimming. Merfolk are perfect for summer adventures.
Our first book included a tutorial with photos and patterns for a mermaid and a fancy mermaid (with more colors in the tail). I recently found the mermaid that appeared in the book. And she charmed me all over again.
One of my puzzles with creating her was figuring out how to make the tail without a lot of sewing. By modifying the same design as our pants-patterns, the tail could fold over for success with beginning sewers. My second puzzle was her hat, because I couldn’t imagine a mermaid wearing the tall triangle-shaped hat. A crown, though, that would be perfect for mermaids. I know that the hair can be on its own, but it can look a little clunky with glue, so a crown or hat helps to make the top of the head look better. In fact, I made one where I didn’t glue the crown on their head, and the child loved taking the crown off and putting it back on their mermaid. So that’s an option, too.
Of course, these felt mermaids don’t go swimming in water for real. Felt and glue and wood doesn’t enjoy being wet. They still enjoy many summer adventures, including building them houses beside the water.
Another thing that I’ve learned while raising my own kids is that boys love merfolk just as much as girls. Boys tend to be a little more self-conscious about the fascination at a certain age where they may feel more judged for loving water-folk. This may not be the case for children in your world, and certainly don’t make an issue of it if the kids around you don’t resist the idea of boys getting to enjoy merfolk as much as girls (it may be a cultural bias that may or may not be in your community).
Boys may be just fine with a mermaid (after all, who says they have to play with gender-matching toys?). Girls get to play with boy dolls without issues. So boys can play with mermaids if they want. Or you can make a merman by giving it shorter hair (or no hair) if that matches their idea of “boy”. Though they may be just fine with boys with longer hair, too.
I encourage asking children how they want to make an idea their own. Black felt? Zombie face? Why not? Let them make their own toys and see what ideas they bring into the world. I look forward to their creativity.
Make your own mermaid doll with tutorials, photos, and patterns in the Forest Fairy Crafts book by Lenka Vodicka-Paredes and Asia Currie
Happy summer!
Rainbow Fairies
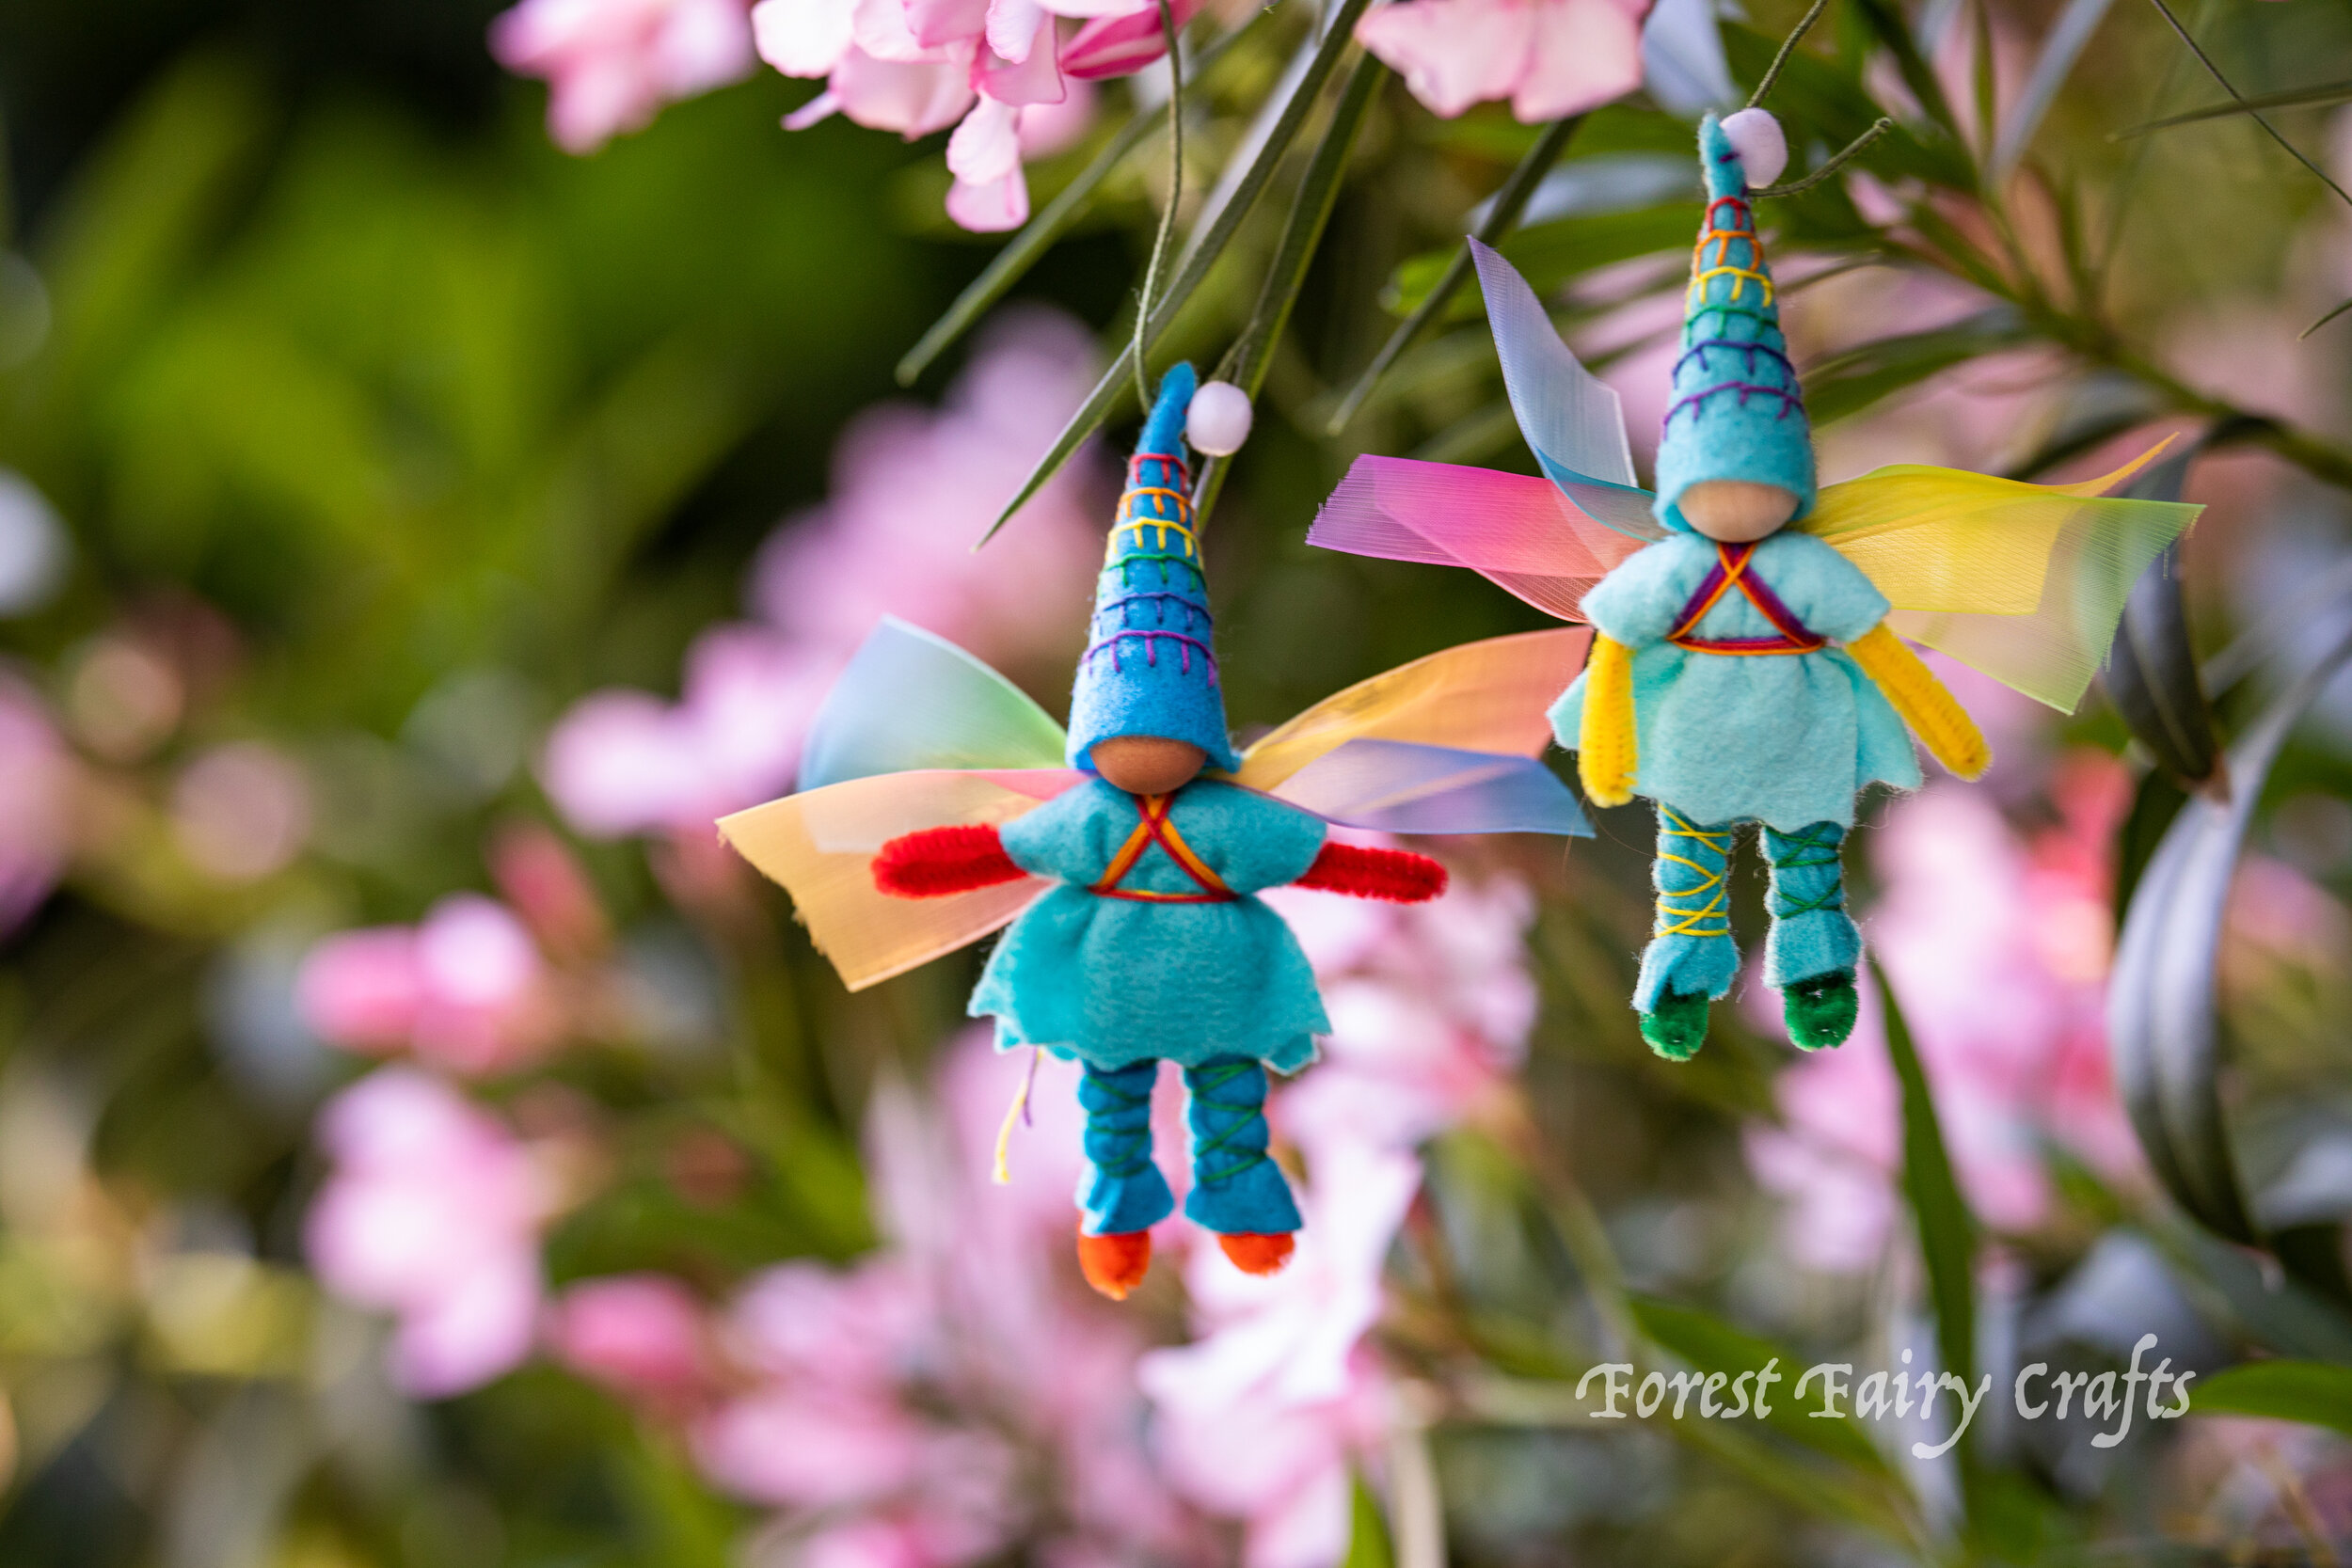
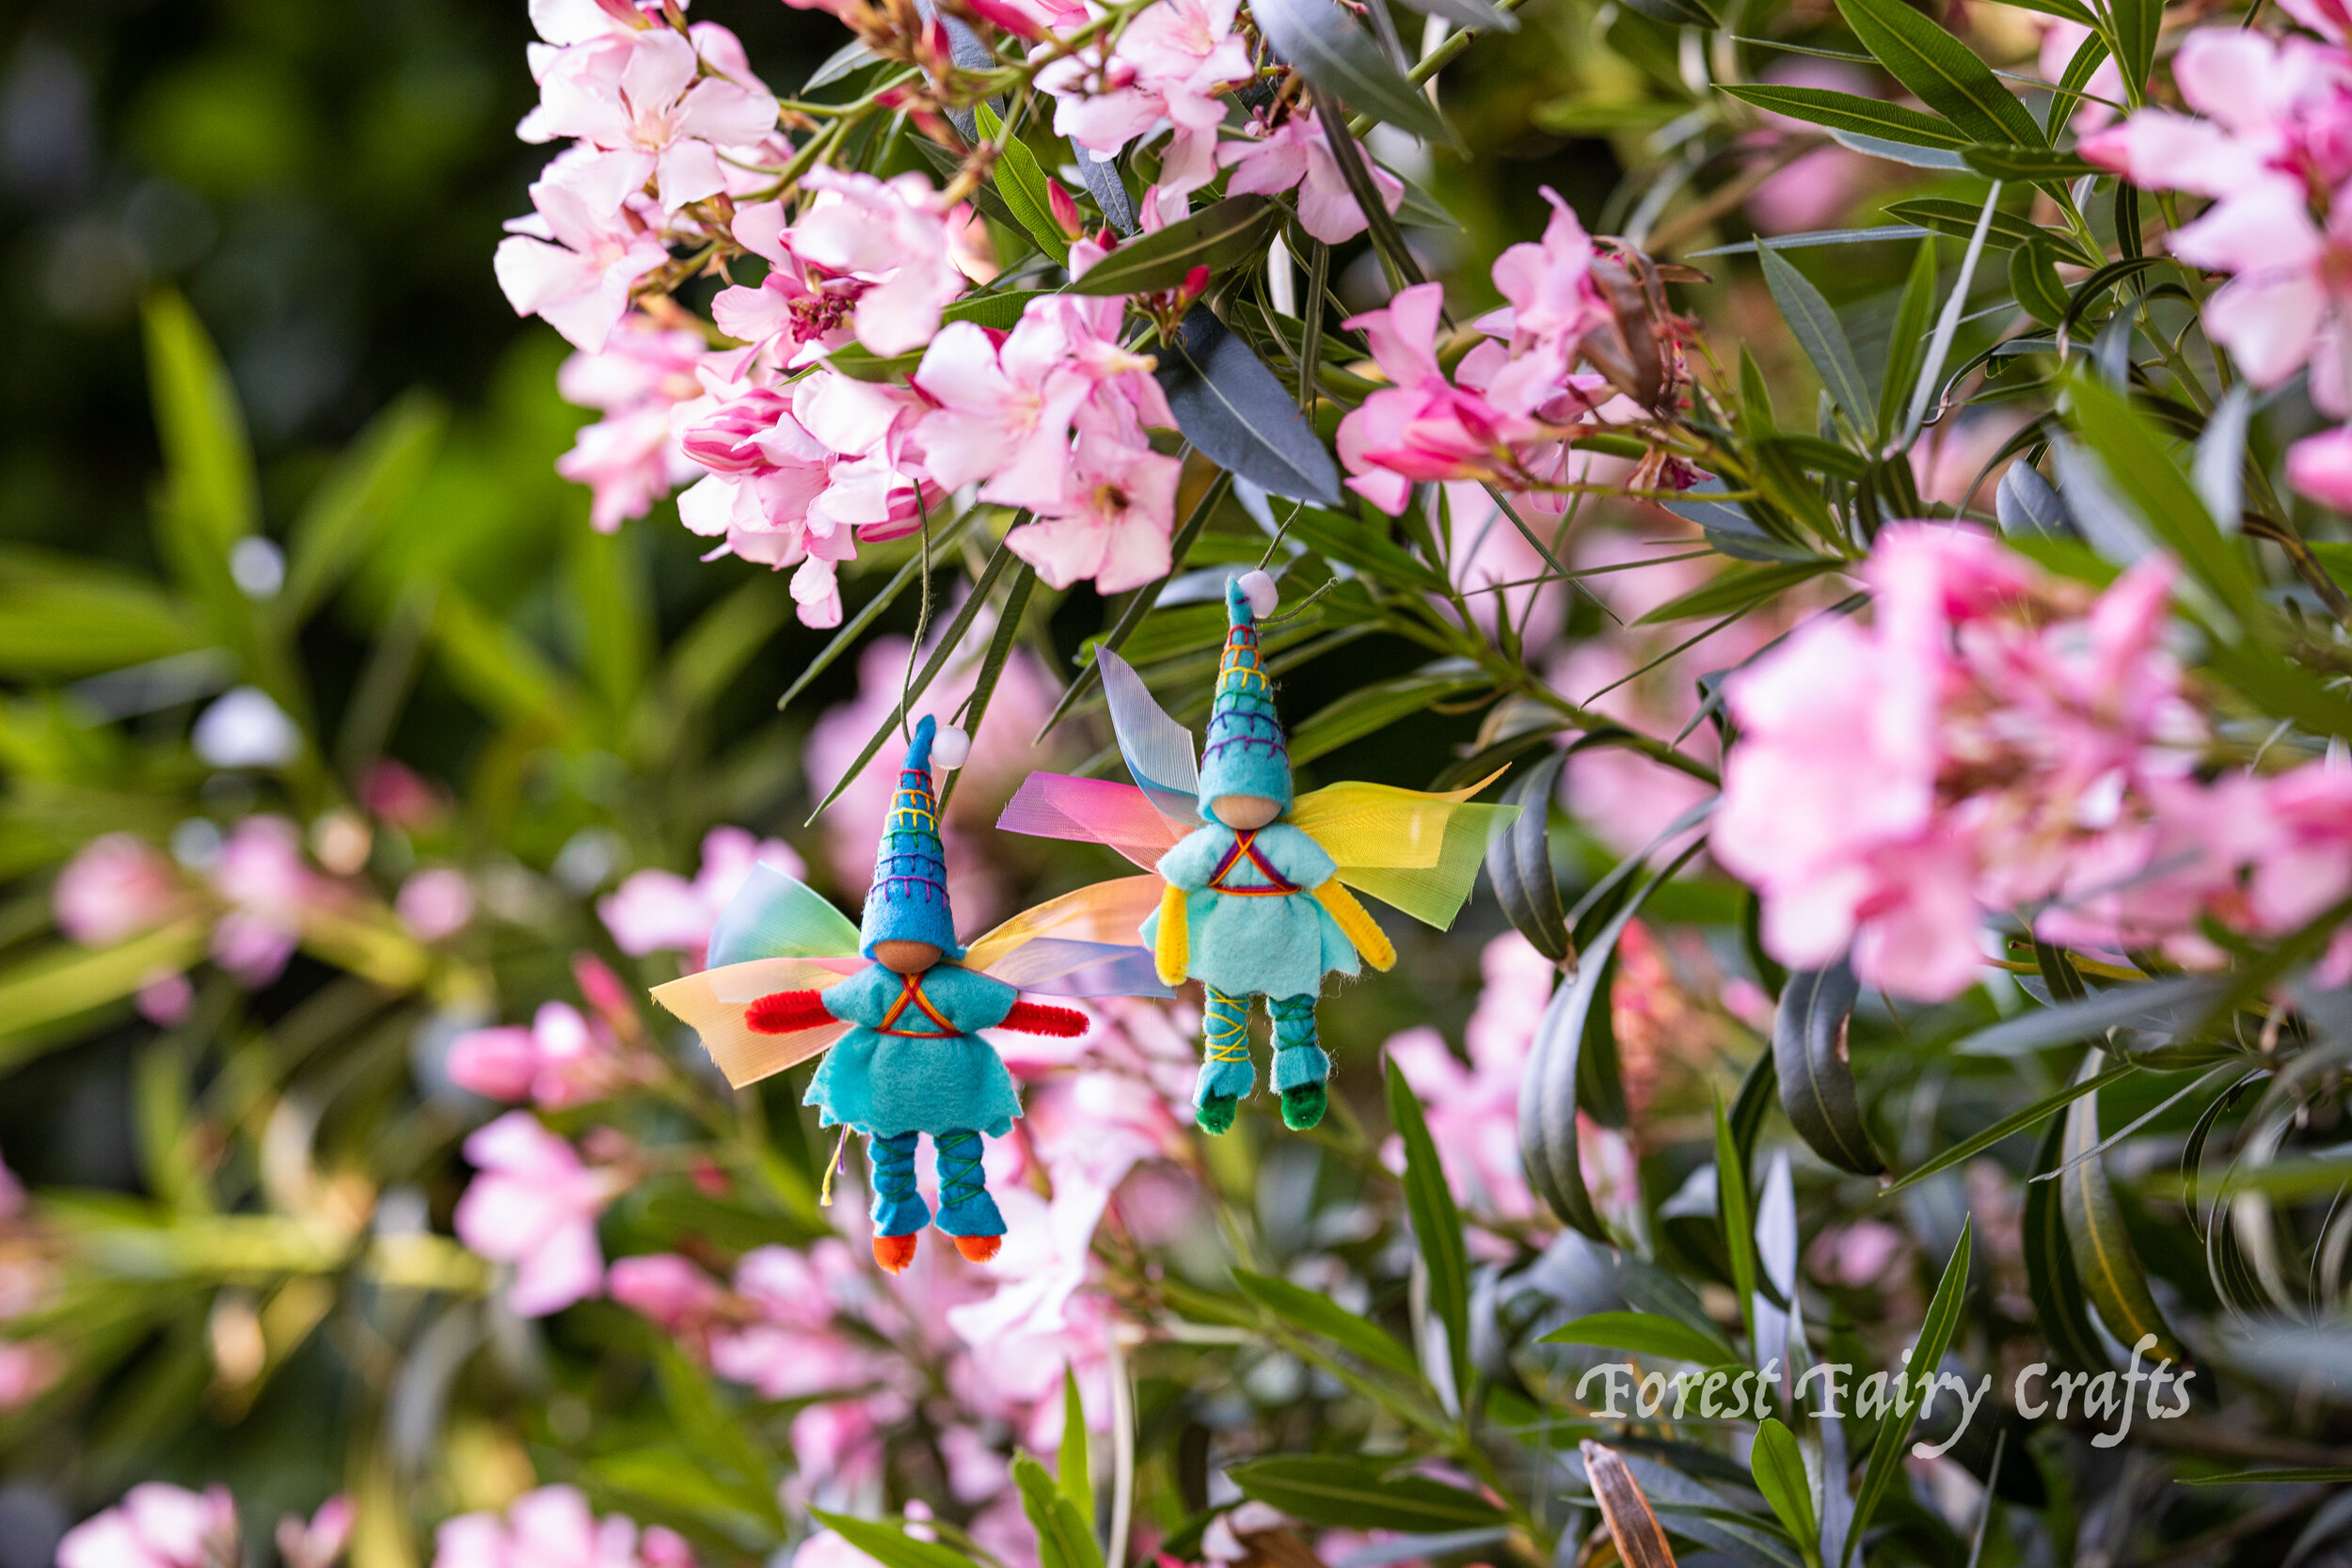
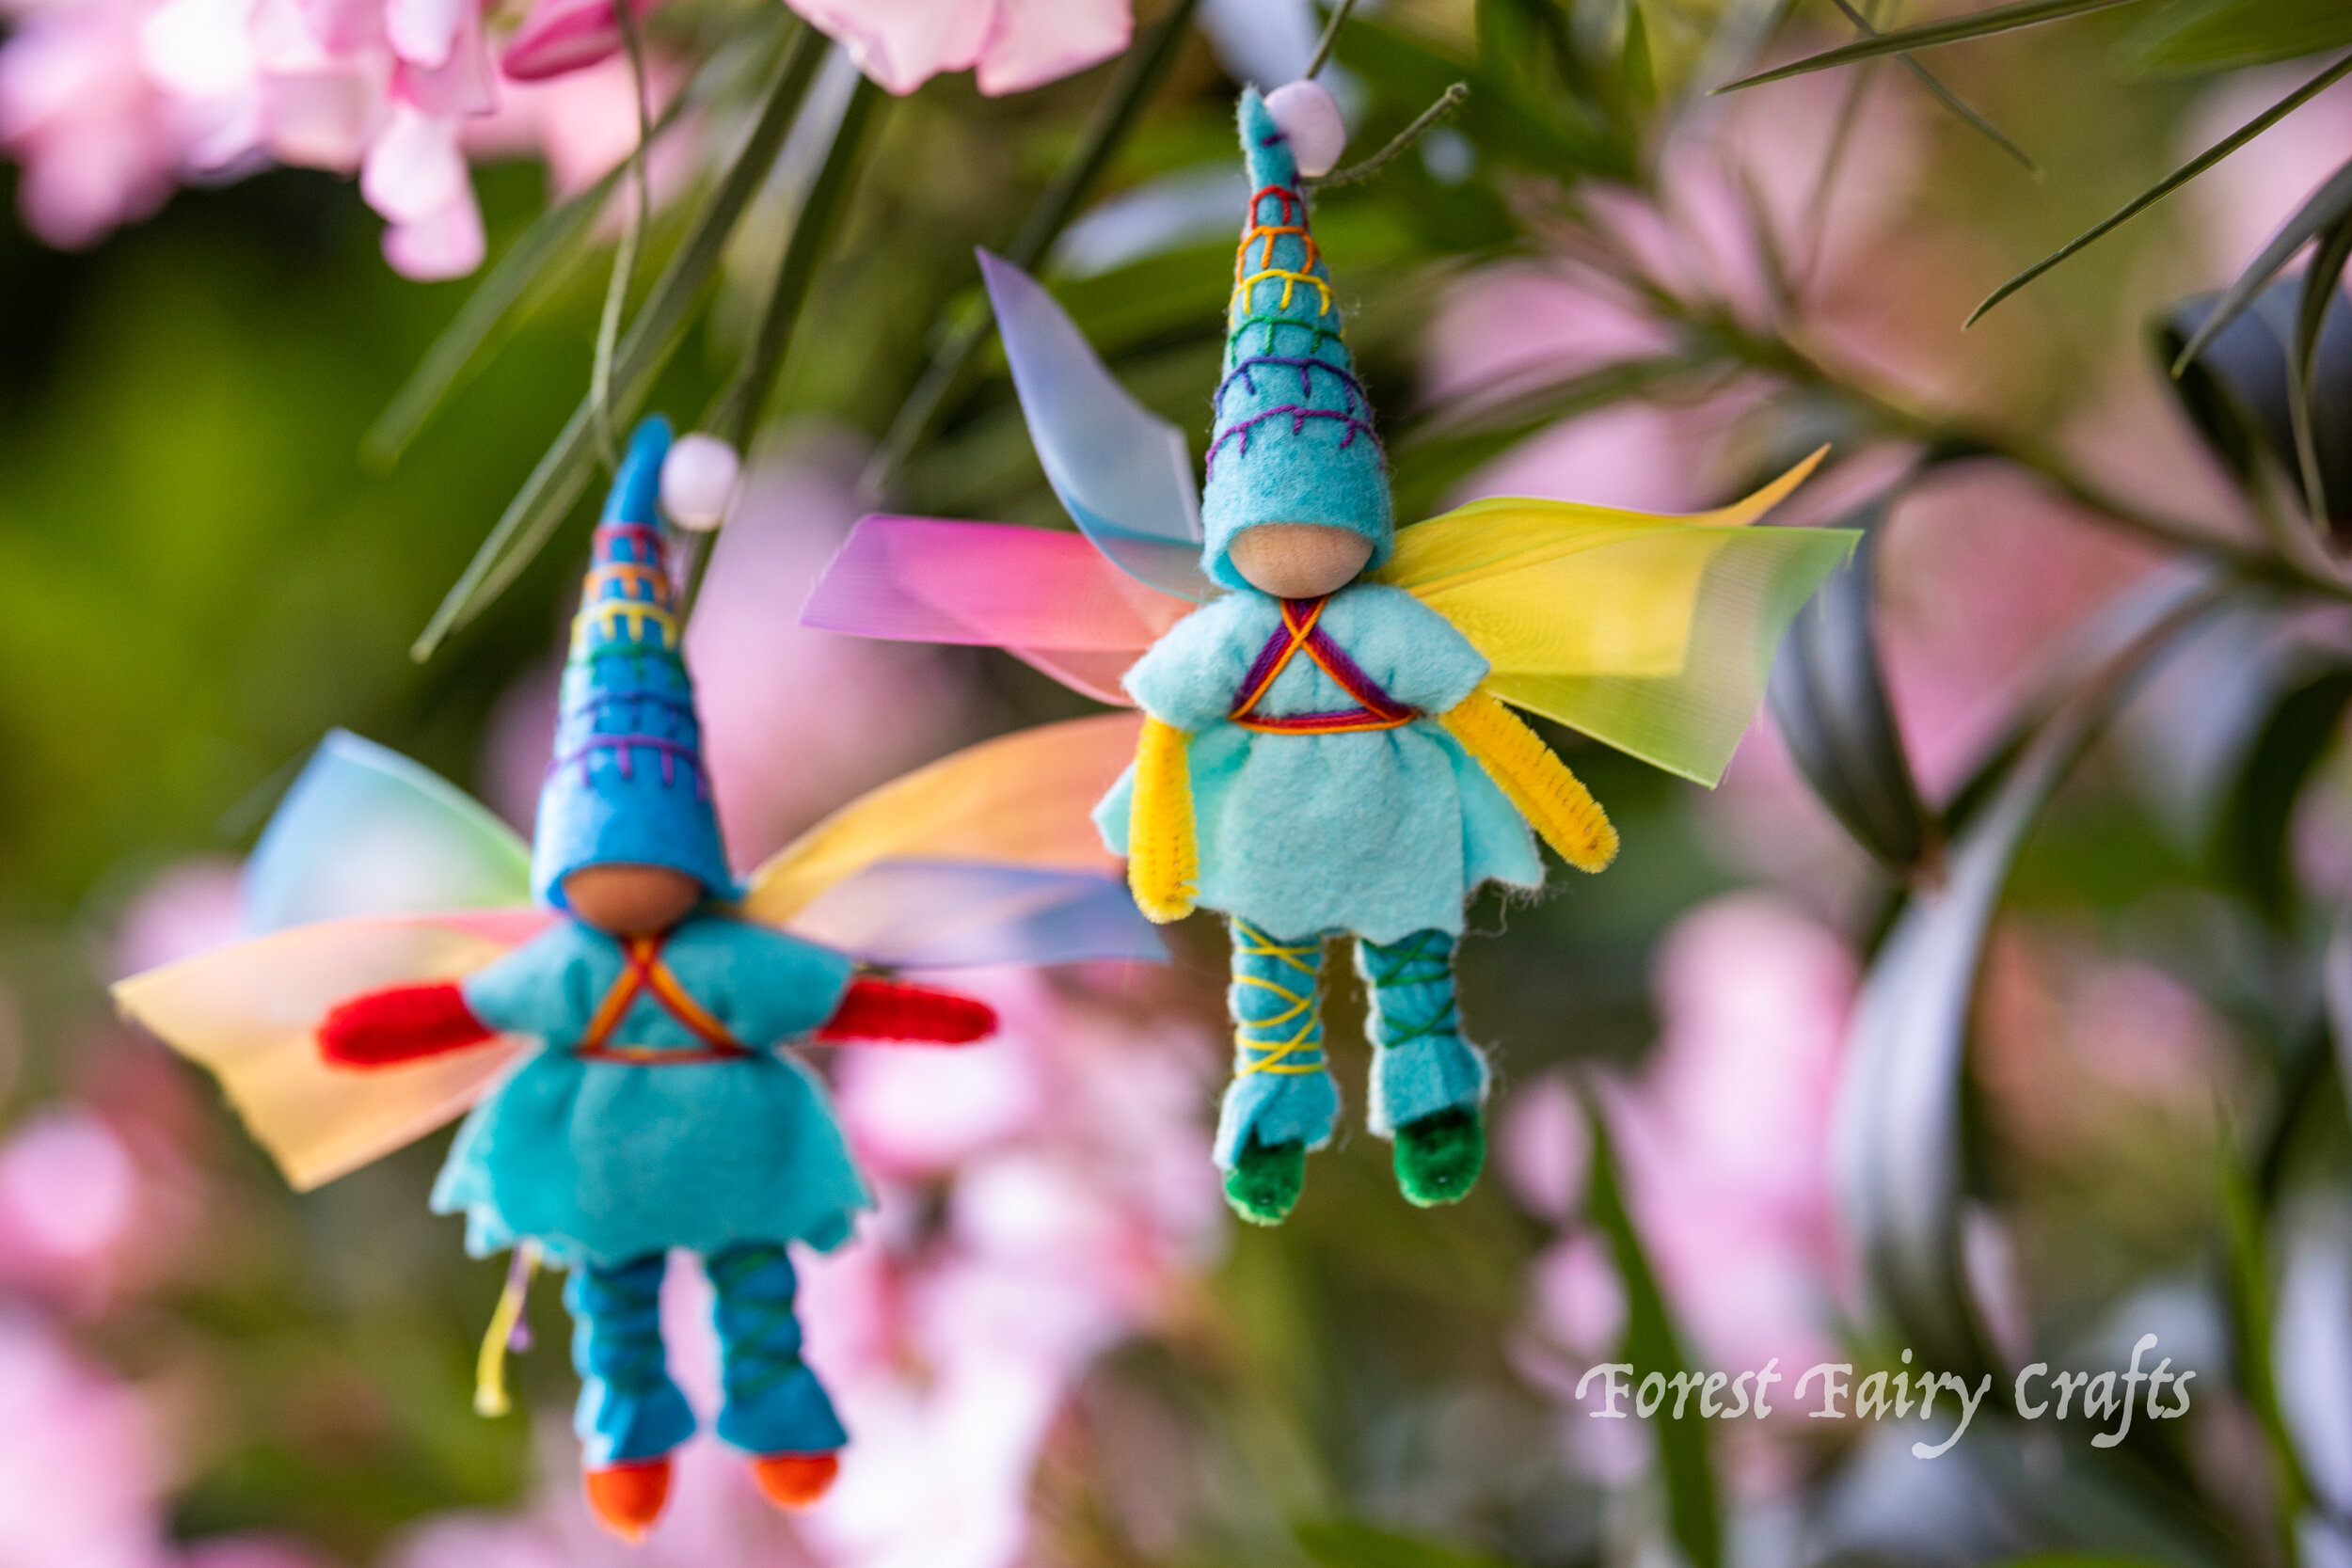
The early summer skies are exactly where fairies like to play. These rainbow fairies charmed me when I had the idea to create them.
My first challenge was creating the rainbows on their hats. I could have done a whipstich (line) or used sequins, but I thought about using a Rabbit Stitch (aka blanket stitch) which looks a few stitches to figure out. I practice on a scrap piece of felt before the cut triangle hat. I used rainbow crochet thread. And it meant that I had to clip a section of purple, tie that off, then clip blue, and tie that off, and so forth. Lots of tying and starting new threads. Which means this is a project for older, patient children or adults. I could try to show step-by-step photos if people are interested. I push the needle down through With younger children, I would offer rainbow color sequins and let them have fun sewing sparkles onto the hat.
I was going to add bells to the tops of the hats when I found the white puffs (from a Santa fairy project). They looked like perfect clouds!
The next puzzle was their clothing, which I could have chosen in rainbow colors. I felt blue evoked the sky and brought them together so I chose light and dark blue for clothing. Then I used rainbow thread for their shirts.
The next question for me was how to make their wings. I found the rainbow ribbon, but it didn’t have wires and seemed thin for my usual wings. So maybe I would create a bow? Or loop it around somehow? Finally, I realized that the two pieces of ribbon worked well. I ended up flipping pieces so they had similar colors overlapping because it made it more rainbow-like.
With rainbow cotton yarn braids and rainbow petal skirts (luckily I have lots of petals in my stash), the rainbow fairies came together and were so incredibly cute! The value in creating them is seeing them come together at the end. They charm me every time.
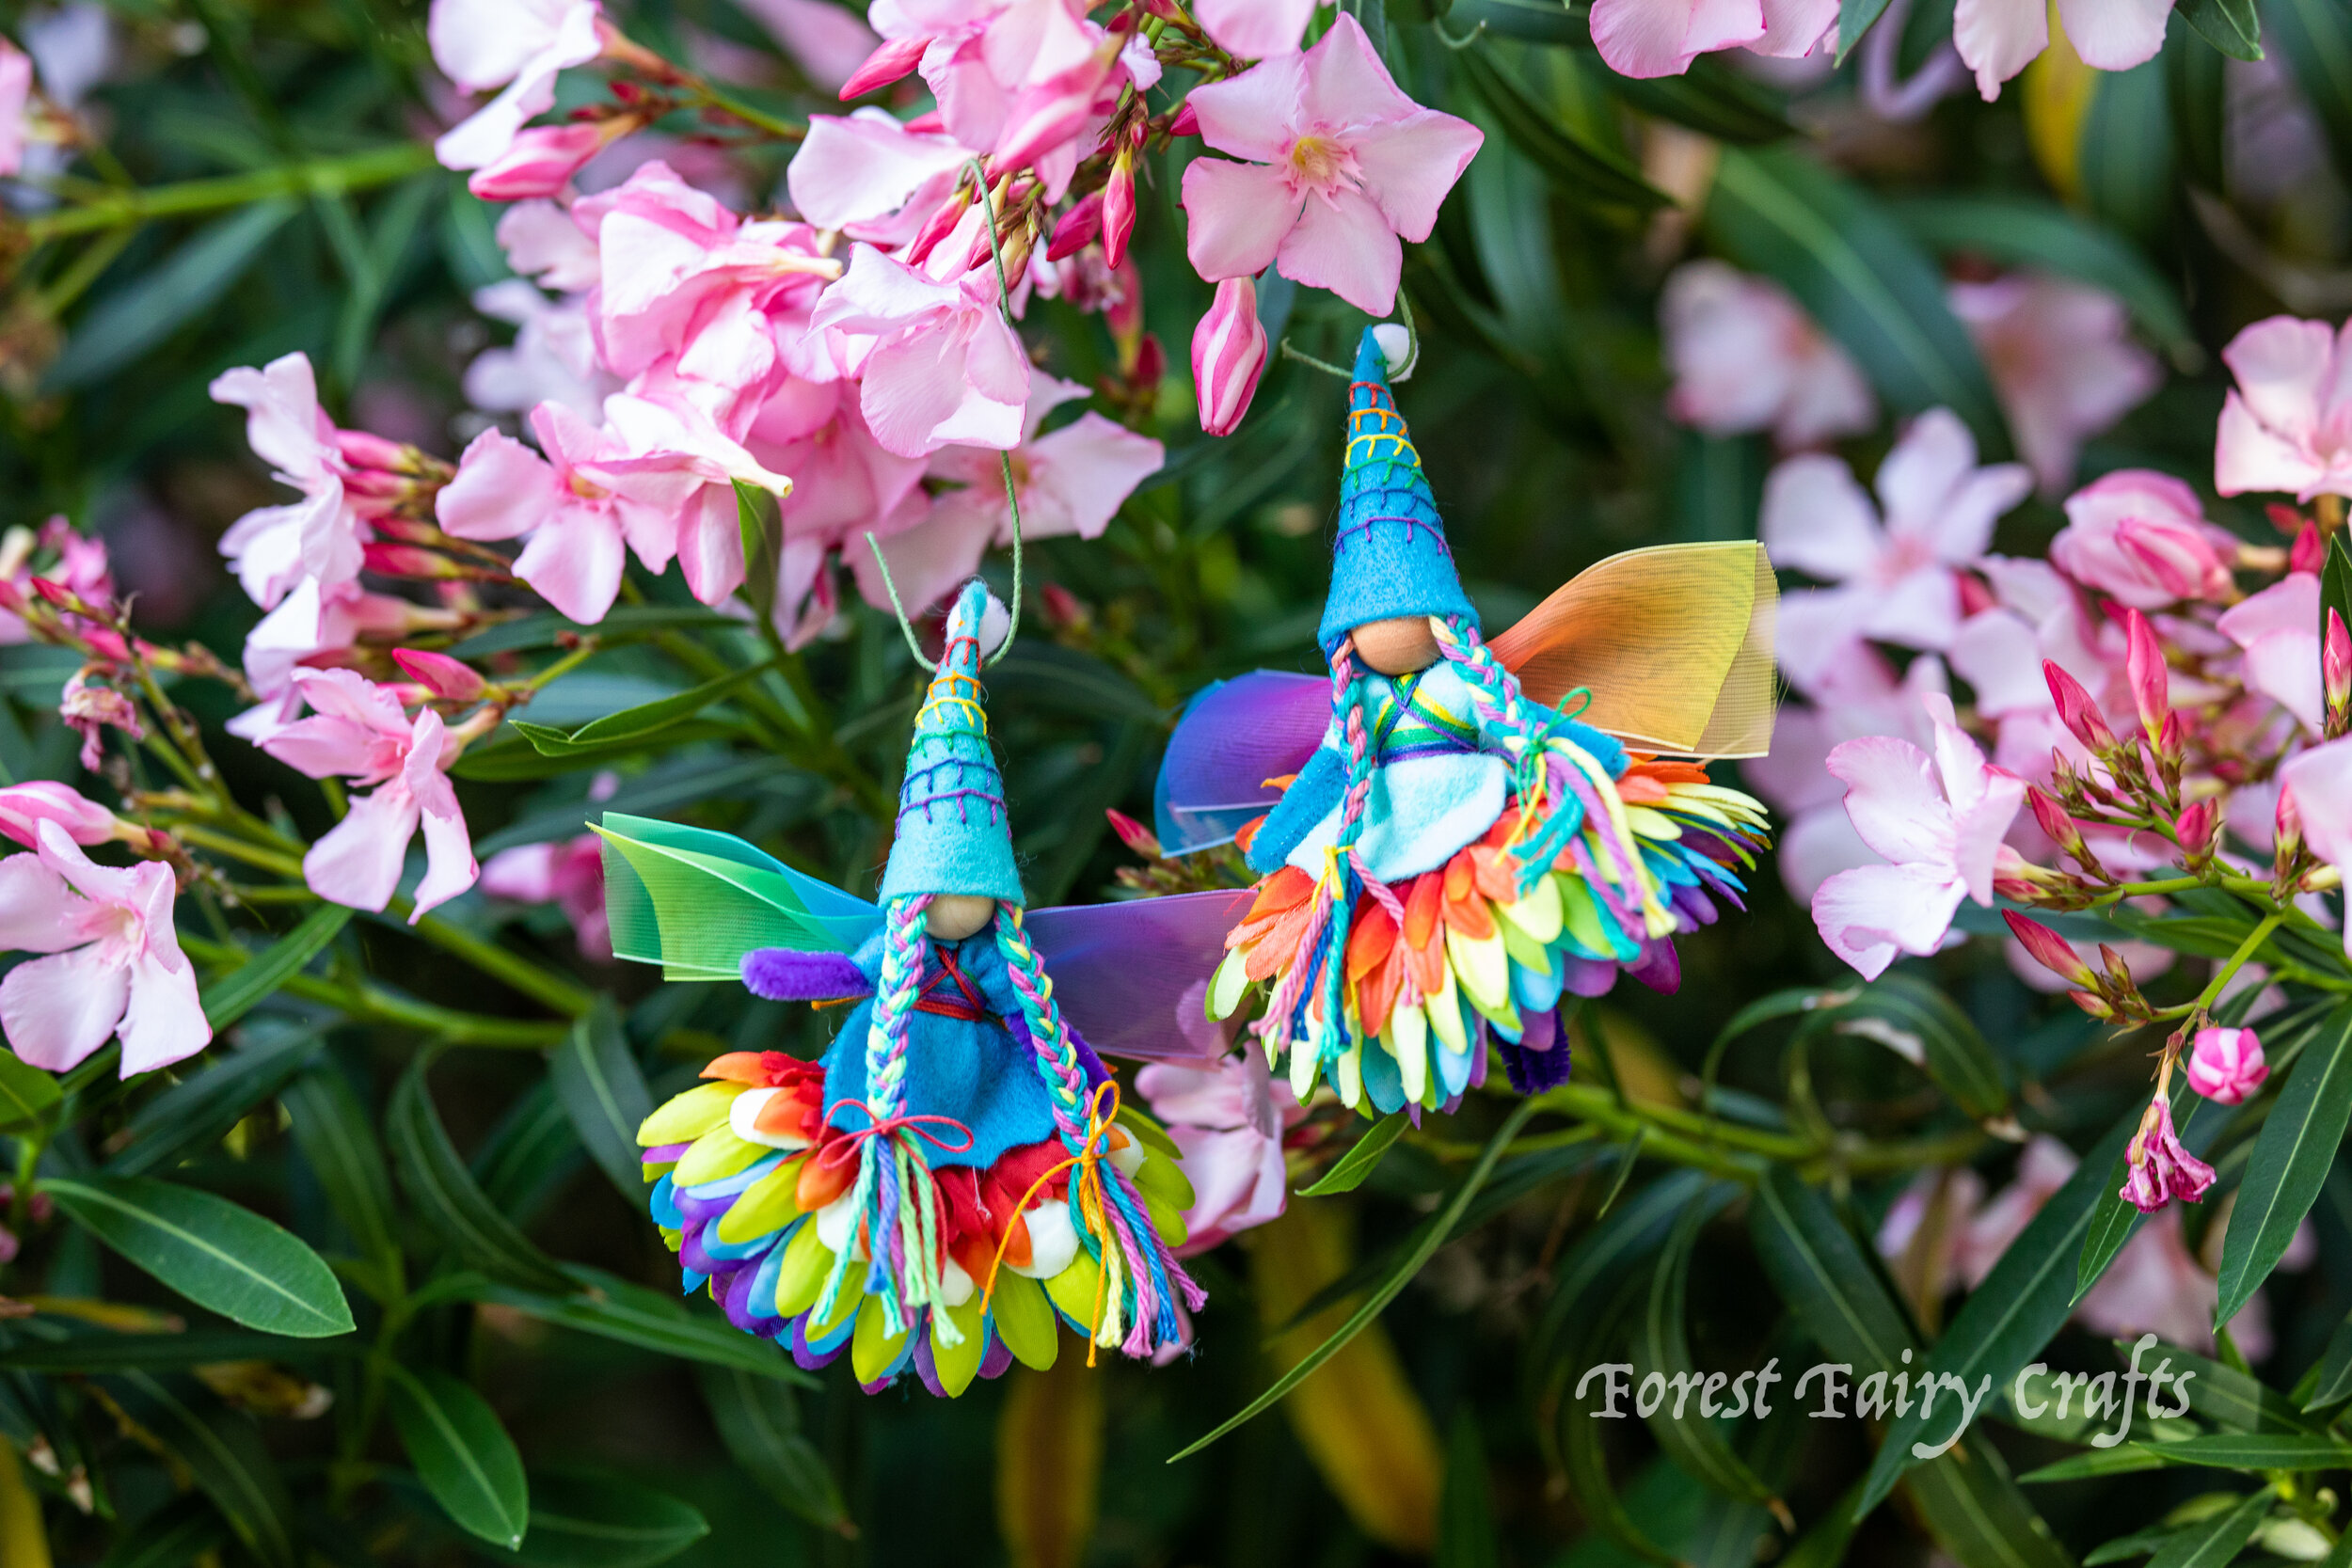
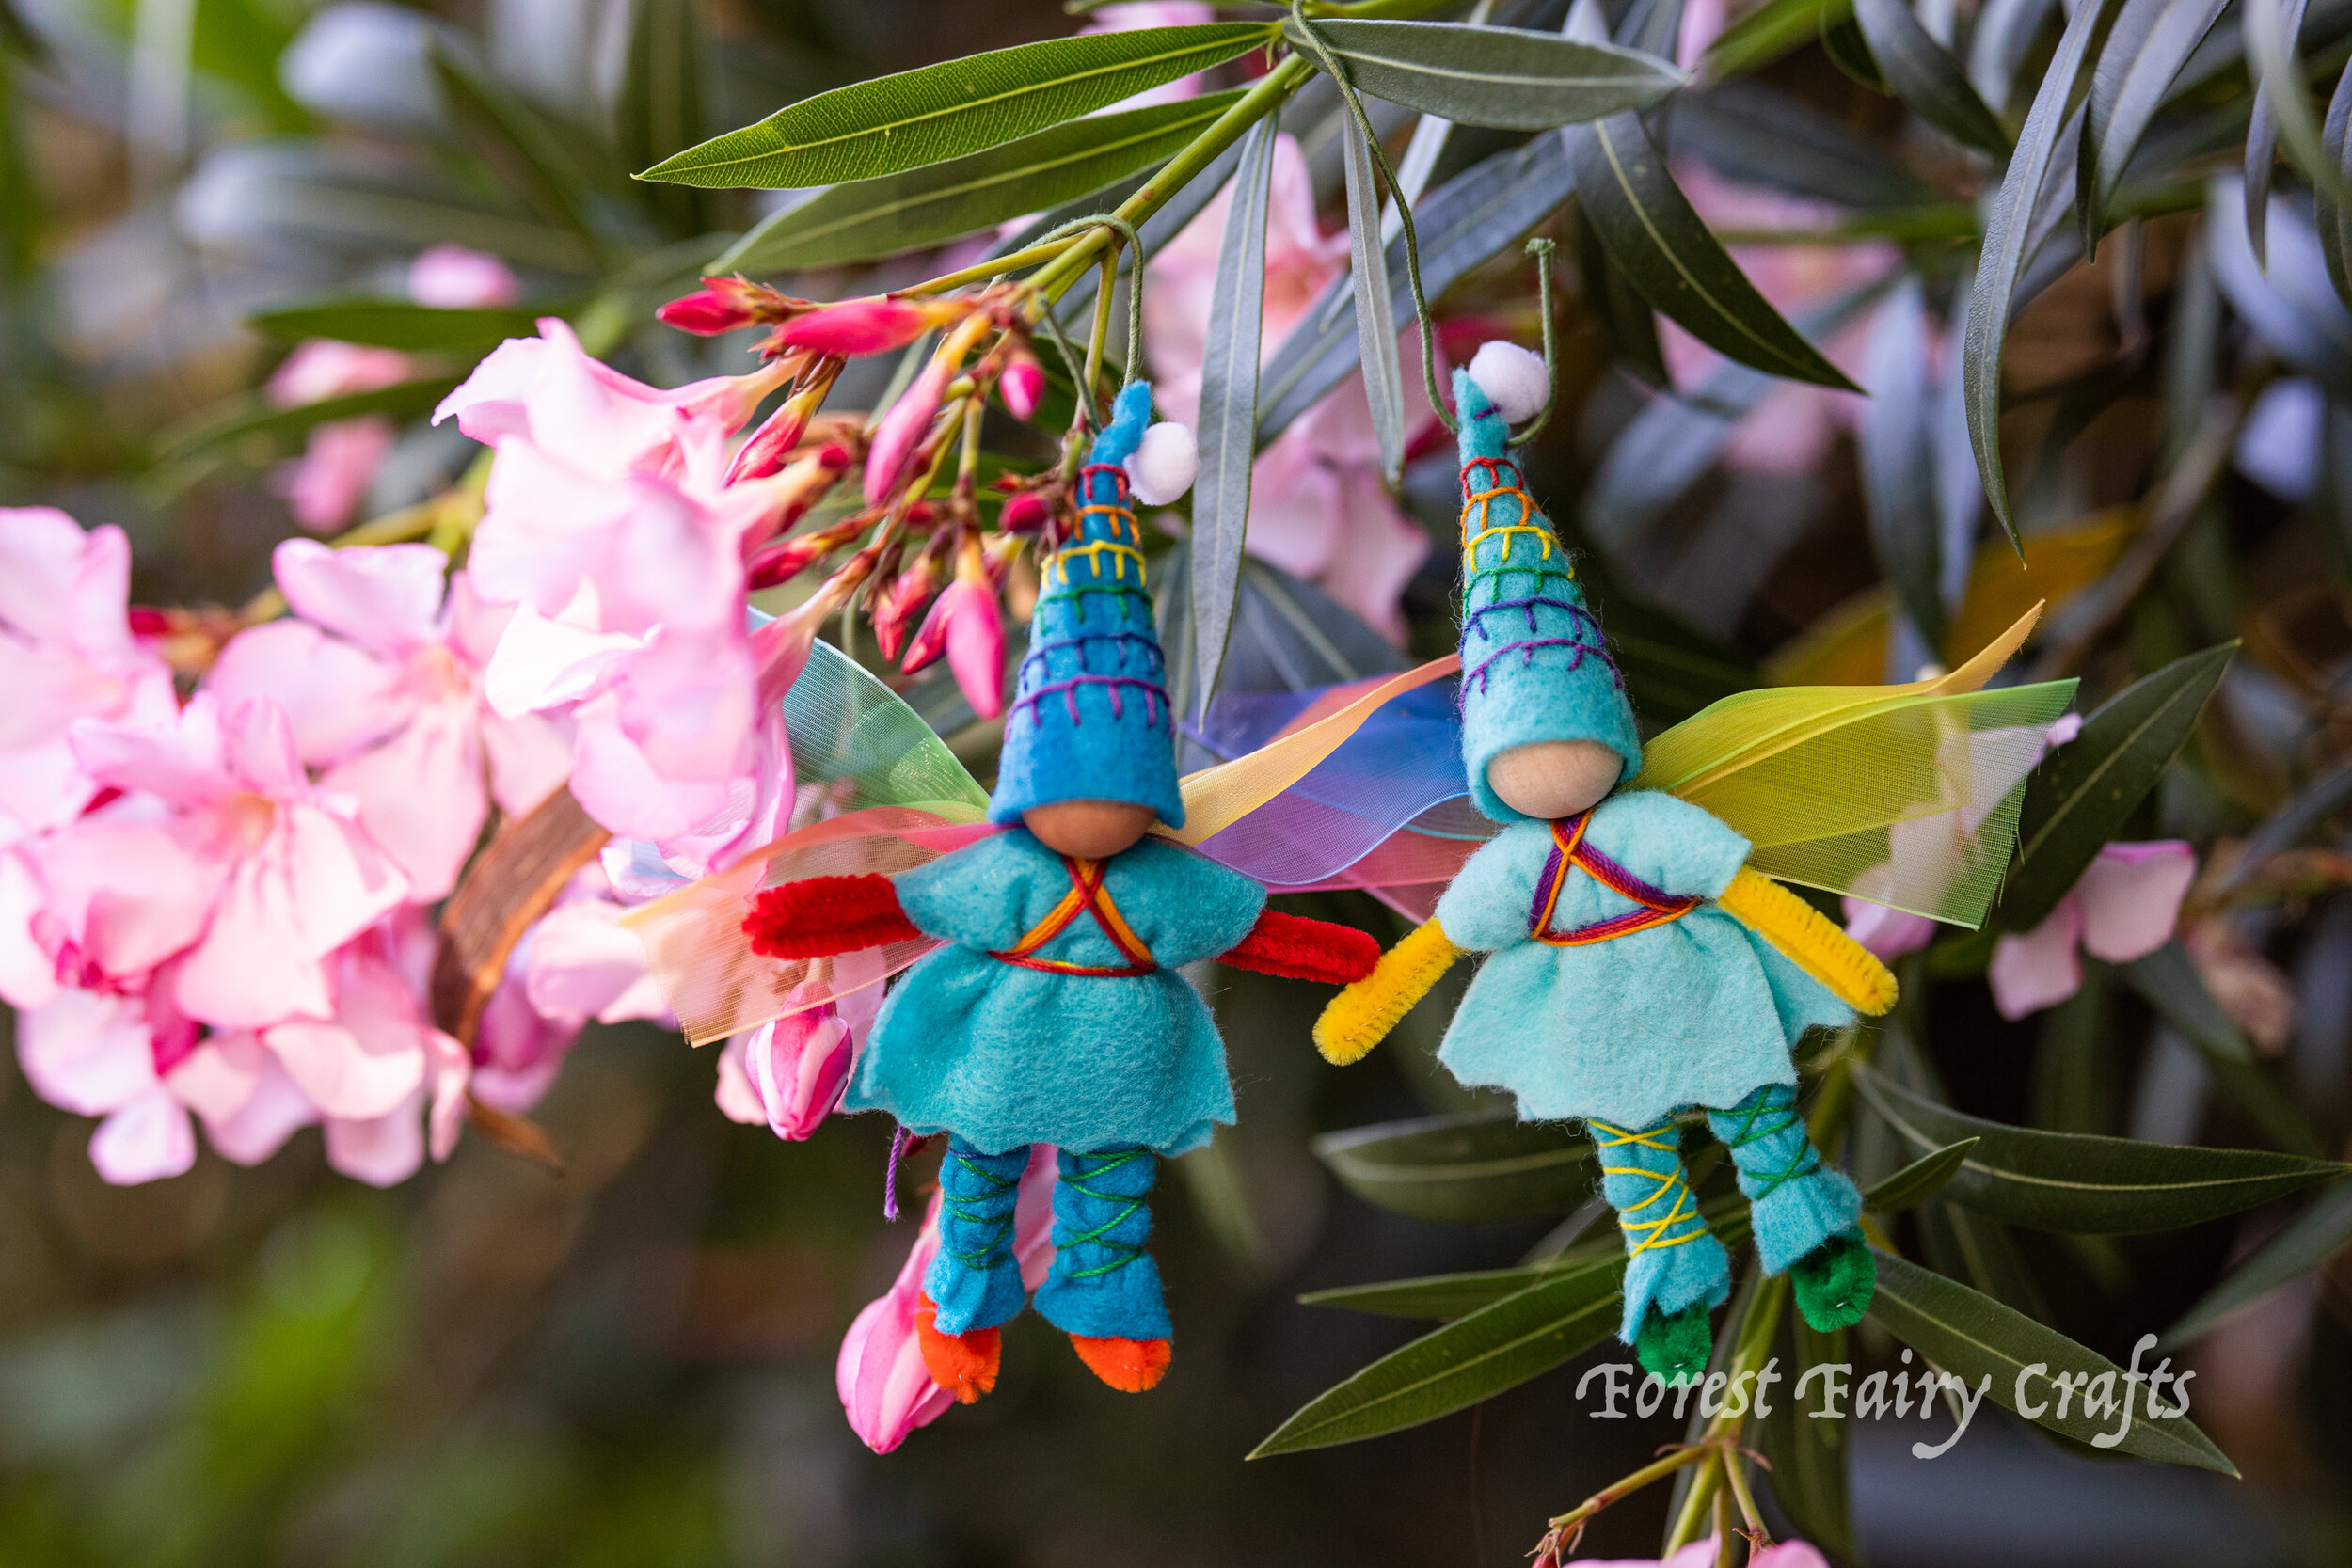
Everyone loves rainbows! 🌈
Supply Resources:
Holland Wool Felt
3/4 inch 20mm Wood Beads (darker tones painted with Lyra Watercolors)
Rainbow Thread*
Rainbow Cotton Yarn*
*Affiliate link. If you choose to purchase, a small amount is given to us while your pricing remains the same. Thank you!
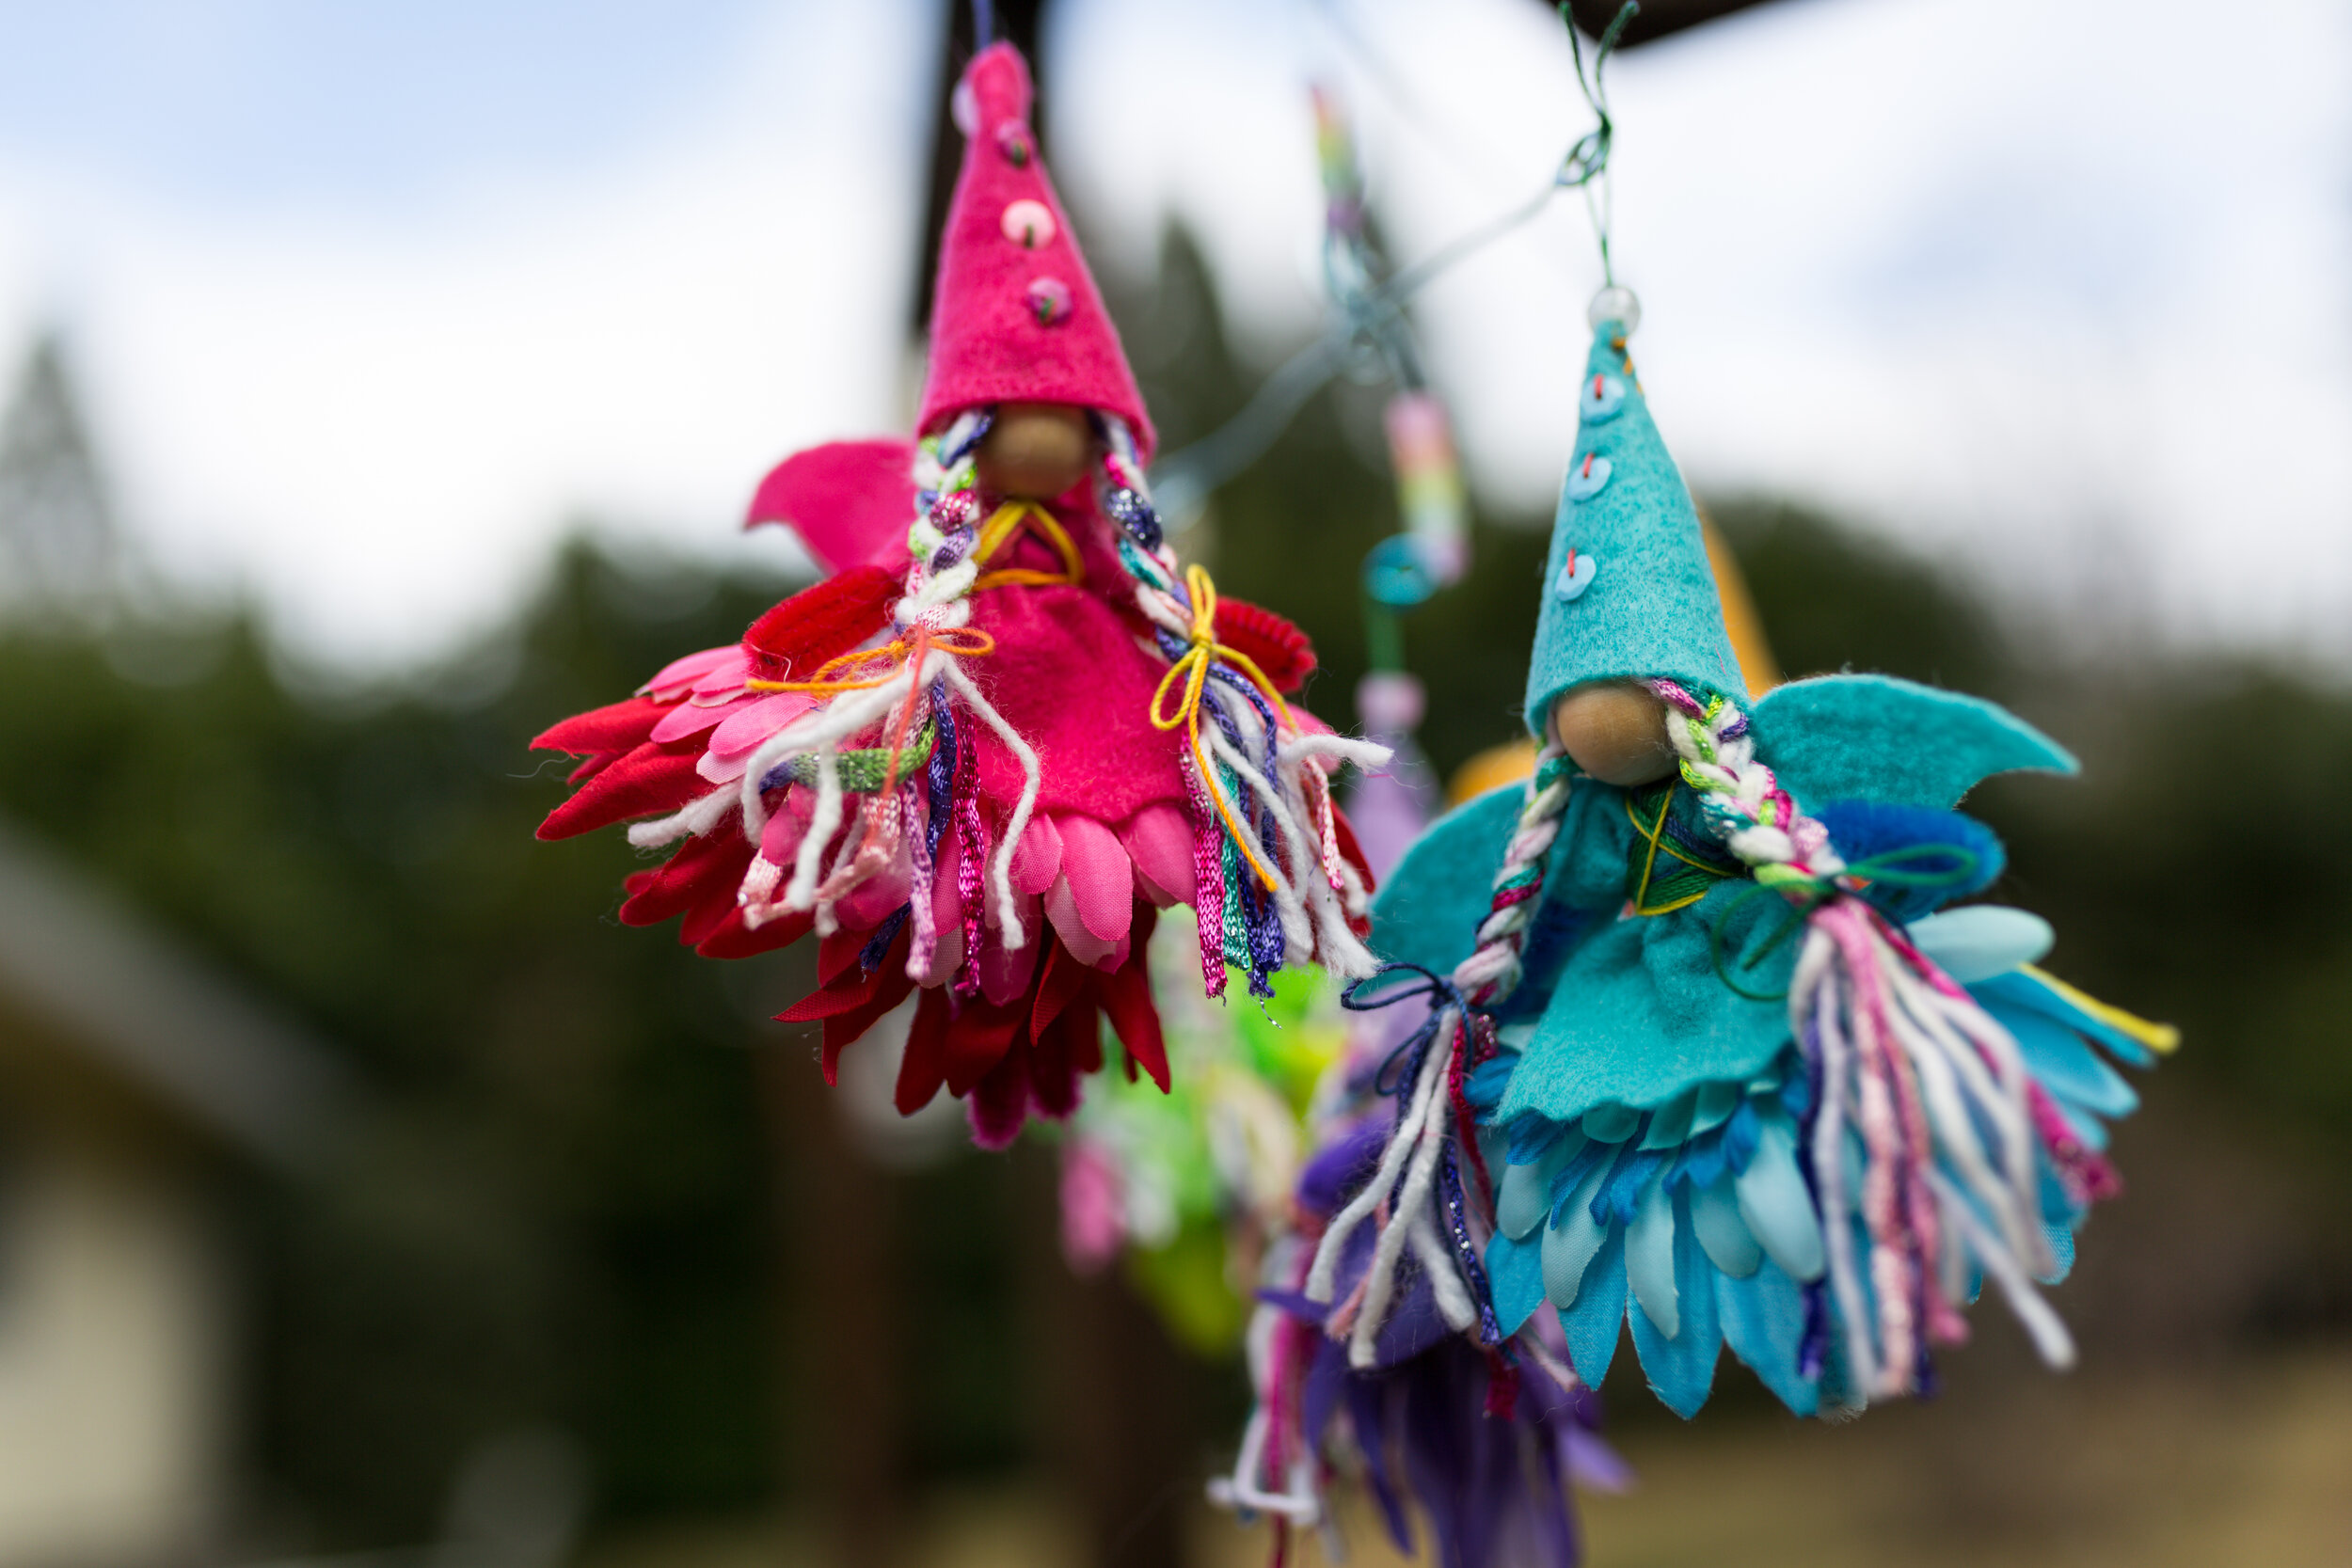
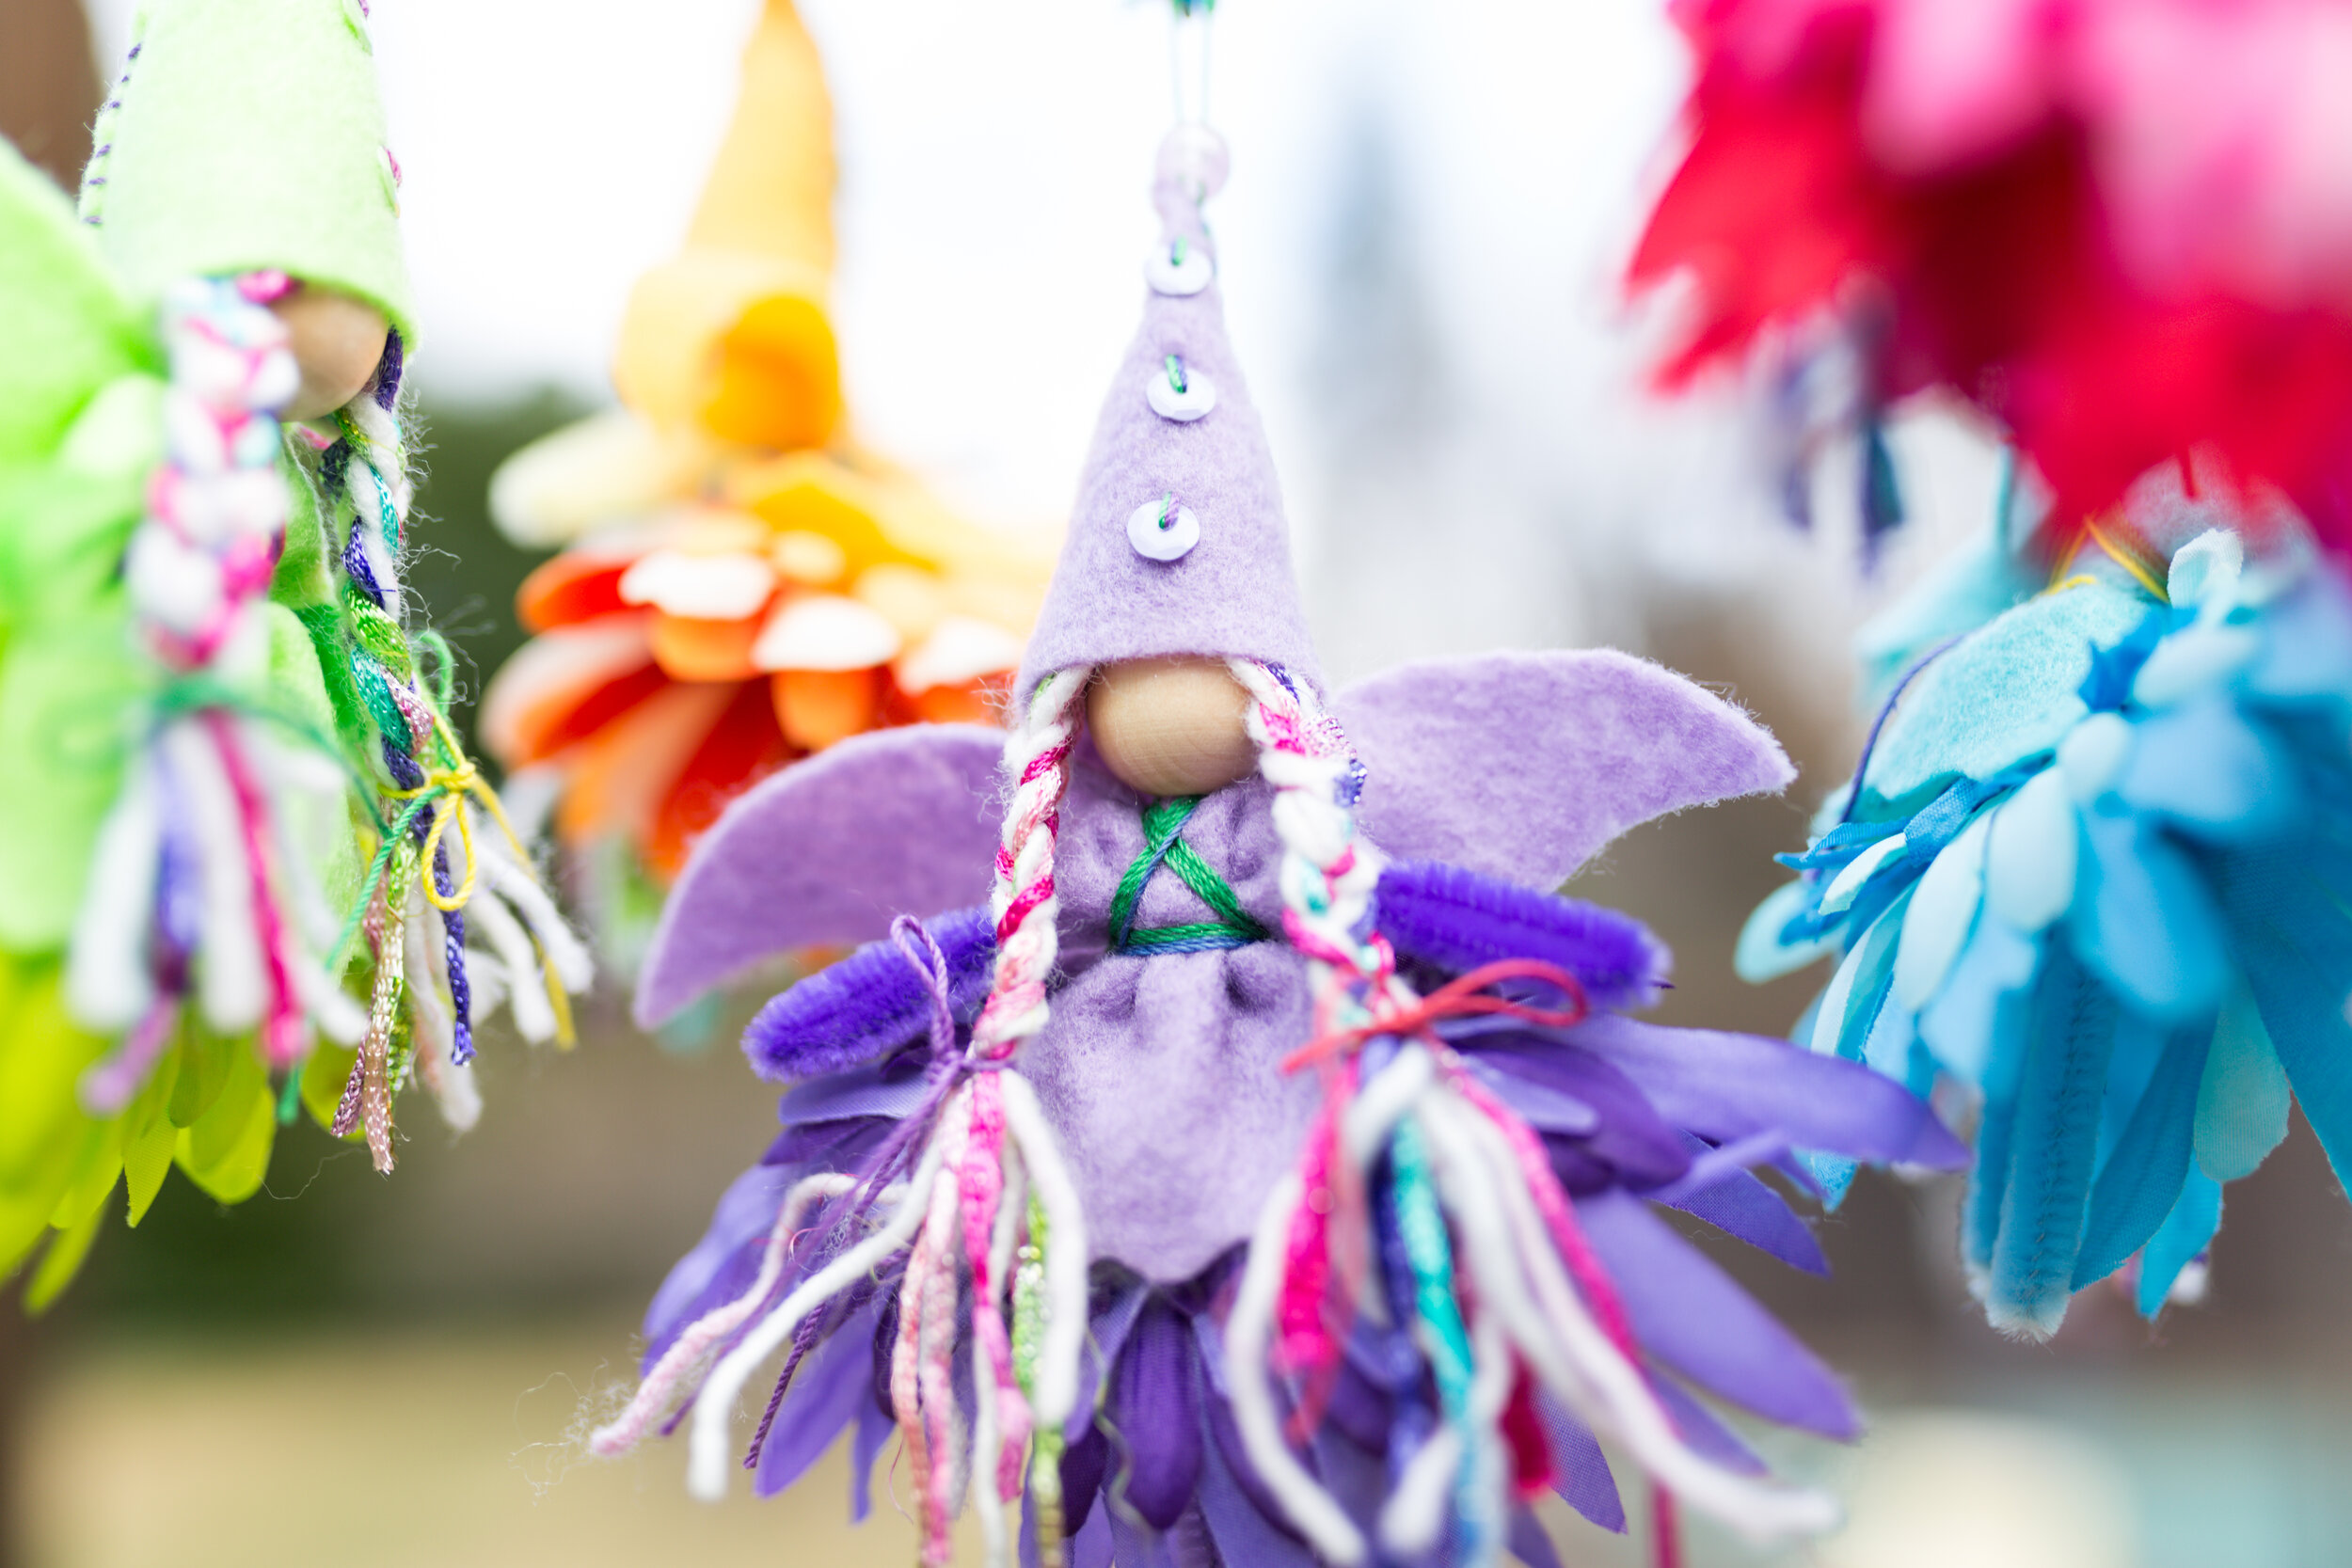
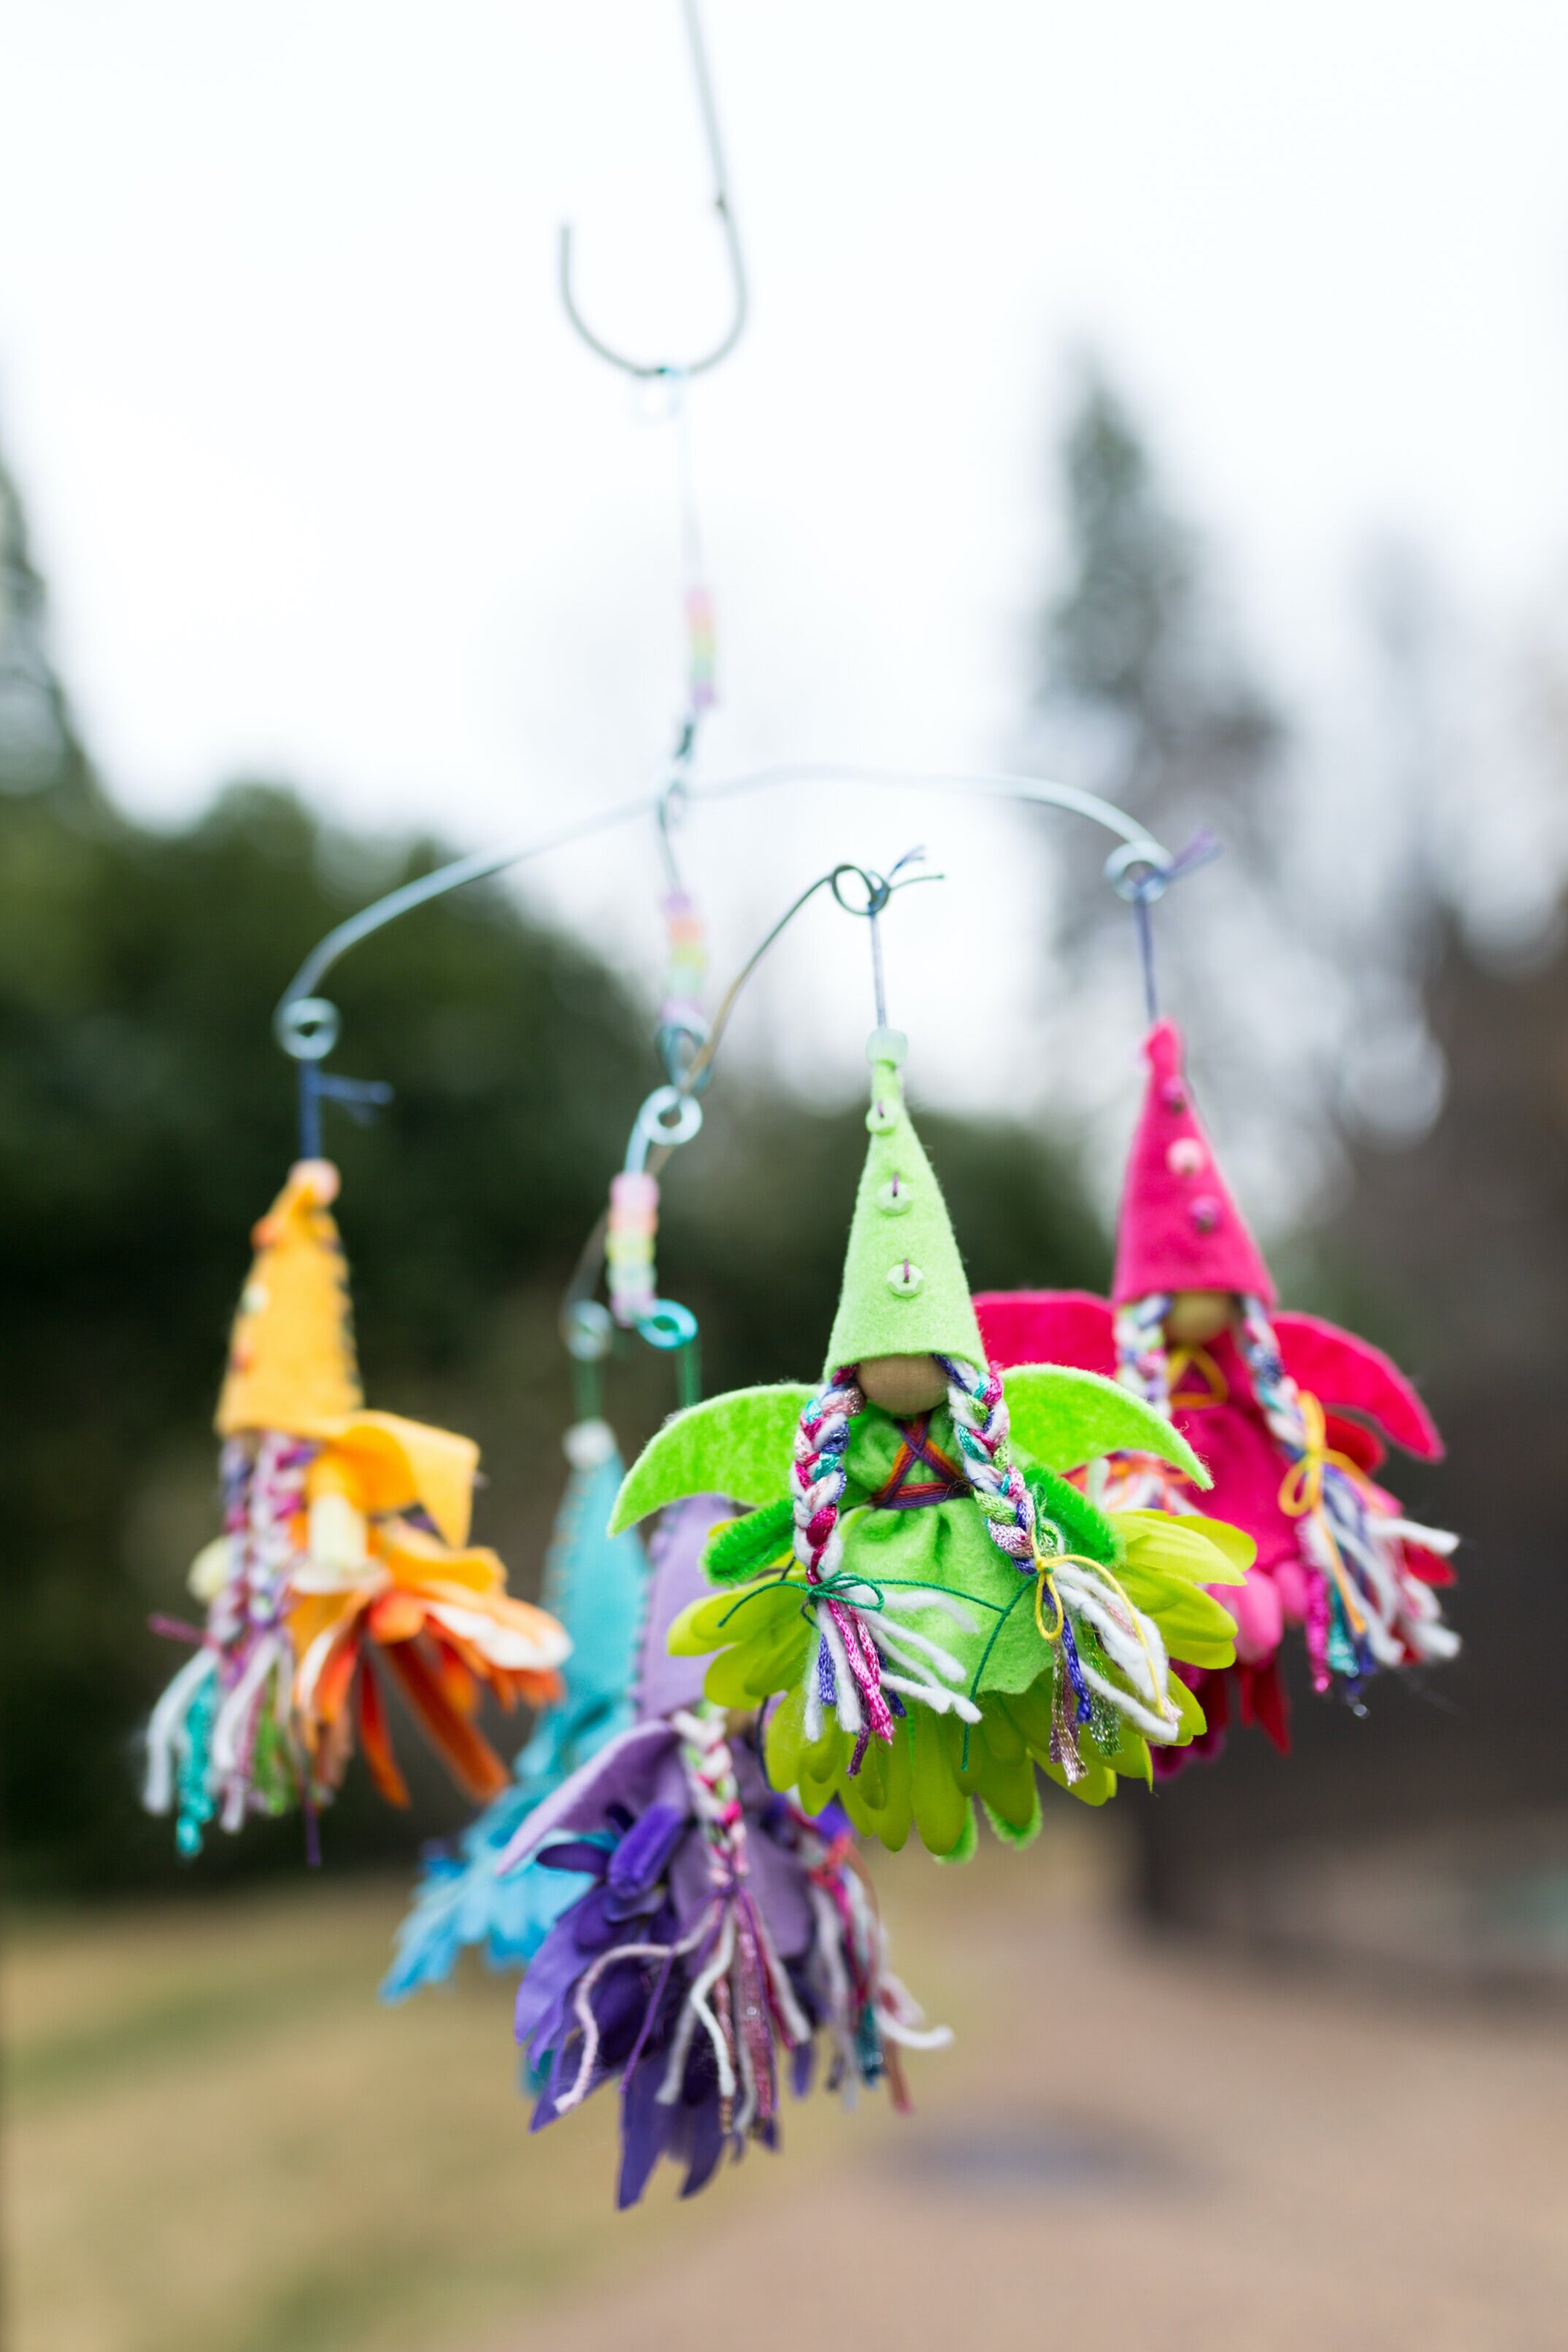
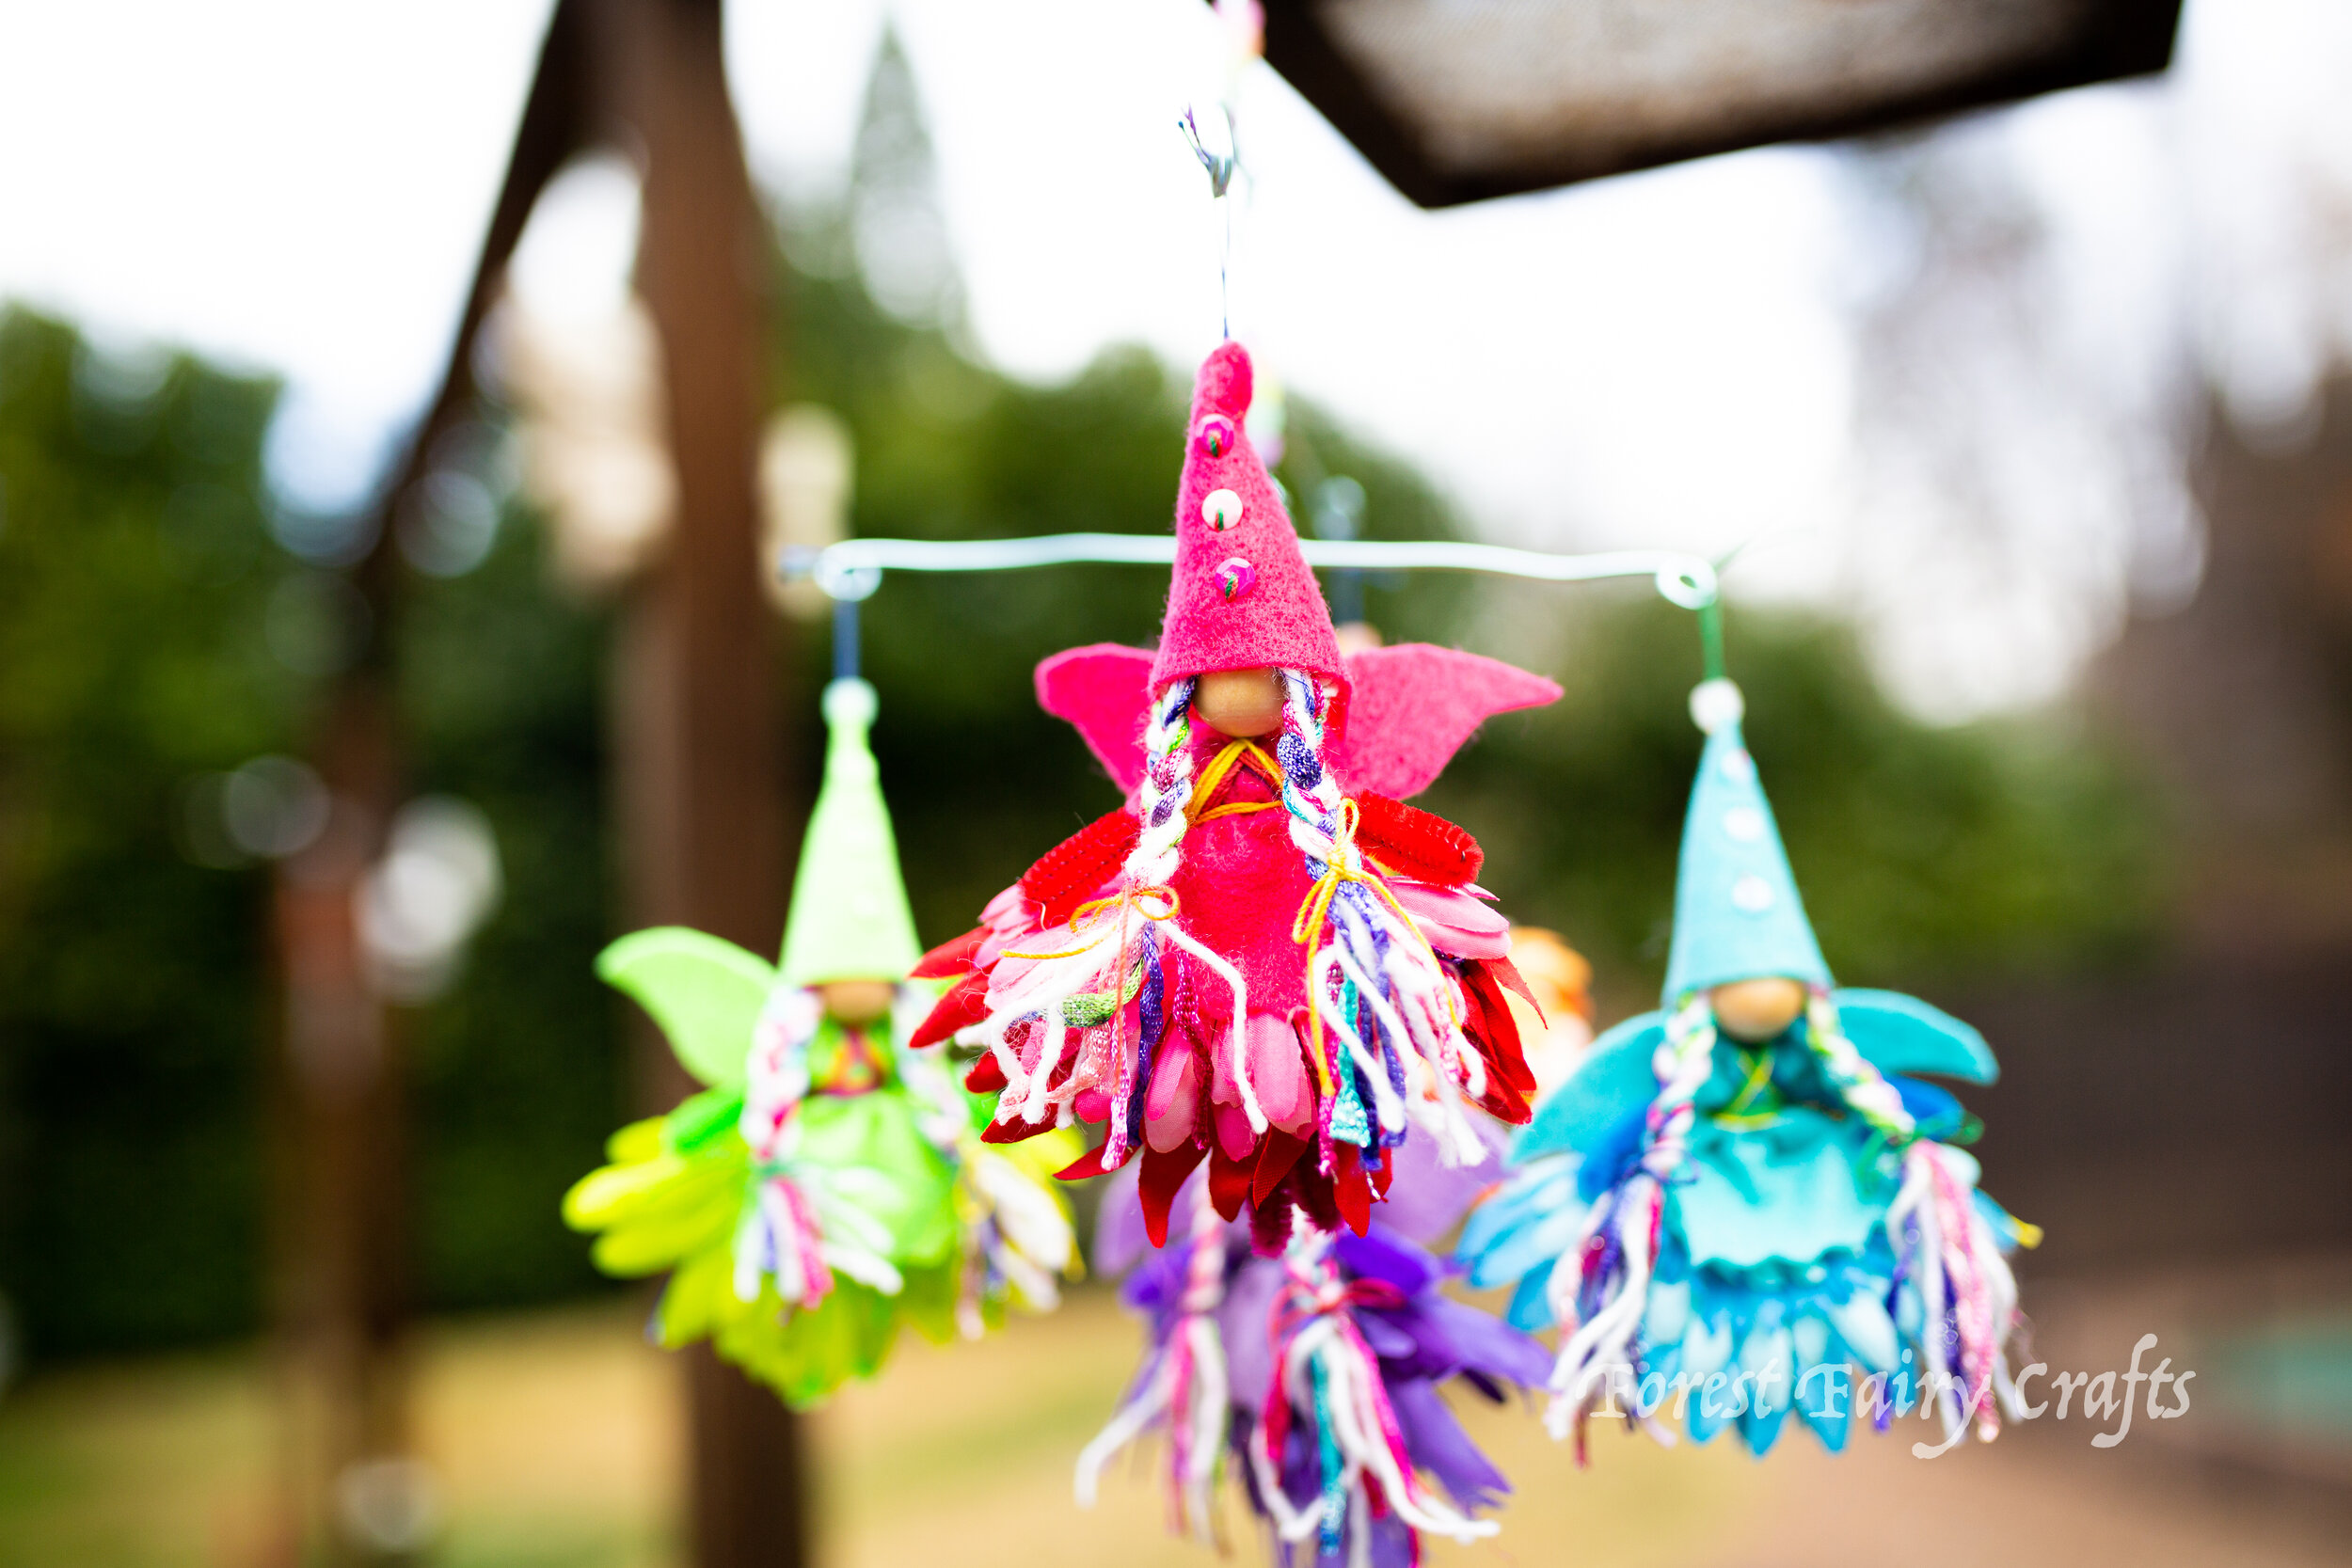
Rainbow Fairy Mobile
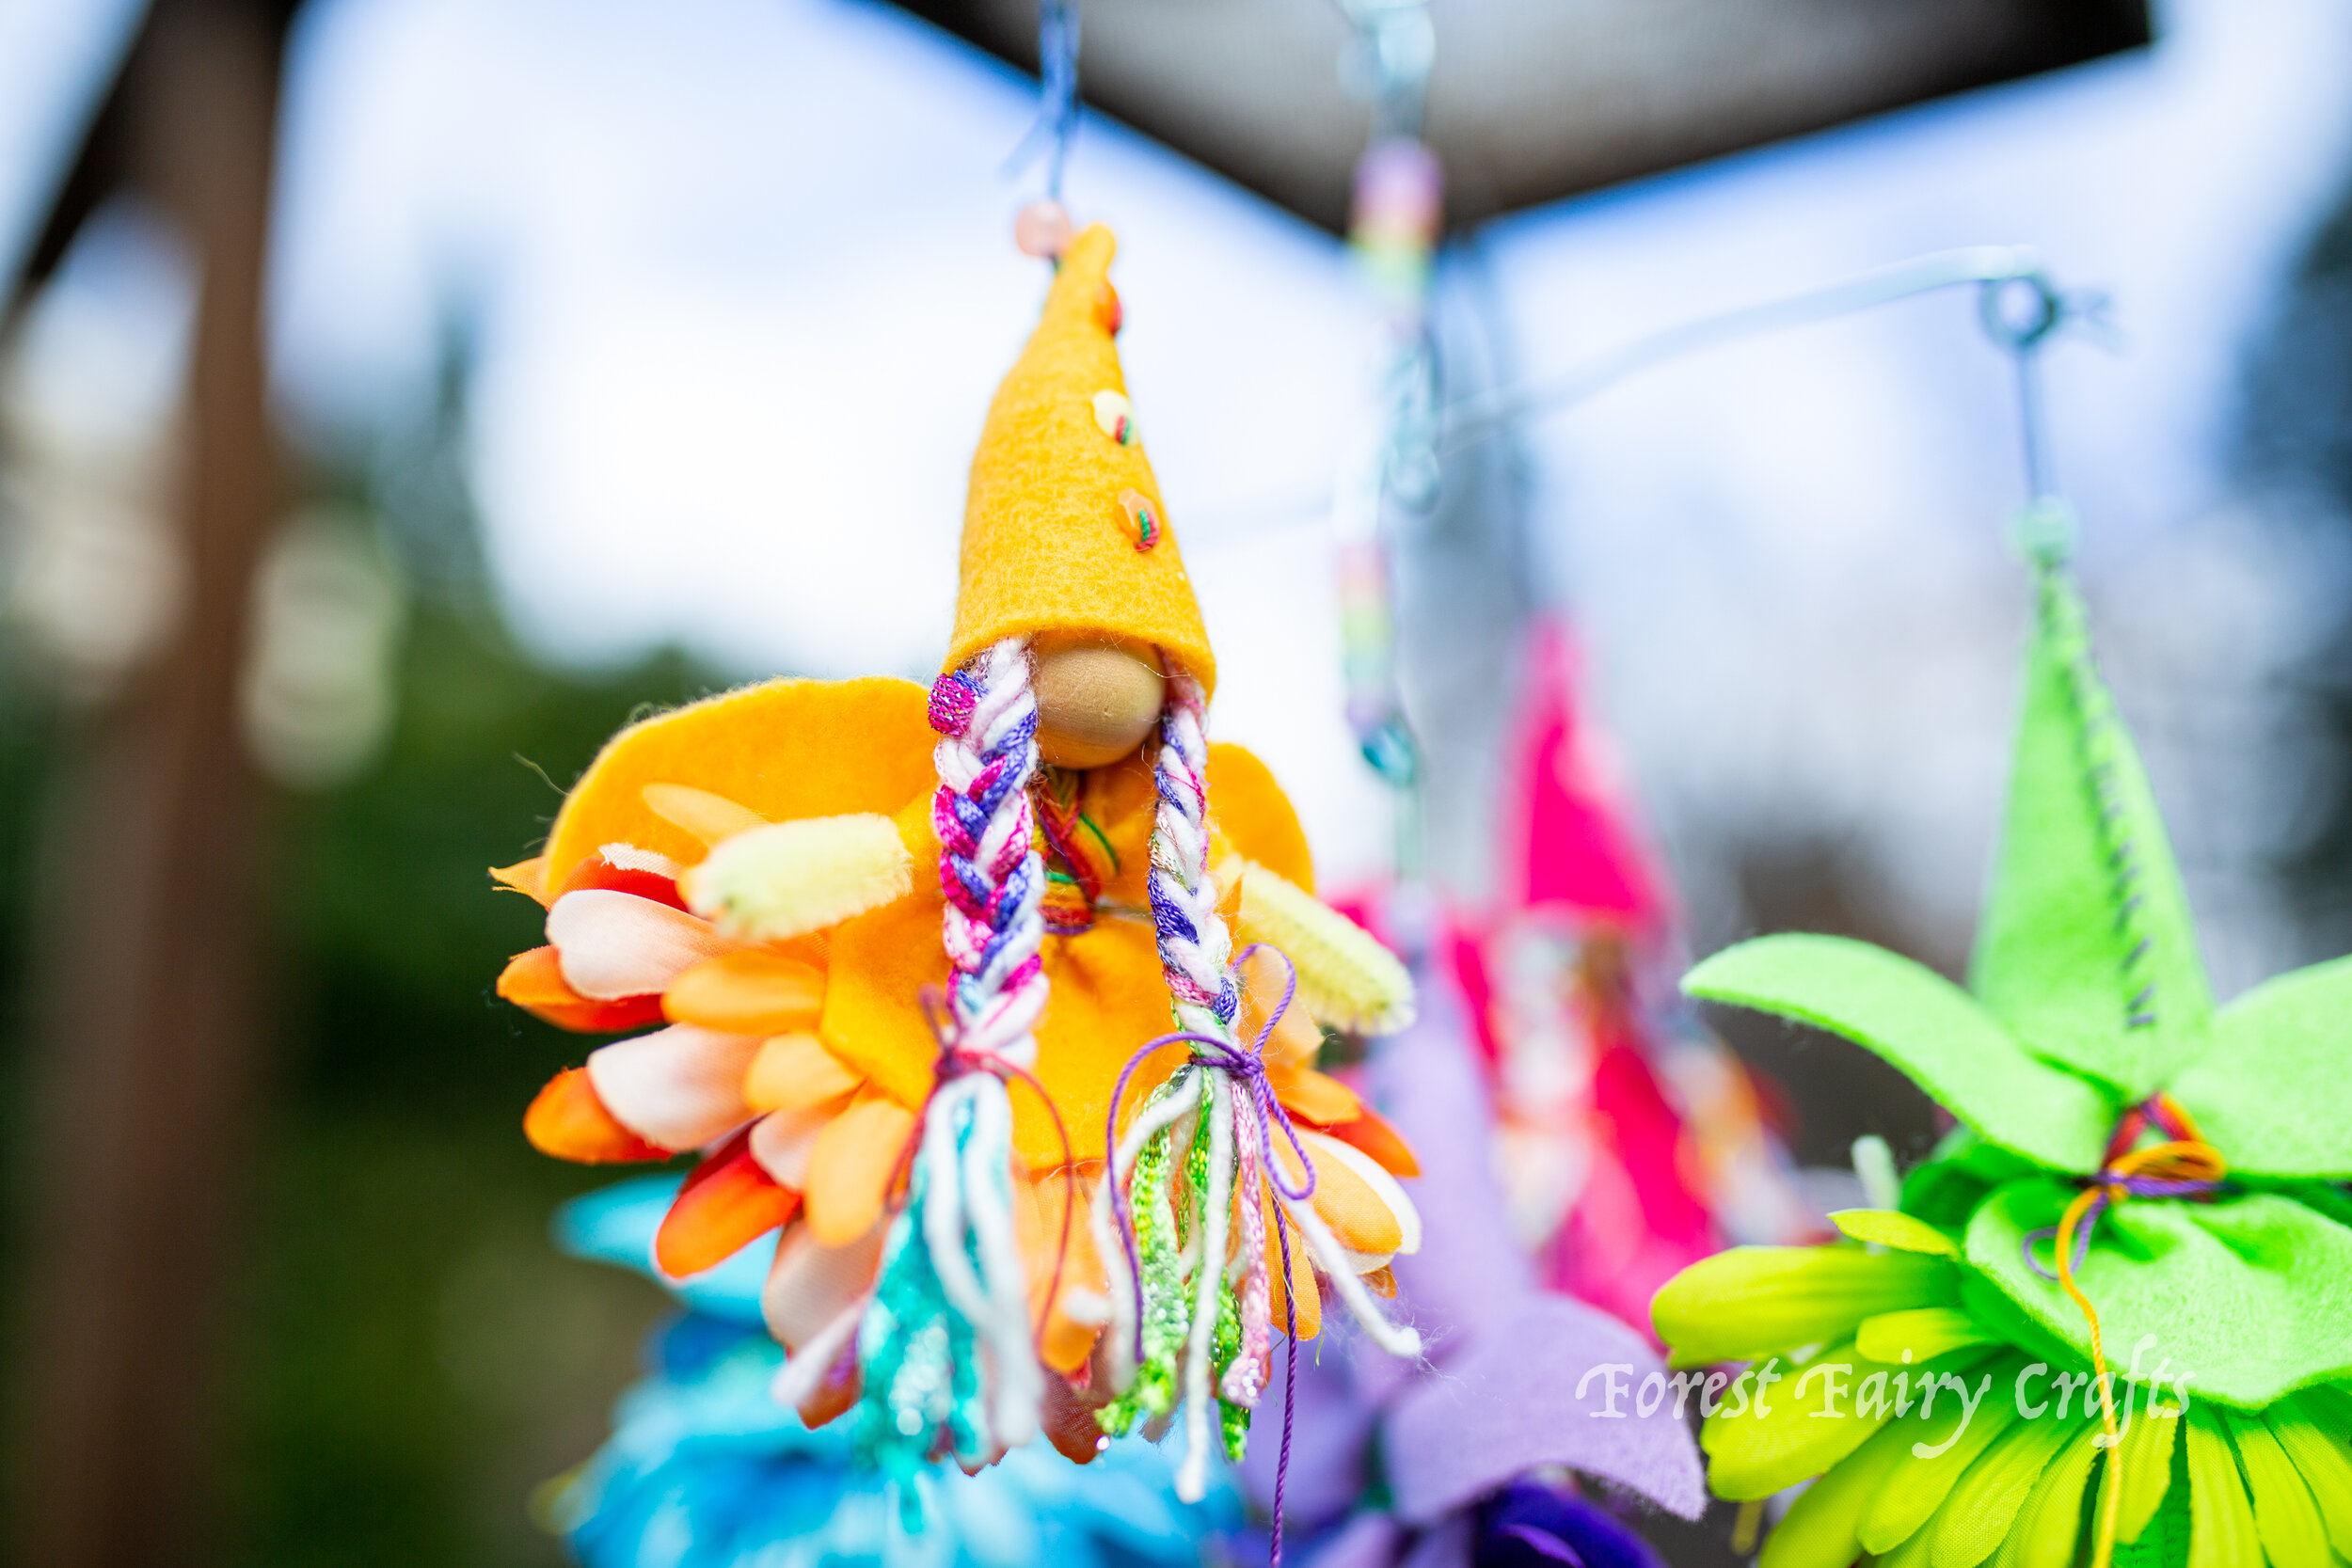
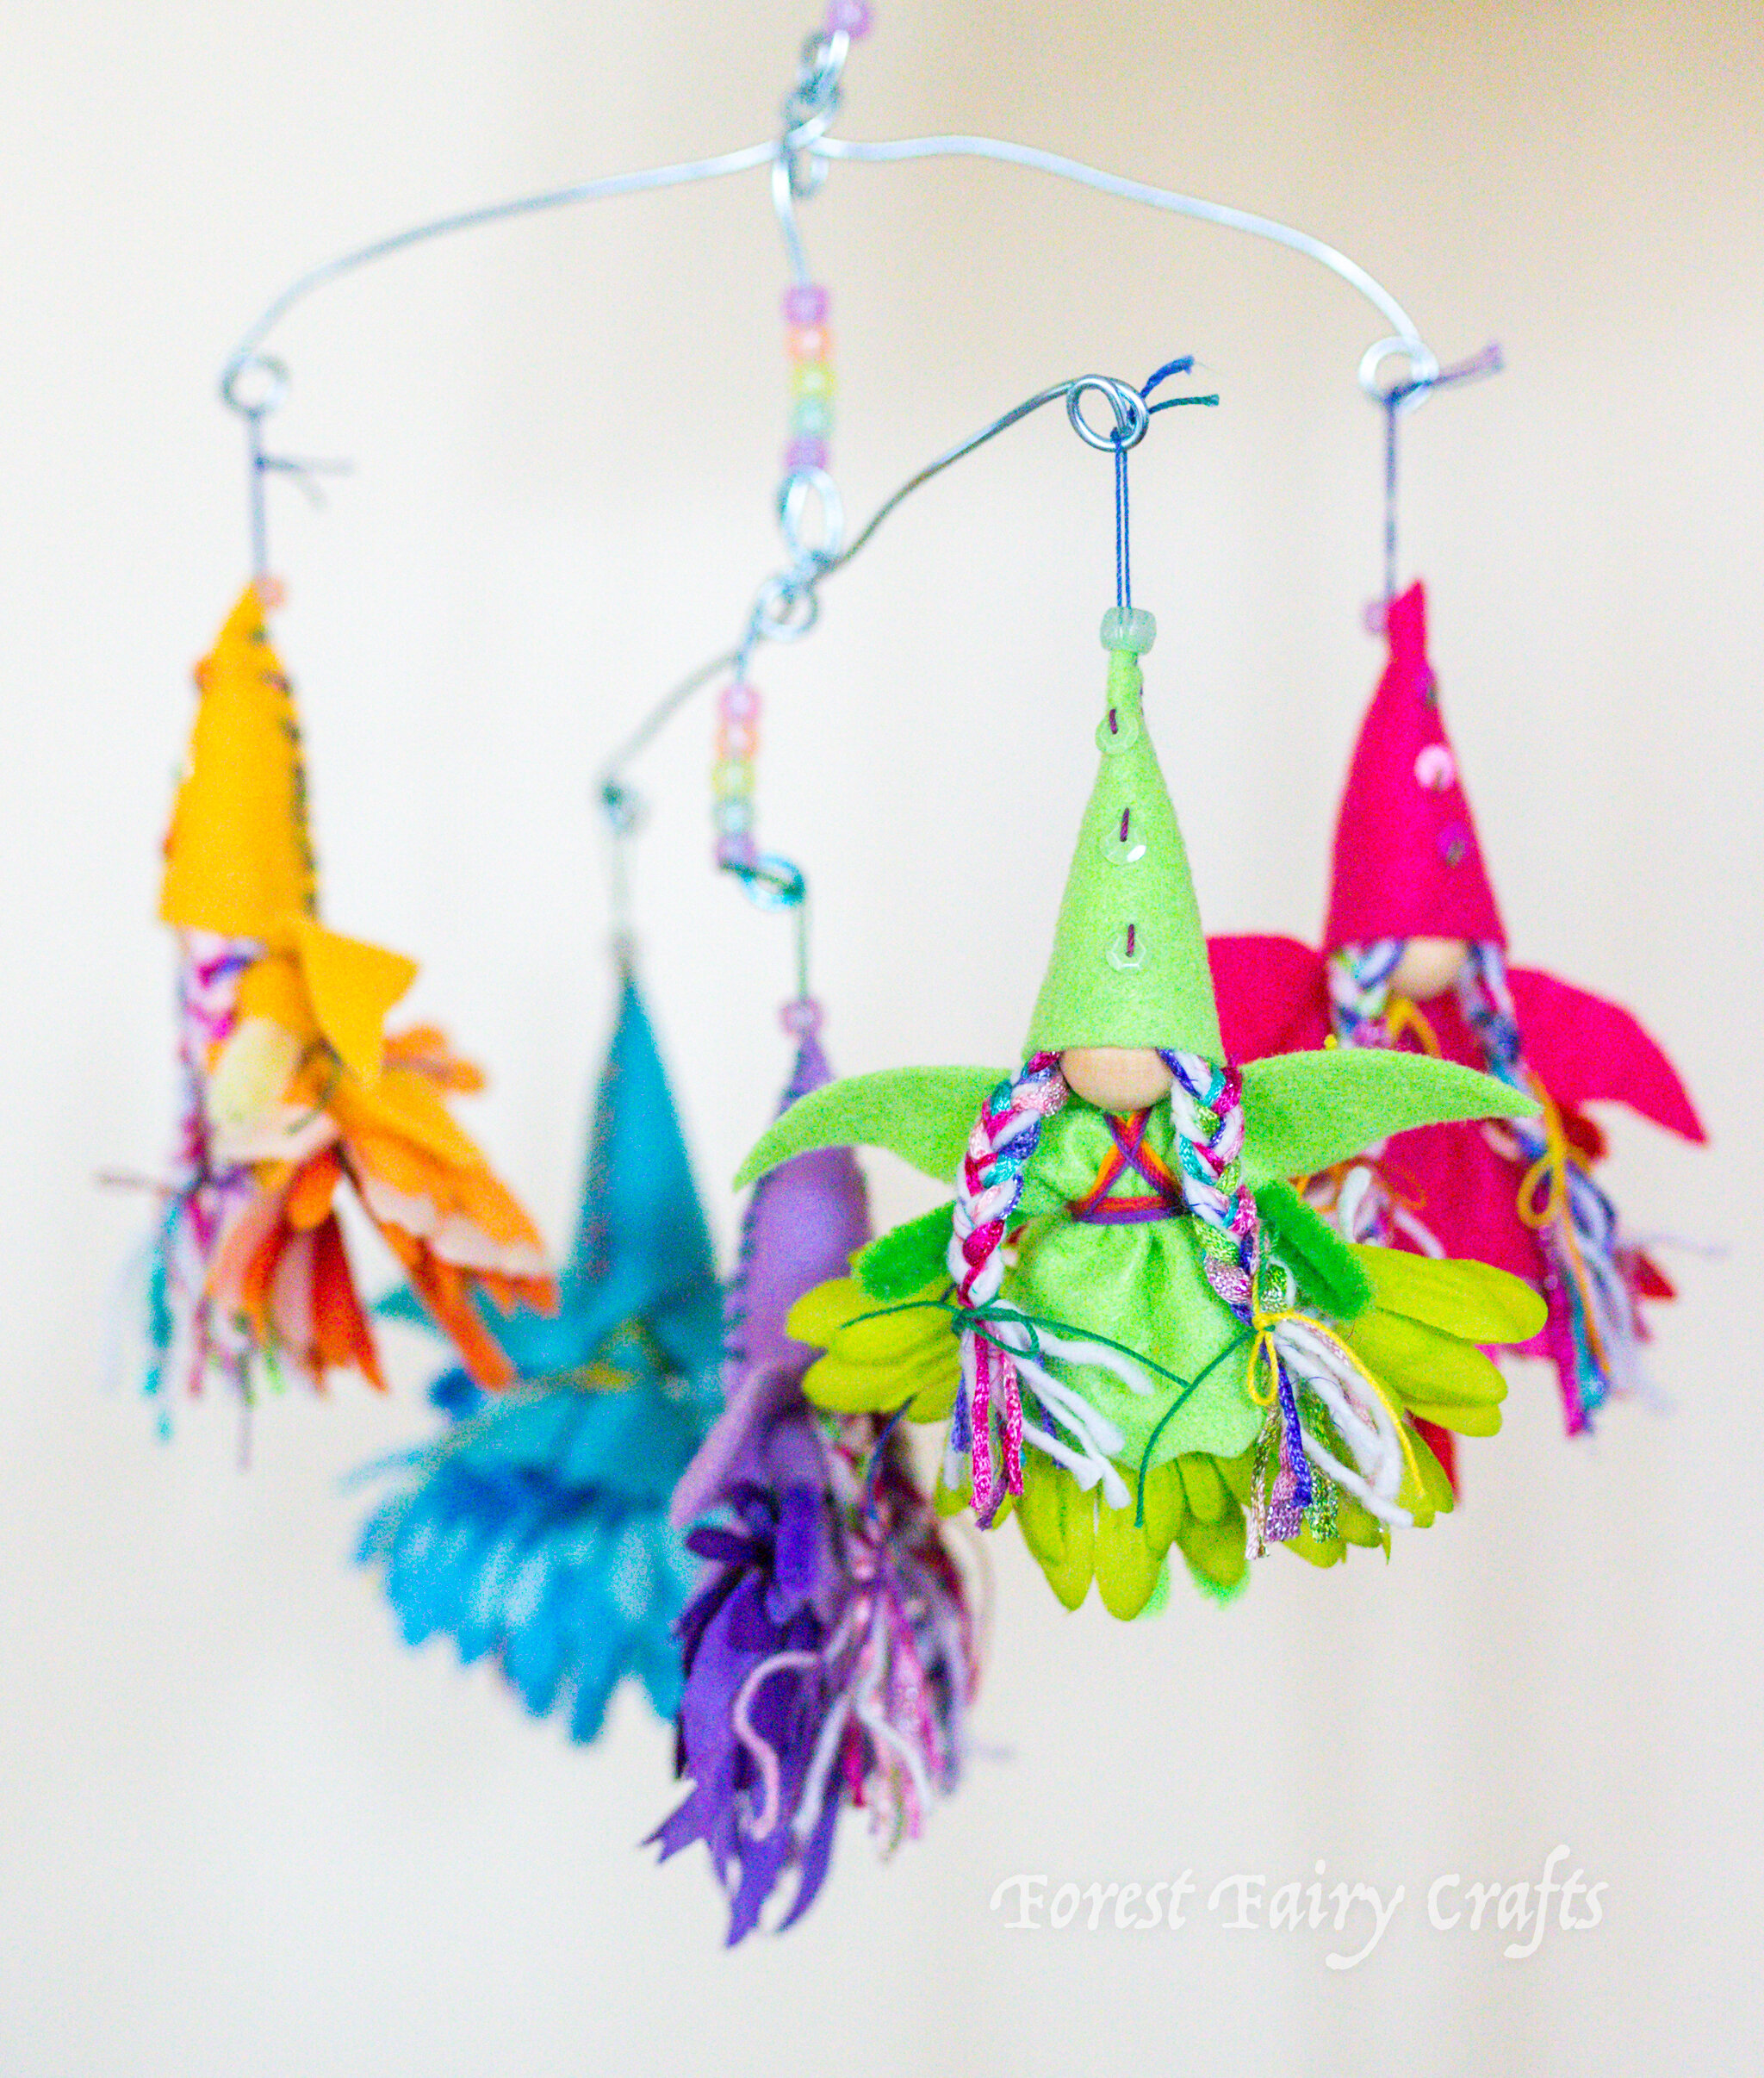
Look up and you may see a magical rainbow arcing across the sky. And, if you’re really lucky, you may see rainbow fairies playing in the colors.
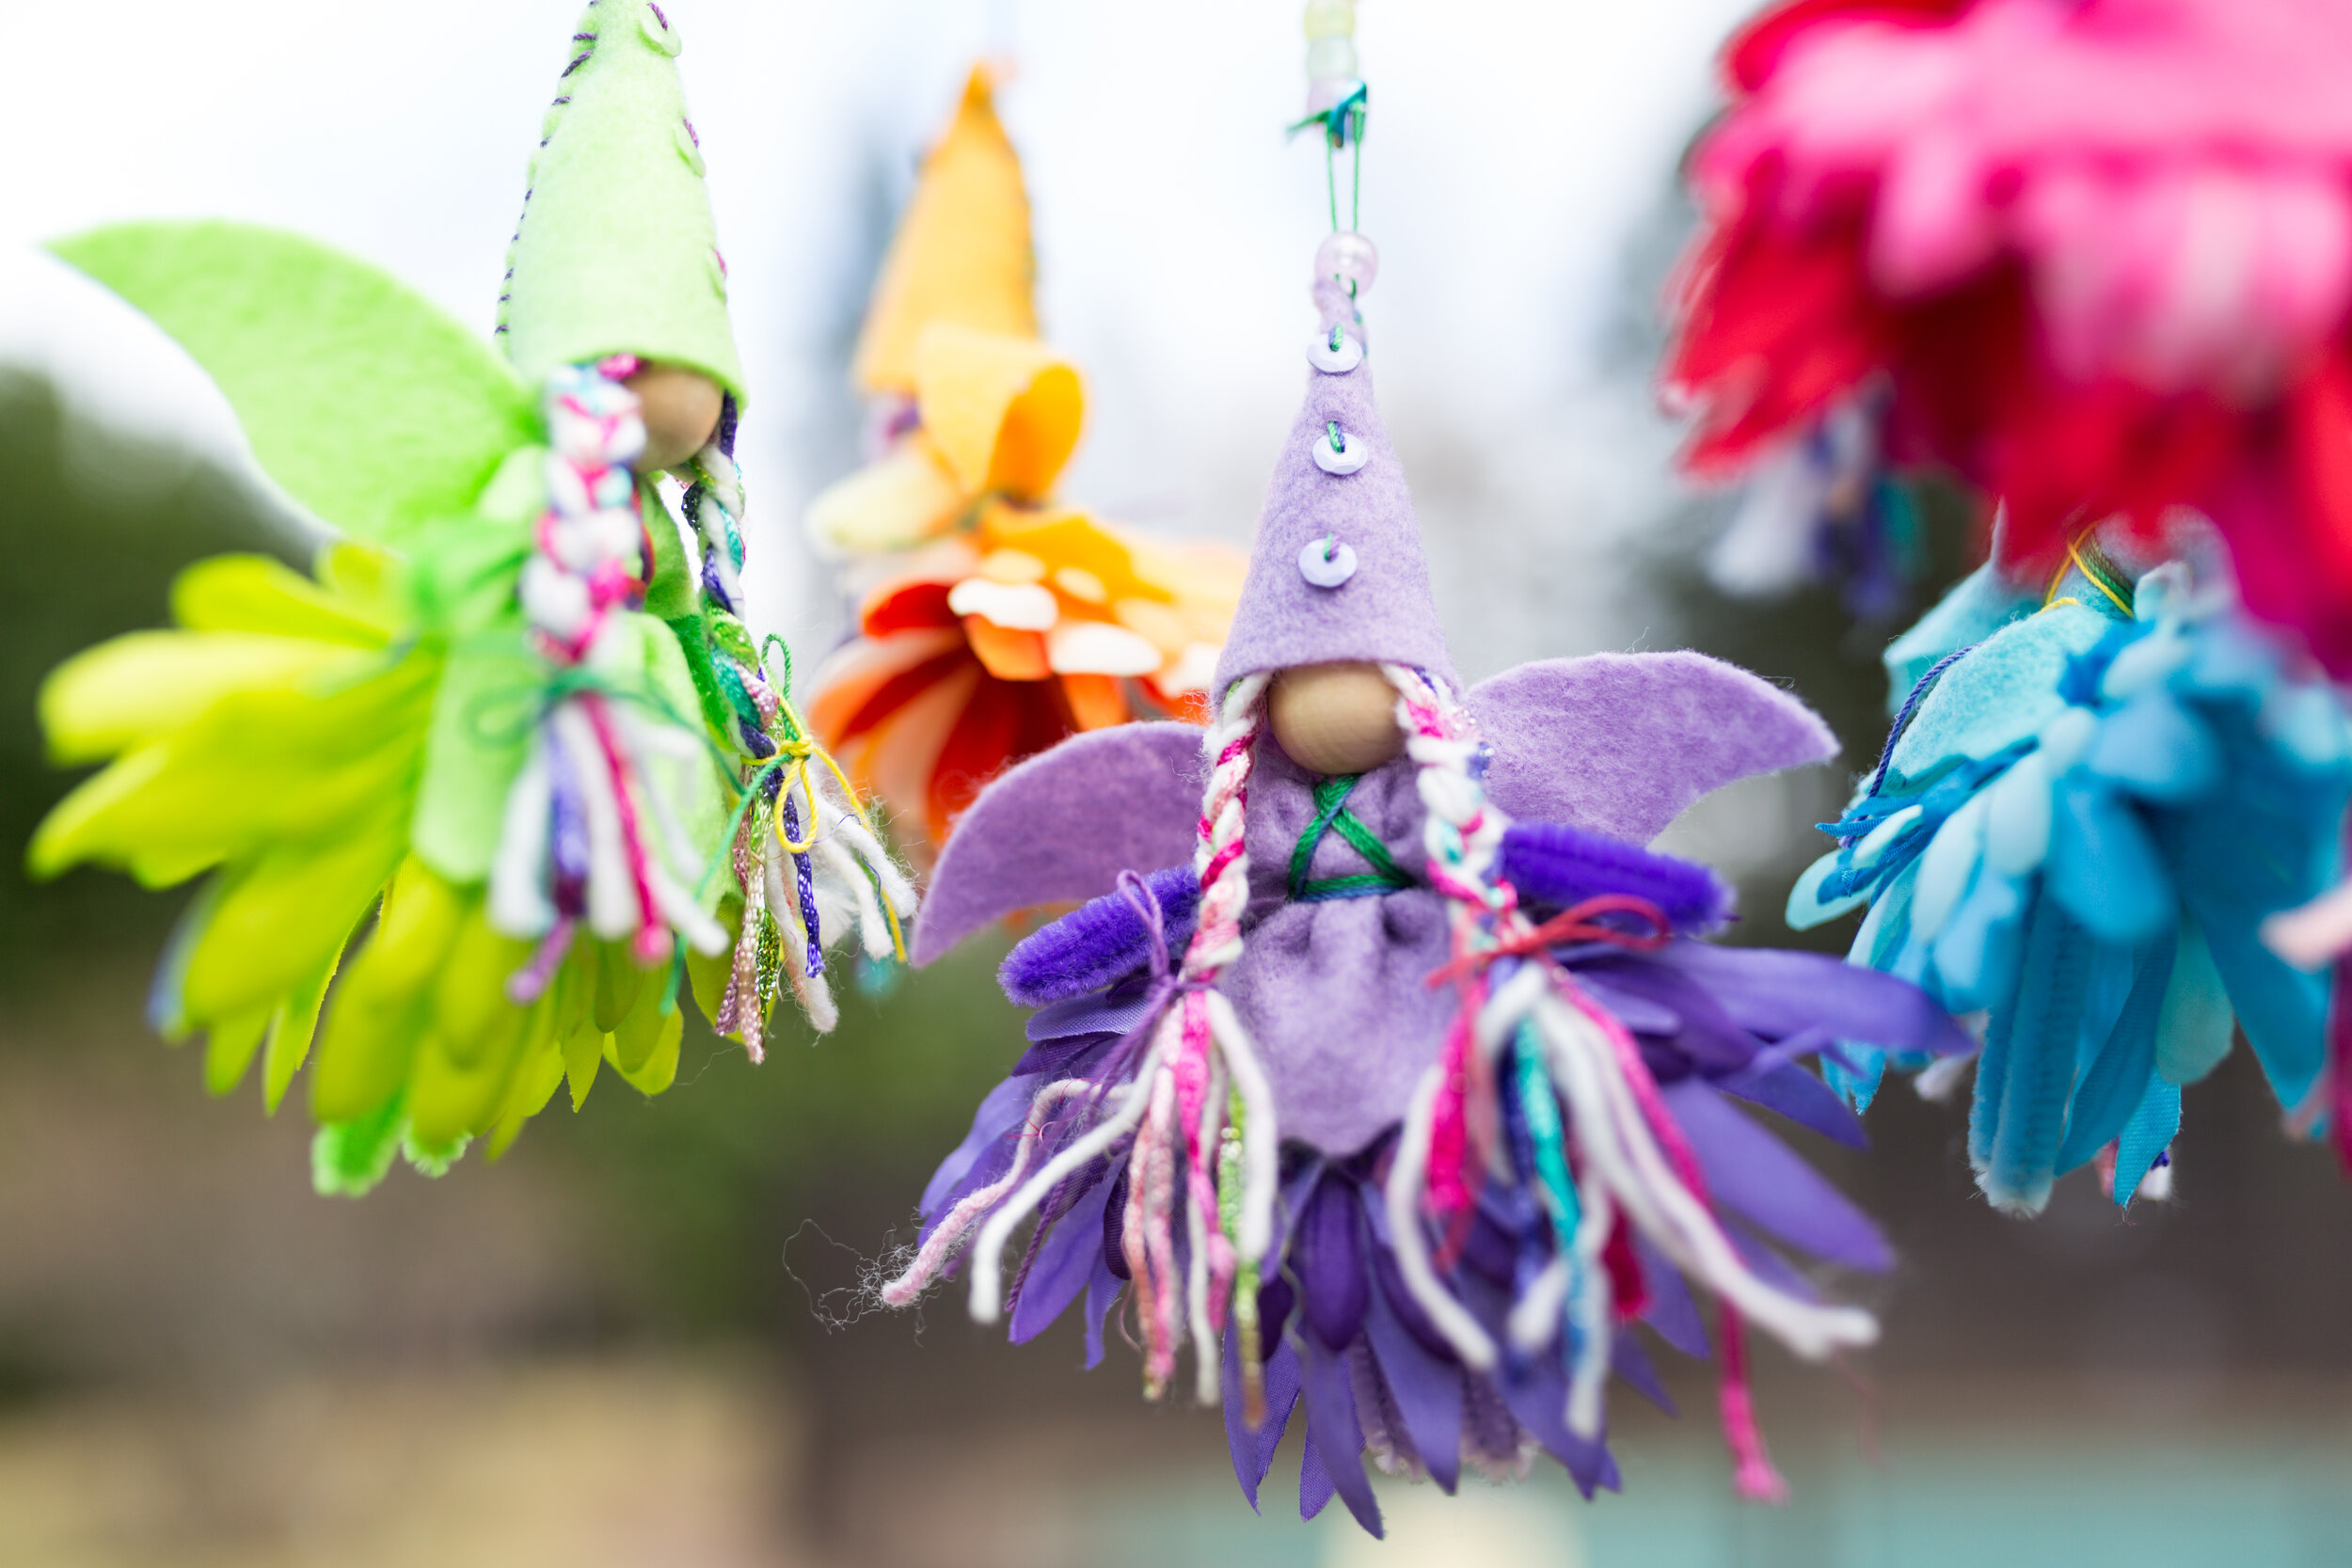
This mobile was a collaborative project with my niece. I put it together as a gift which she loved after expecting a handful of colorful fairies.
Our first step was choosing the colors. We laid out different combinations before cutting any patterns. She liked softer versions of color, leaning towards lavender rather than deep purple. With this palette, red didn’t quite fit with the other colors. A bold pink fit far better in our fairy rainbow. Color choices were a good conversation about planning because laying them out together before cutting meant that we had flexibility when we changed our minds about one shade or another.
We also checked on the petal colors while choosing felt. It turned out that we had very few orange petals. For some reason, our orange/yellow collection was smaller than the other colors. So we opted to combine orange & yellow into one fairy.
We first cut the hats and dresses. She sewed the hats. We encountered a challenge with wings because she wanted the wings to match and I didn’t have perfectly matched wire ribbon in all the colors of the rainbow.
At this moment, I let her think about potential solutions- which is a fantastic learning opportunity for children. I could have said, “Oh, we can cut wings,” but it was a perfect opportunity for her to consider options. And weigh feasibility. Dying ribbon? Whelp, I didn’t have dye either. It took some time before cutting wings was offered. And, again, I could have said, “Great, let’s get a pattern,” but instead I asked her how we could do that. And she decided she wanted to design her own wings. I showed her the patterns that we use for Bumblebee and Love Fairies. She thought about it and decided she wanted her own shape.
So I told her how we design wings by thinking about the shape, then making sure the shape has enough thickness to connect in the back. We draw half of the wings on paper, fold, then cut it to see if the size and shape works before using felt. It took a few tries for her design to “work”. The first was too small and another with lots of little details. We also talk about material because things that look great on paper won’t work on felt. Especially craft-quality felt doesn’t hold little zig-zags or edging very well.
After her paper wings passed the “testing phase” with paper, we cut out a set of wings and tried it to see how it worked. Perfect!
My photo collection doesn’t have a great perspective from the back of a fairy to see her wing design, but hopefully, this one shares the idea of her wing shapes. We did need to adjust a little because the felt didn’t hold the shape that well (wool felt would have been better for these wings because it holds shapes better but, by this phase, we had already sewn hats).
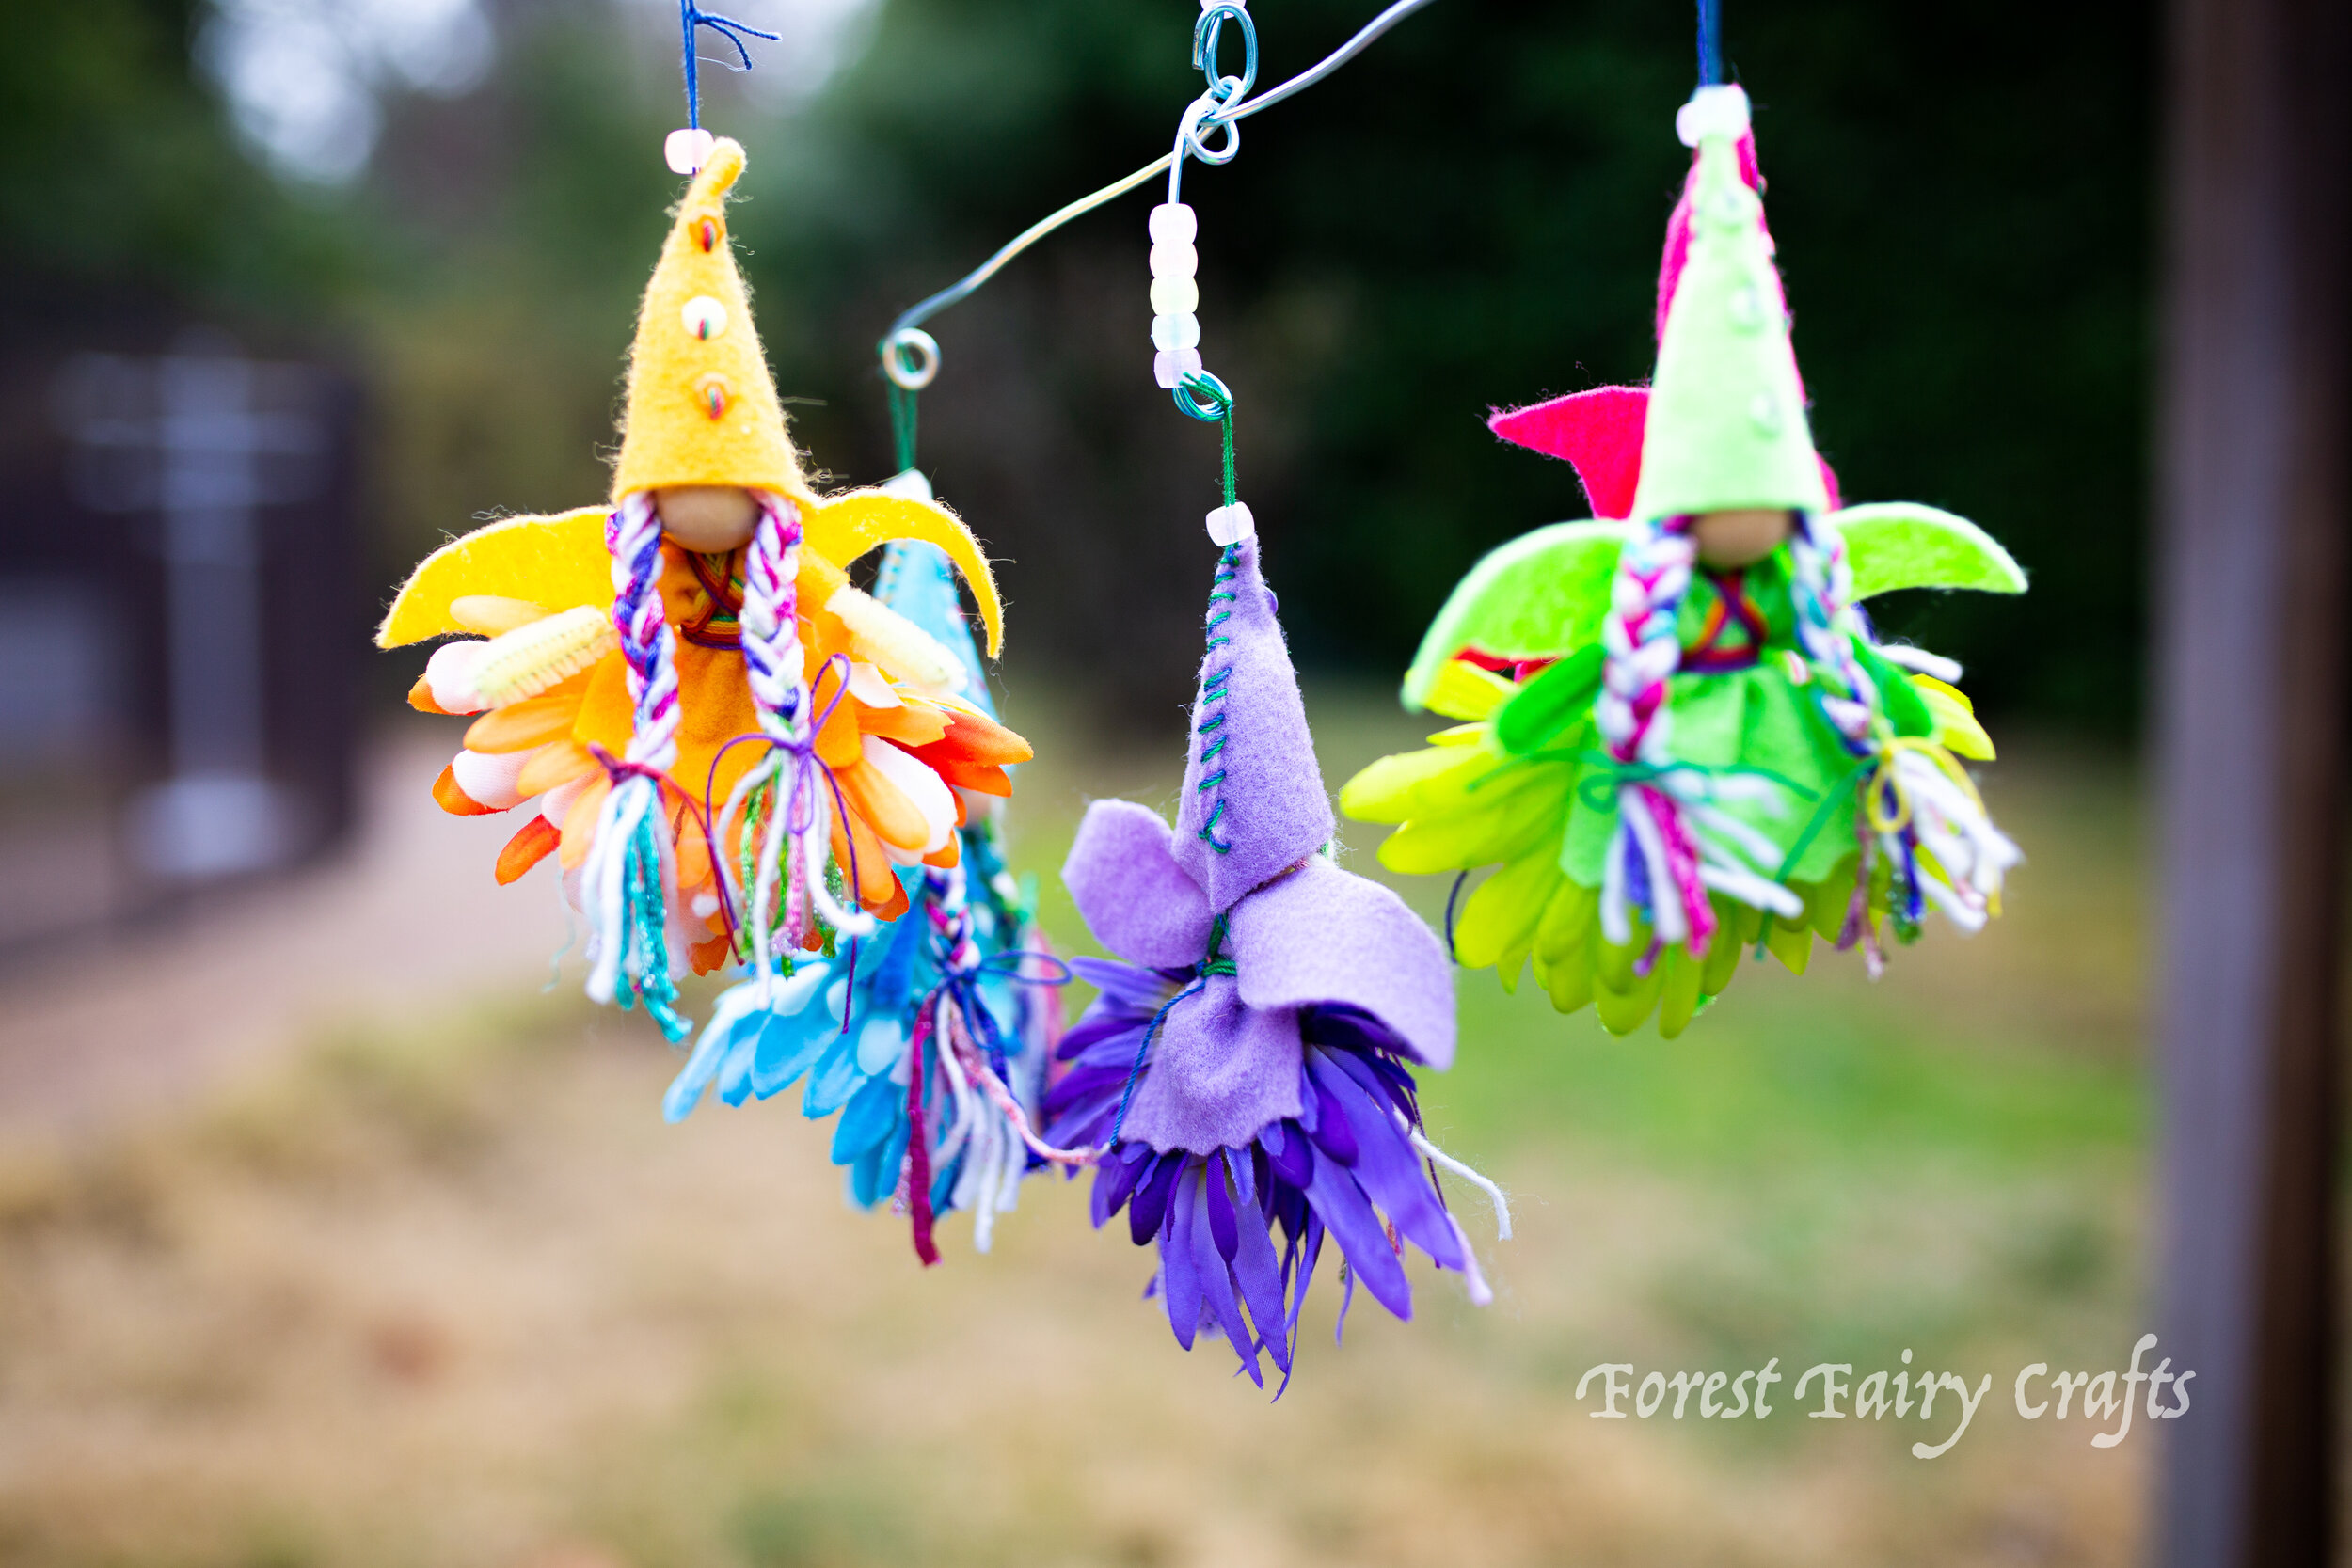
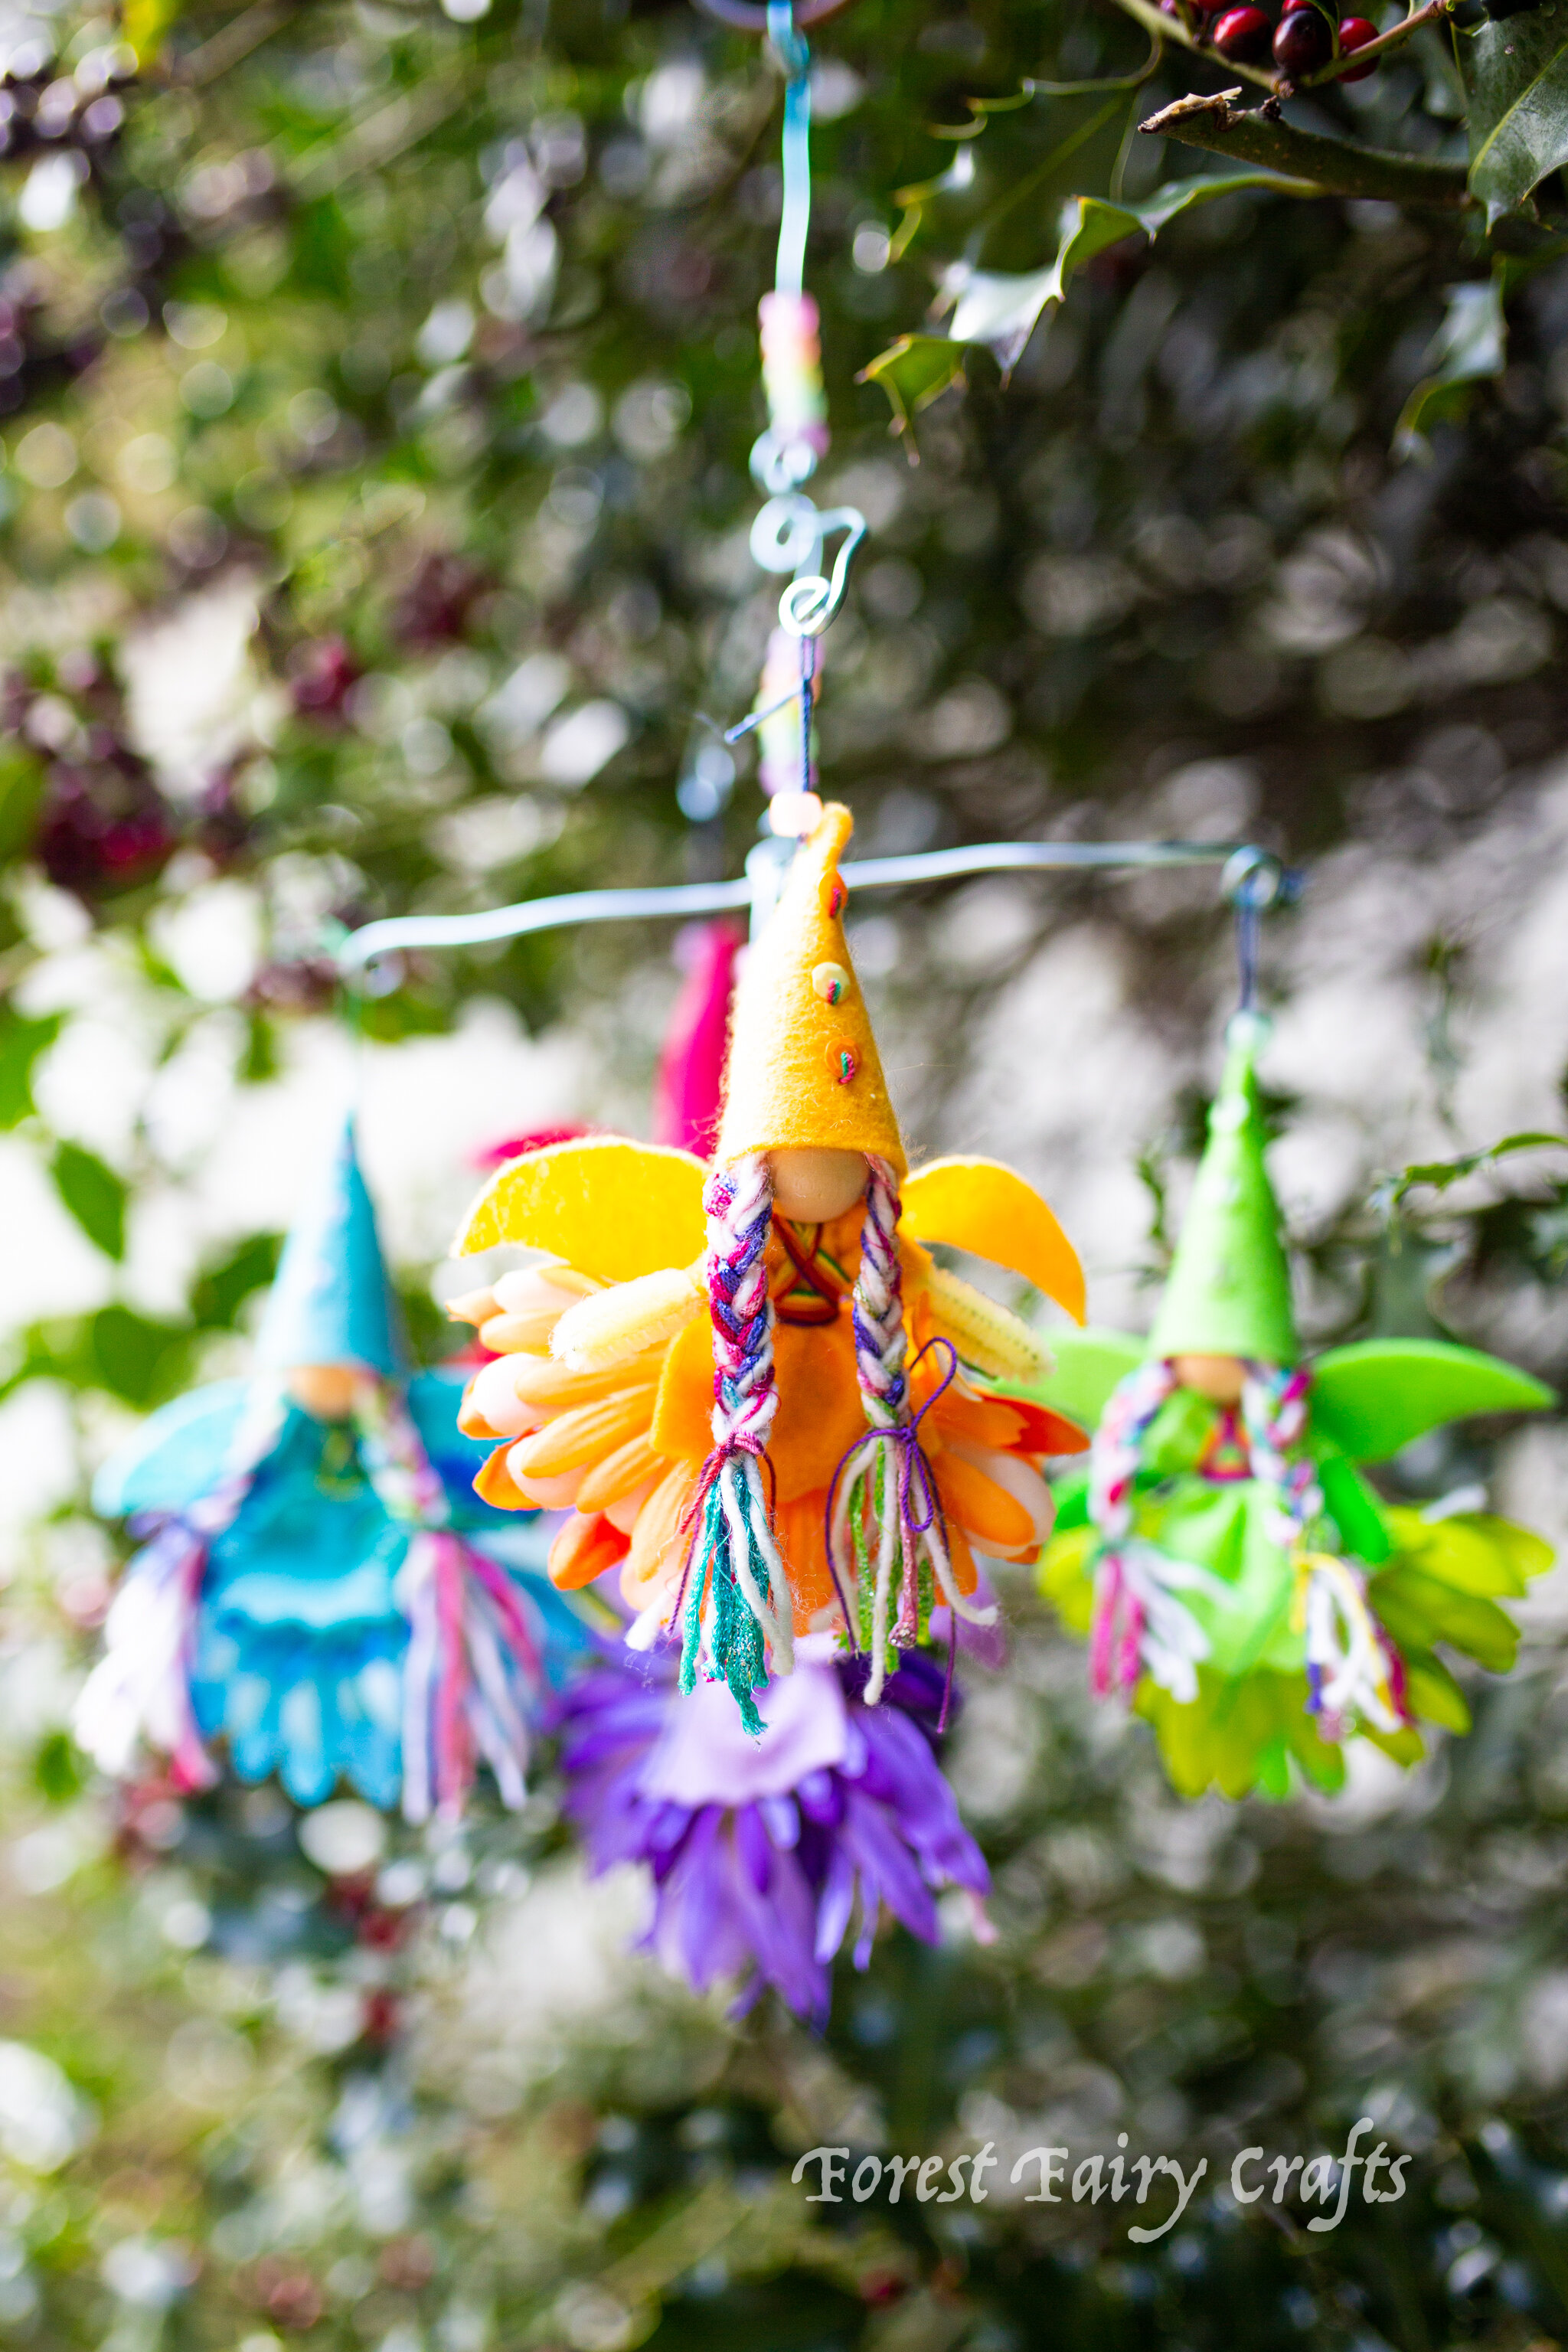
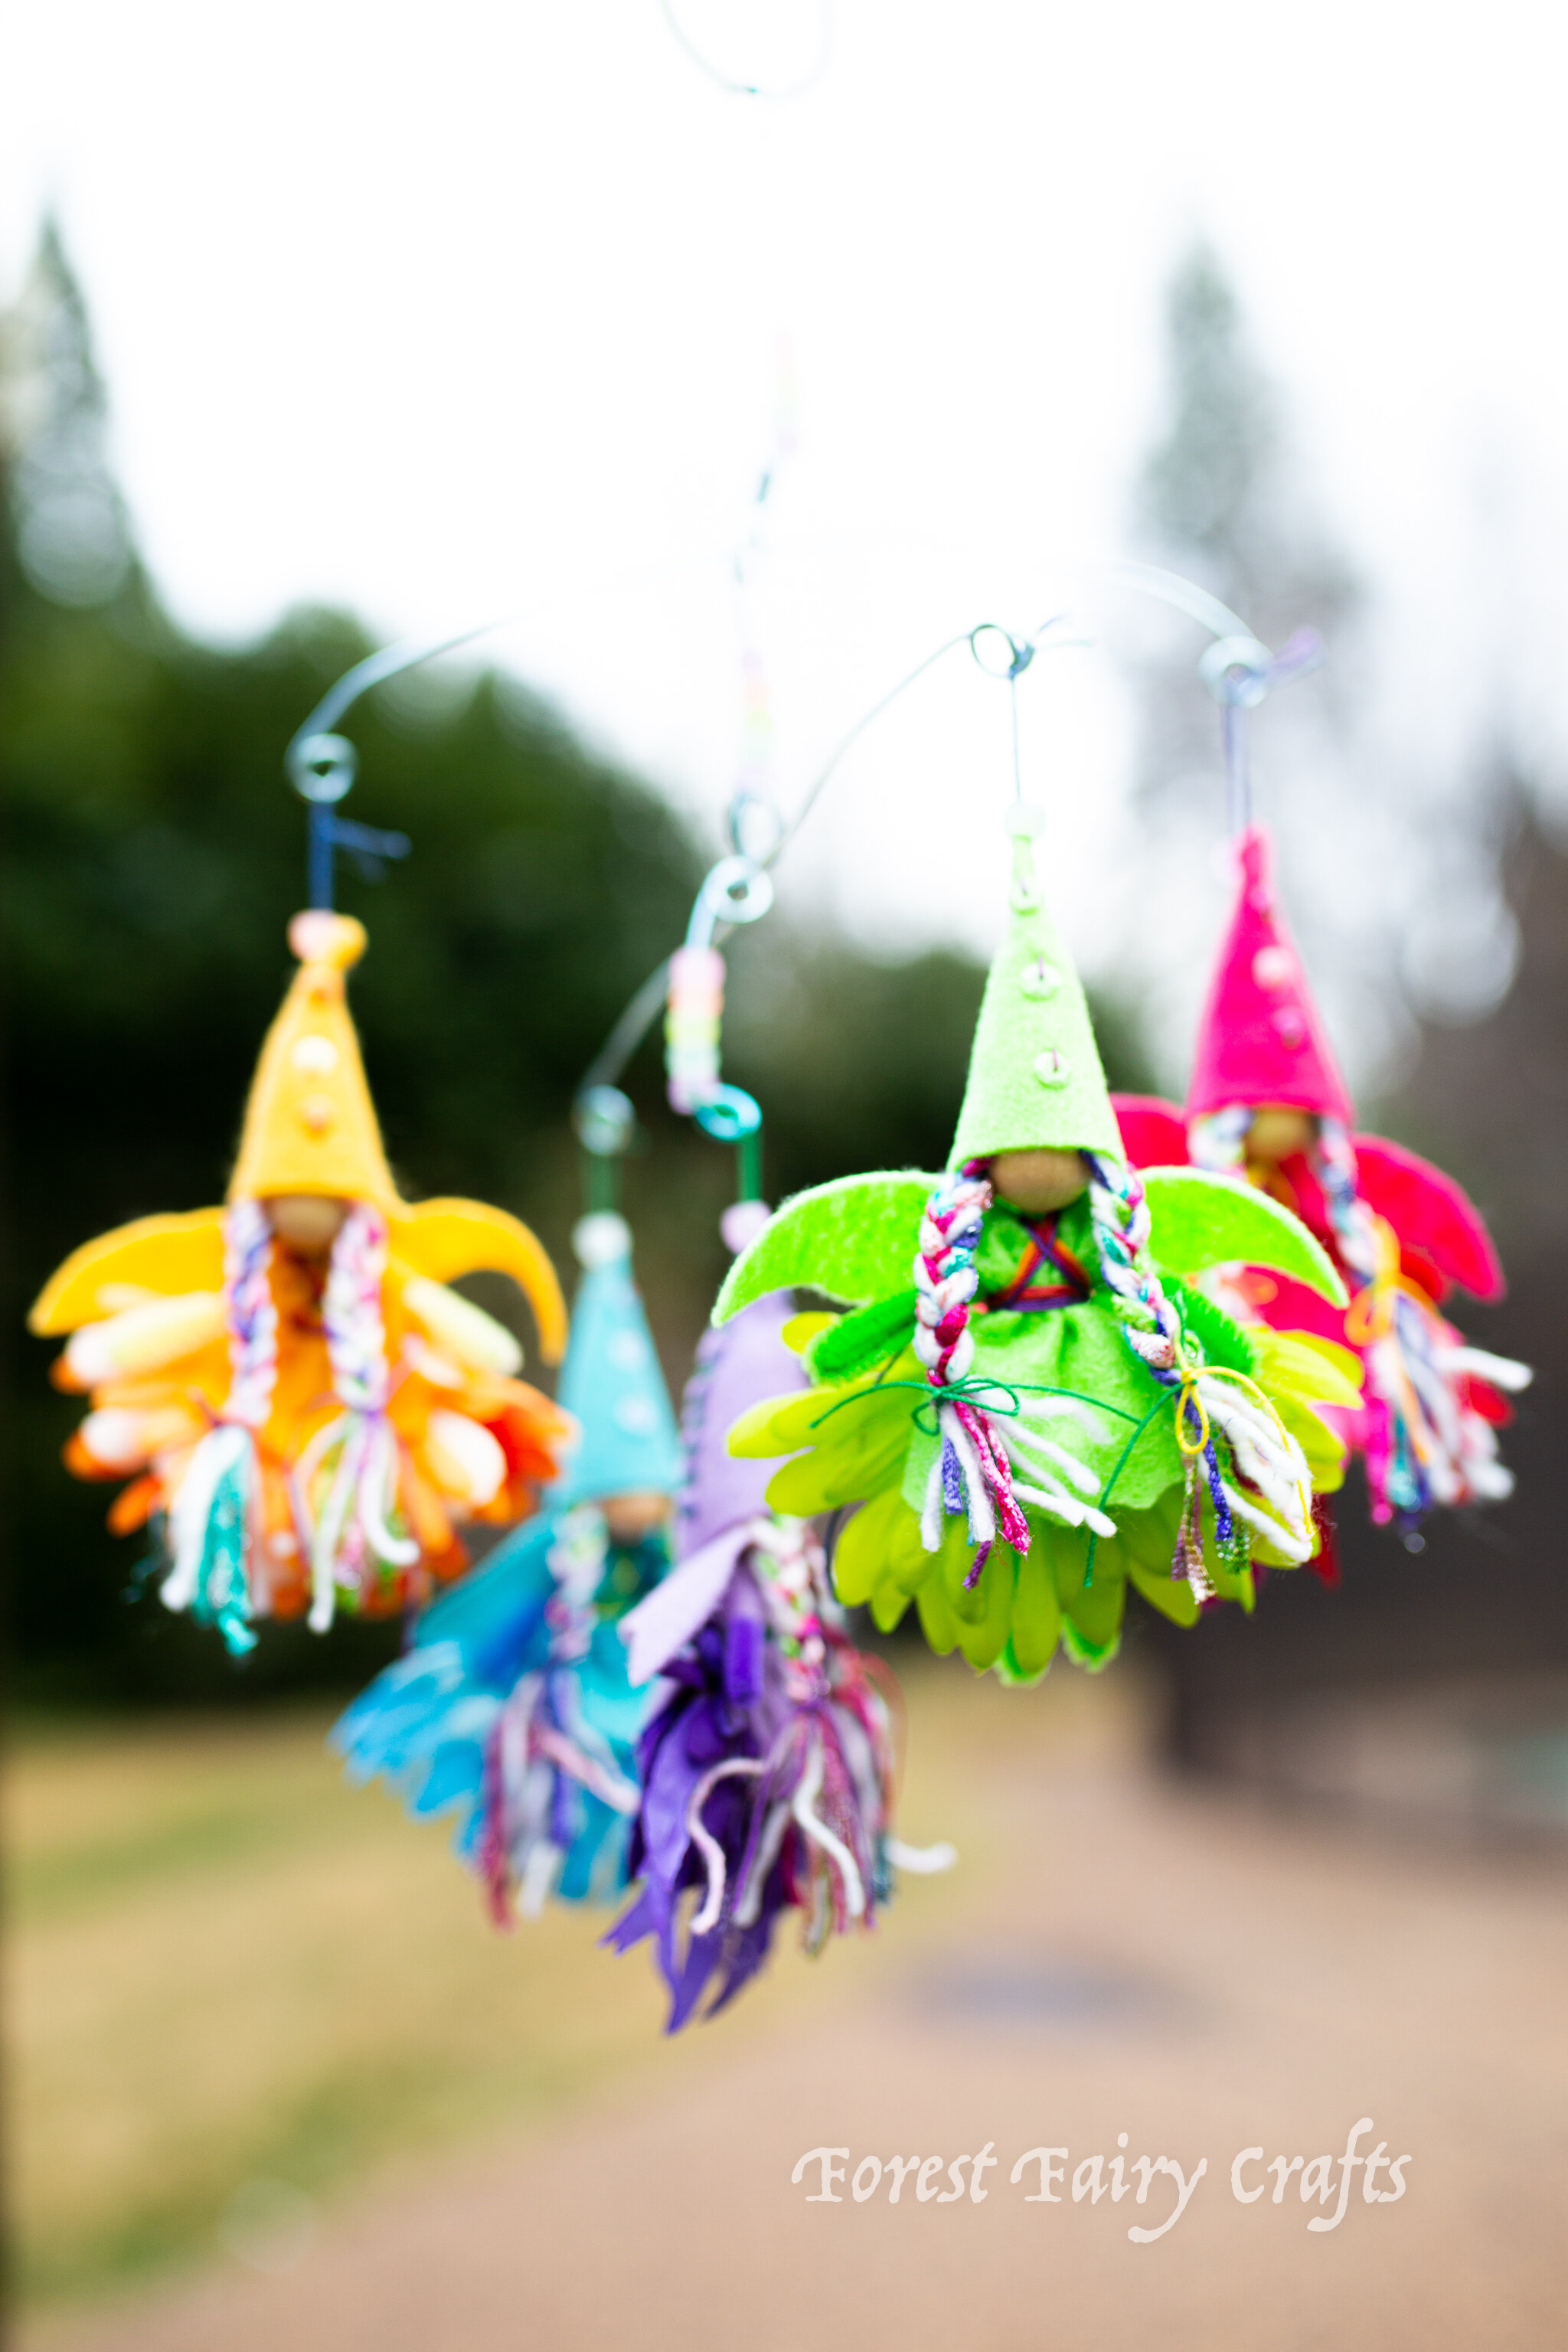
We decided to mix a rainbow yarn with white yard (like clouds) to give continuity between the fairies. I use floral wire, which is quite soft and easy to bend, to create the mobile’s frame. The last step is that I give each end of the wire a swirl, and a loop on a fairy’s hat, so they can be removed for play. It’s a lovely decoration that invites creative play. After all, what could be more fun that watching rainbow fairies fly overhead? Playing with them!

Wishing you plenty of fairy magic today! And rainbows too 🌈
What is Handwork
When we first told children about handwork class, they may have been confused or even concerned. “Work? Why?” they might say. And, after a few times of seeing it on the schedule, they eagerly looked forward to handwork. And part of that was demystifying the question of what is handwork?
And we could unpack why “work” elicits a “noooo” in itself, but that’s another discussion. Instead, I want to share what Handwork means so as you search for activities and projects online, you have another search term to help you discover more ideas.
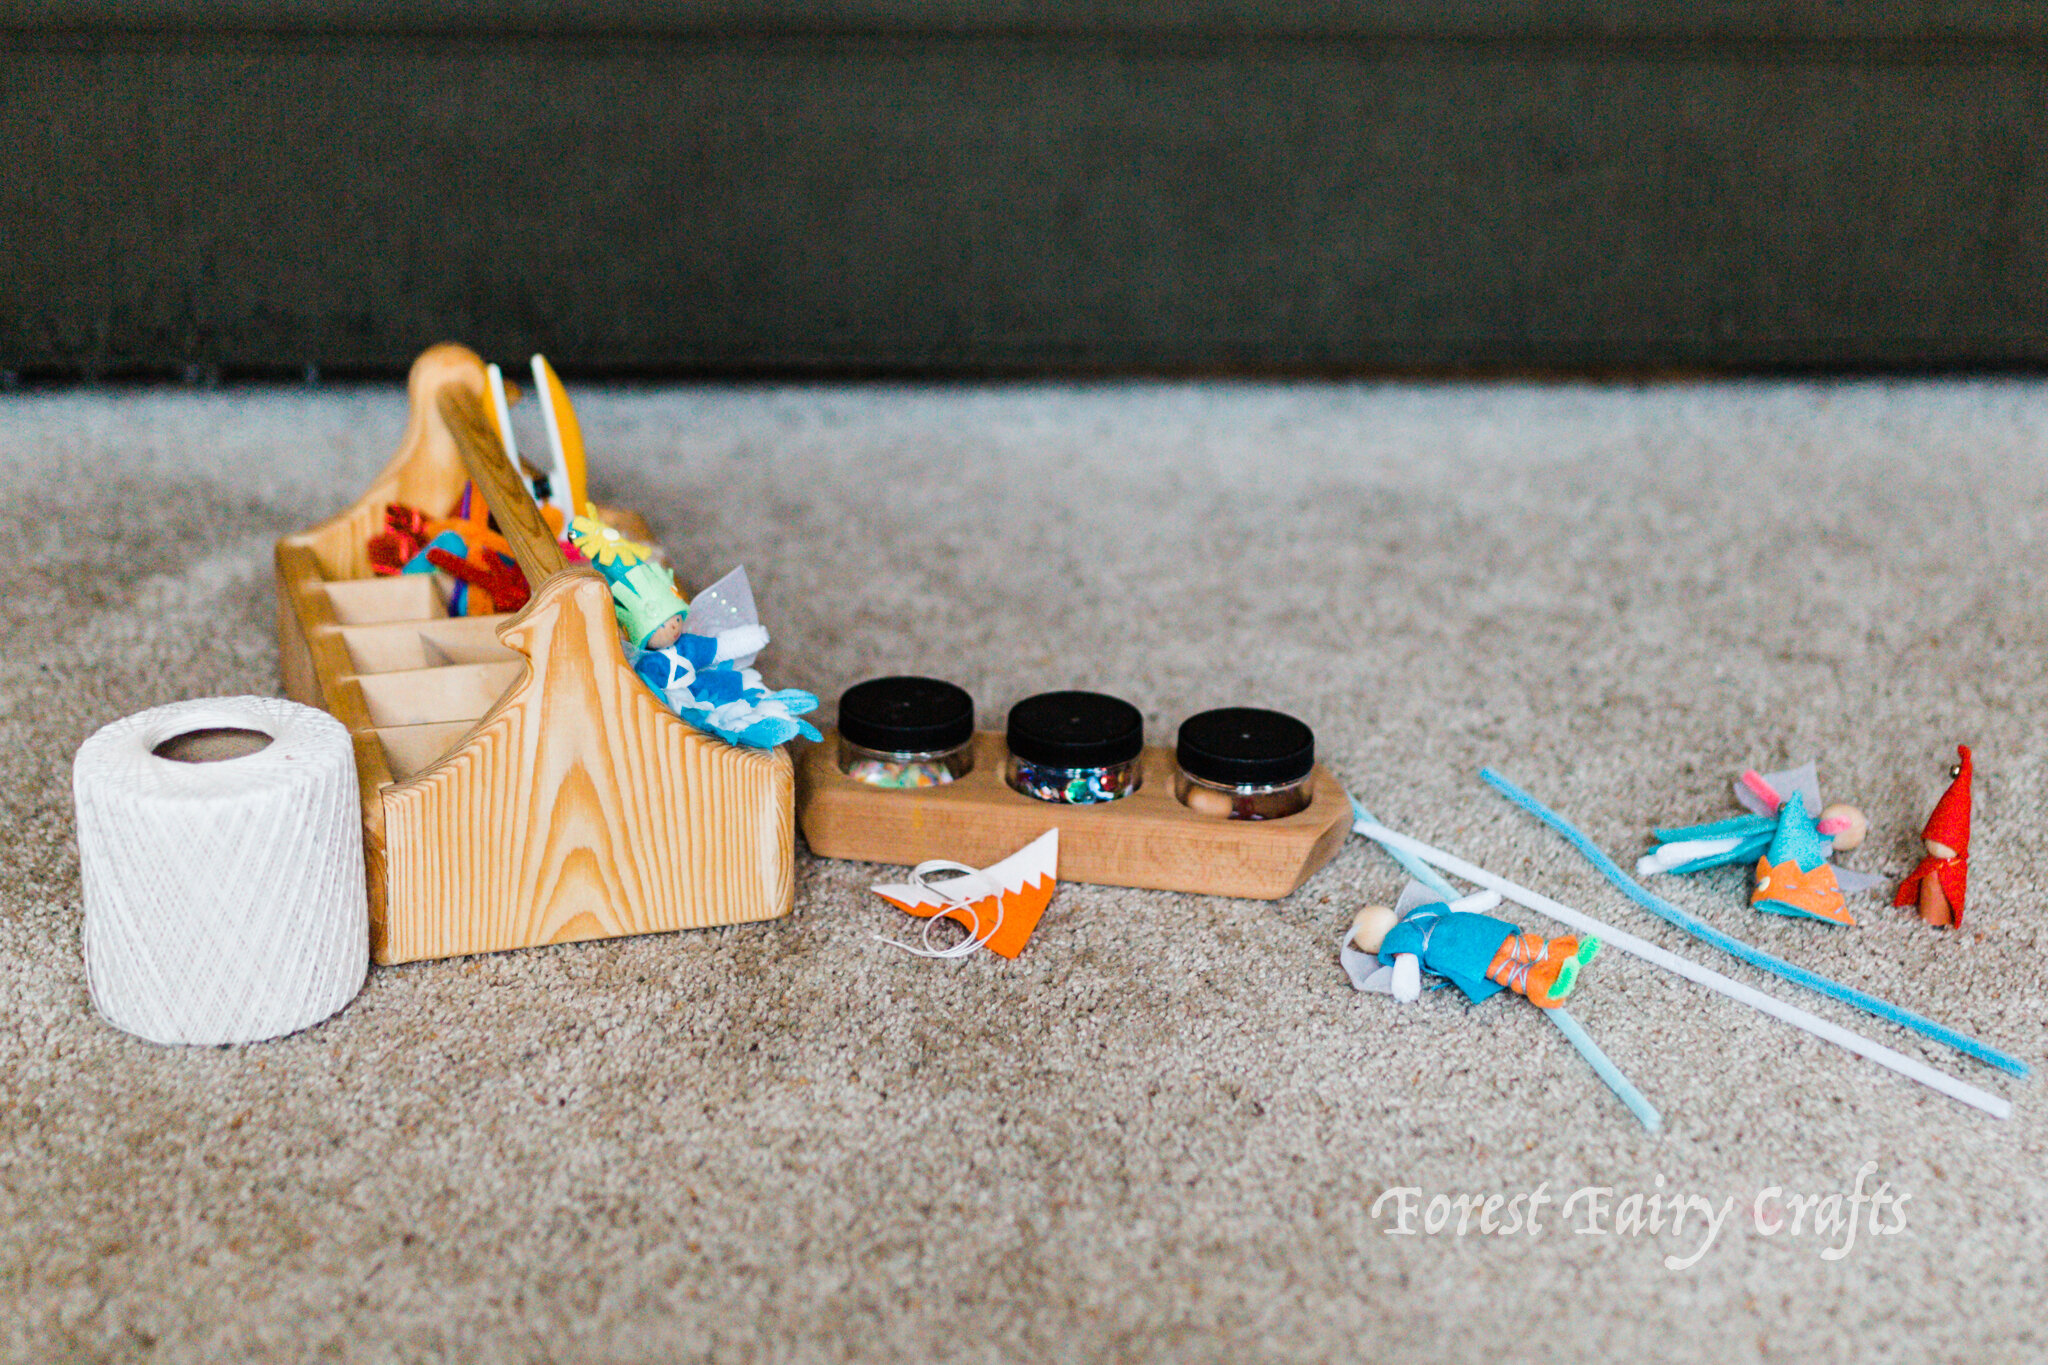
Handwork, simply, is work with your hands. And by “work,” is simply means “making things with your hands.” Handwork could be sewing or beading or knitting or weaving. In theory, it could also be whittling or sculpture or making machines. In the context of handwork in early childhood, handwork usually refers to making things by hand with fabrics, thread, and/or yarn. It tends to be soft materials. But the principles could be applied to other mediums as well.
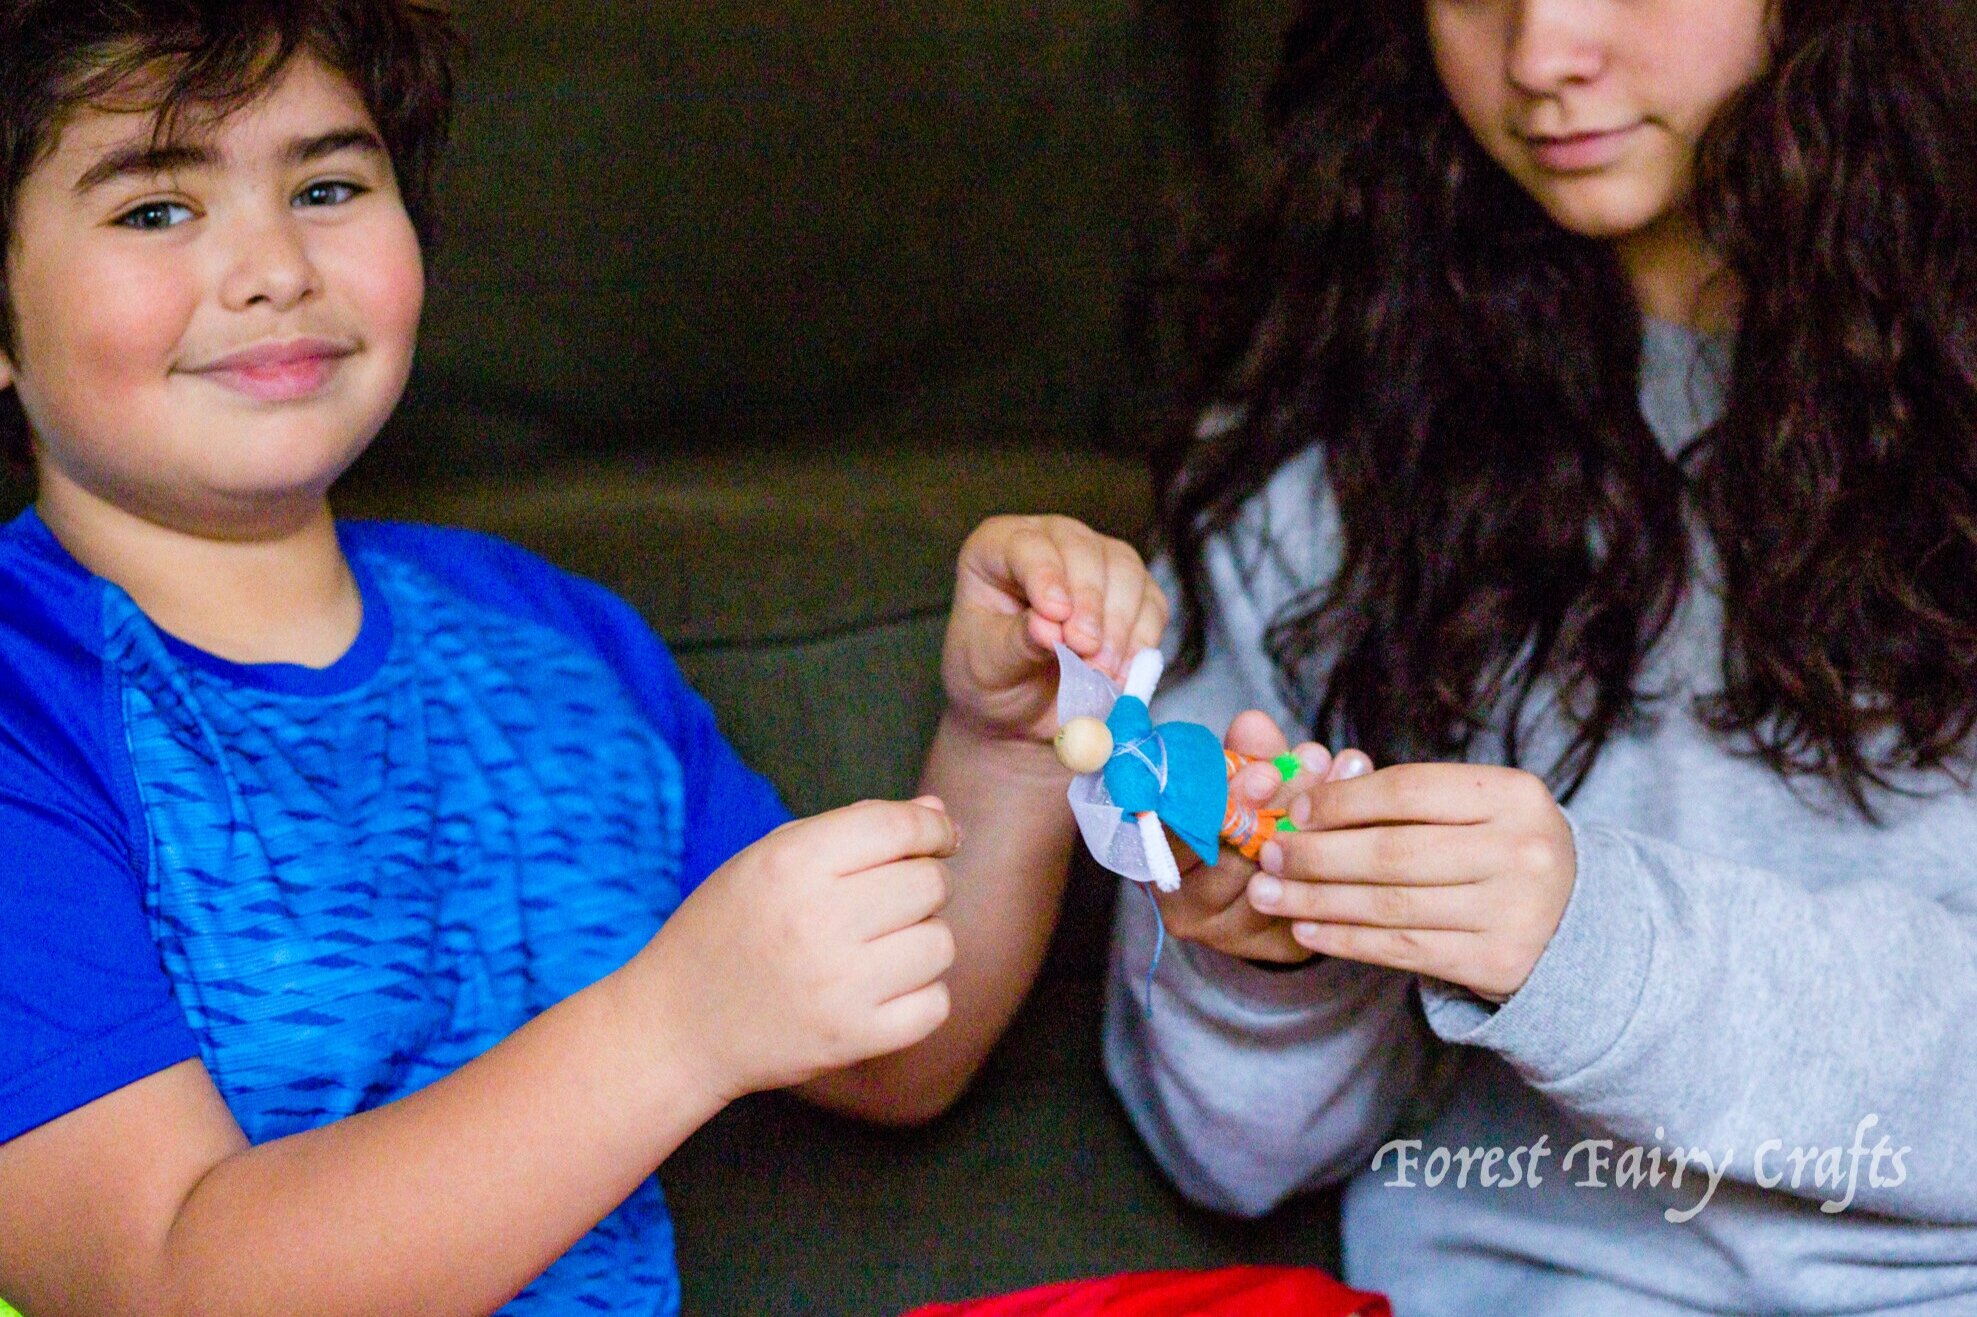
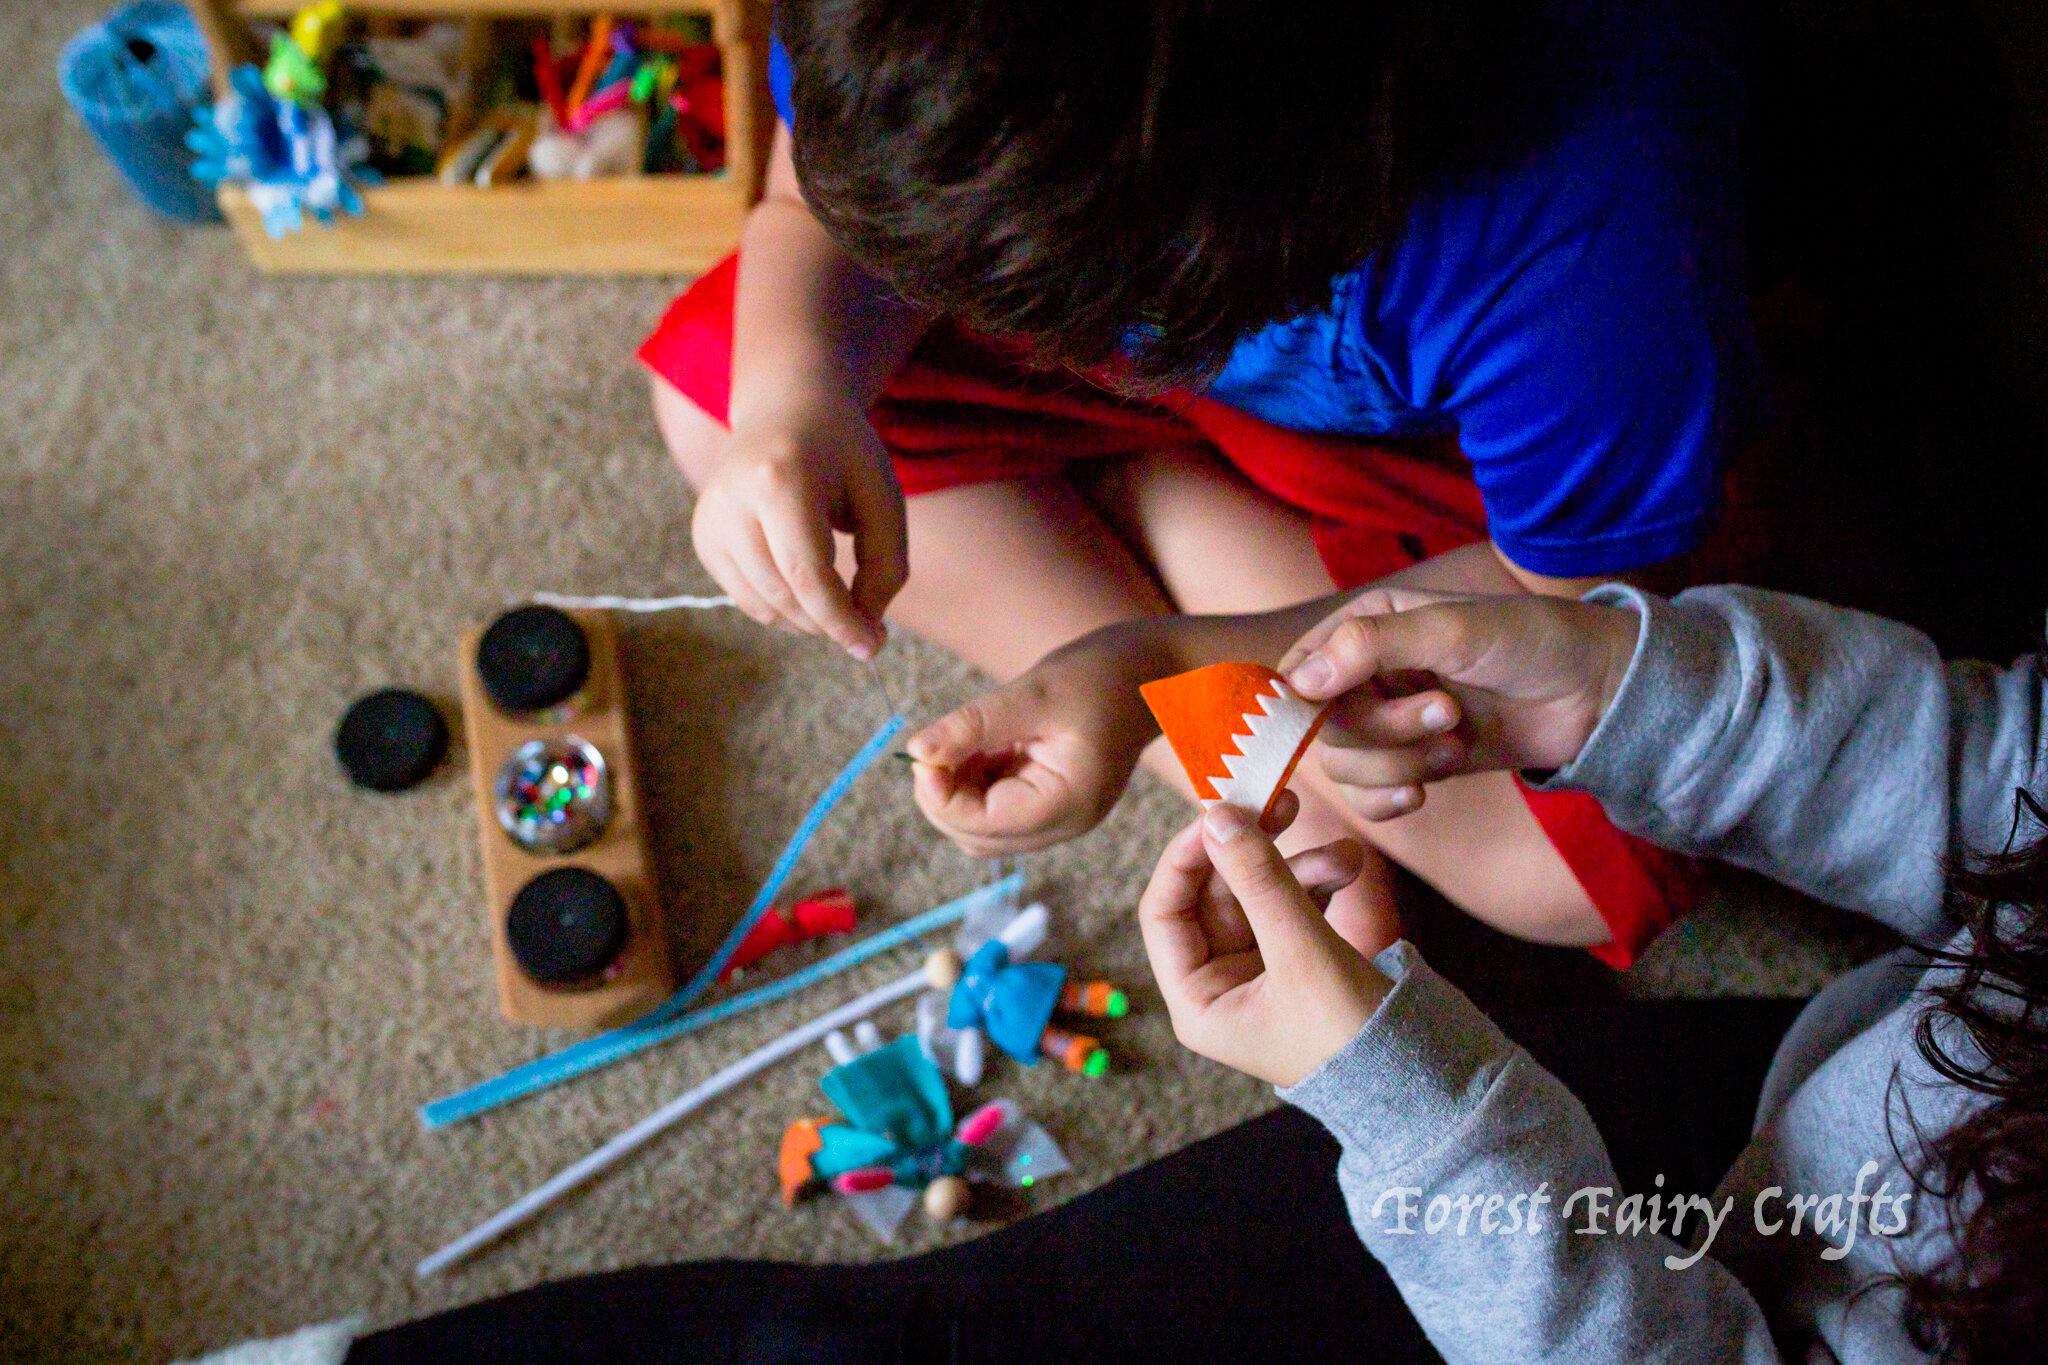
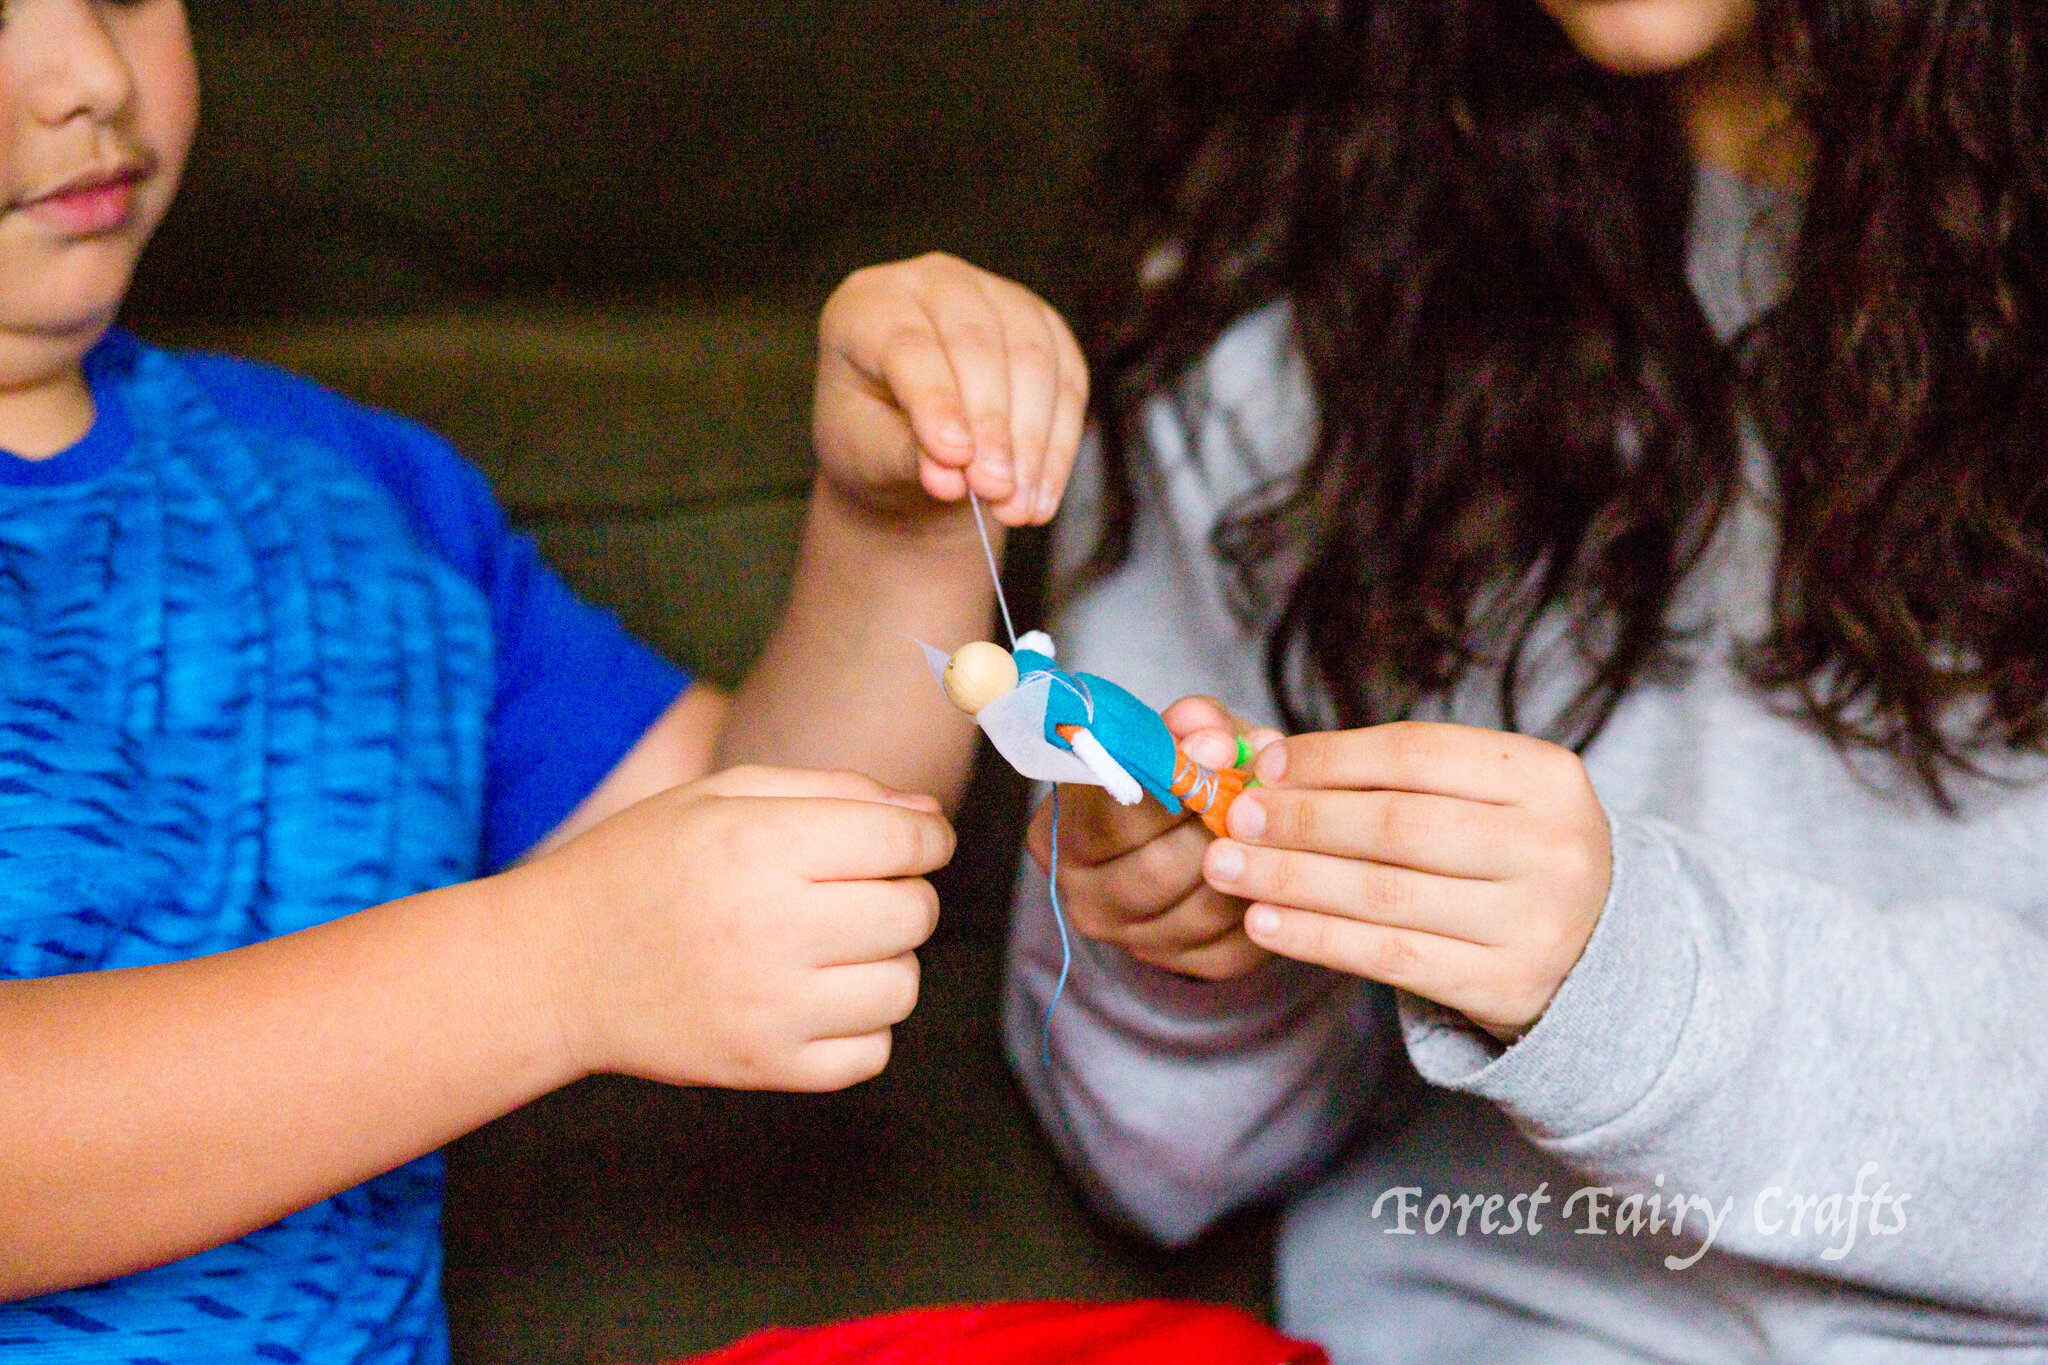
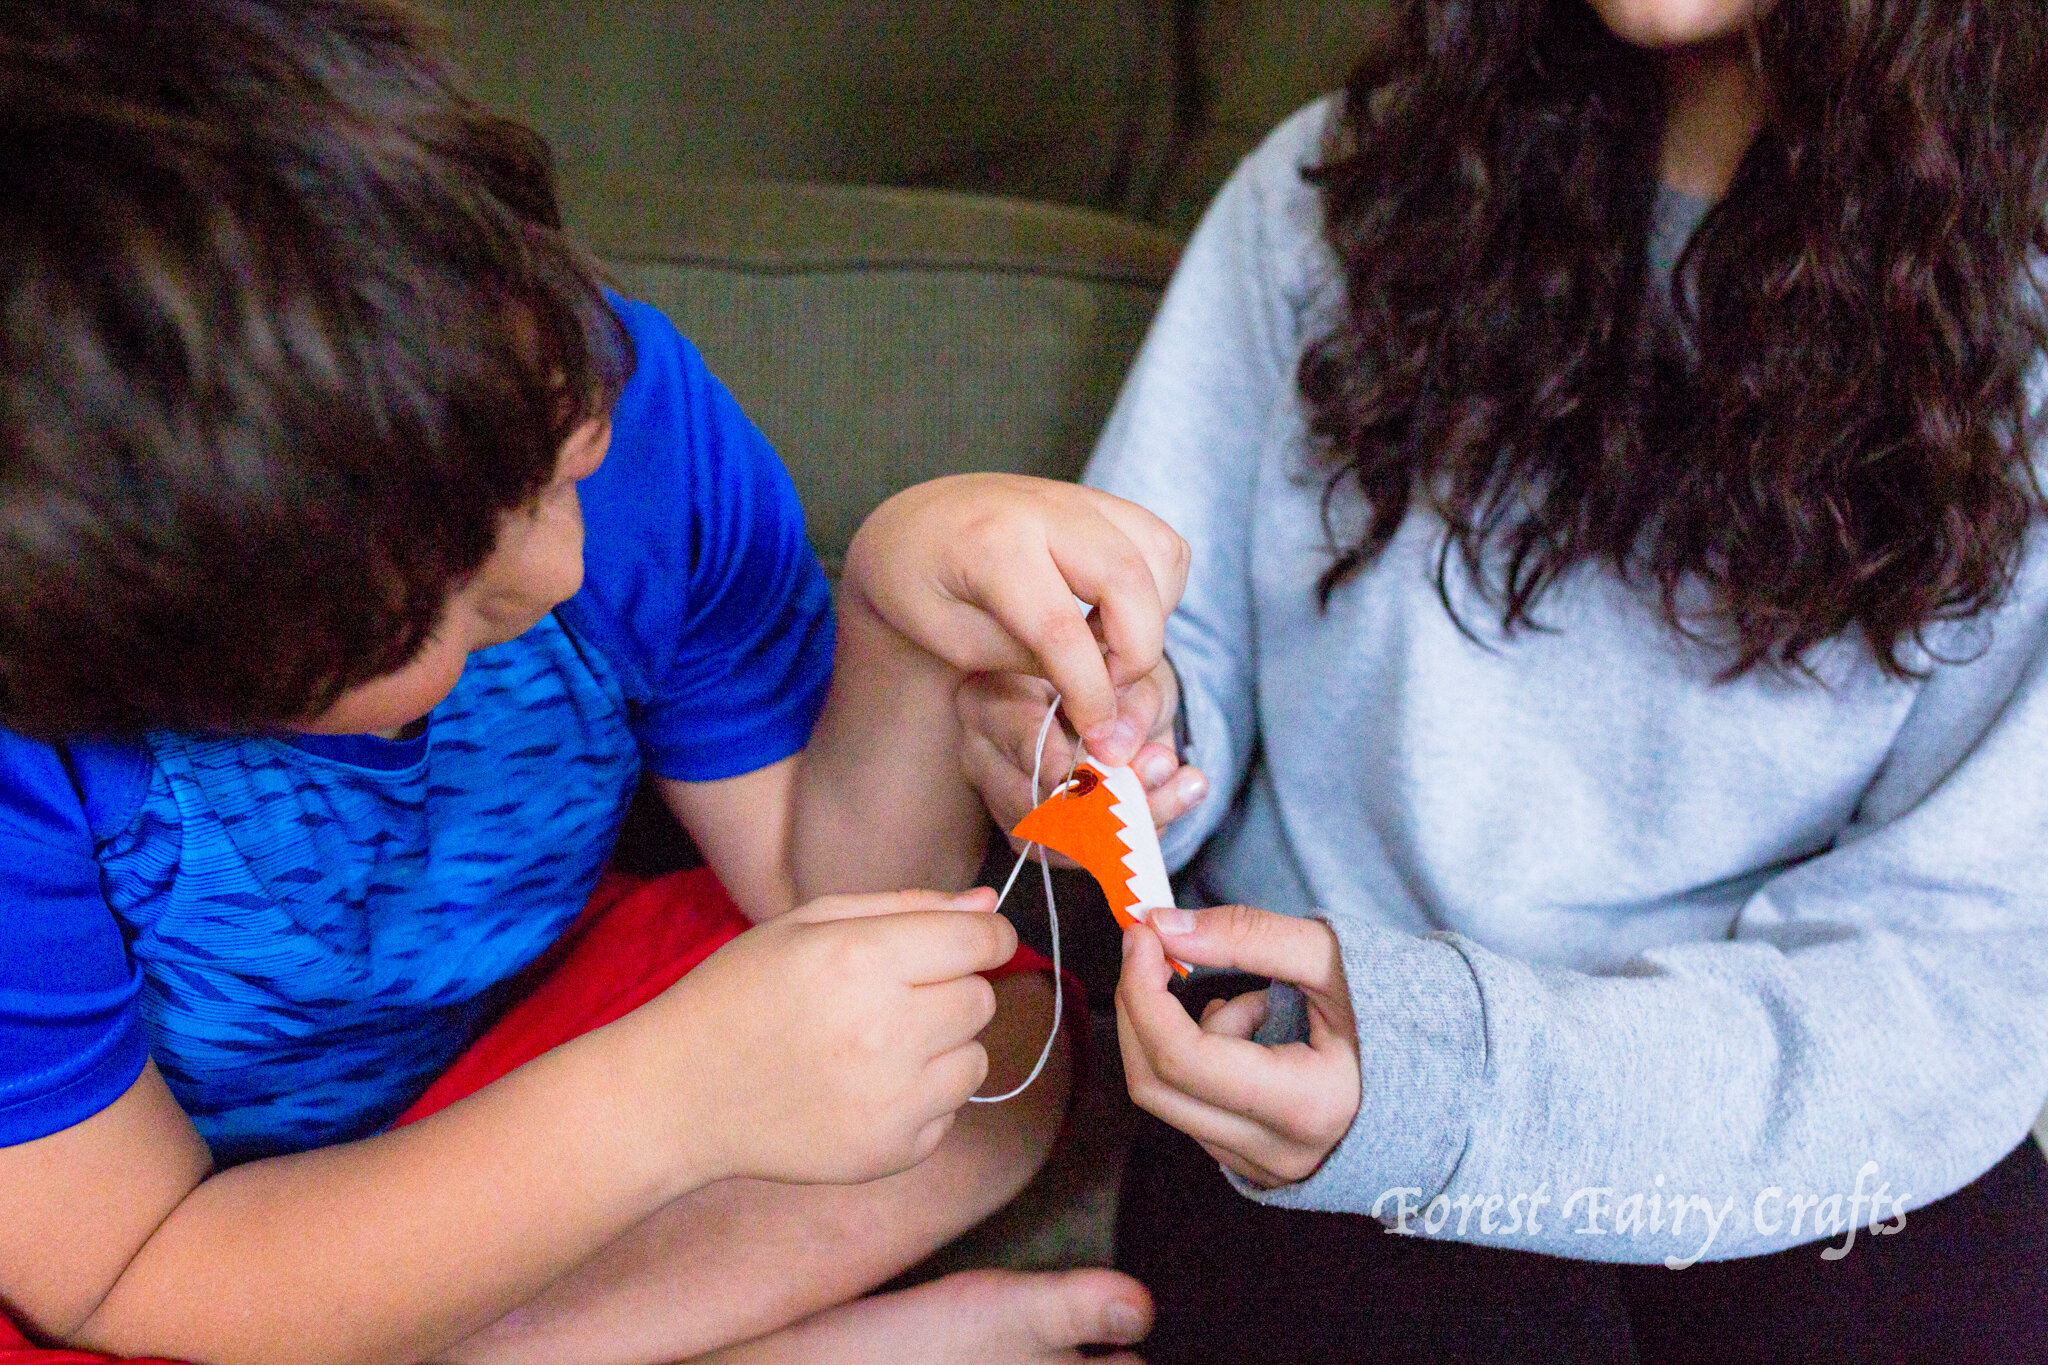
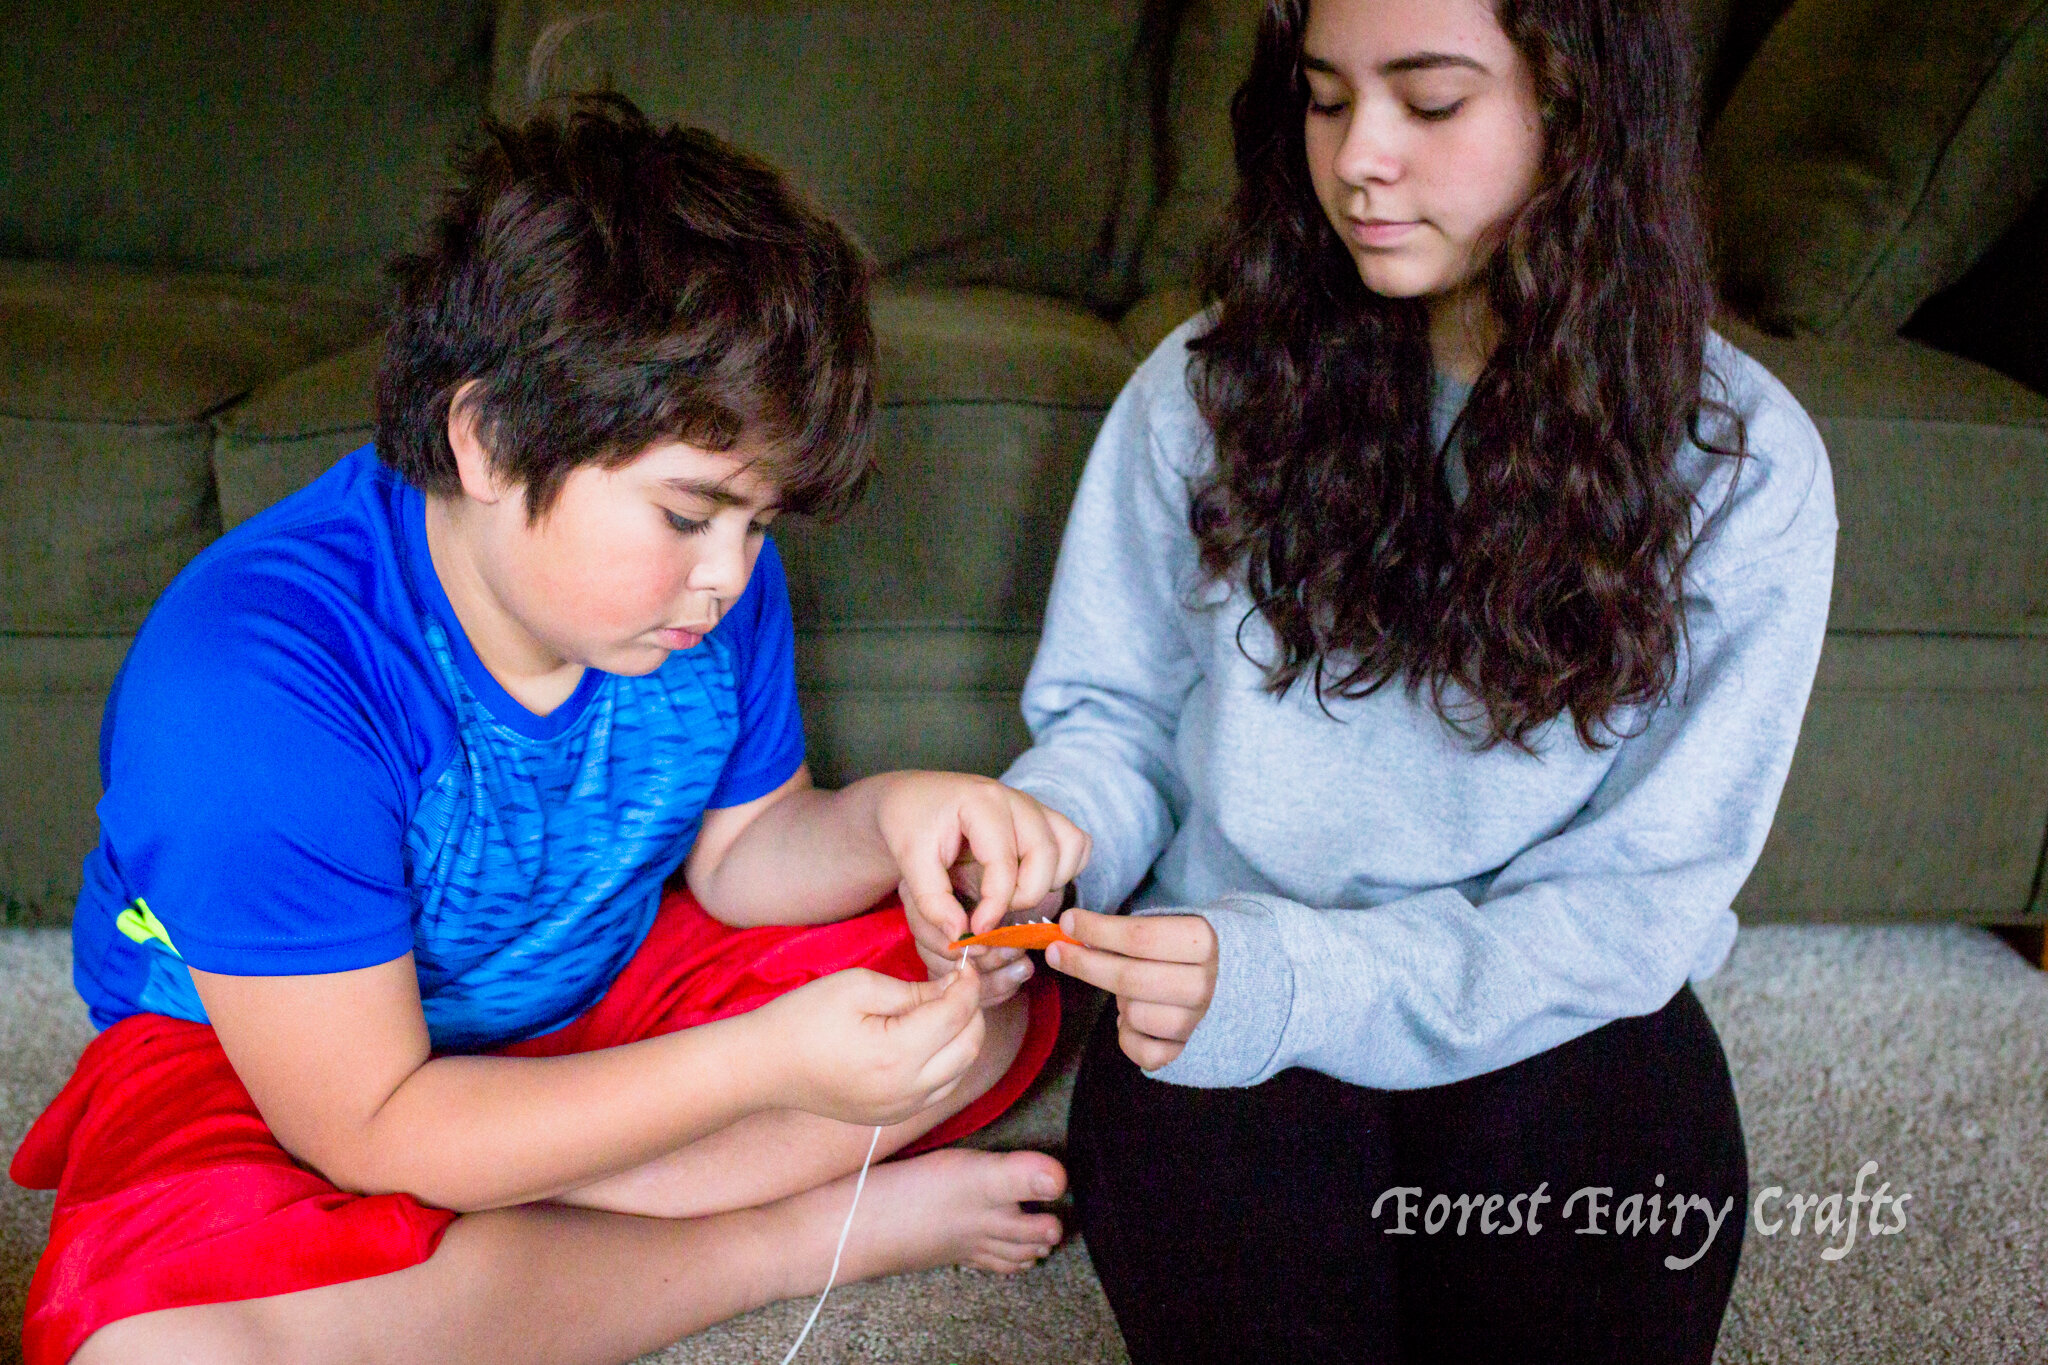
A few simple, maybe obvious things, is that handwork uses the hands, preferably both hands. This is different from the usual schoolwork that usually emphasizes skills with a writing or drawing hand. In handwork, one hand holds a needle while the other holds material (eventually, for young-young children we hold the material for them, precisely because it’s hard for their brains to regulate two hands doing two different things). I’ll write another post about how two-handed activities build brain connections soon. In an easy sense, handwork encourages body awareness.
Handwork is a creative activity that encourages children to create and make things. The things you make can be fun like toys or decorations. And they can be useful like pencil bags or pouches. Handwork empowers children to see real-world results from their efforts. And the results may not be as tidy as a store-bought equivalent, especially at first, but that shouldn’t matter. To bring something into the world that can be played with or gifted is so empowering for everyone.
Handwork can also be an activity that isn’t meant to last forever. It can be lacing cards or beading that is unstrung after reaching the end of the thread. It doesn’t have to be a keepsake every time.
And eventually handwork moves from a high-concentration, active-thinking activity into an intuitive, calming activity that is perfect for background engagement. We always let students finger-knit during storytime. Some students listen much better when their hands are occupied.
The internet shares an abundance of ideas for handwork. Of course we collect many on our Pinterest Board called Handwork for Children. If you’re new to the idea of handwork, most children love creating friendship bracelets. You can make braided or beaded bracelets with only a few supplies.
Something that I don’t often see discussed in “What is Handwork?” is the context of how handwork helps all of us develop persistence and resilience. Handwork helps children encounter frustrations such as a tangled thread or not understanding how a knot could possibly ever knot. Handwork encourages working through challenges in a way that genuinely shows progress.
If you start with a search for Handwork, you’ll find a lot of information to inspire you to start activities. And then you can narrow the idea to what inspires children in your world. Maybe weaving or knitting or embroidery. We would often start with finger-knitting, with one strand (shown in the first book). Then, as children mastered that, we would sew a simple something. And then we would combine mixing and matching so children saw different ways to use what they created. And early easy project was a bookmark (and friendship bracelets). One way that I like to find activities (besides looking in our books of course wink, wink) is to tap on an activity on Pinterest, then scroll through related pins to find similar projects.
And my last thing about Handwork was that, in our handwork, we gave students a lot of room to bring their own “voice” to a project. Three sequins or thirty sequins or all blue sequins would create projects that reflect the maker (or handworker?). We did say that that a student did need to invest a set amount of time before saying, “done,” which was important especially when they were first learning, because they might need to keep at practicing before it became more comfortable. Another strategy for reluctance was that they didn’t have to sew, but they couldn’t do anything else either. They needed to sit with their project whether they worked on it or not. After a few minutes of sitting and staring at their project, students would sigh and pick it up to sew more. We rarely needed to lean into the “time investment,” though. Usually, we had to encourage students to stop, haha.
How do you define handwork in your home or classroom? We sure found that once children learned what handwork meant, they asked for it daily, which also meant that they began to change their ideas about “work”. Which may be a great life lesson as well. Speaking of, it’s not only children that enjoy handwork. We can all use a little handwork in our daily schedule :)
What Does Productivity Look Like?
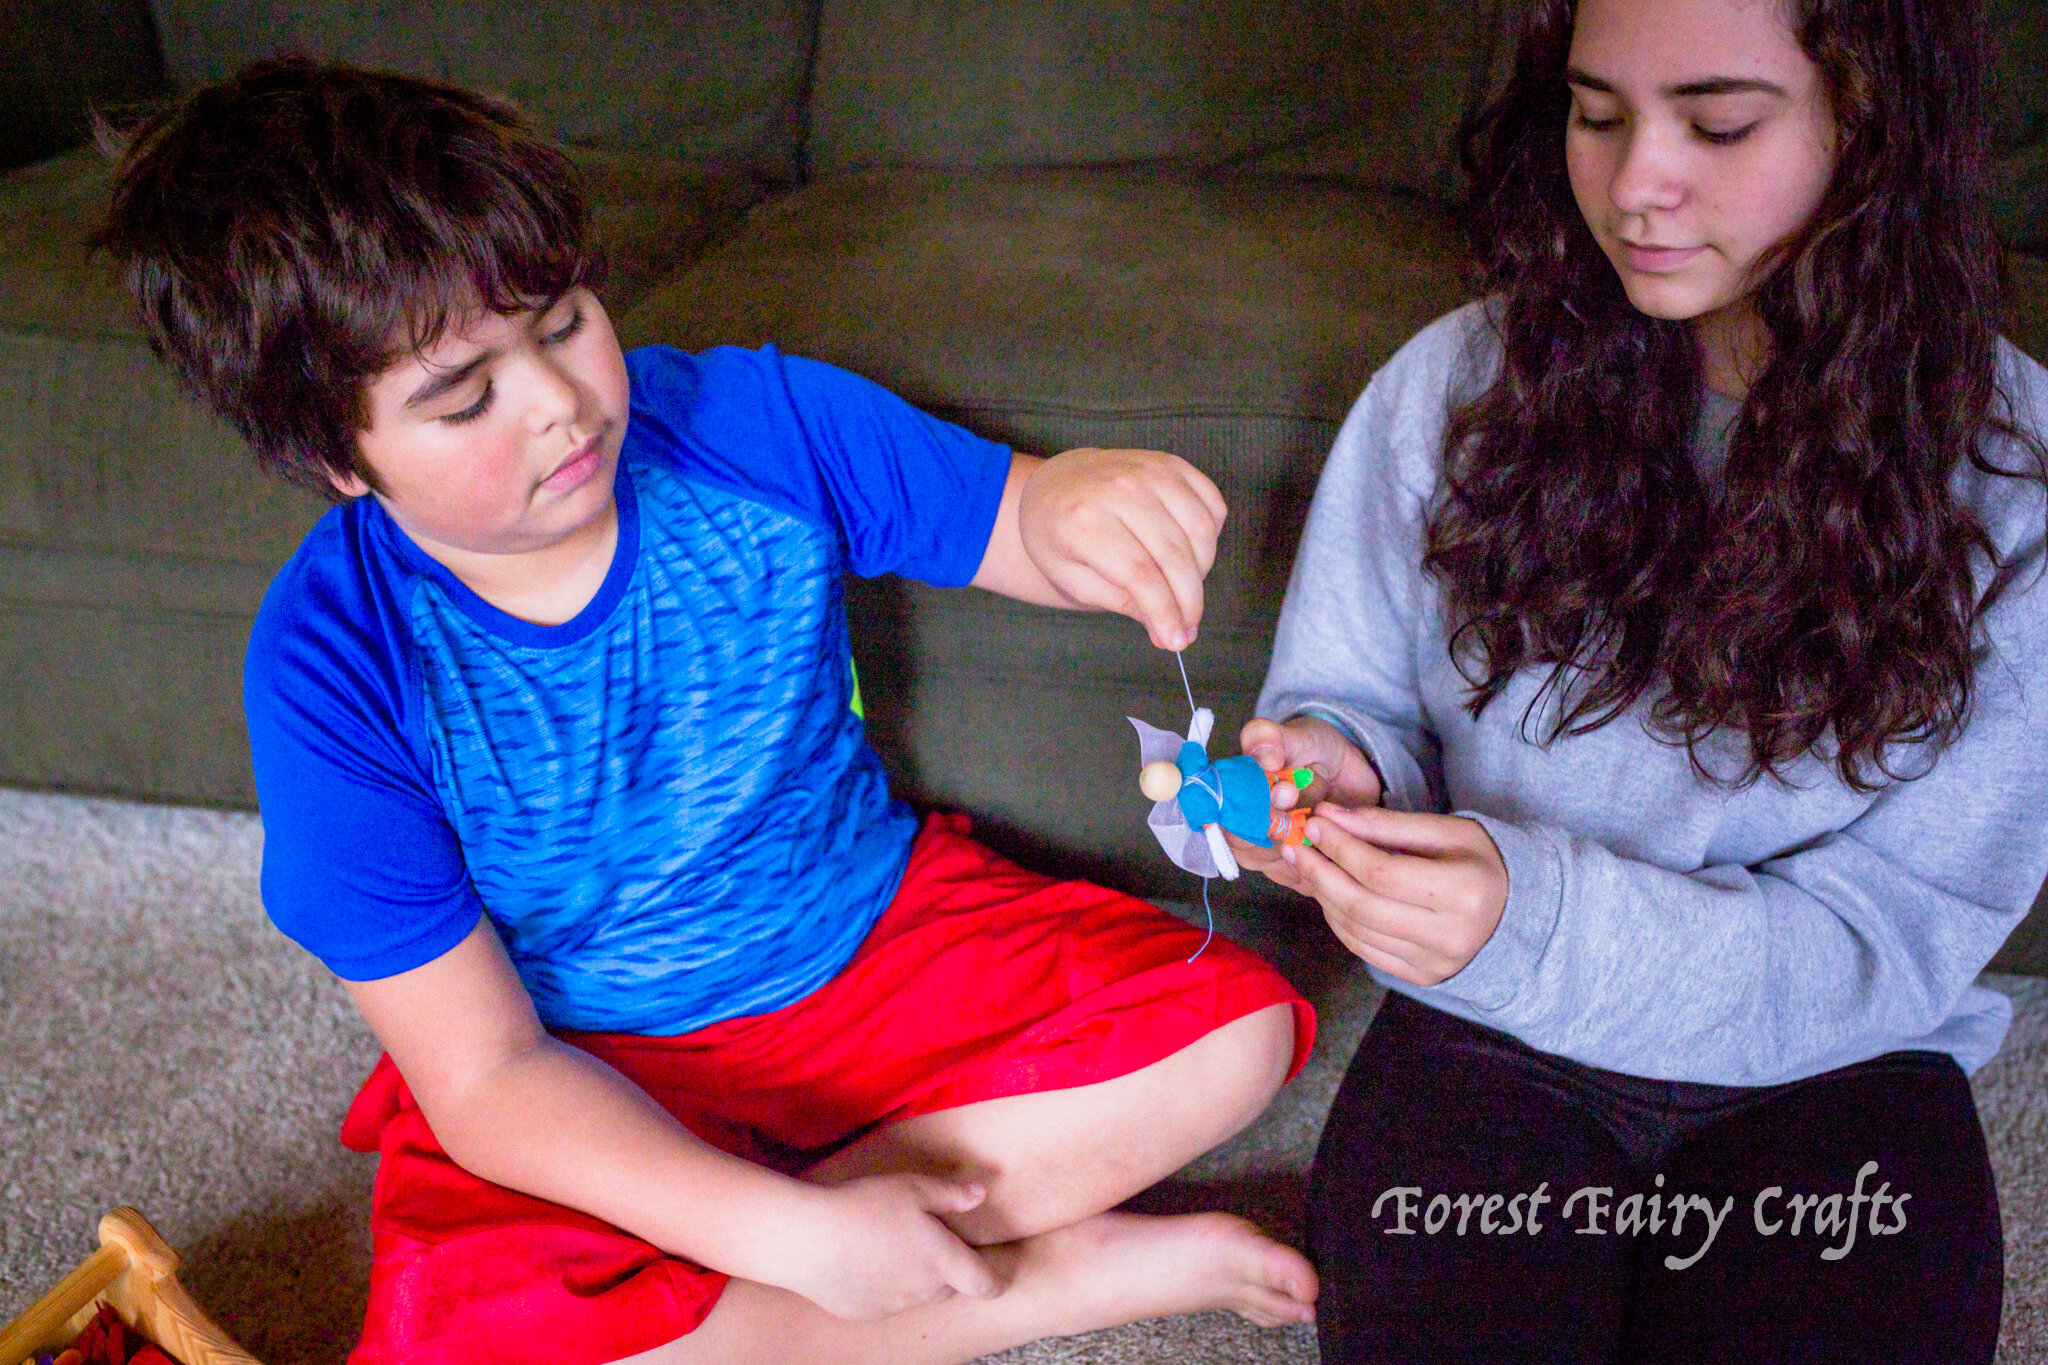
Phew, I underestimated the effect of a pandemic on my creative energy. When homeschooling began, I had ideas upon ideas. We set goals. We planned on multiple projects and activities. And then whoosh, all the motivation evaporated. We didn’t sleep well. Distance learning assignments loomed with deadlines. We rationed pantry food because we needed to limit visits to stores. It turns out that living through a pandemic is not like summer break or homeschool or any of the other times we eagerly create content and crafts.
Instead, motivation is in short supply. Tempers are short and irritation is high. Dreams are vivid and often stressful. We are all getting through one day at a time. As best we can.
And my message in our home is to be kind to ourselves. Above all else, be kind. These are historic times. We cannot hold ourselves to the standards of last year, or even last month or last week. These times will appreciate a gentle holding of the moment. Allowing ourselves to be more than to produce, especially in the traditional sense of productivity. These days, maybe productivity looks like sewing sequins while watching a documentary onto a piece of felt that never needs a finished project. Maybe it’s winding yarn balls. Maybe it’s thumbing through books and adding bits of recycled paper bookmarks for future projects. Maybe it’s cleaning a space for a nature table. Maybe it’s a nap.
Less is more.
And children tend to process stress and anxiety with emotional responses. We used to say that holidays would see more melt-downs than any other time of year, not because kids were sad, but because their emotions were turned up high and they just didn’t know how to regulate all those waves of feelings. So it makes sense if children seem more fragile, more sensitive, more easily upset even while the premise of these times may look like “staying home”.
Children also intuitively pick up on stress around them. So all the decisions and financial stressors among adults may seep into a child’s emotions. Which doesn’t mean adults need to get better at hiding stress. Instead, it’s an invitation to process stress together. What helps adults feel better may also help children. Bring them into the activities that bring calm into your world. Open that process to children. “When I feel worried or tense or frustrated, it helps me to look out of a window. I think I’ll do that right now.”
One of my goals is to let children talk about worries without fixing them. If they say that they feel stressed or worried or sad, it takes a lot not to say, “Don’t worry, don’t be sad.” It can be harder to say, “I can see that. What would help you feel better?” And maybe making things becomes a way to feel better. But if it adds to the stress of a moment, by all means, let go of those expectations.
Making fairies and critters can be another way to open conversations about worries. “How do you think your fairy feels right now?” or “What would help your fairy feel better?” may help children wrangle their big ideas into more manageable thoughts. And if they say their fairy feels great and would like a cookie, well, that’s insightful too. Not everything has to be deep and meaningful to be productive.
I did start sewing rainbows onto hats for fairies this week and it did help me feel better. I started sewing after letting go of the idea that I should “finish” within a timeline. I gave myself an invitation to sew for awhile. And it helped.
Perhaps productivity these days isn’t about what we make. Perhaps it’s about how we feel. And perhaps that is an opportunity to remember why we make things. To connect. To center. To see that little stitches create little projects and little charming crafts. And that creating, in itself, is magical.
Wishing you and your family a safe and productive day (whatever productivity may look like for you these days). ✨
April Showers Fairy
She dances in the rain. Because rain in April has a softness. April rain has a gentle patter that promises color and blossoms and sunshine soon. After all, April Showers bring May Flowers. And this year she’s especially invested in bringing lots of beautiful flowers for everyone. She inspires me!
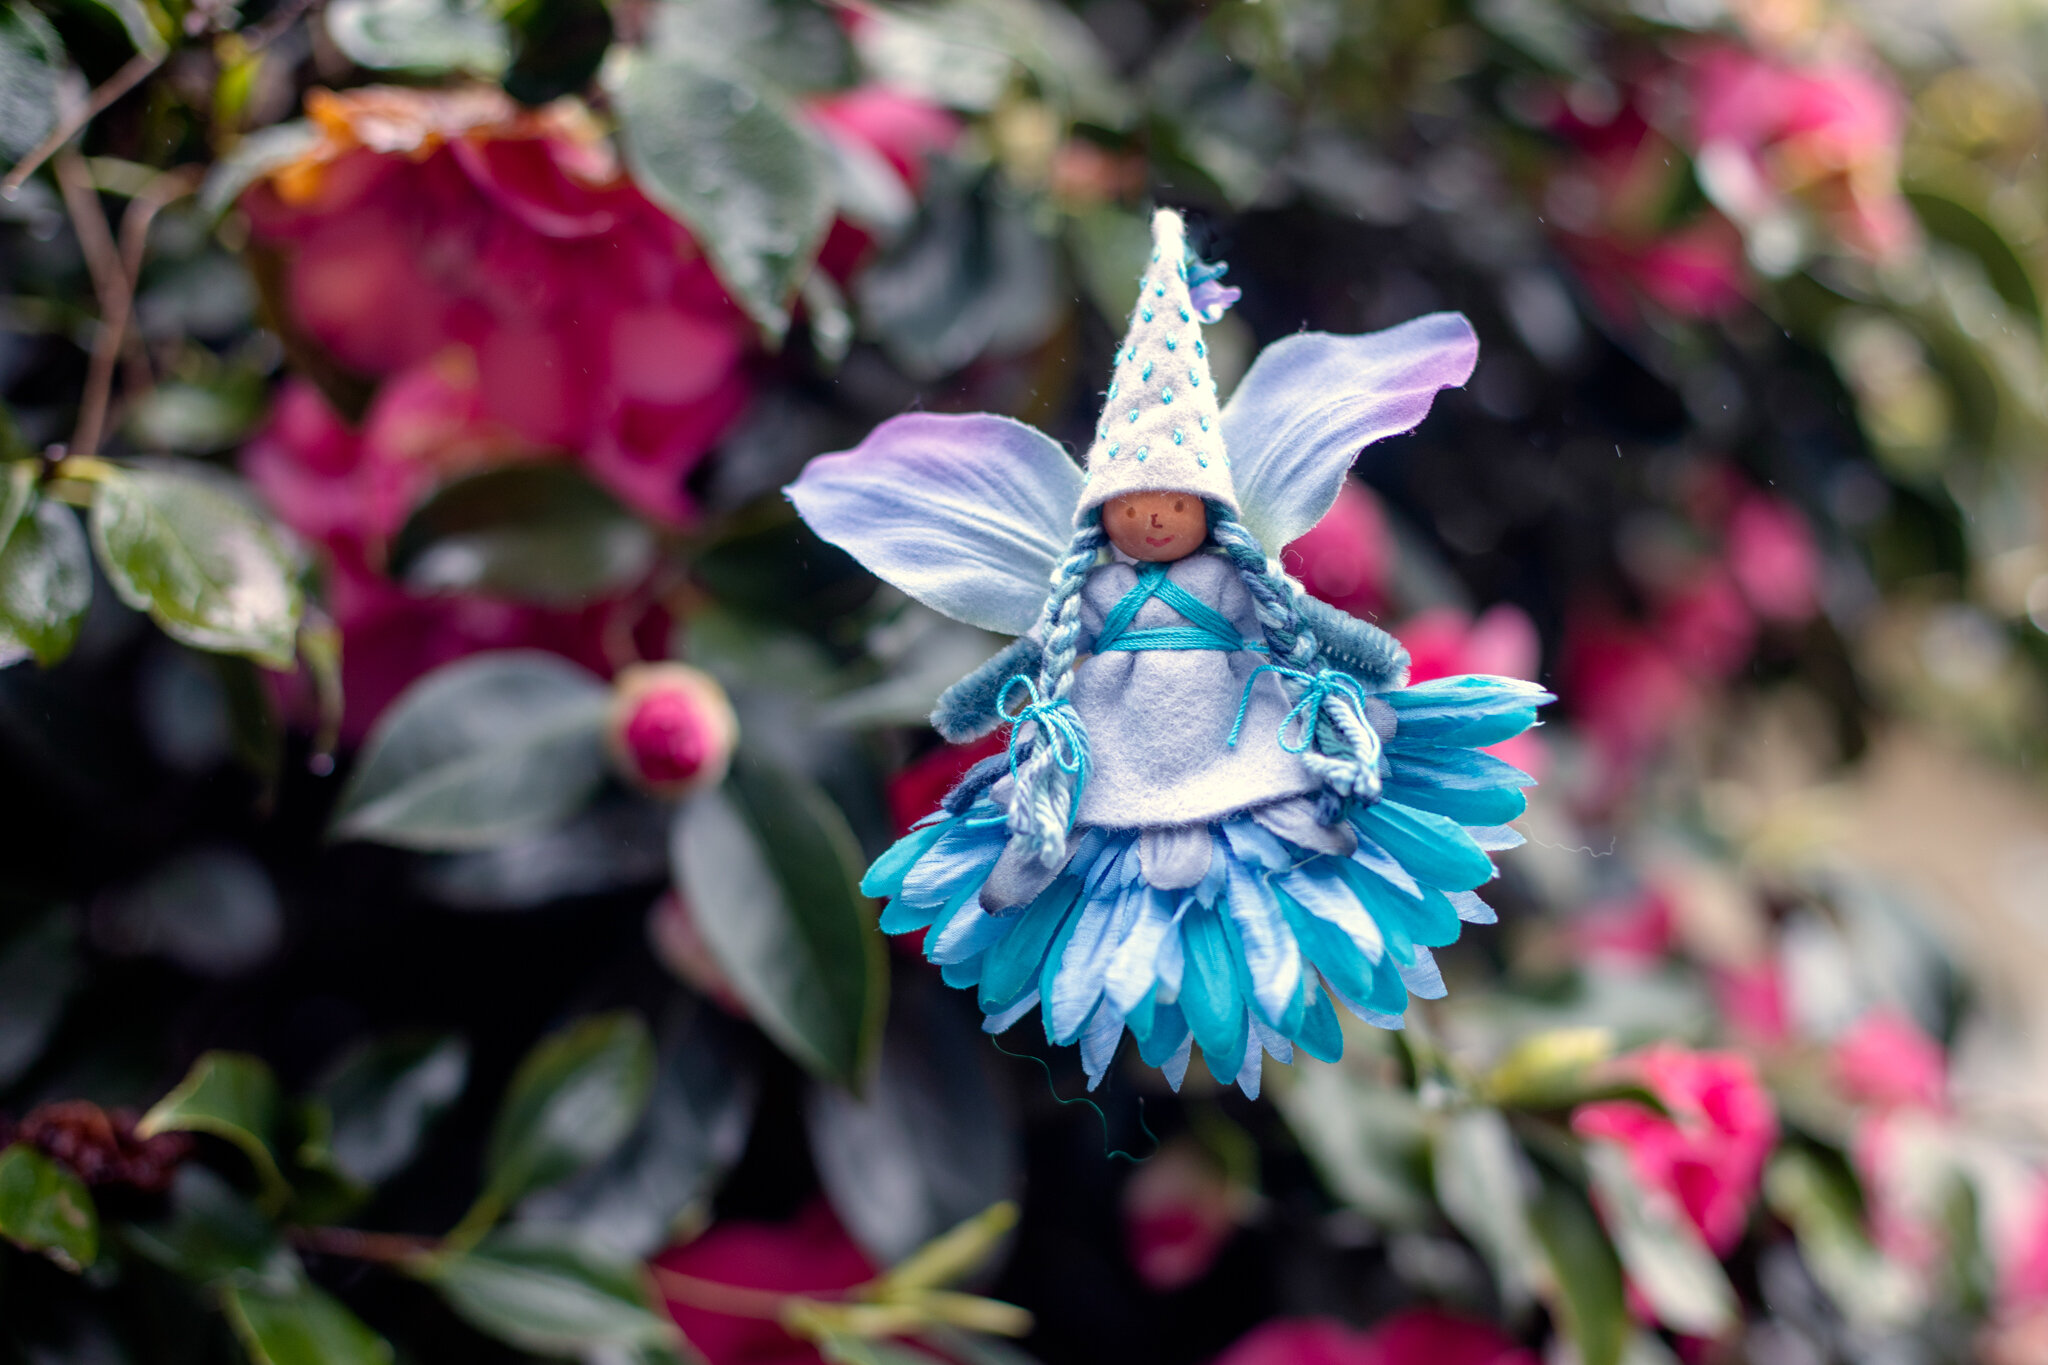
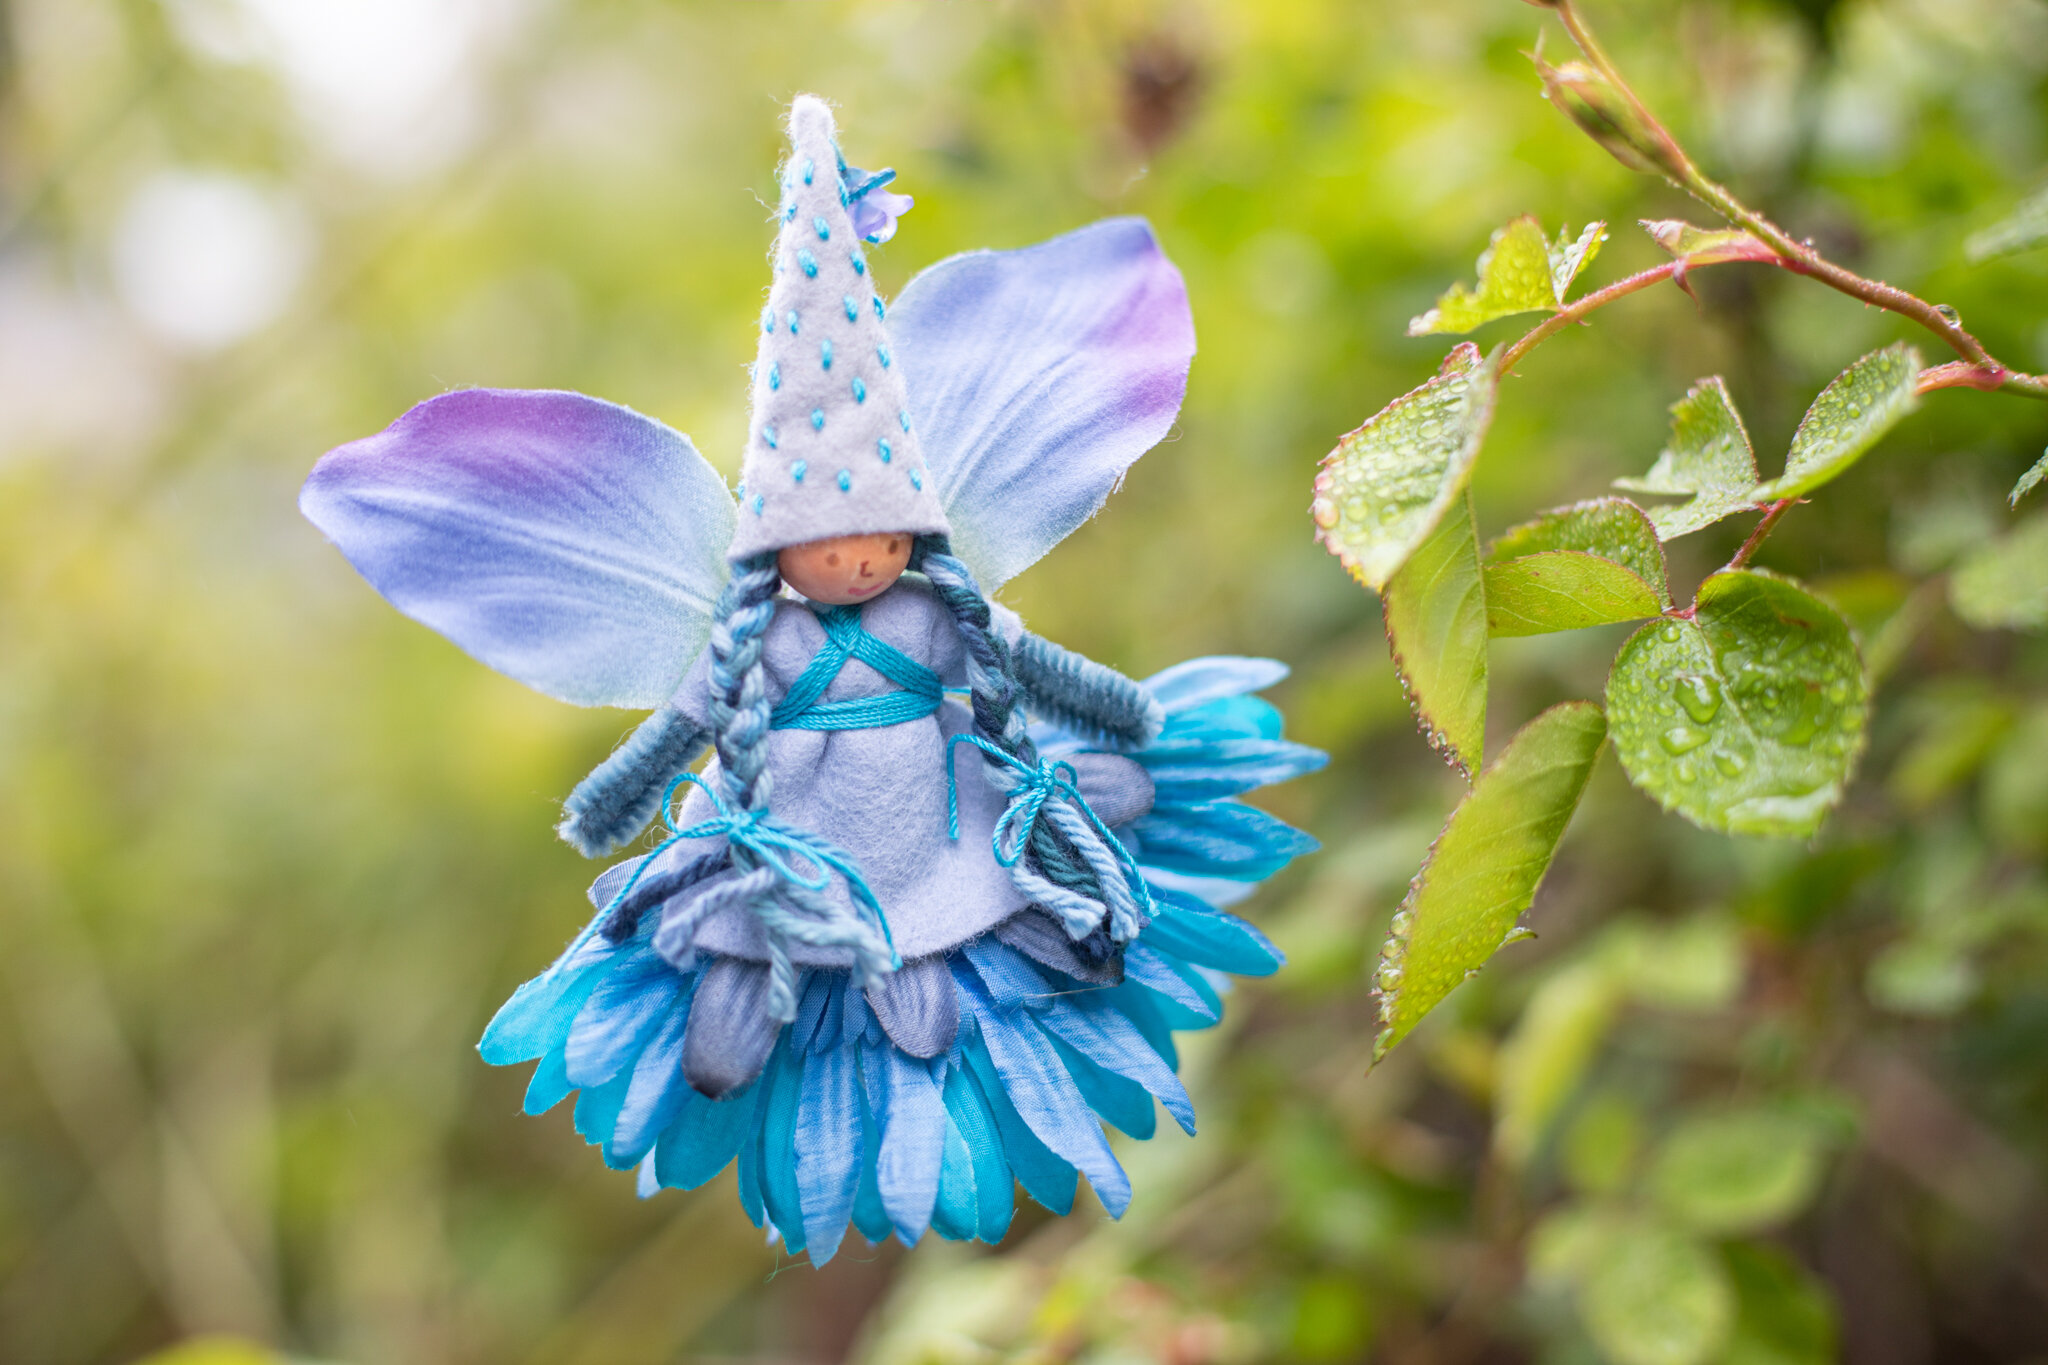
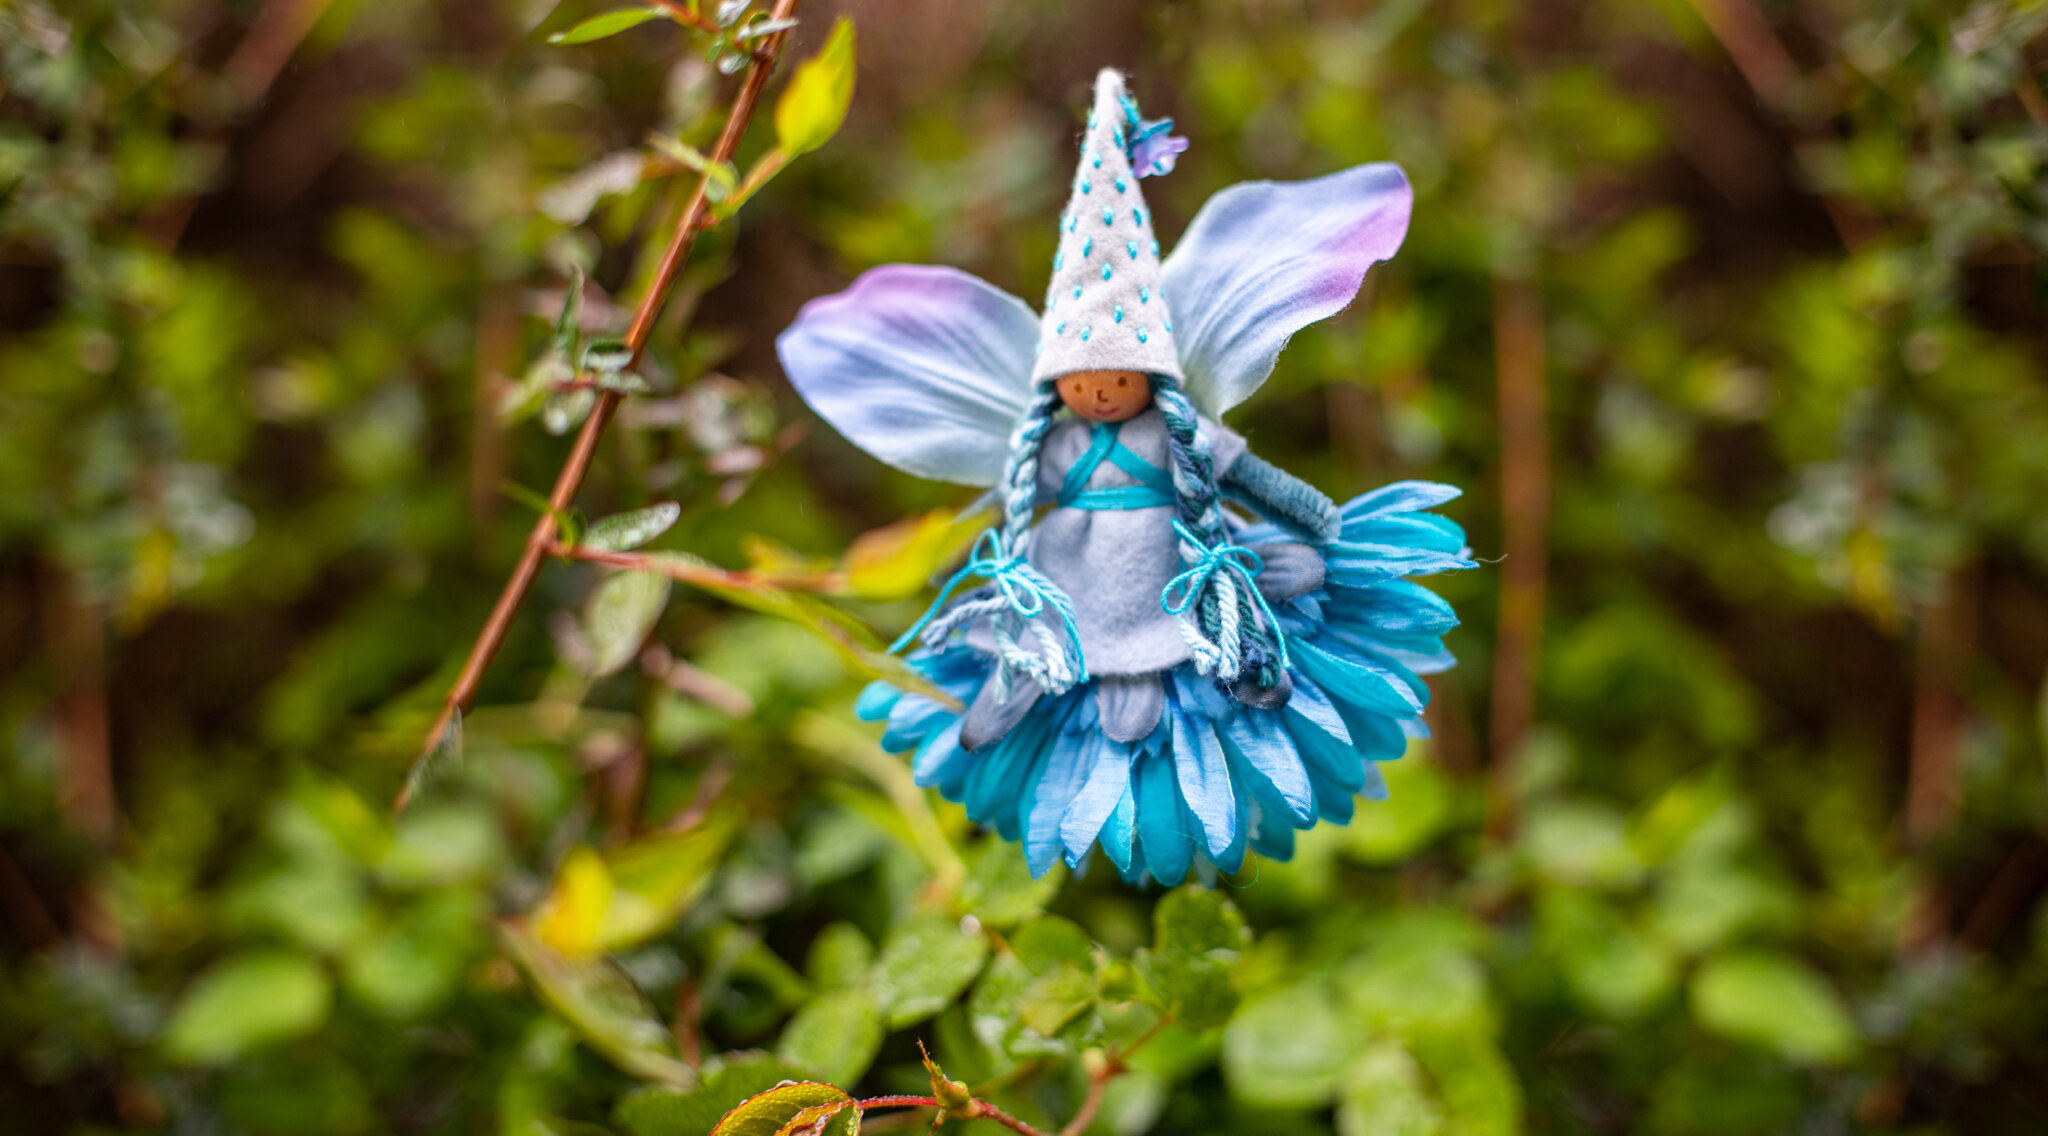
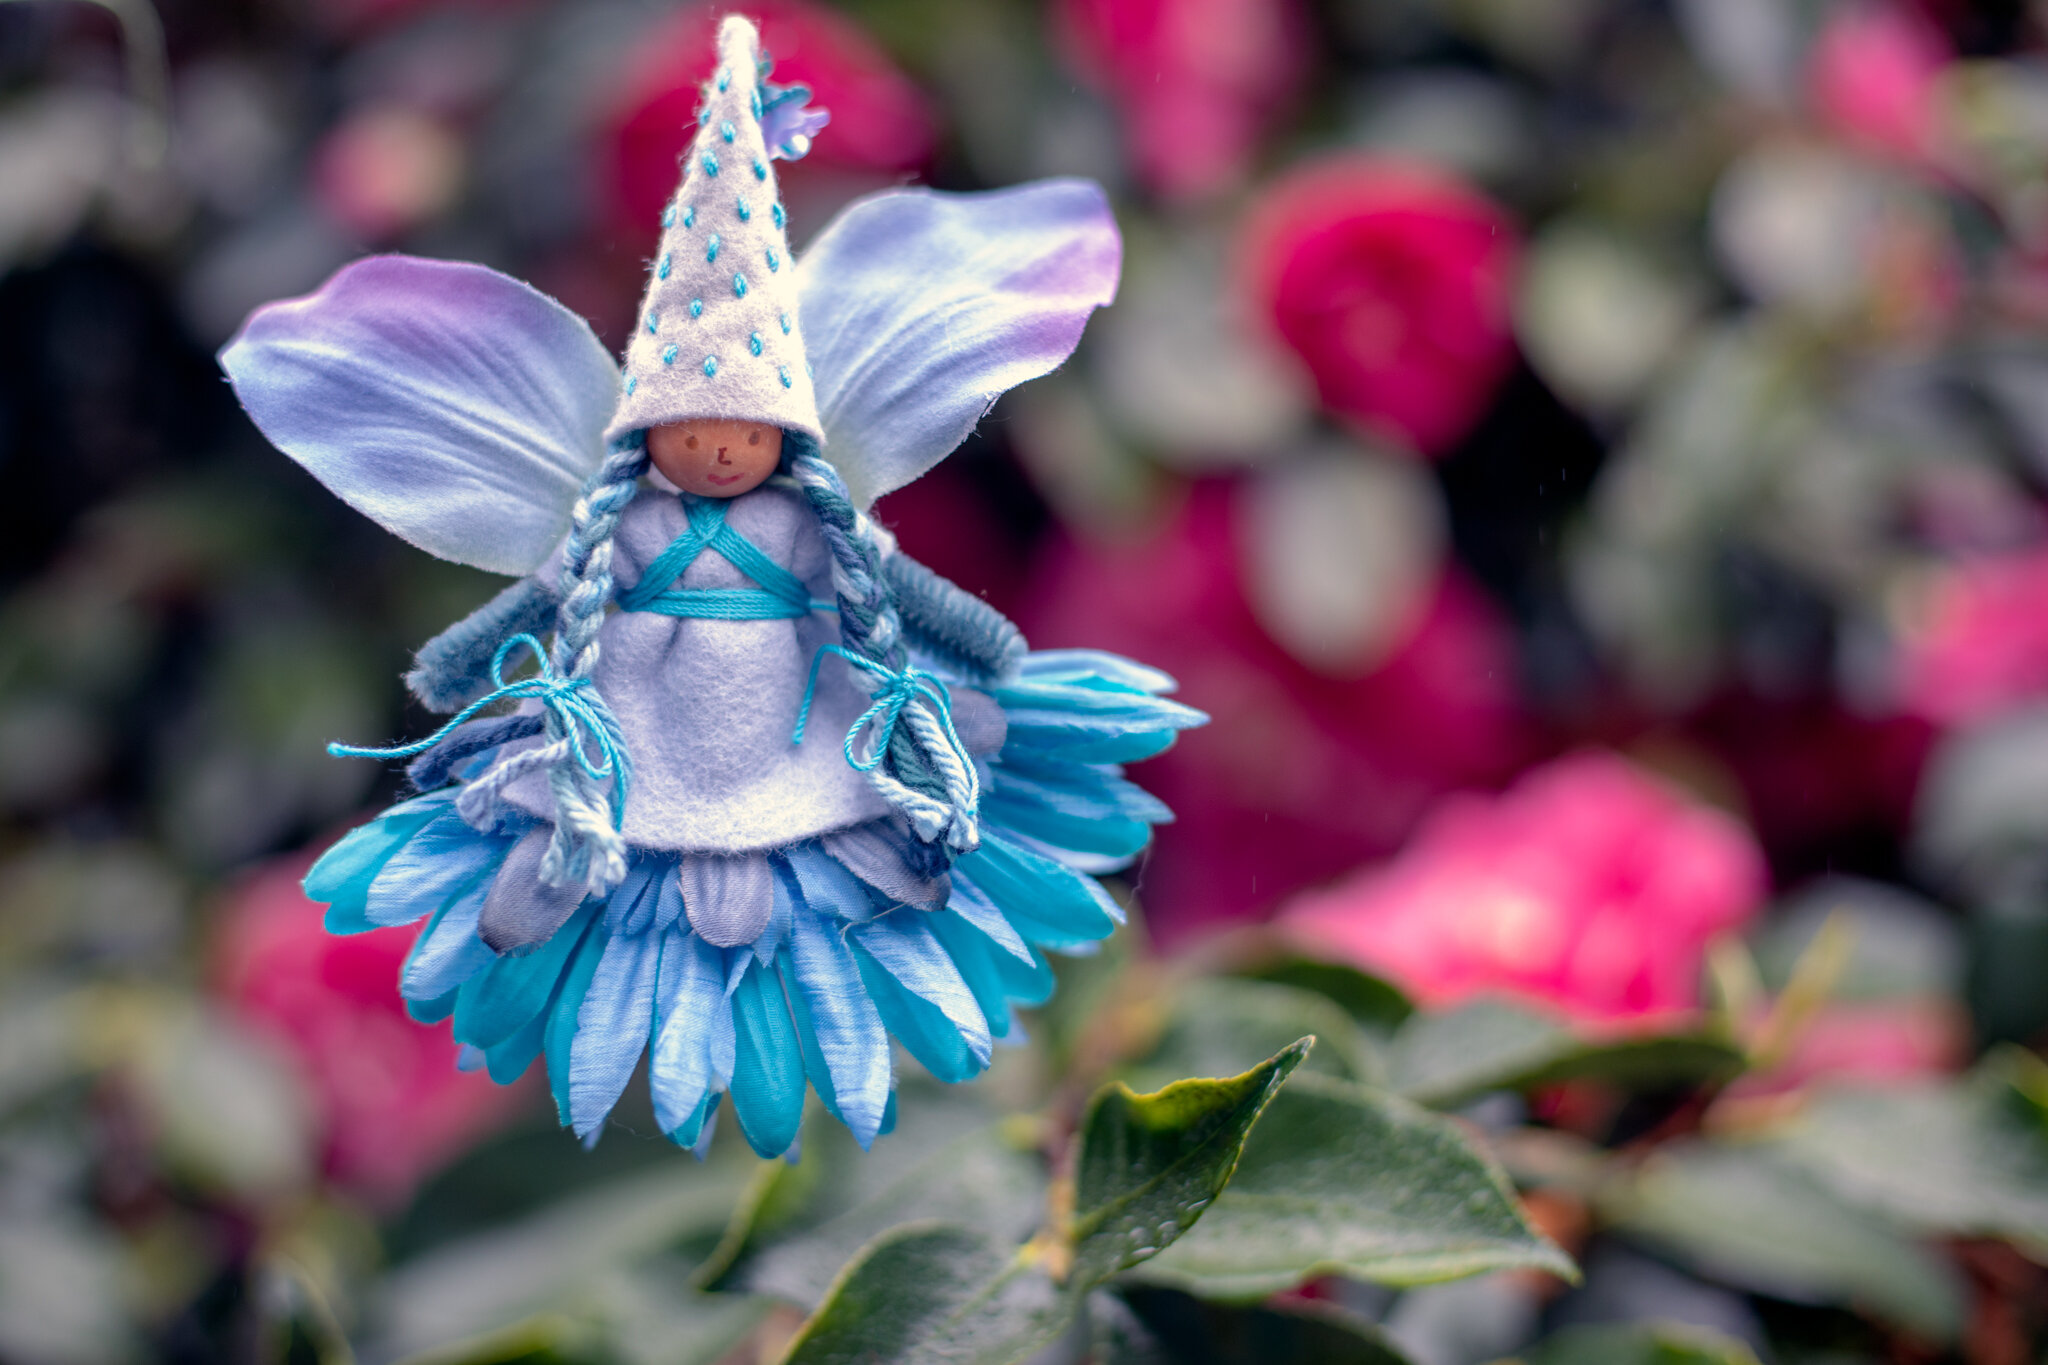
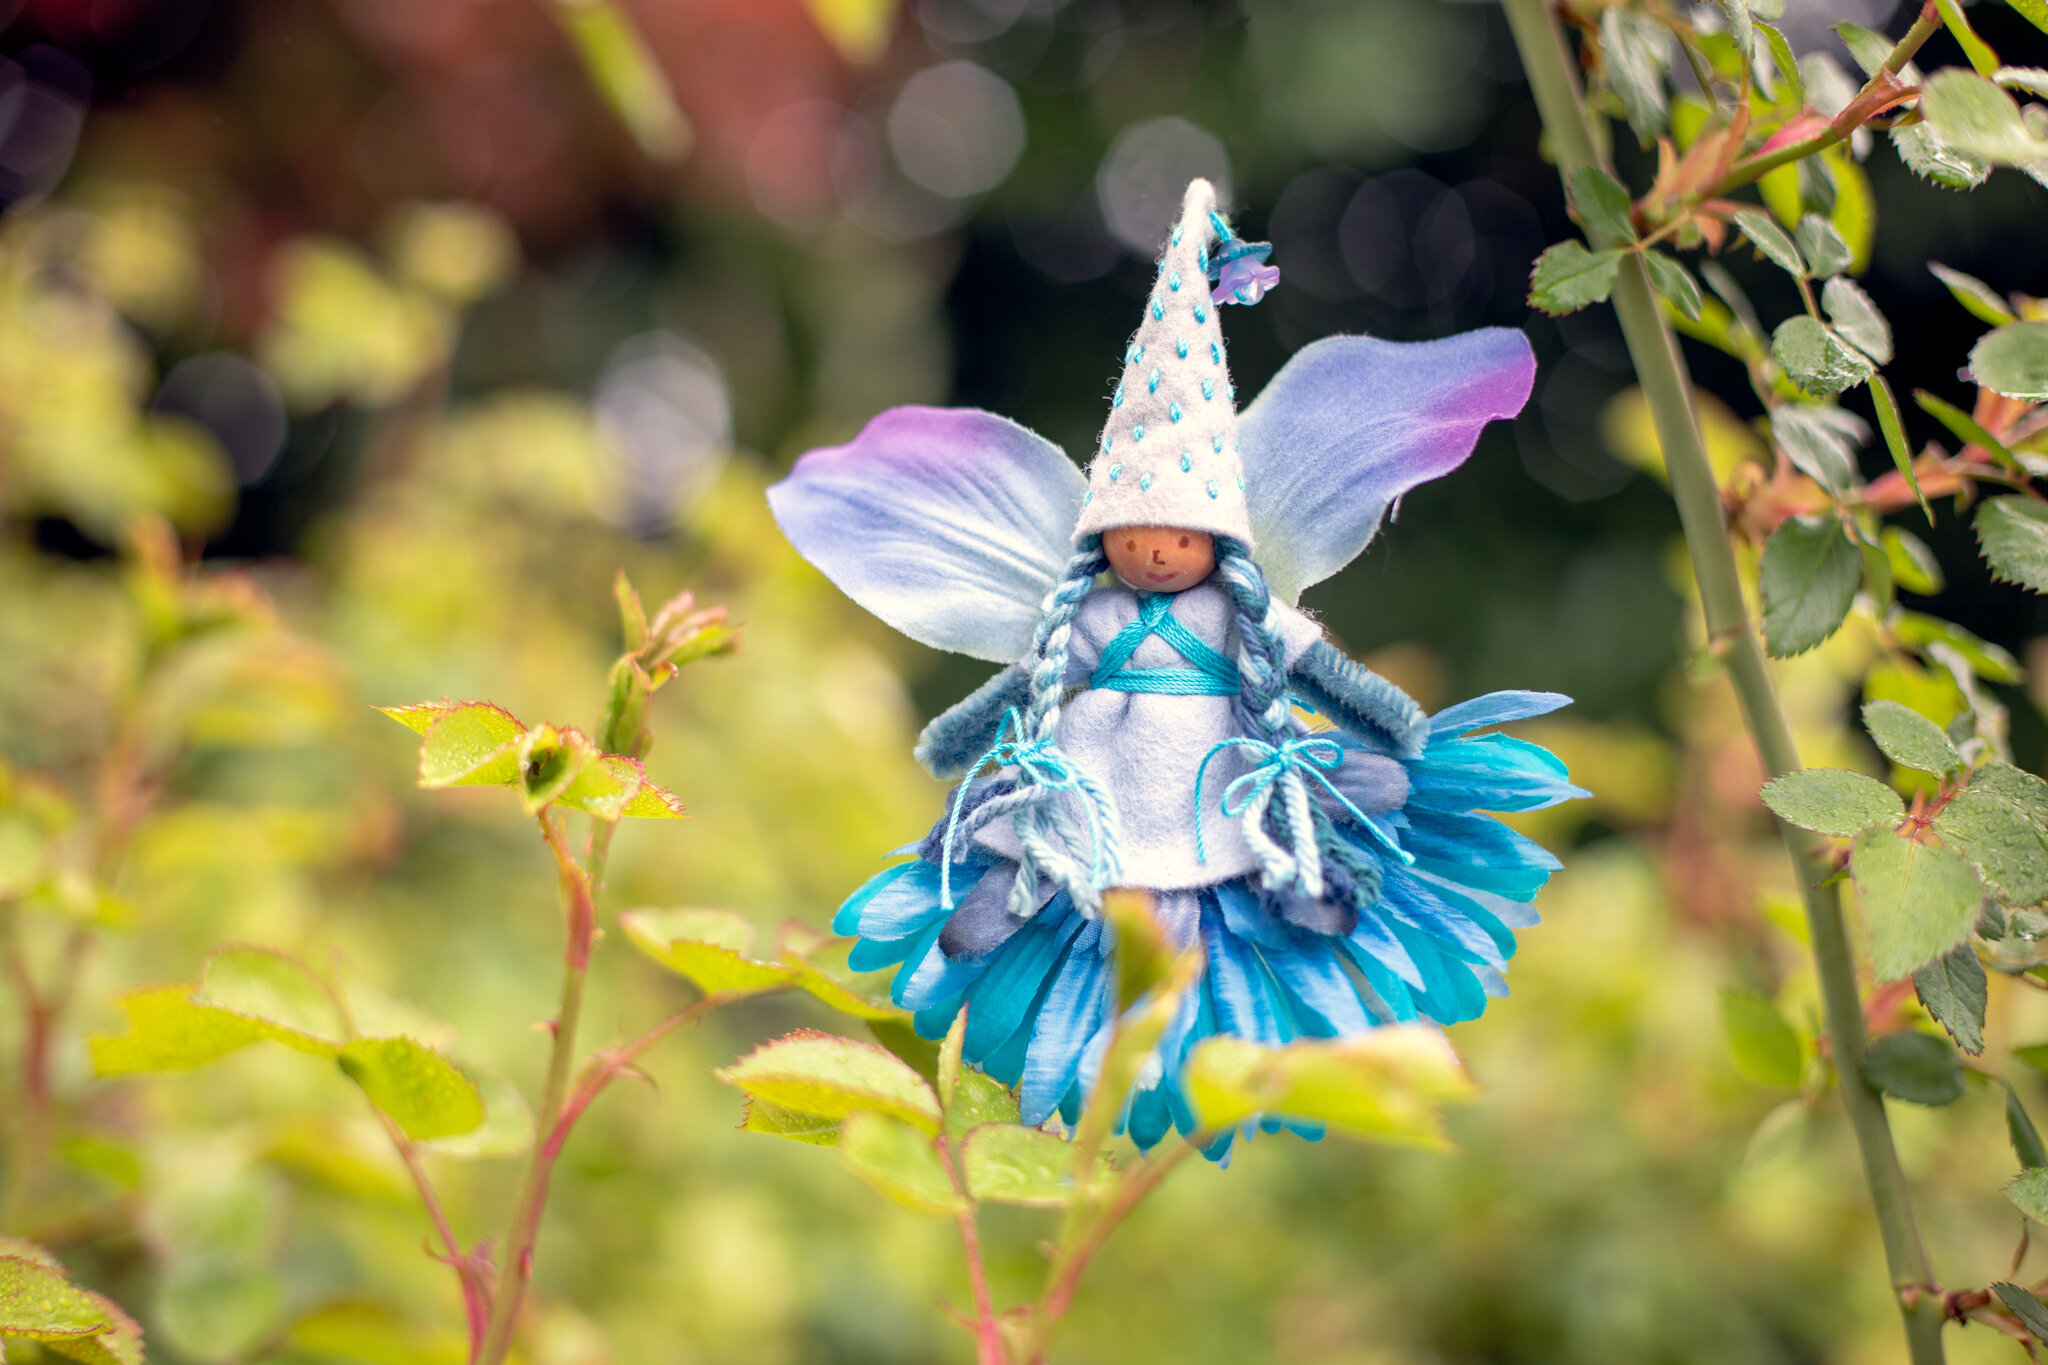
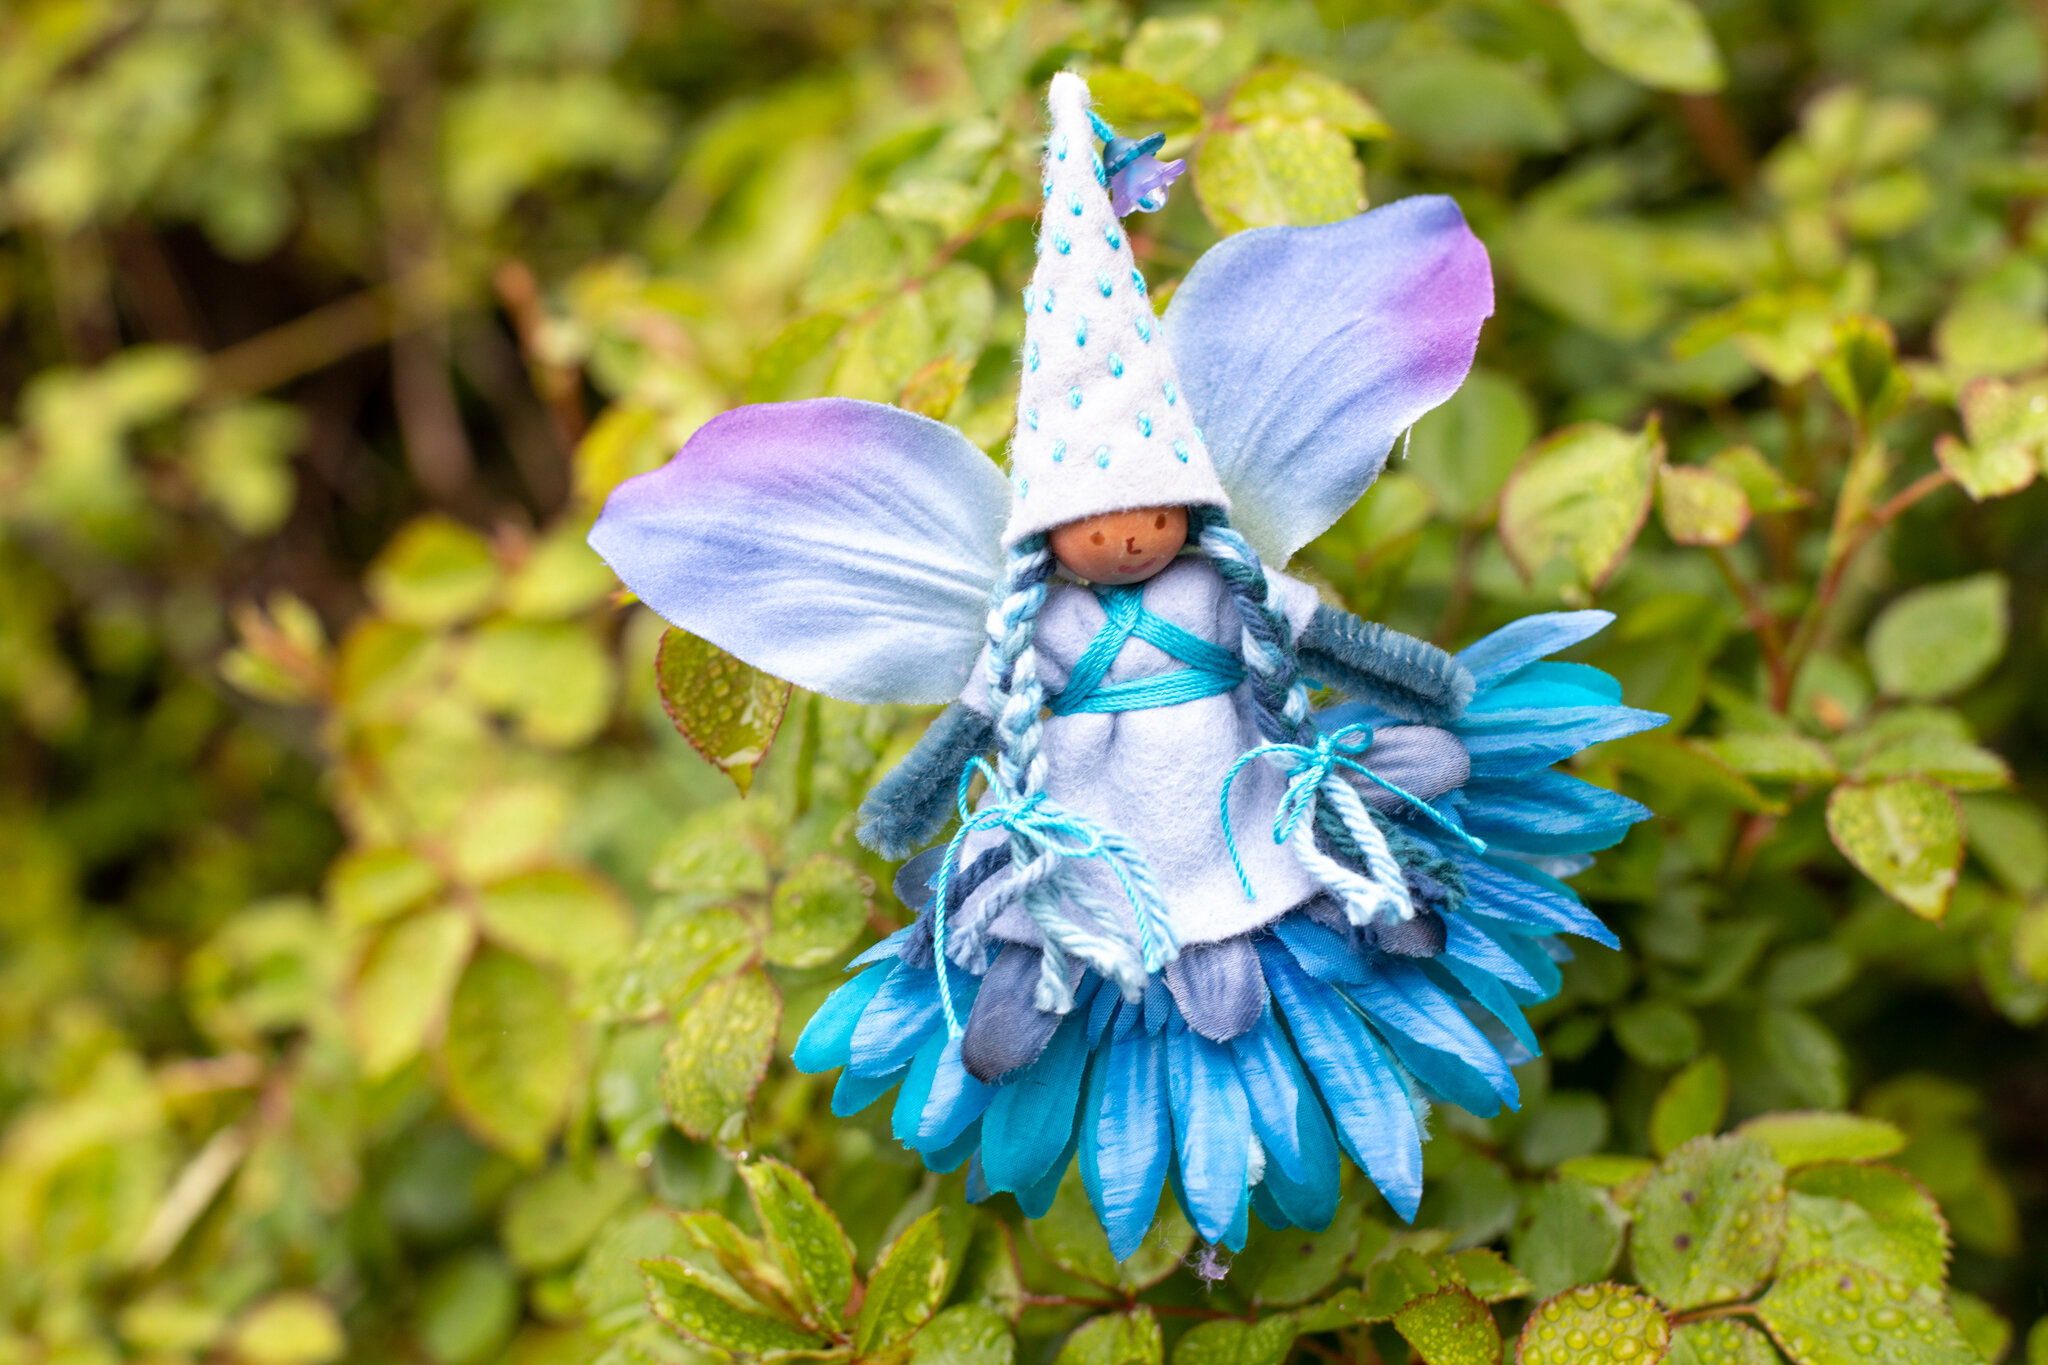
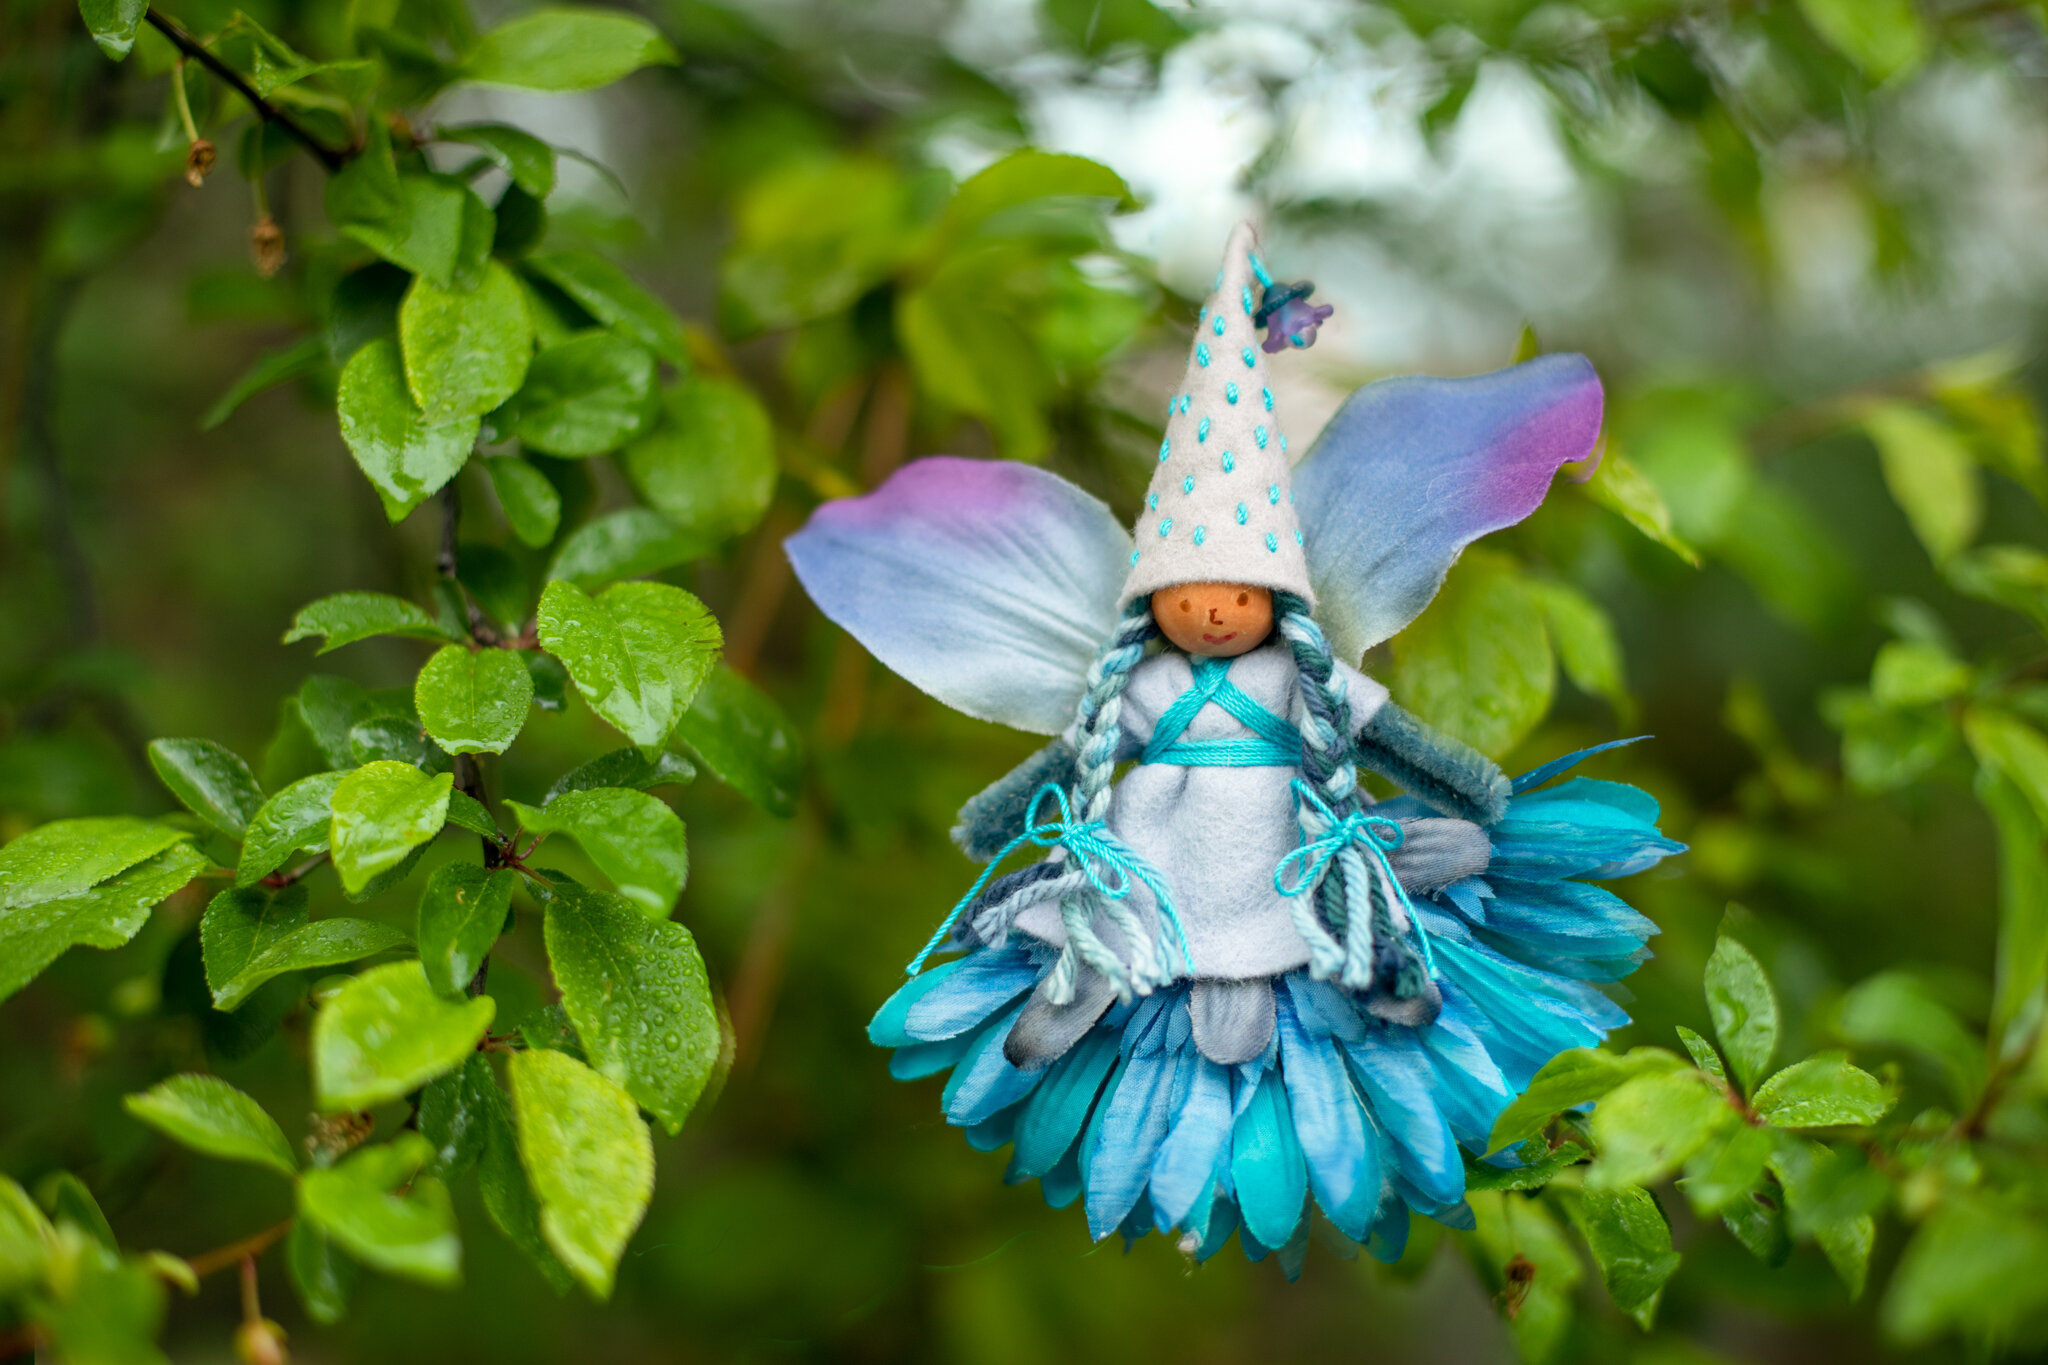
She’s actually super-simple to create. Directions for her are in Magical Forest Fairy Crafts Through the Seasons. You can create her with any fairy directions. She uses a seed stitch for her hat. I leaned into soft colors using her- lavender and pale blue and grayish tones. She was a fairy that came together in a way that charmed me. The one thing that can help when choosing subtle palettes of color is higher quality felt. The April Showers fairy has Cool Blue from A Child’s Dream Come True- available here if you’re interested: https://achildsdream.com/holland-wool-felt-cool-colors-yards-cuts/. As with all of the fairies, you don’t need very much felt. An 8x12 inch quantity is plenty.
Her hair is cotton yarn by Sugar n Cream. I am pretty sure that it’s this ombre color* called faded denim. *I haven’t ordered from this website before but they have a wonderful selection of Sugar n Cream yarn. Because I wind the skeins into balls once I’m home, I don’t have the labels anymore. And one skein lasts for years :)
Of course, you can decide to make your April Showers in any shades that inspire you. We encourage children (and adults) to look outside and notice how colors look during different seasons and weather. We may assume that the rain is blue. Yet, the colors may be closer to muted grays. Whatever looks good to you is perfect for fairies.
We hope this time of year brings you lovely inspiration 💦
Another Way to Wind Yarn Balls
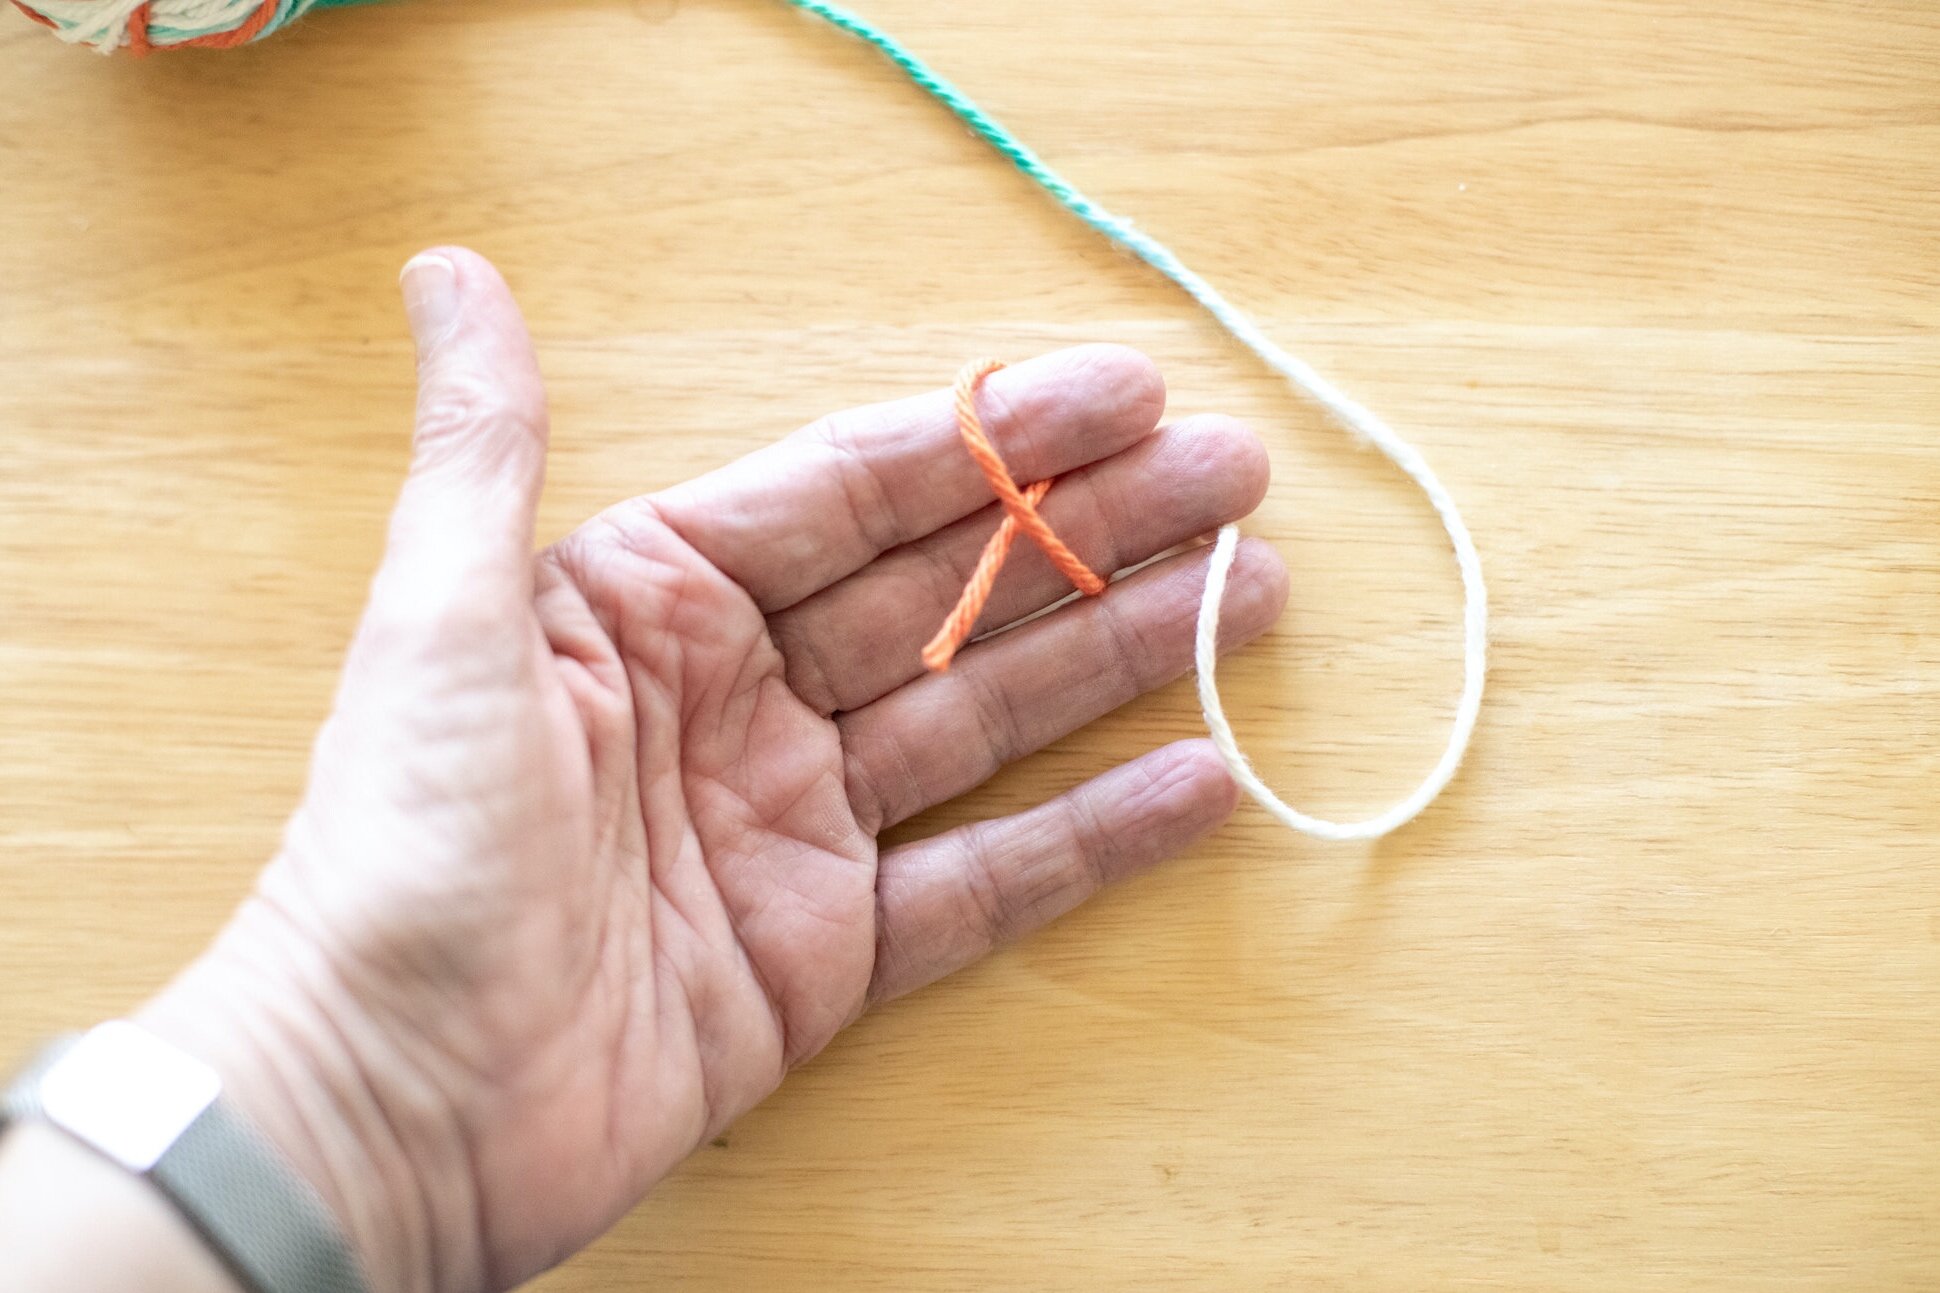
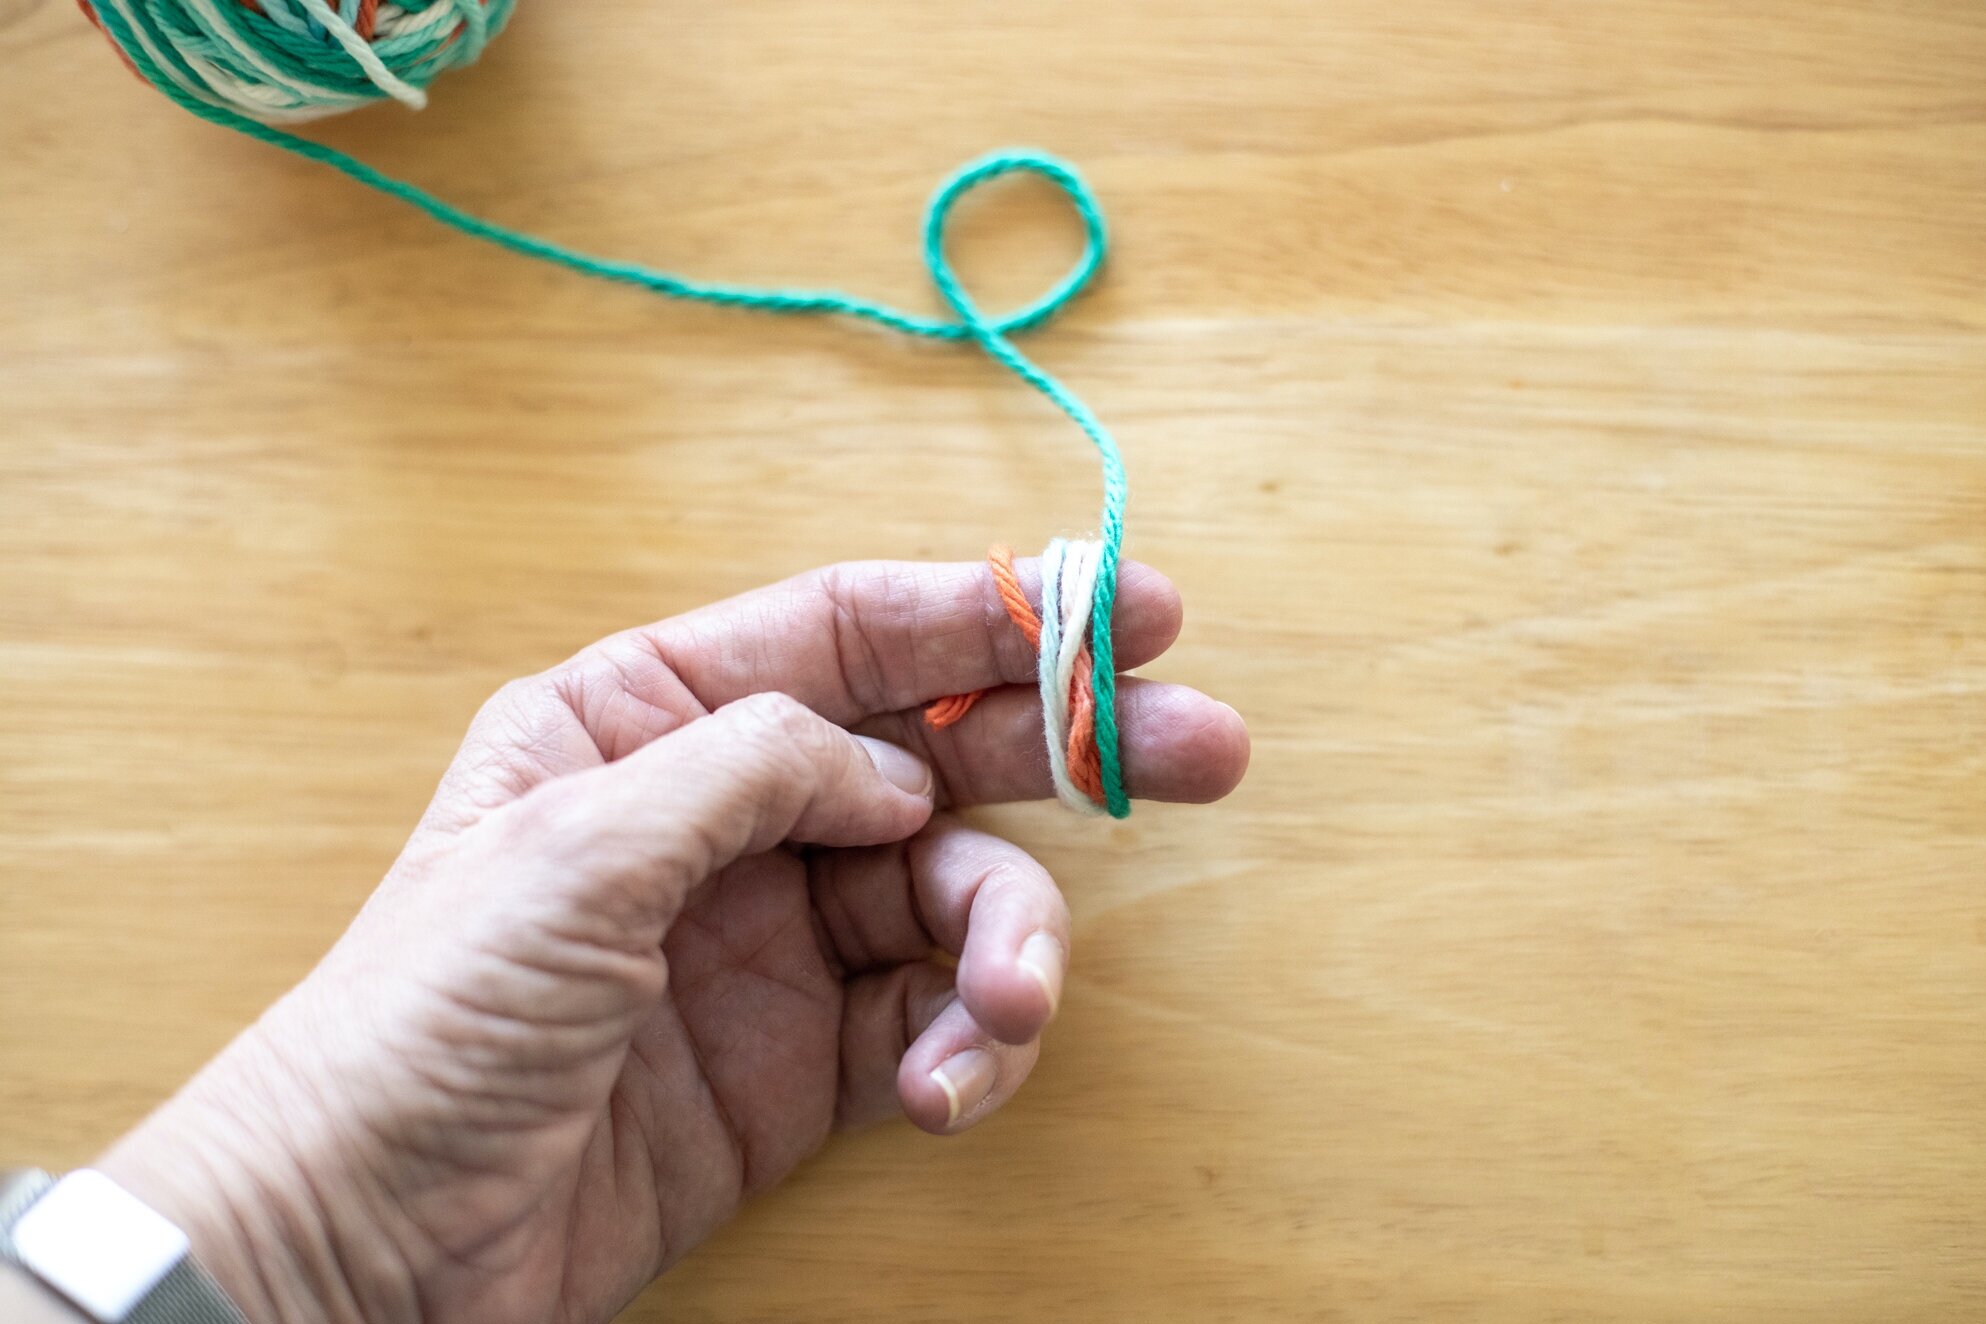
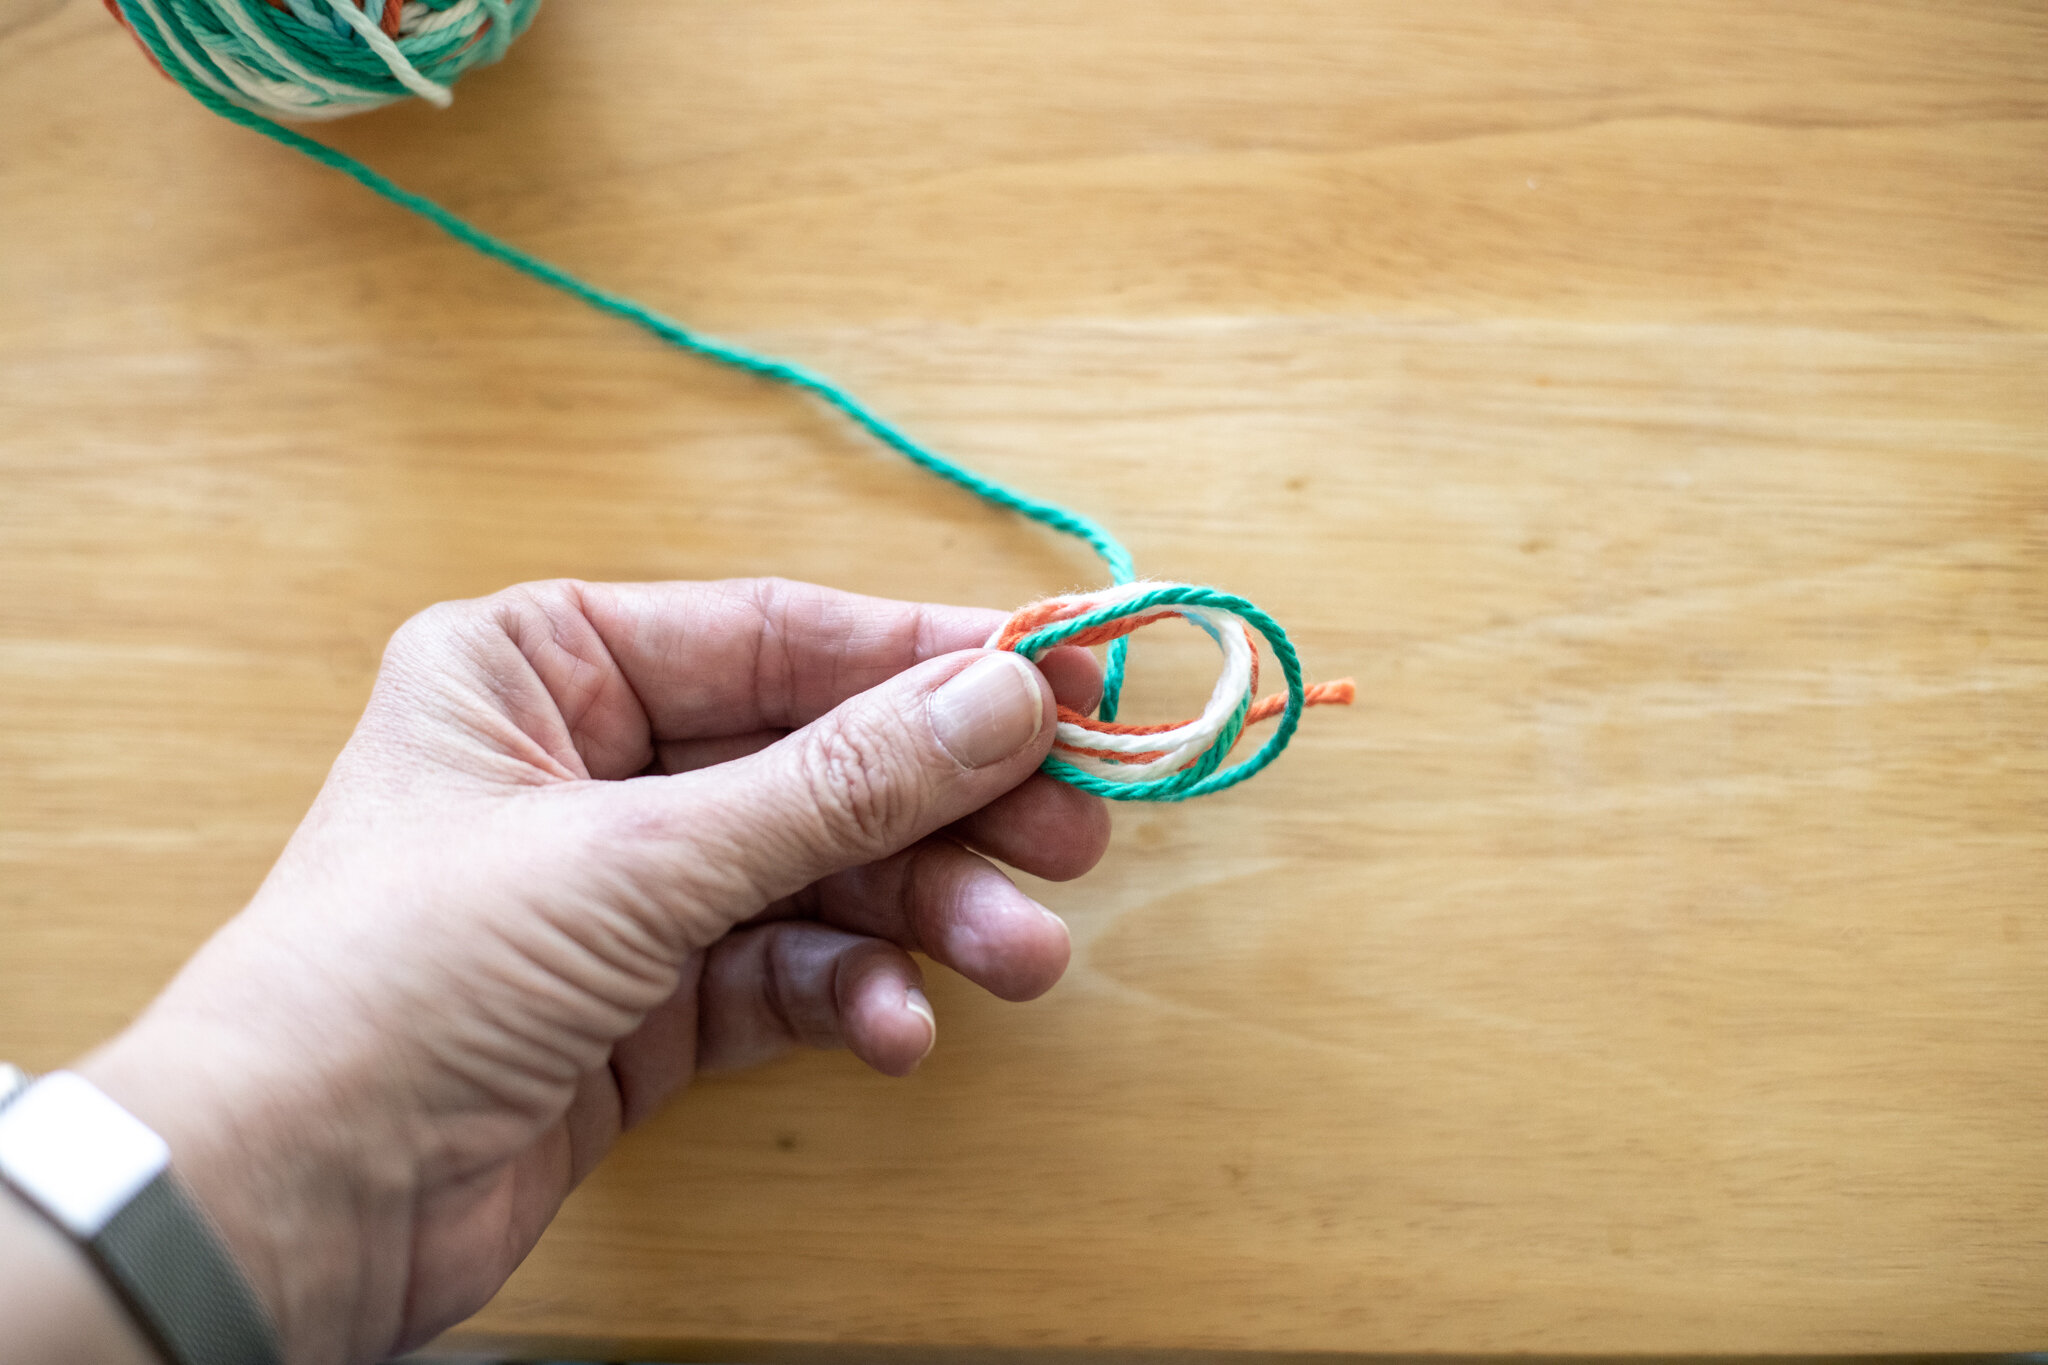
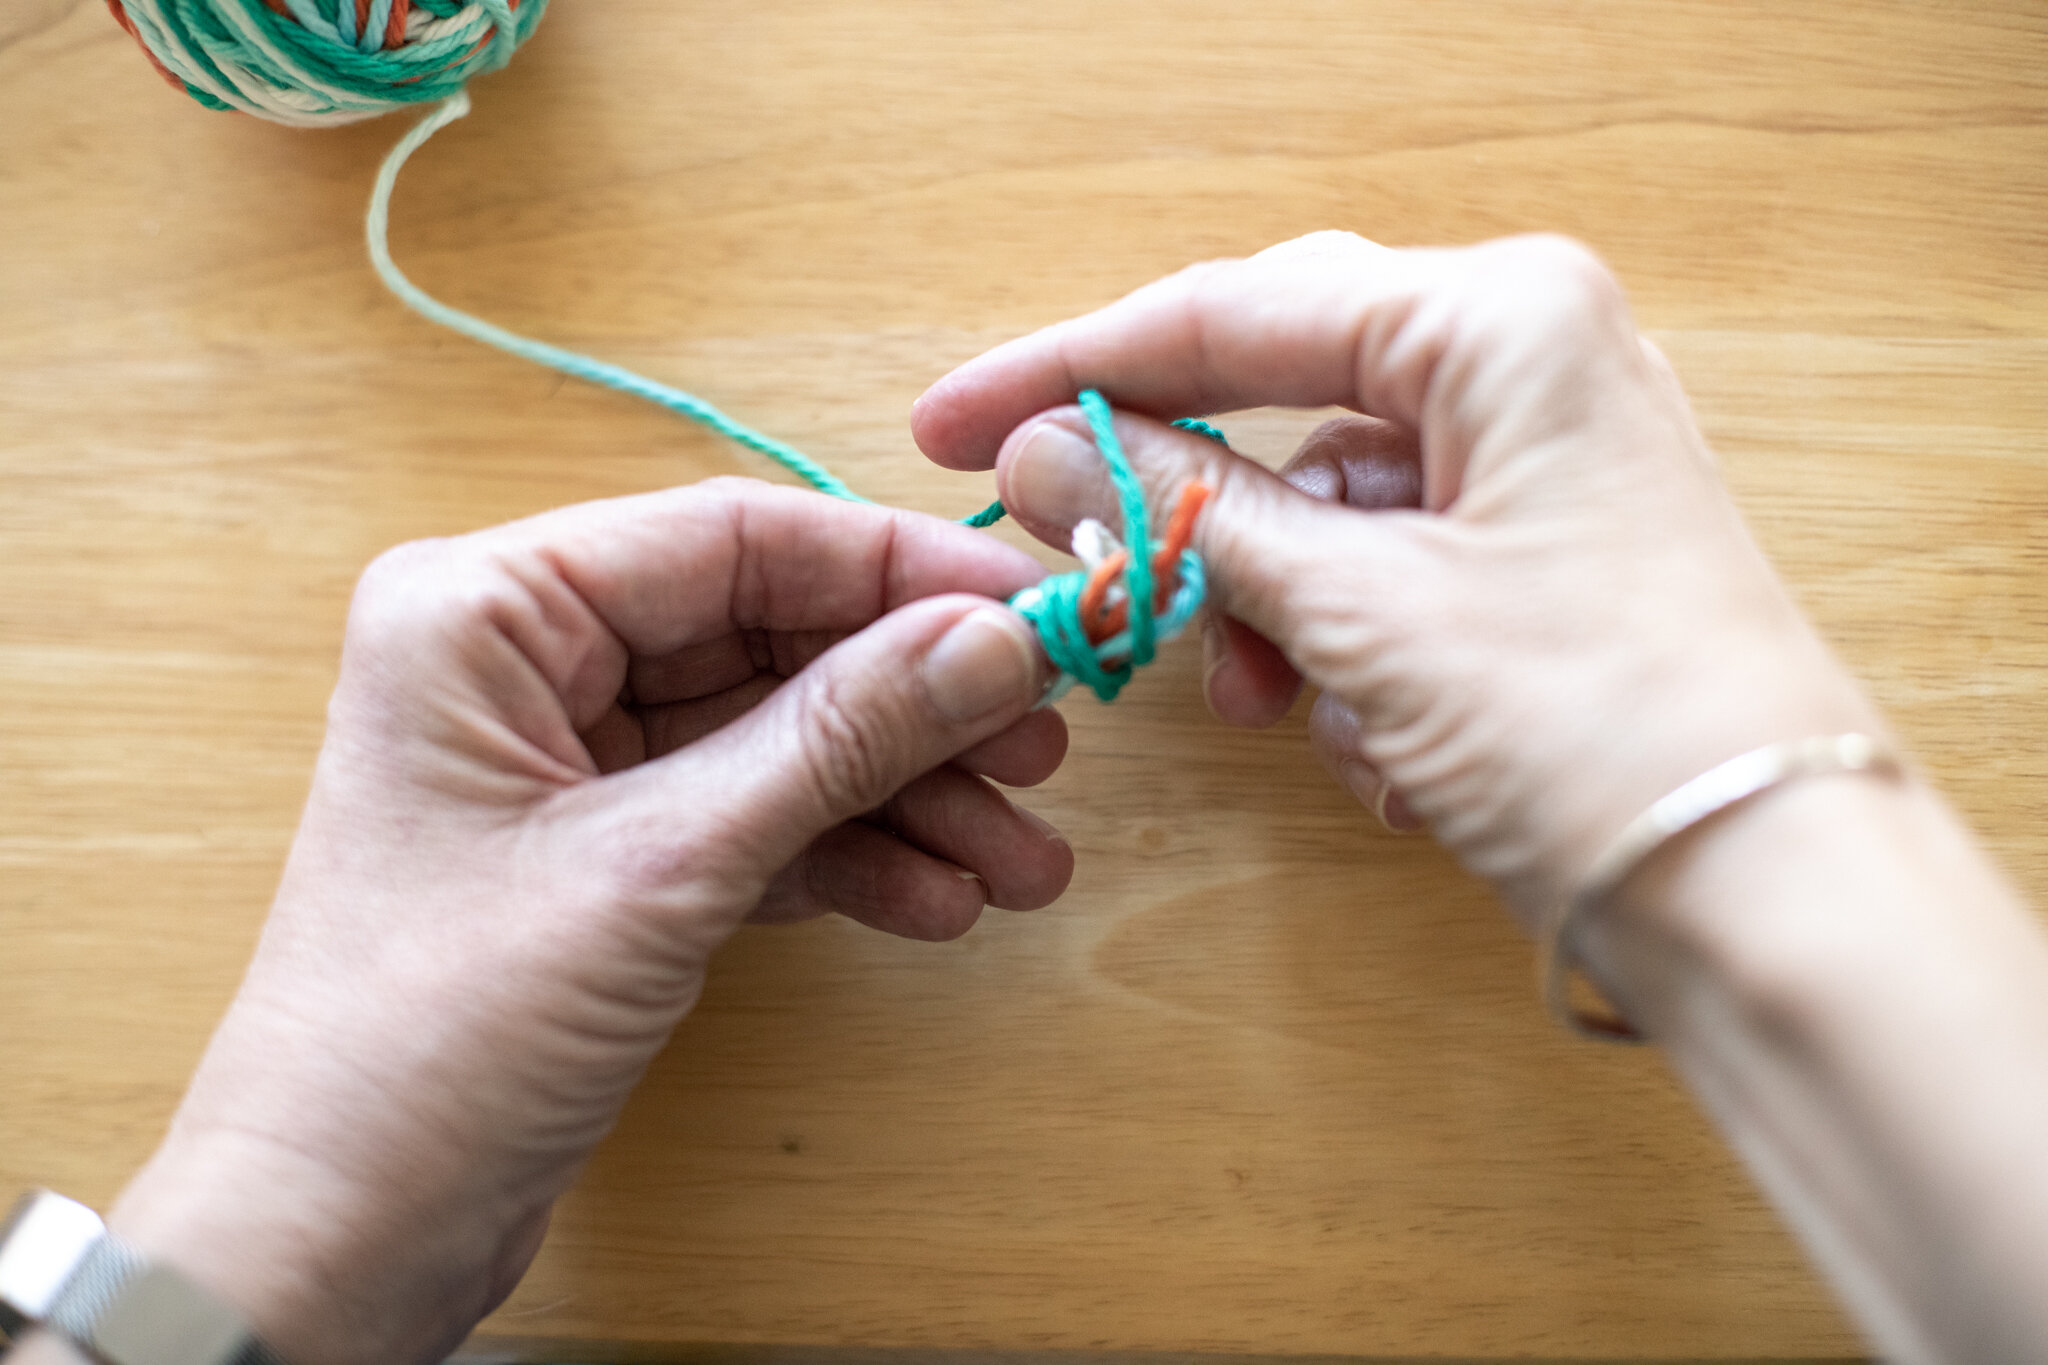
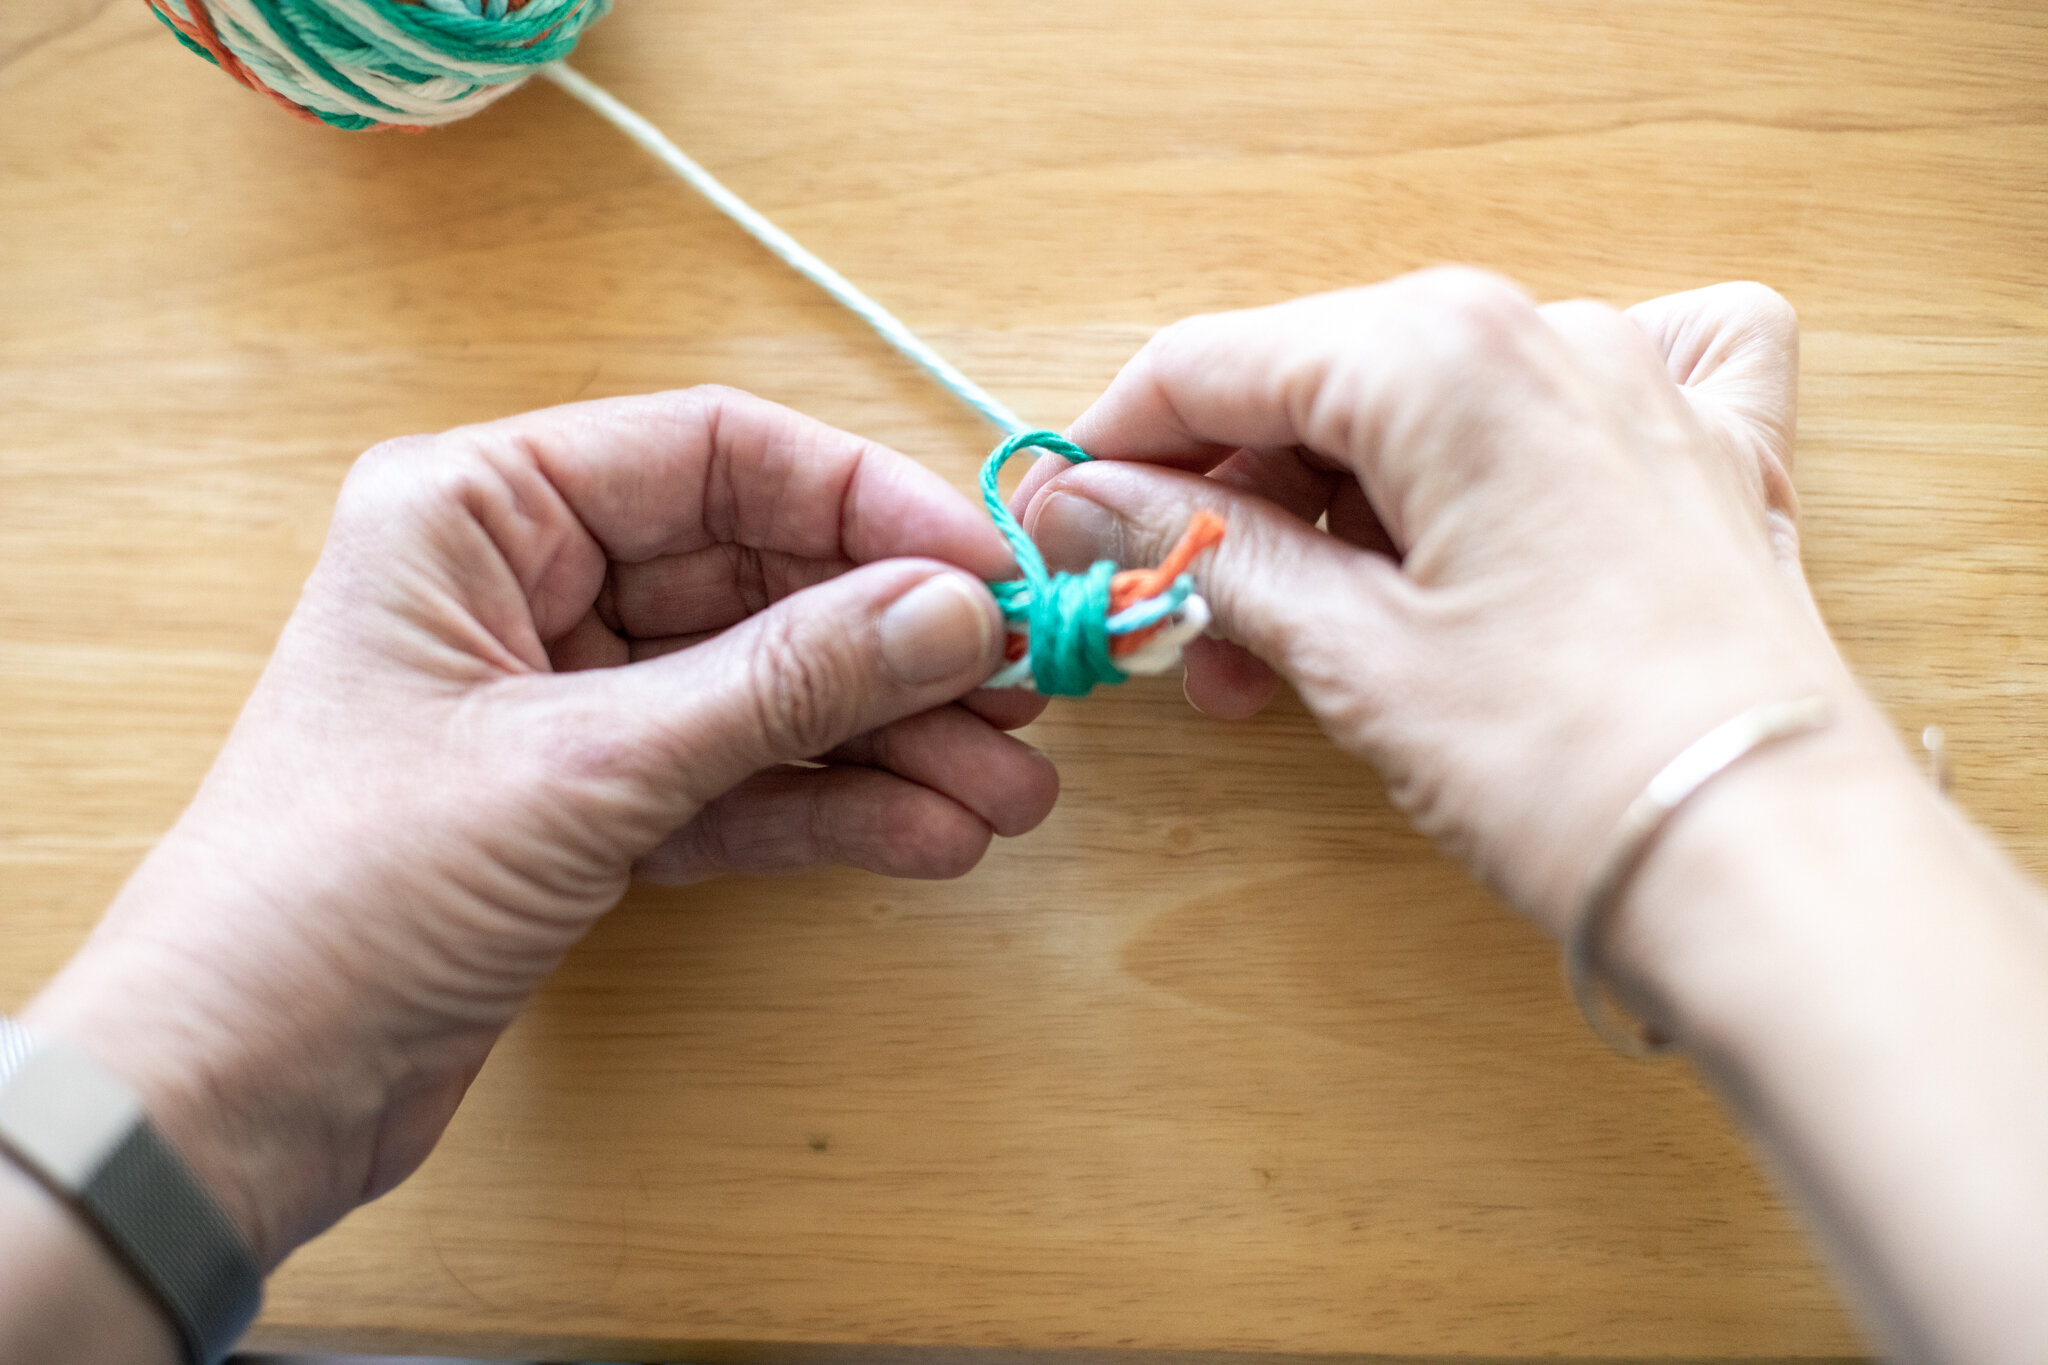
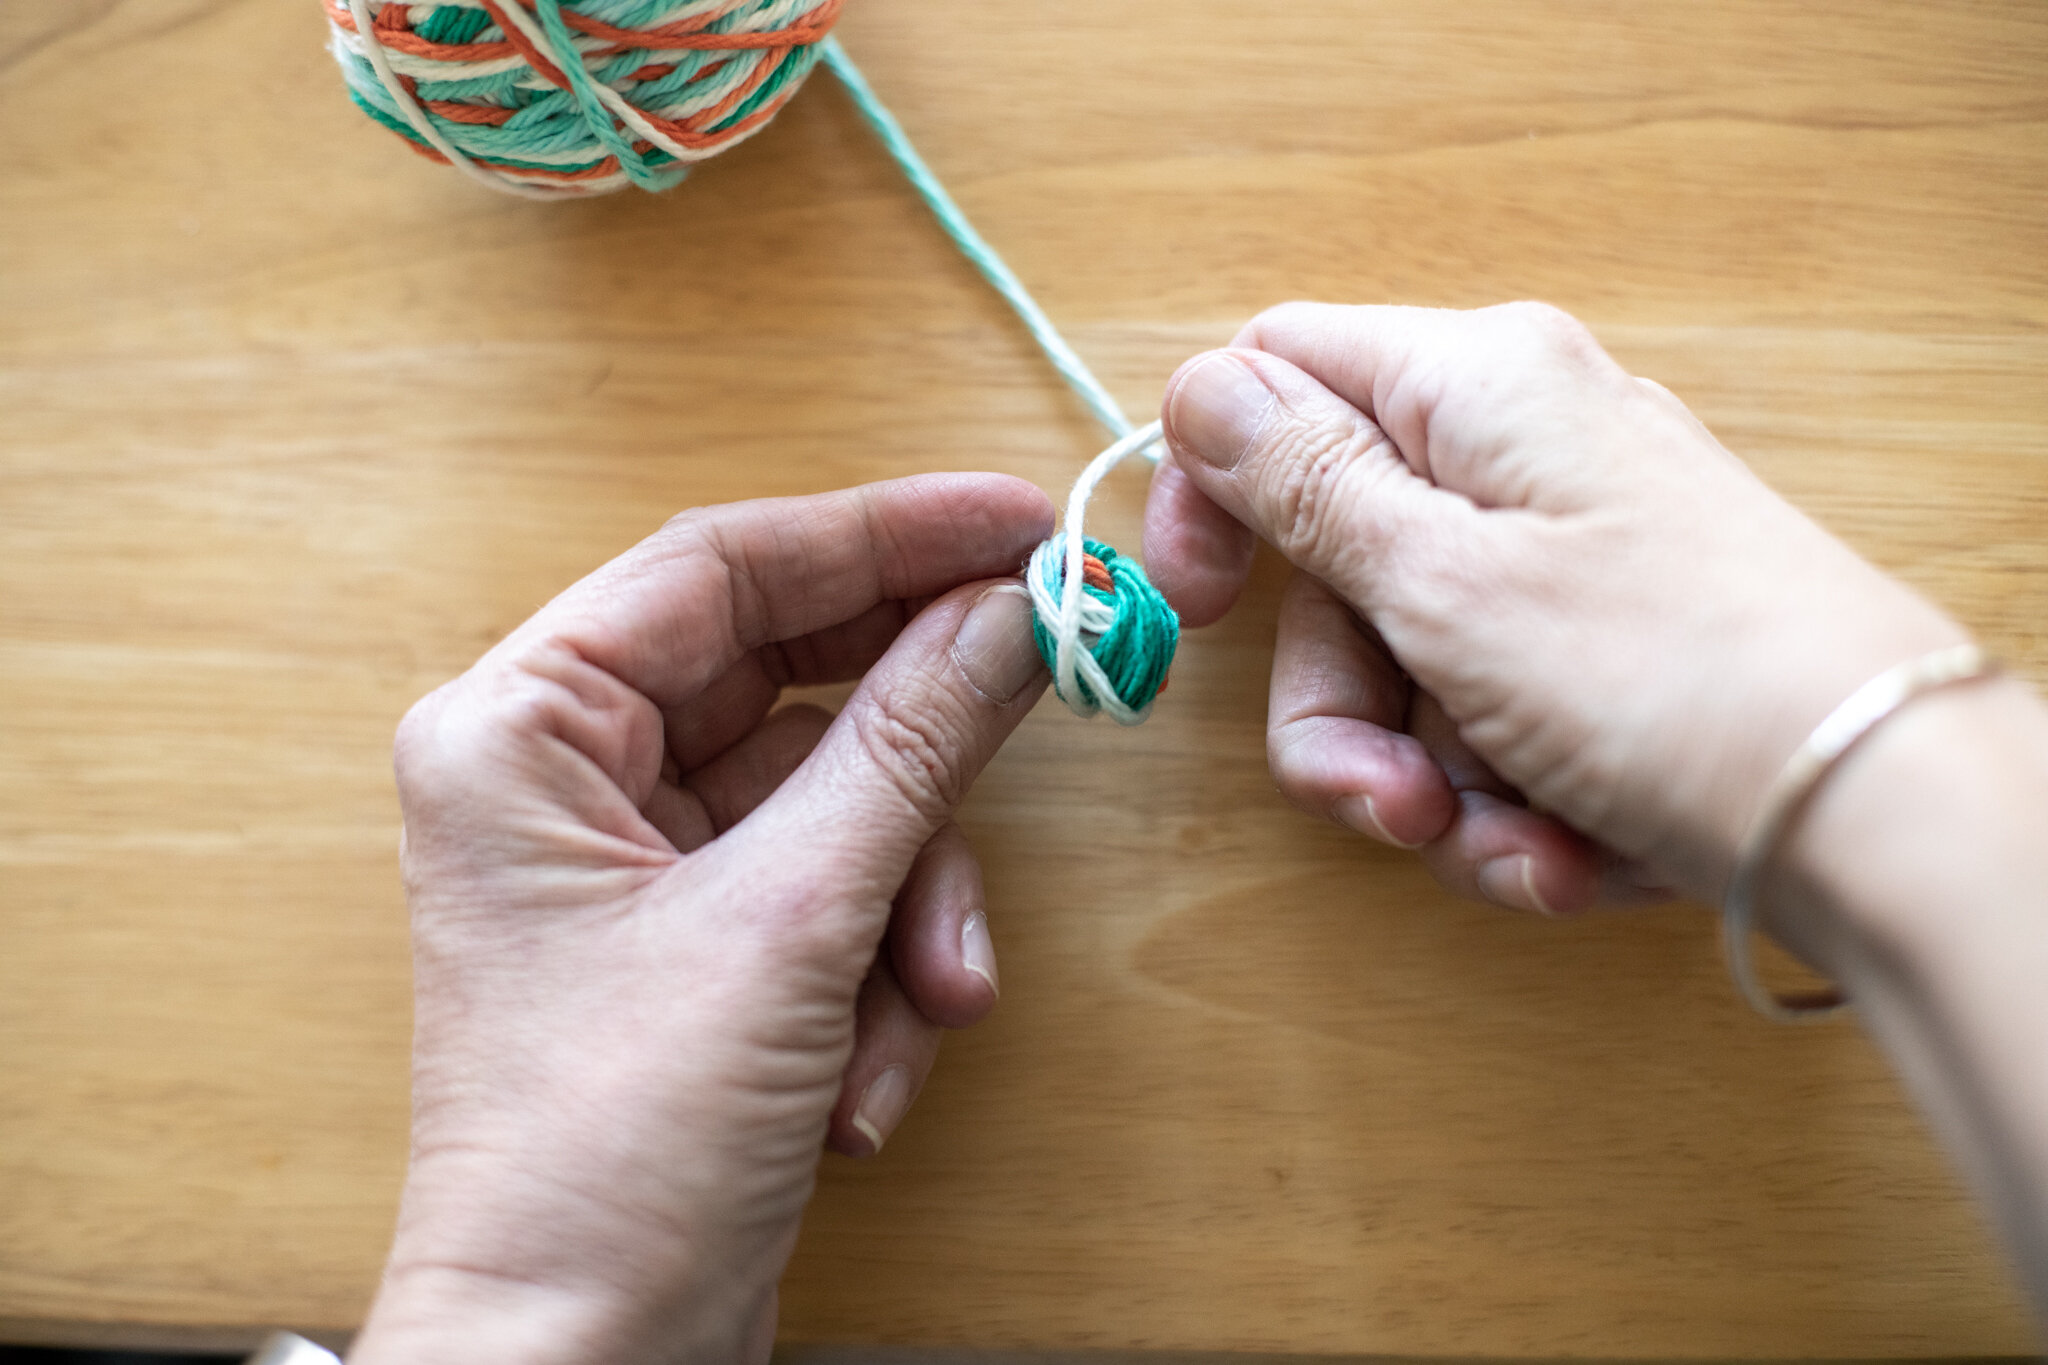
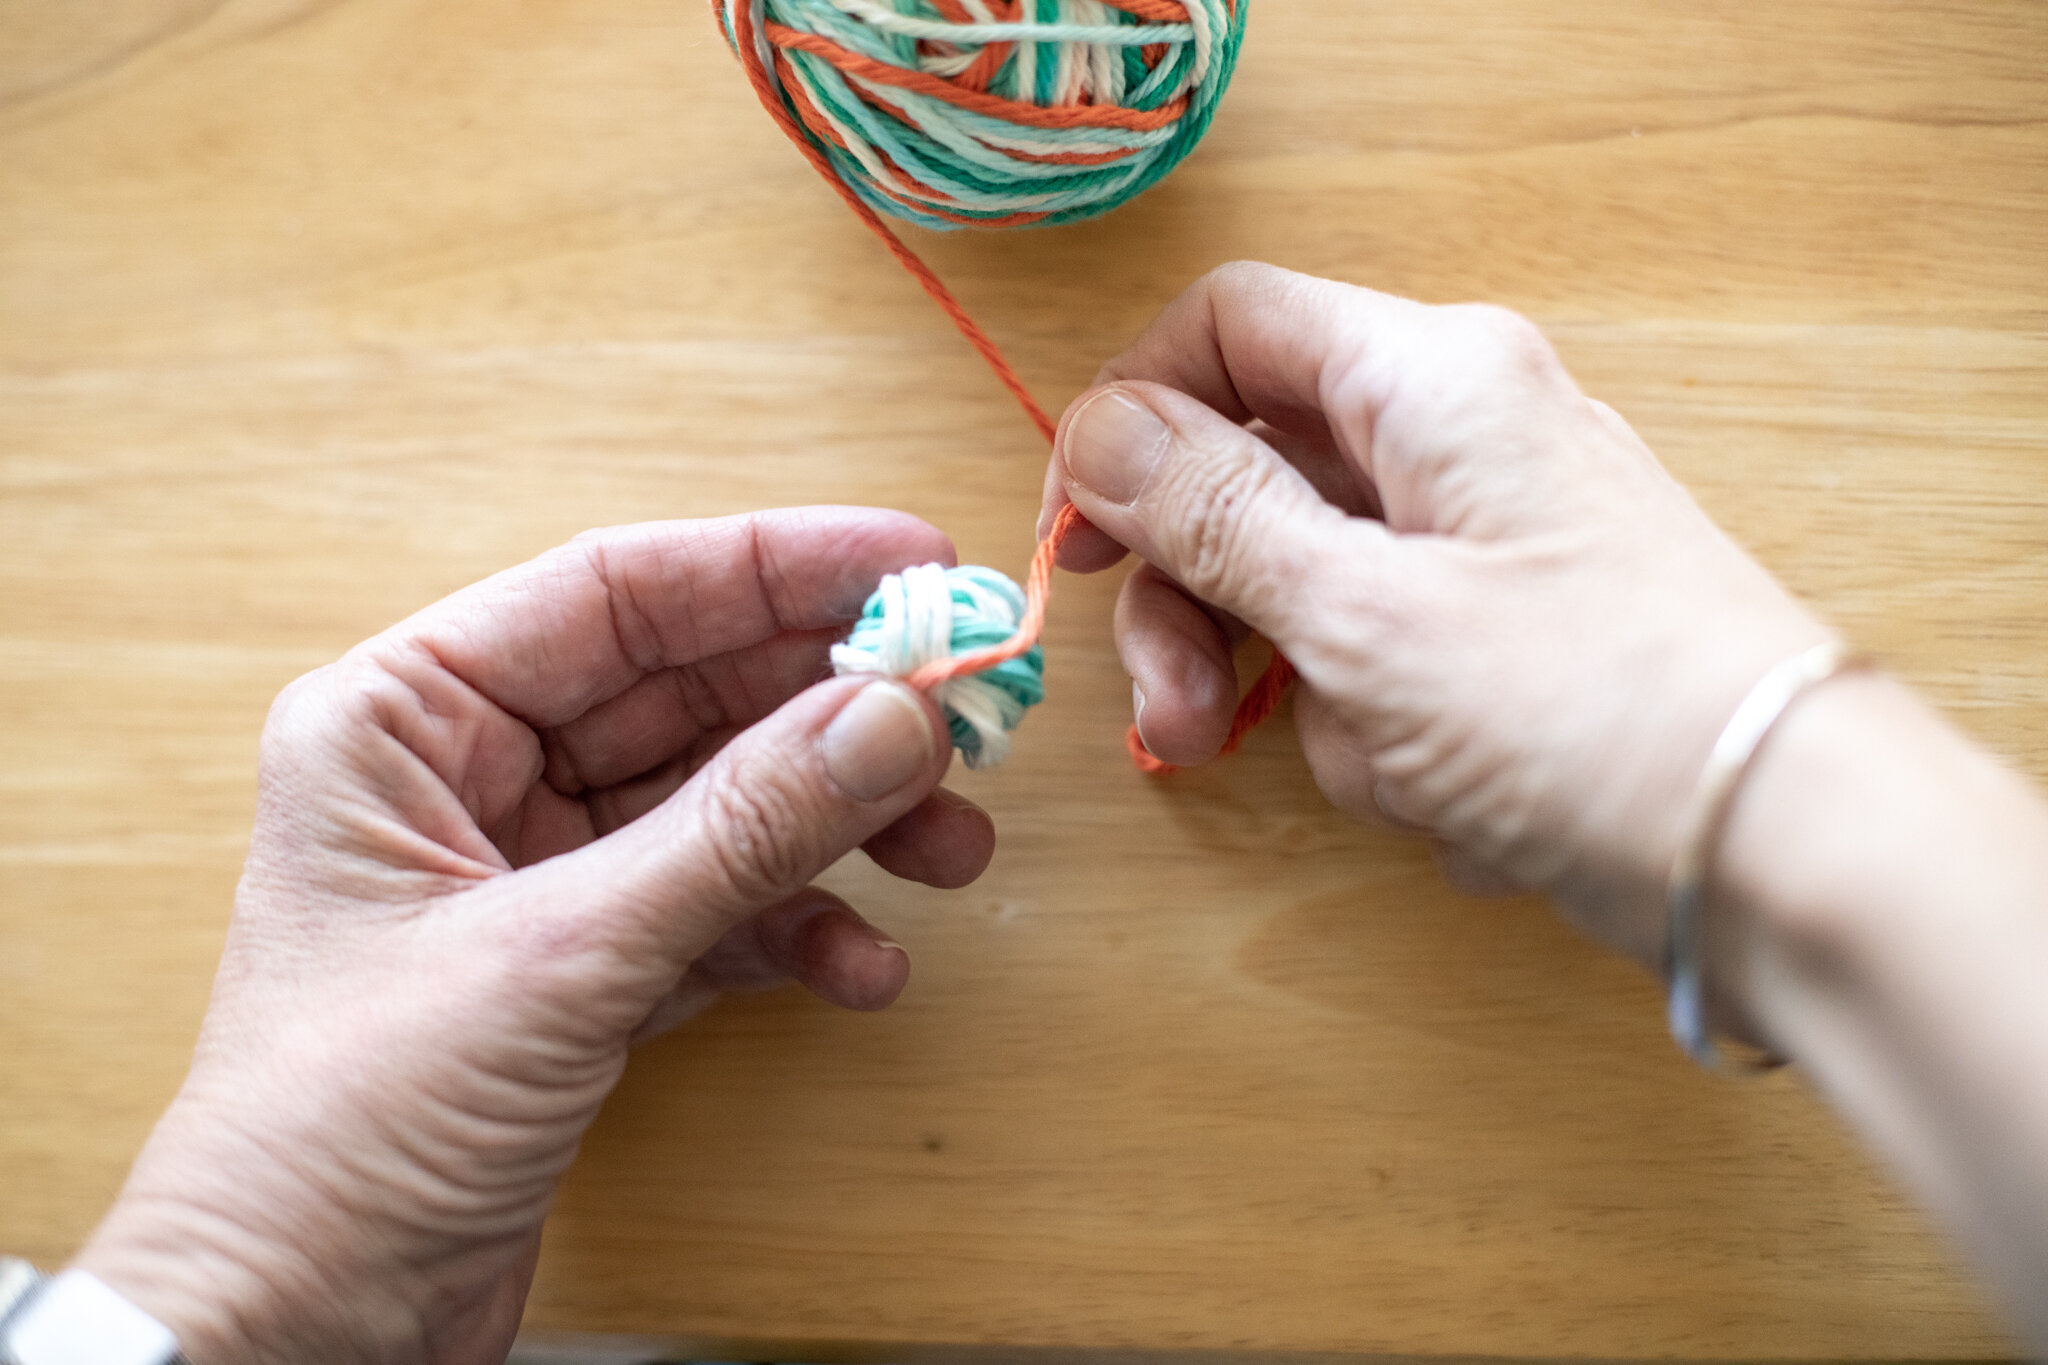
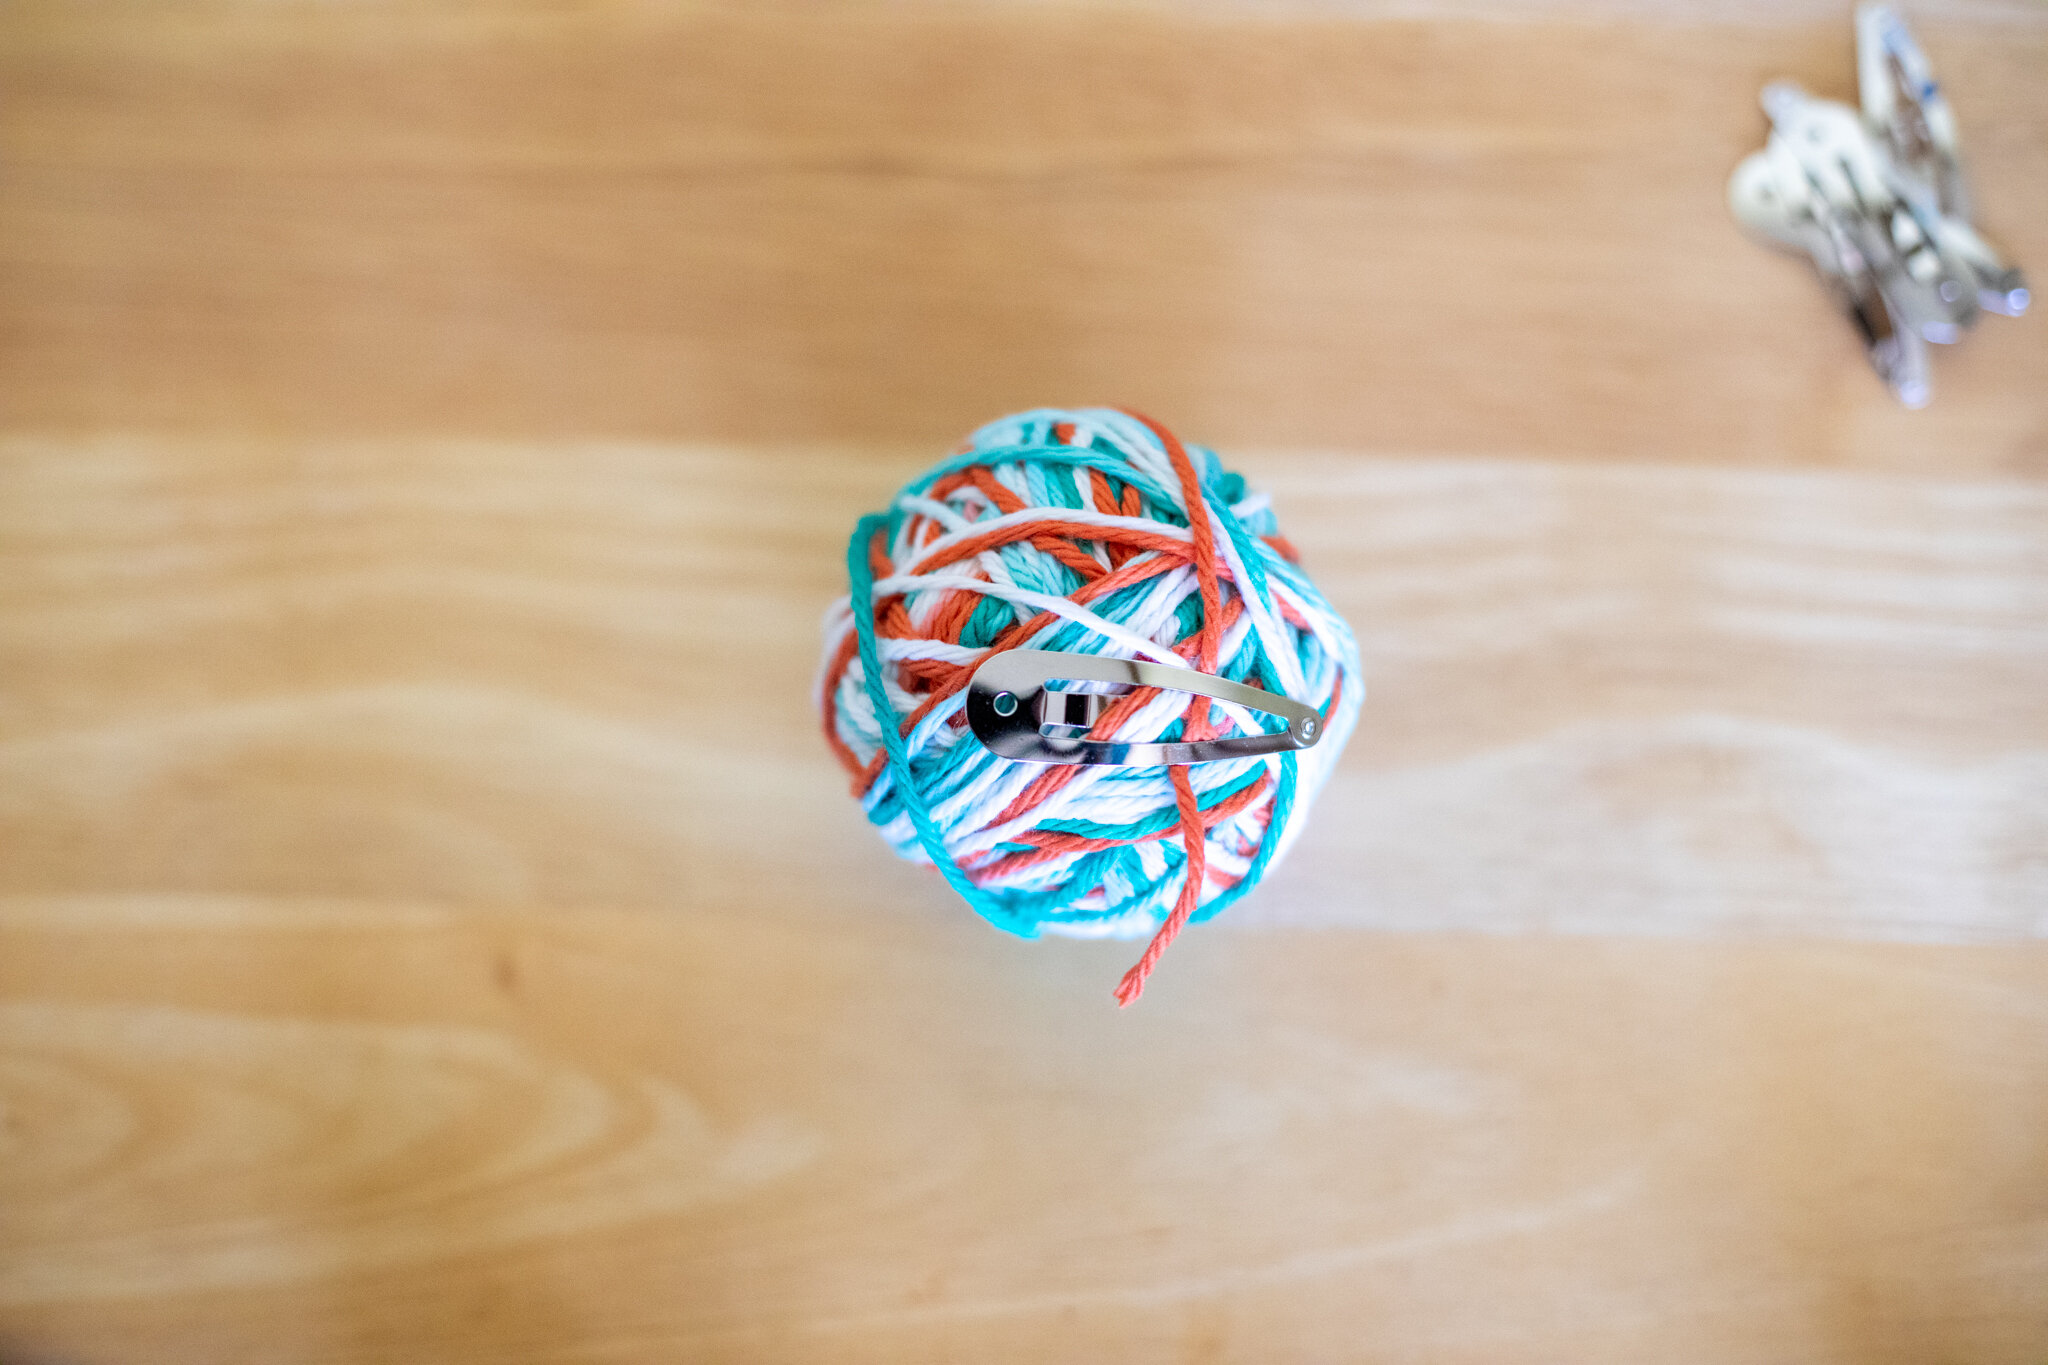
As promised, here’s another way to wind yarn balls. This way is quicker if you are making a pile of yarn balls, such as for a summer camp or basket of yarn for children to choose from. This technique doesn’t give the same level of fine motor skills, though, and it’s harder for little hands to control the yarn from slipping off of their fingers. So it’s a friendly version for adults or older children. But the other way gives children more winding practice around their fingers. Choose which one feels easier for you.
The beauty of handwork is that we all get to choose what works best for us. And I’m sure there’s even more ways to start winding yarn. It may be a worthy experiment to teach both methods to children and then ask them which way works better for them. The results may surprise you!
Onward to another way to wind yarn balls :)
For young-young children, you can start the ball, then hand it over to them once it’s past the super-fiddly-fall-apart-if-you-let-go phase of creating them. They enjoy winding the yarn around and around. You can work towards a point where they can then use your hand to start the yarn ball. So you would hold the yarn between your fingers and they wrap it around your fingers for the first step. Eventually, they will develop the skills to hold and start the ball all on their own. It’s tricky to do two different activities with different hands.
If you know how to make a slip-knot, that’s another way to start where children' won’t pull the tail loose during the very first step. If you make a slip knot that can fit over a finger, that would hold the yarn on their finger for the first step.
The other trouble-spot that children fall into is winding the yarn way too tight around their fingers, which makes it difficult to pull off for the next step. Learning tension is a big skill. With this mistake, it’s pretty simple to unwind and start over. It’s best to supervise until they have the hang of it on their own.
We hope these techniques help you tame your yarn collection so children can easily select different colors for different projects. The calming winding of yarn is a lovely way to pass the time. You can even wind yarn balls while reading or watching a documentary. Children love to see their yarn in a tidy collection.
We hope this week finds you healthy and inspired. And, if productivity is a struggle, that’s okay too.
Art Inspiration with Color
This week we are juggling middle school distance learning with * waves towards everything else *. And we are so fortunate to have the ability to stay at home. I manage to work from home, though productivity is extremely challenging. This project was simple and engaging. I approached it as a science, open-ended process art project. And he actually loved the results. So win-win!
Prep:
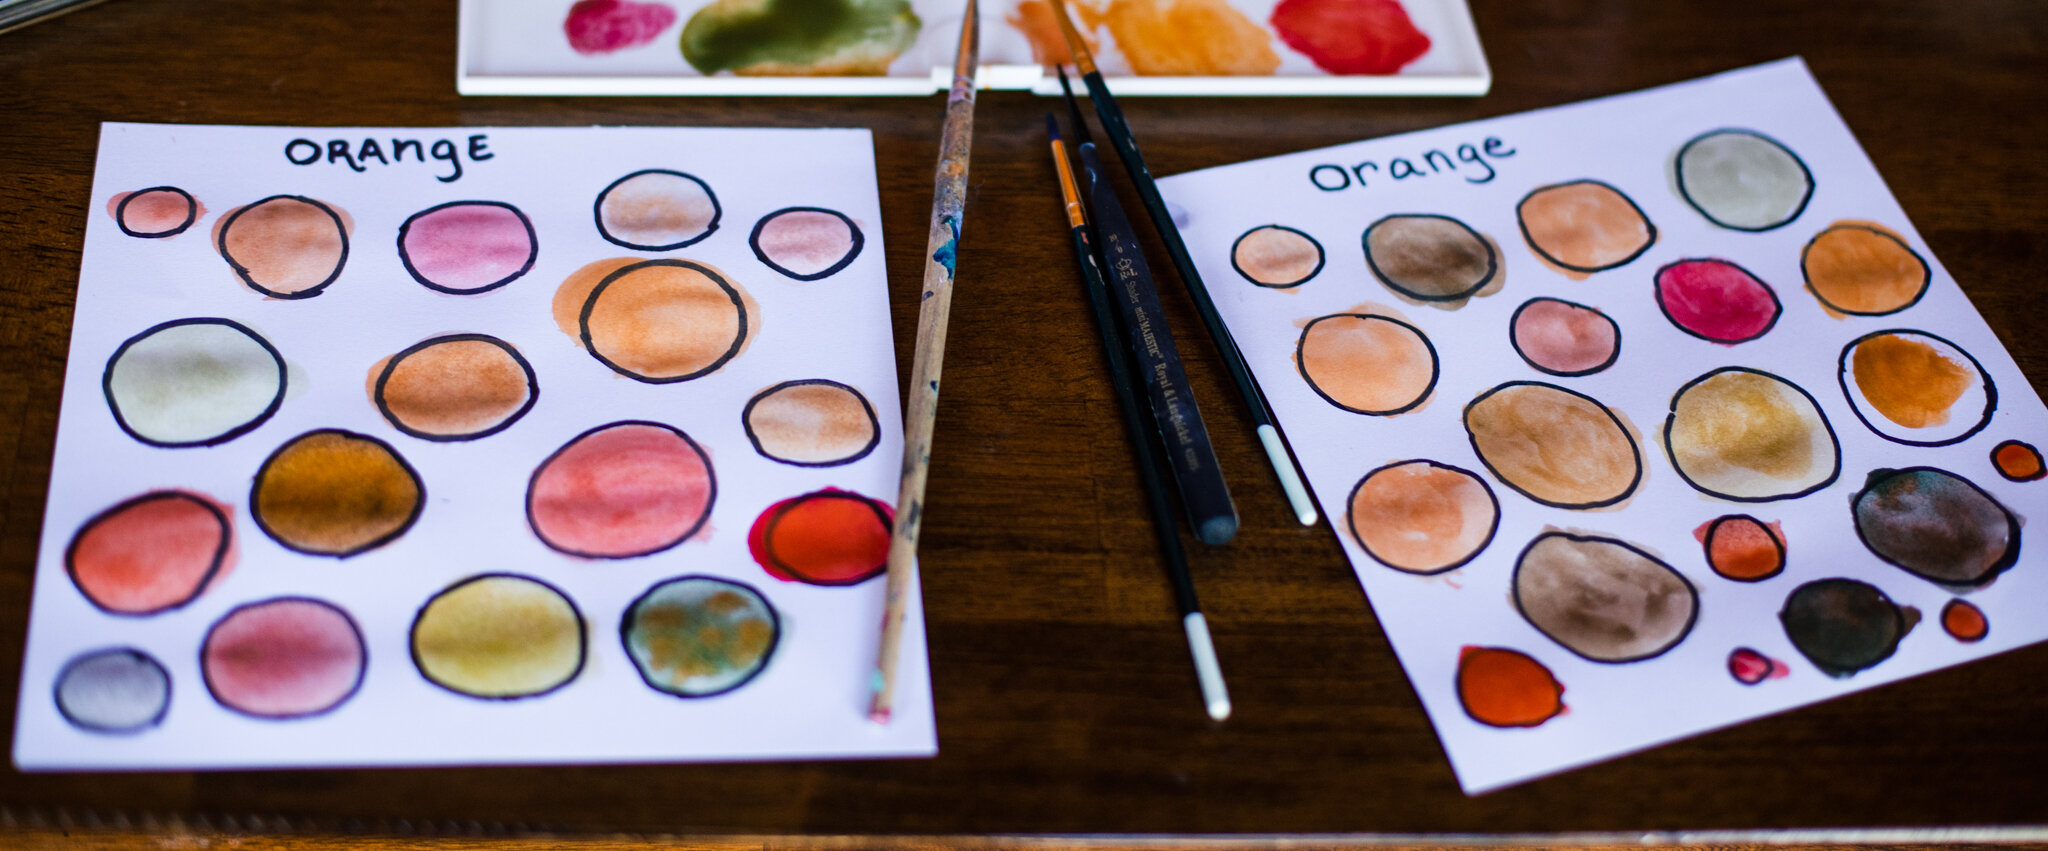
Using a sharpie, I wrote the main color- his favorite color- at the top of the page. He could have written it himself but I wanted to make it an “easy onramp” because the resistance to “work” is real (and exhausting). To be honest, I get it because I feel that undertow too. I know that engaging in activities is rewarding, though, so I made this as easy as possible to start. Anyway, I drew circles across the page. Imperfect circles with different sizes (easier for me) with a sharpie. It has to be a pen that doesn’t react to water because that will mix with the paint.
Painting:
I set it up with him with the question- how do colors interact with orange? Mix them on your brush or on your paper. What causes different shades of orange?
We also talked about water tension and that if he didn’t have water go outside the circle, the paint would stay in the circle as well. Then we ended up going outside the lines a bit too.
He really enjoyed creating different shades of orange. And we got to continue the conversation when the page dried and colors changed slightly.
What we learned:
The paper influences the mixing a lot. We used a sketching paper that soaked the water quickly so it didn’t work to mix in the circle as well. We ended up mixing more directly dipping the brush from one to another color. Once he mixed two, I suggested three. We also mixed on the lid of the paint tray. Our paints, by the way, are Lyra watercolors available on A Child’s Dream Come True.
It would be fun to try with watercolor paper where you could drop one color onto the other on the page and see them interact.
This is a fantastic project for scientific “what if” questions. There really isn’t a wrong lesson for children to learn. I ended up painting beside him because it was fun to try different combinations.
Oh, and it may be surprising to see how some colors “play well together”. If you group warm colors together, and cool colors, similar colors (warm-warm or cool-cool) will enhance the chosen color. This can also be called analogous colors on a color wheel. But adding the opposite, like adding blue to orange, makes the orange look gray-green. Why? It connects to the idea of complementary colors that react differently with the chosen color. You can learn more about colors by researching.
We strongly encourage children’s curiosity, especially if they ask, “Why?” That gives you an opportunity to go learn more. The first step is observing, which means letting children try things and ask their own questions. Art is a wonderful way to explore ideas.
Of course, you can use different shapes, too. Squares, rectangles, triangles… lots of creative potential. We hope you have fun experimenting with color 🧡
Many Ideas for Project Inspiration
Inspiration is everywhere. At the same time, we understand how trying times can fray our thoughts and make creativity feel challenging. One of my favorite places to collect ideas is Pinterest. For years I have discovered the cutest and sweetest ideas on Pinterest. I am amazed by the artistry of crafters and artists around the world. And the good news is that I actively collect them to share with our community.
I click through these pins and hopefully they haven’t broken or changed landing pages. Most of them should lead you to artists, ideas, and/or tutorials to spark your creative projects. Many of these lean into the same techniques we teach in Forest Fairy Crafts. Using simple supplies and stitches, crafters all over the world make incredible magical crafts. Please be aware, the projects pinned on these boards are (mostly) not created from our books. These are pins that connect to the philosophies of helping everyone use their hands to create beautiful things. We hope you enjoy them as much as we do :)
We have to start with the official Forest Fairy Crafts board. This collection provides an easy way to navigate and discover past posts on the blog that may inspire your current projects.
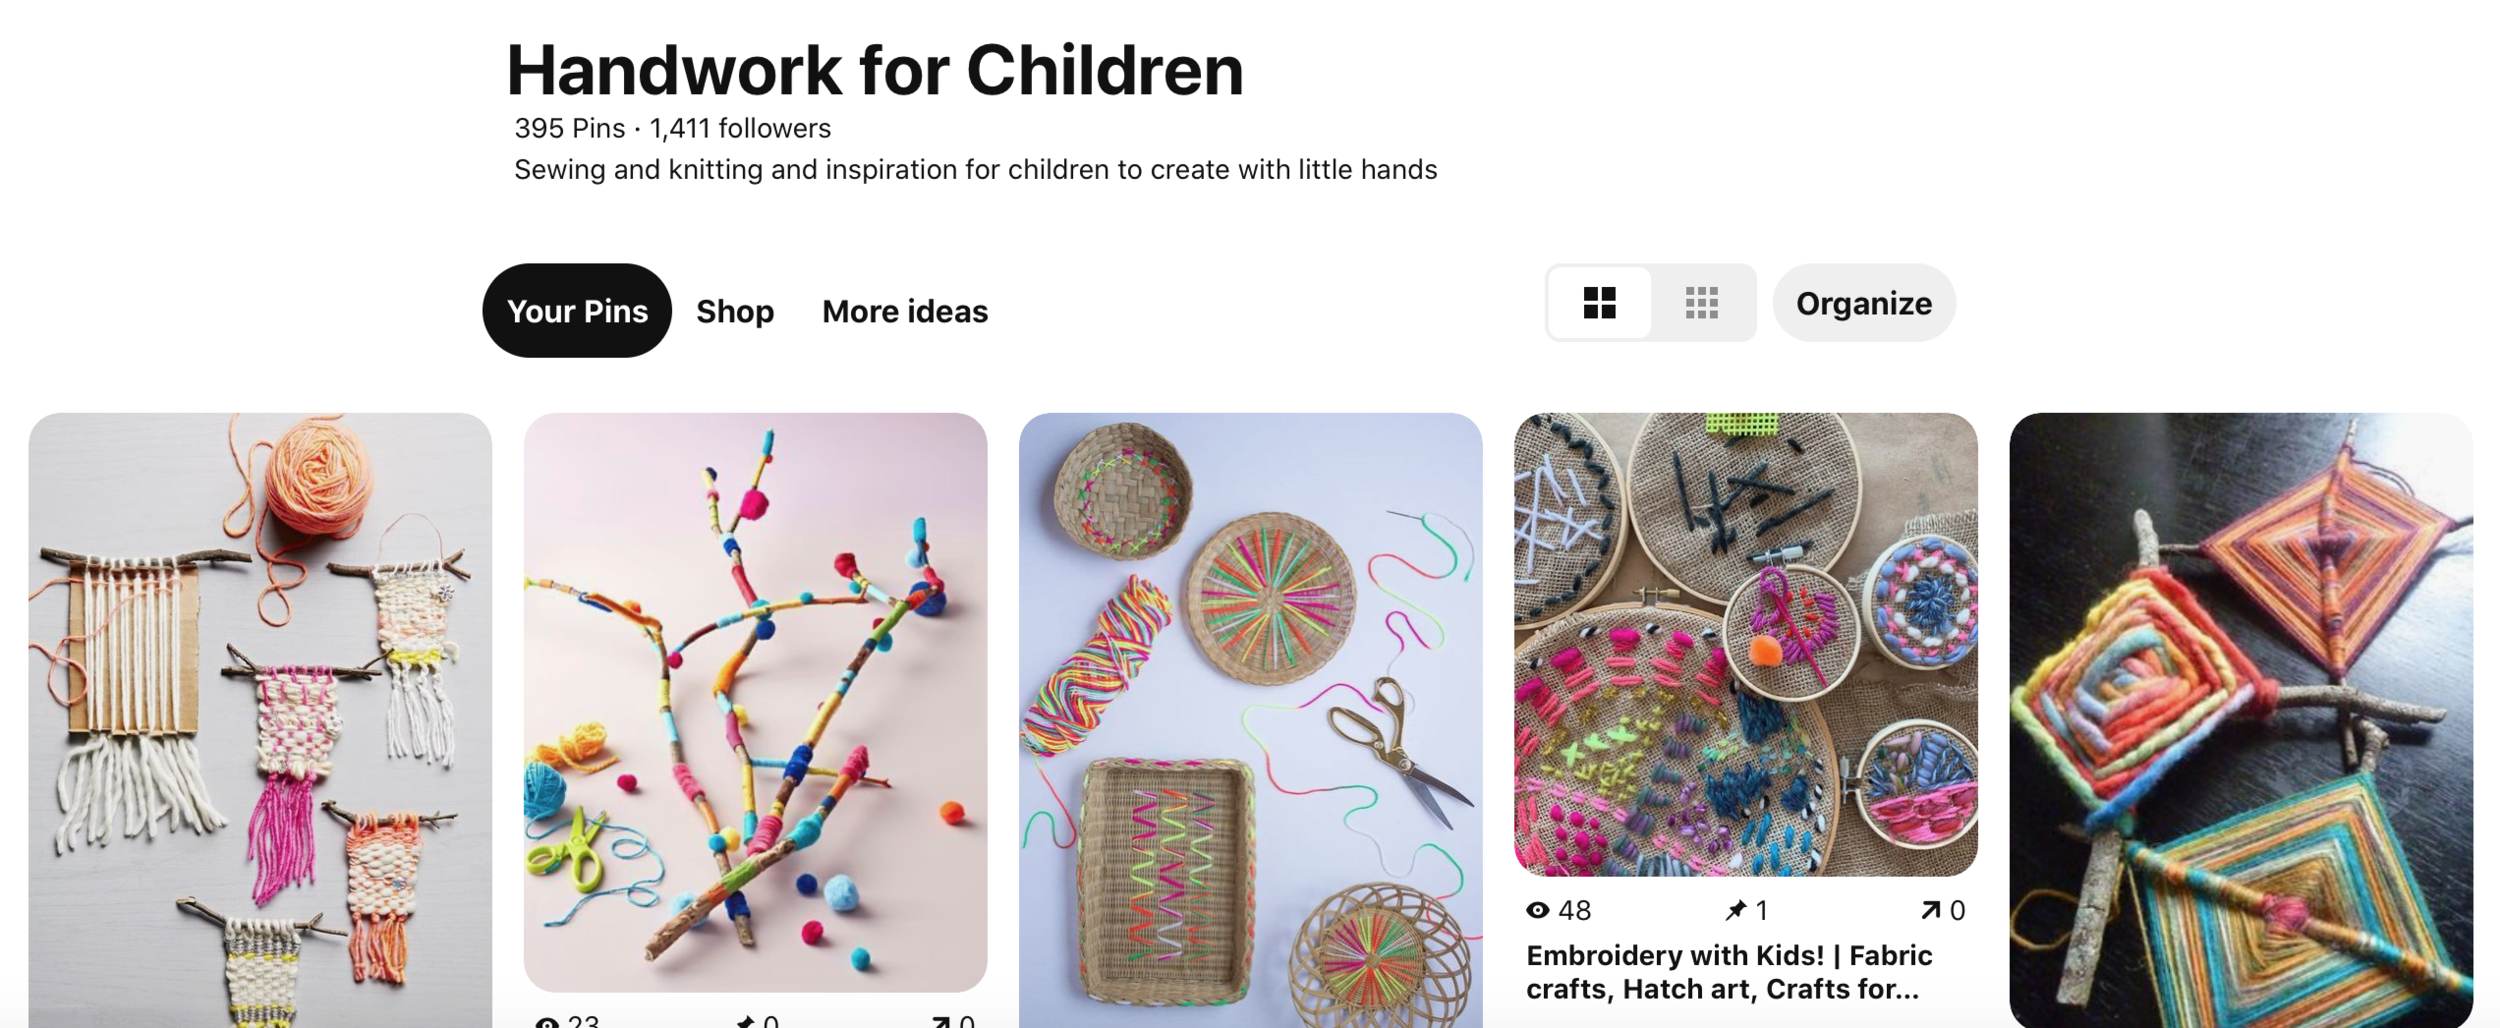
Handwork for Children collects ideas that can be adapted for children to make things with their hands. From weaving to finger-knitting to simple embroidery, these projects are curated with children in mind.
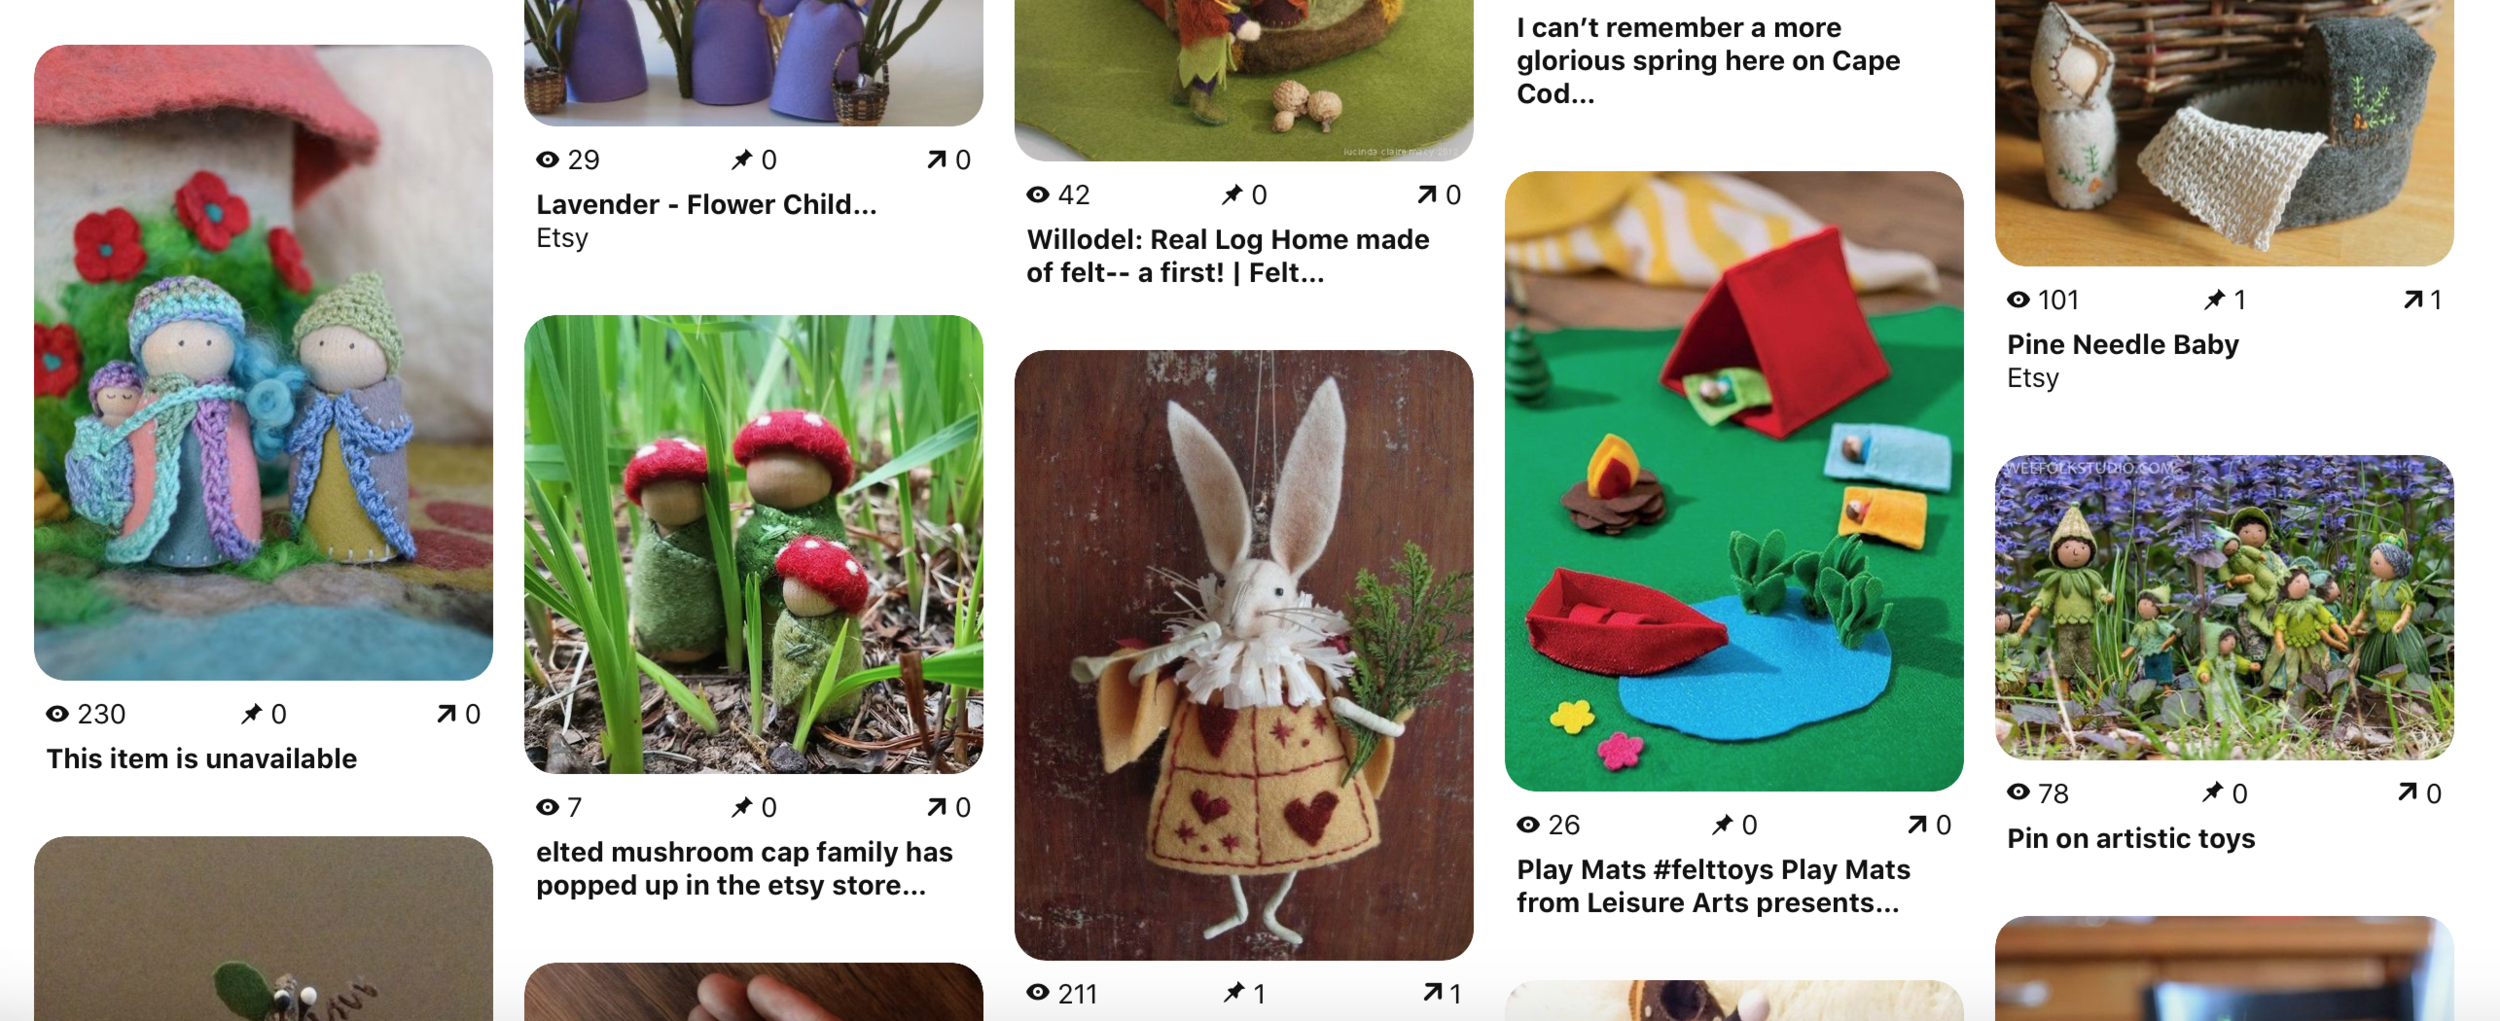
In the Magic Forest is one of all time favorite boards. This board curates all of the little dolls and gnomes that we find charming into one place. As it’s grown over time, it has sections for different holidays and seasons. This board has so much talent and gorgeous detailing! They are made by artists all over the world. They can be tweaked for children-centered projects by simplifying some of the stitching. Or they may inspire adults to create crafts for their own enjoyment. Many of them link to independent sellers and Etsy shops where you could support creative artists.
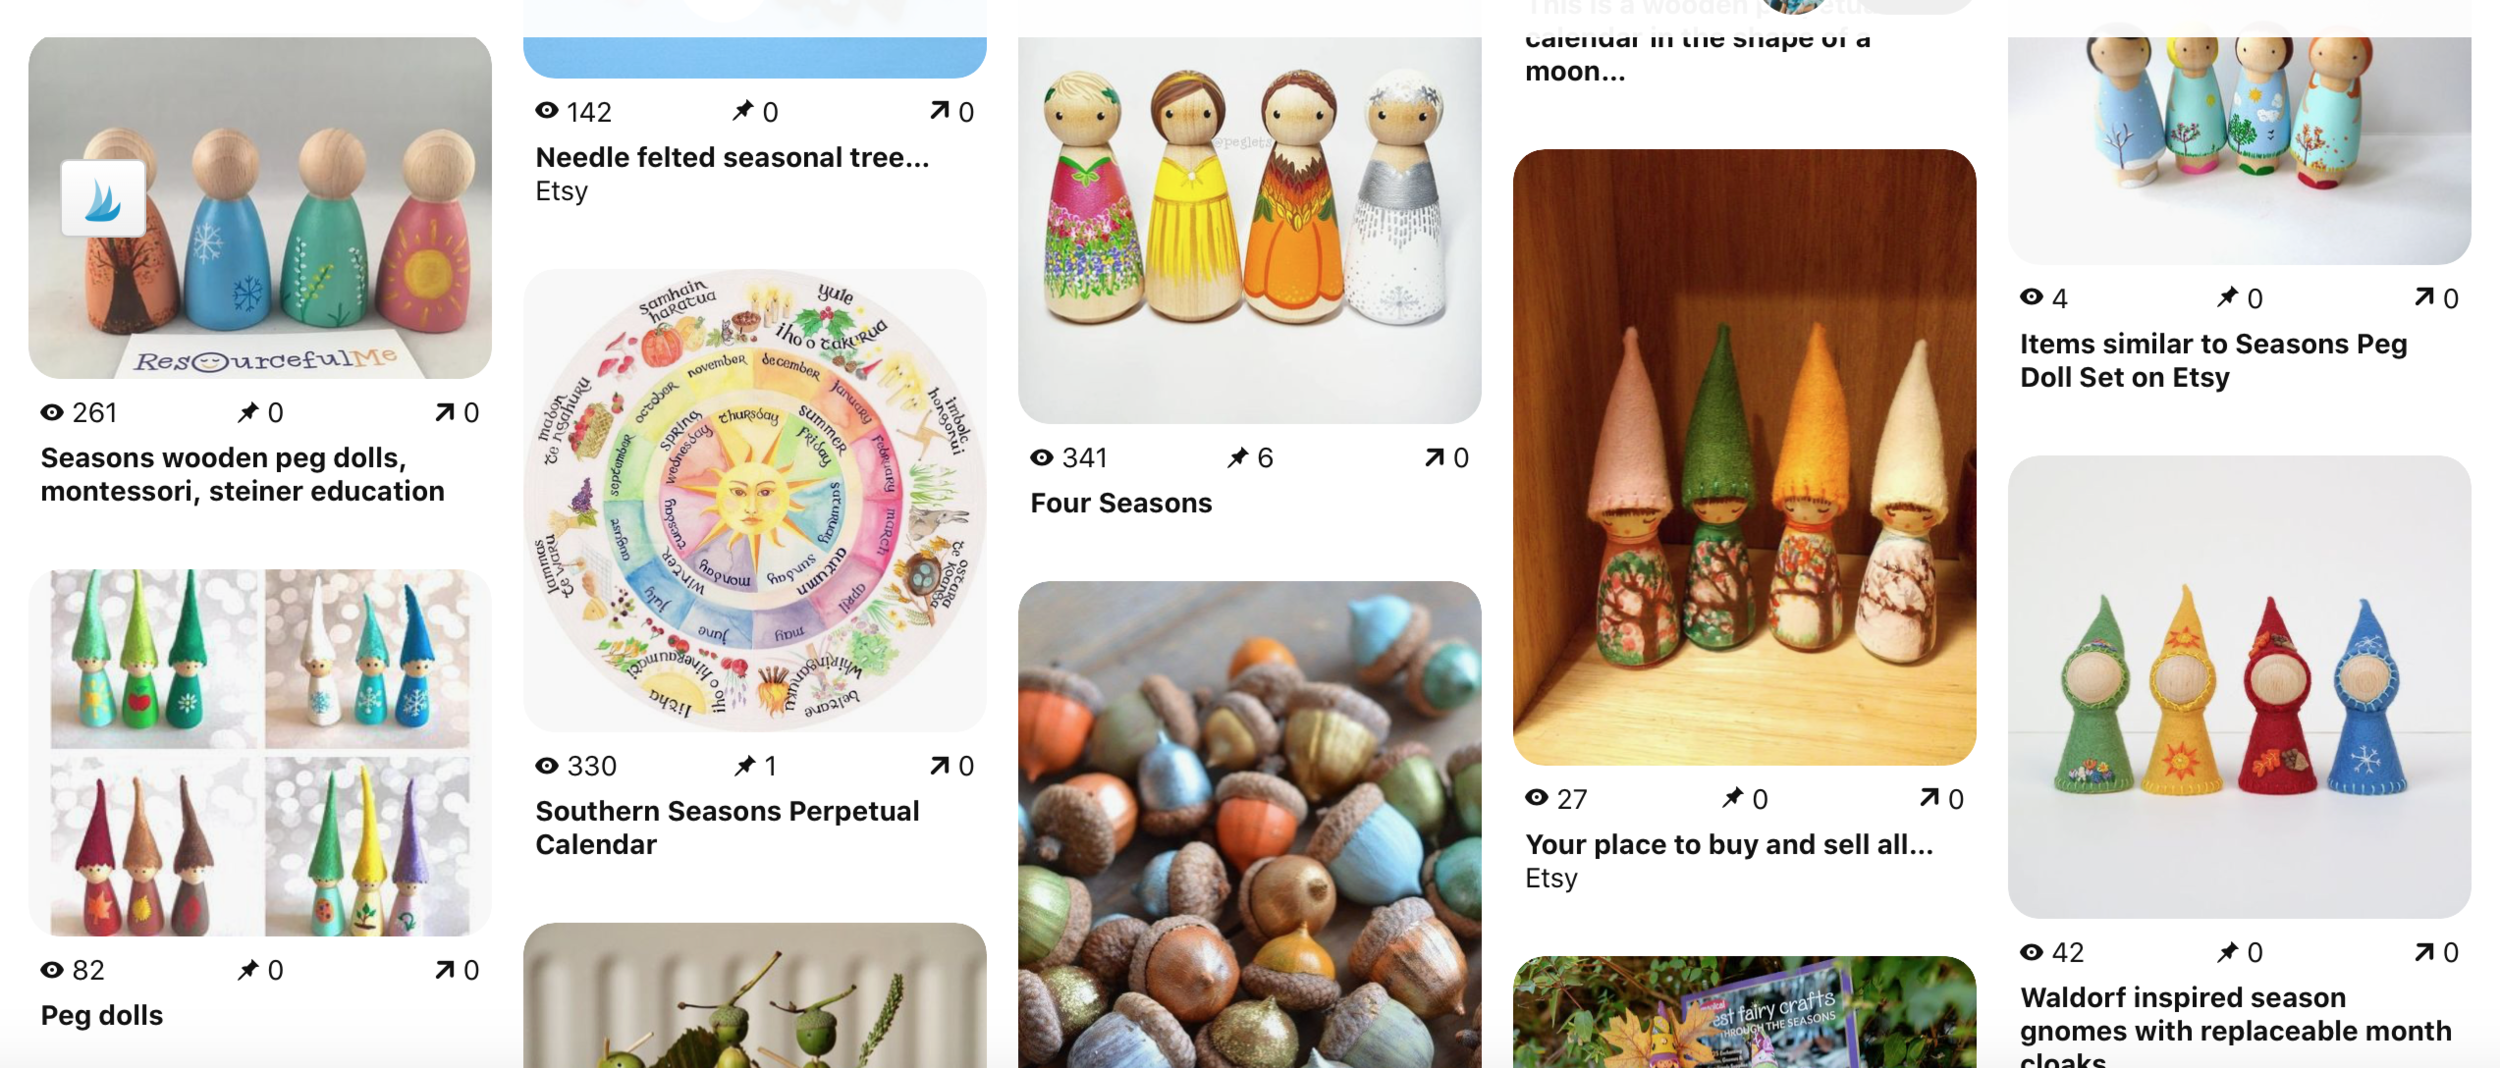
Seasonal Arts and Crafts collects natural learning ideas for noticing and recognizing the changing world around us. From calendars to seasonal gnomes, these ideas encourage children to engage with the world in lovely ways.
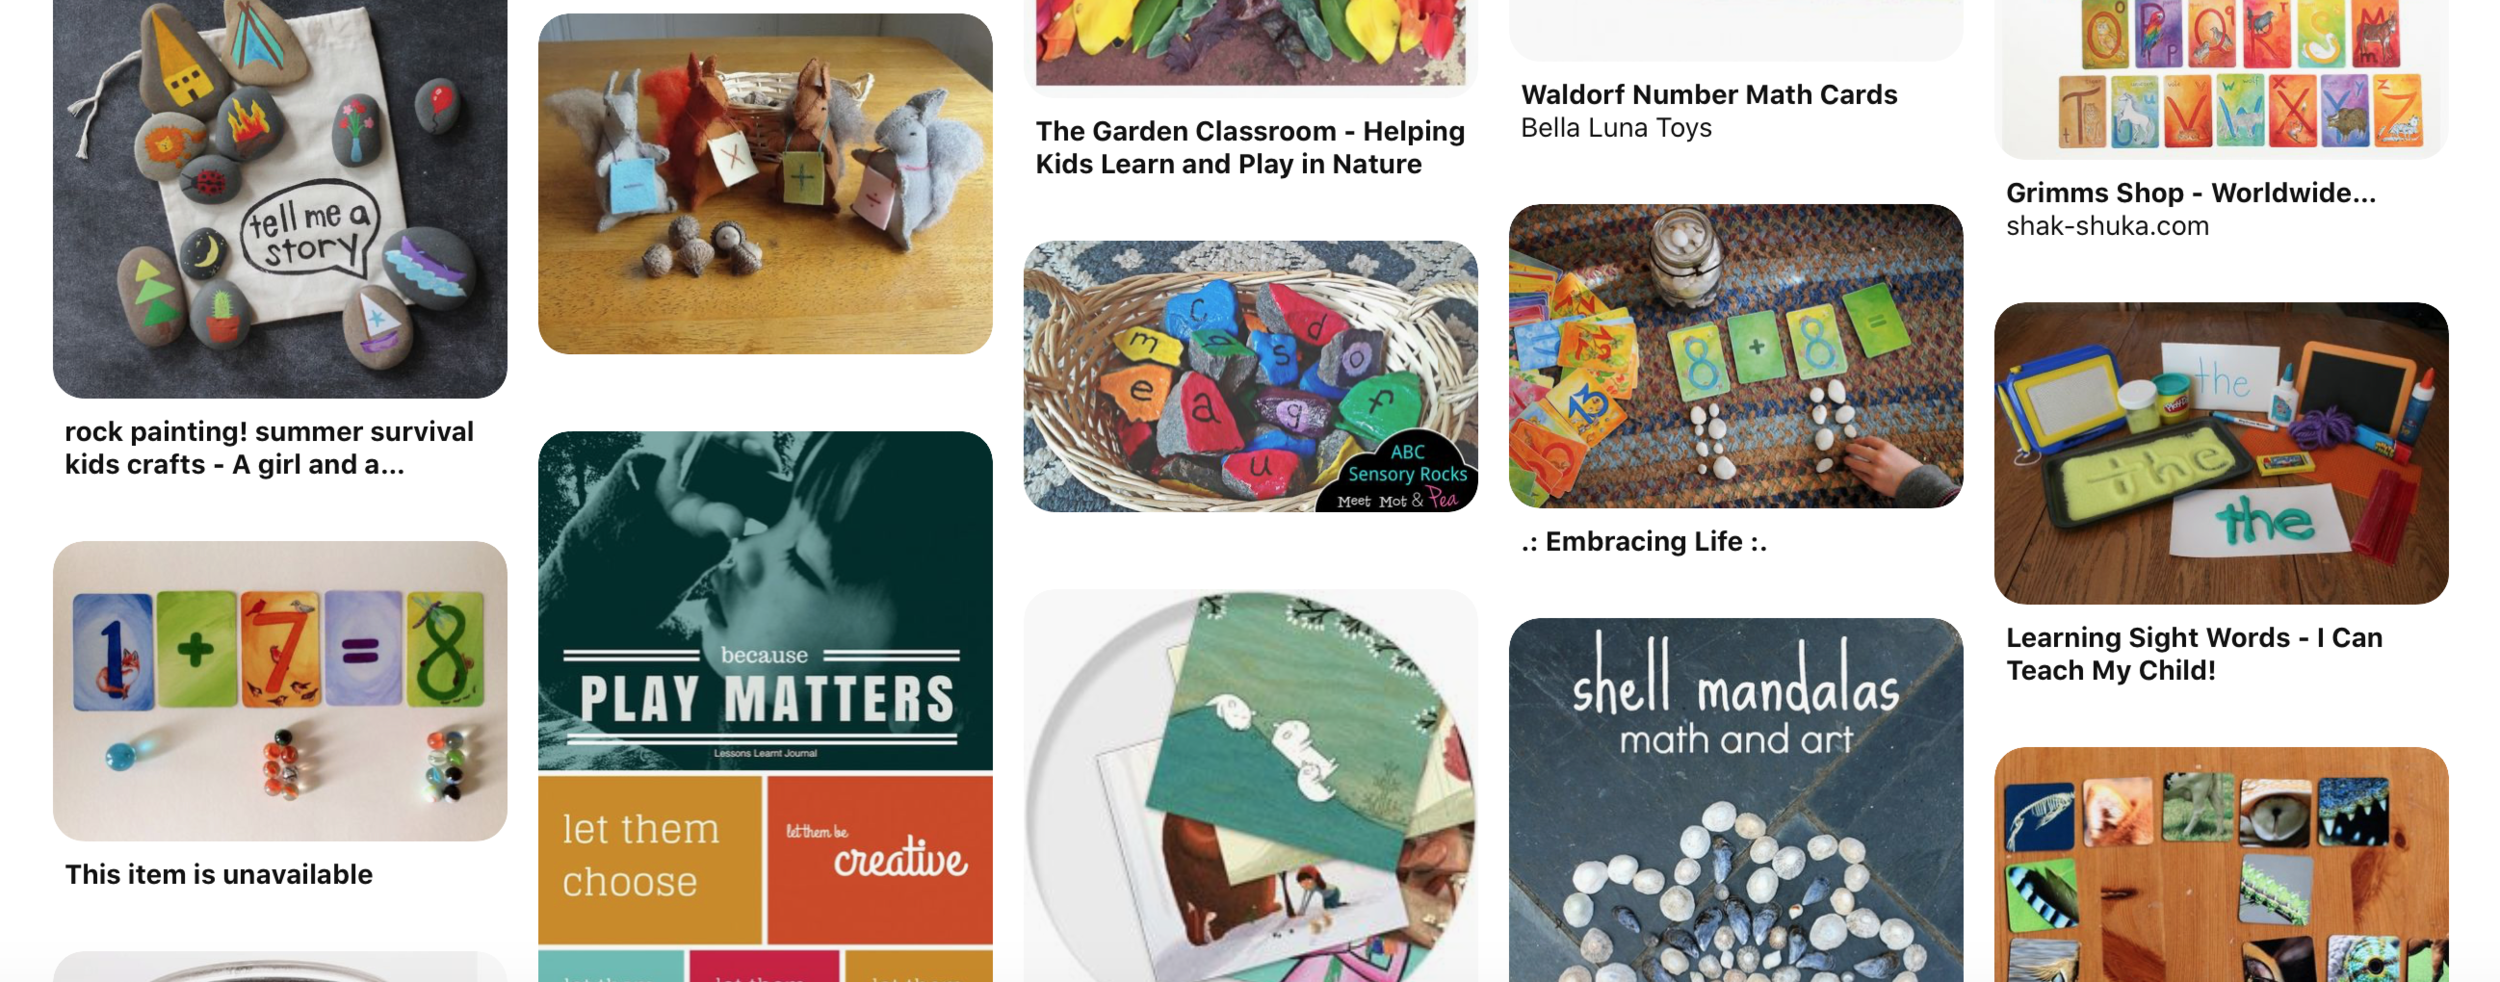
Discover, Play, Learn shares ideas for making learning fun and engaging. As a former teacher and homeschool teacher, I value ideas that engage children with more than pencil/paper practice.
One of my favorite inspirations is the Nature Table. I’m going to write more about Nature Tables at some point. They don’t need to be a table. They can be a shelf or windowsill or anywhere that you collect little treasures and toys that reflect the natural world. We are inspired by the ways people show their beautiful collections
Of course, you can browse all of my boards and follow the ones that connect with you and your family. I’m telling you now that I have diverse interests including photography, castles, and nature. Follow the boards that inspire you :)
I pin and repin every day because I genuinely appreciate the community on Pinterest. Thank you to all the friends that have followed me through the years. I appreciate you!
I hope these boards help you find your next fantastic project idea :)
Wishing you good health and wonderful inspiration 💙
