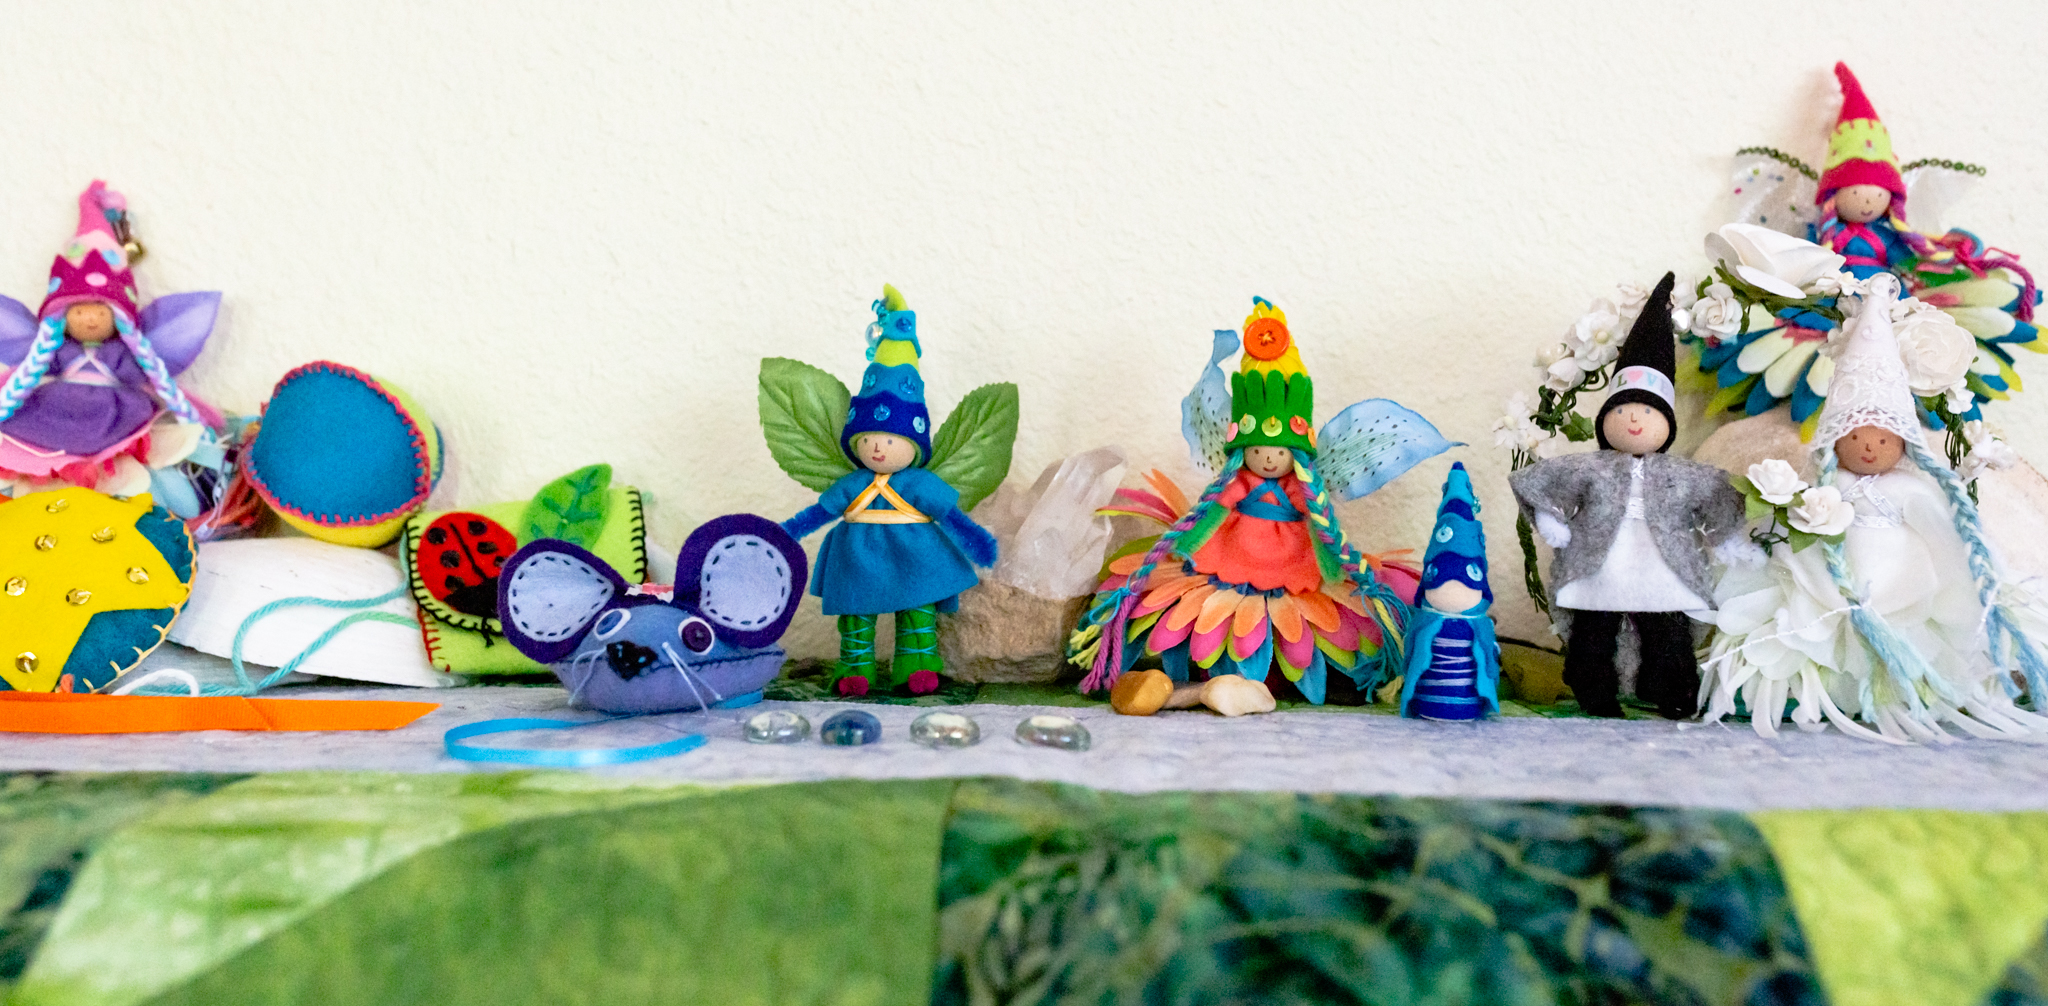
Handmade Holidays
Every year is a fantastic year for handmade holidays. This year, especially, is a perfect time for gathering simple supplies and creating little gifts or toys for family and friends. One of a kind gifts are so appreciated! And many of us will be spending even more time at home this holiday season due to the pandemic.
I recently looked for a photo in the archives and found all of these fun ideas that I made through the years with students and as gifts for my kids, friends, and family. The pattern for fairies or crafts is a perfect seed that can grow in many different directions. I collected a few of my favorites here. Our invitation, of course, is to take your inspiration and make it your own :)
I share a photo here with the idea, and which book has the most similar pattern. Some are loosely based on existing projects. Making gifts is one of my favorite seasonal activities.
Child Made Fairies
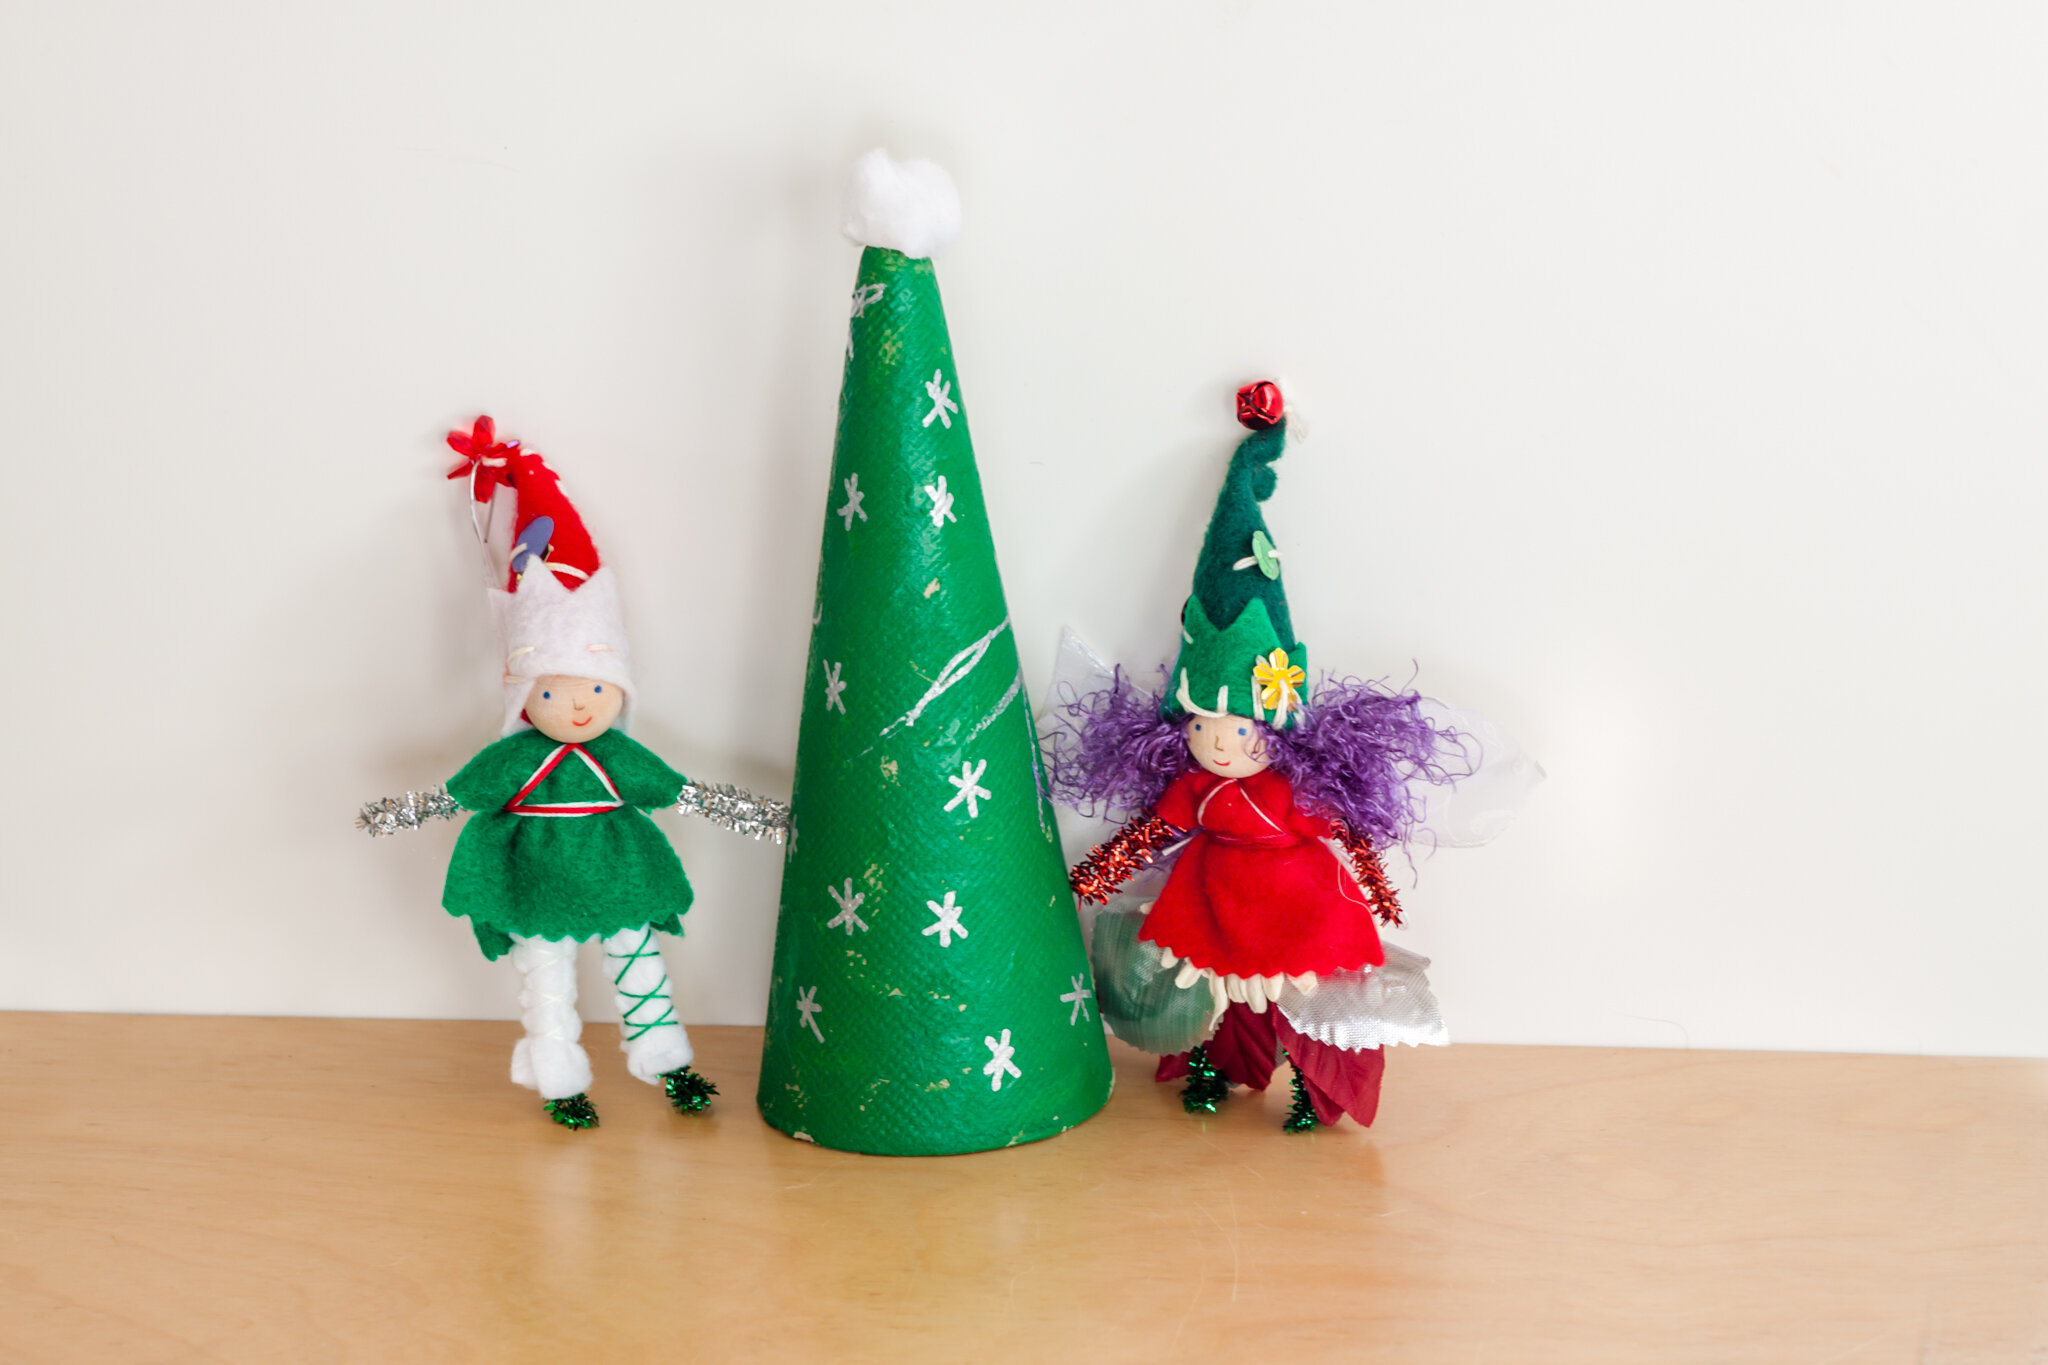
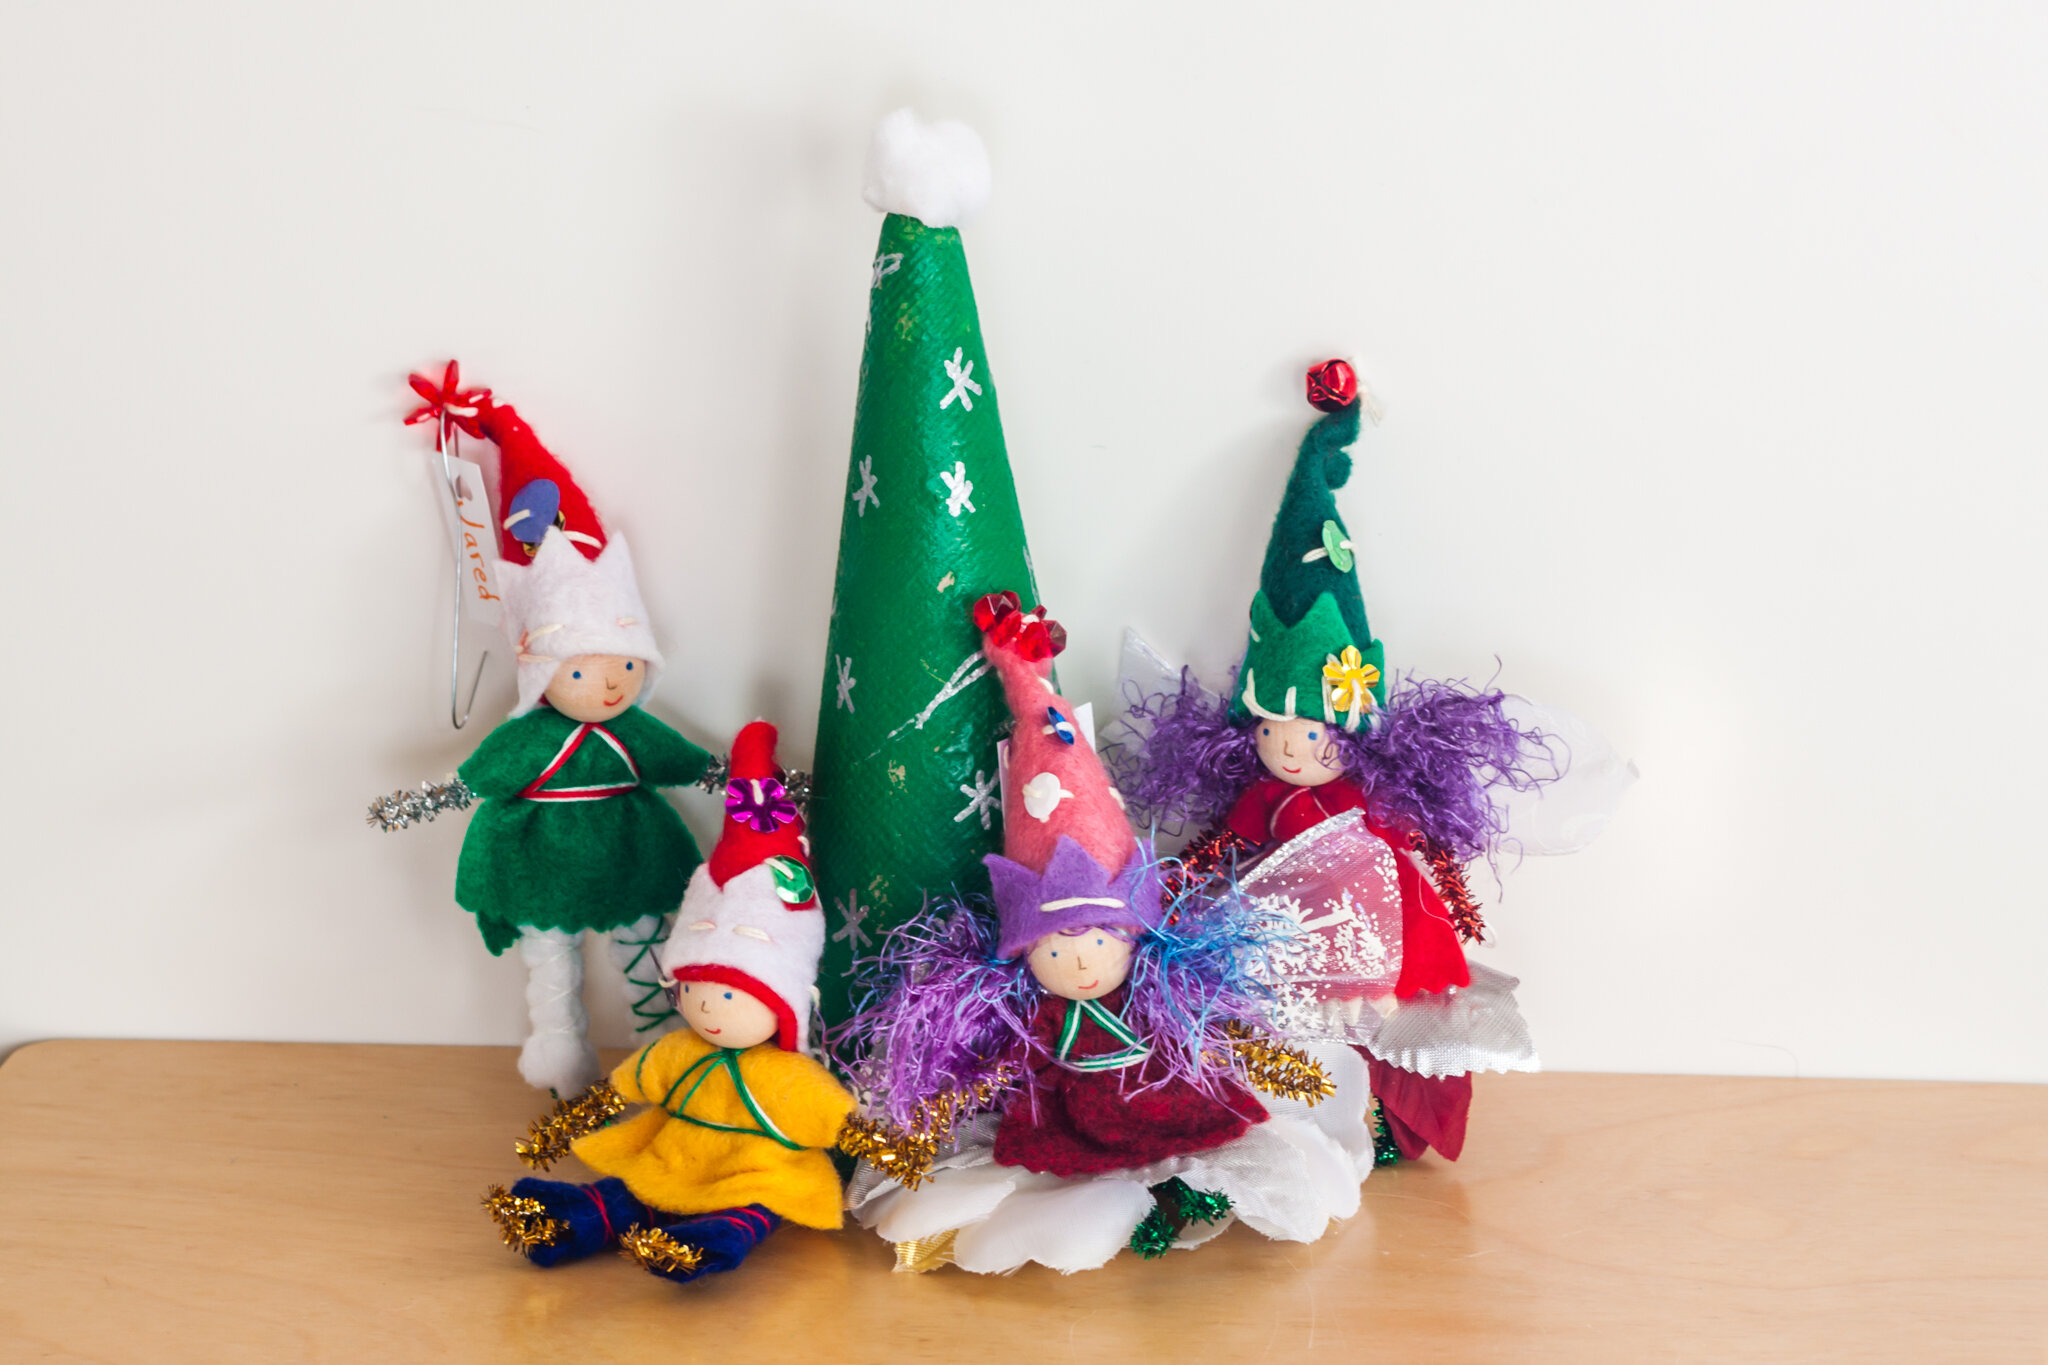
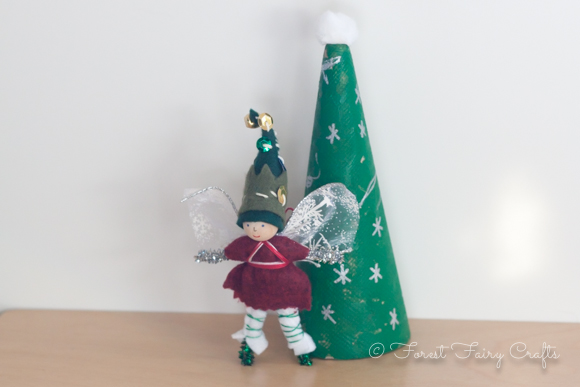
We made these many years as gifts for students to give their families. Children chose their colors of felt and sequins. I loved the variety and how each fairy spoke to each student. We wrapped them and gave them to a family member so they would stay on the student’s holiday tree (which students appreciated). Of course, they often made another for grandparents :). The fairies are the introductory fairy design found in both books which sparkly pipe cleaners and variegated red/green/white crochet thread.
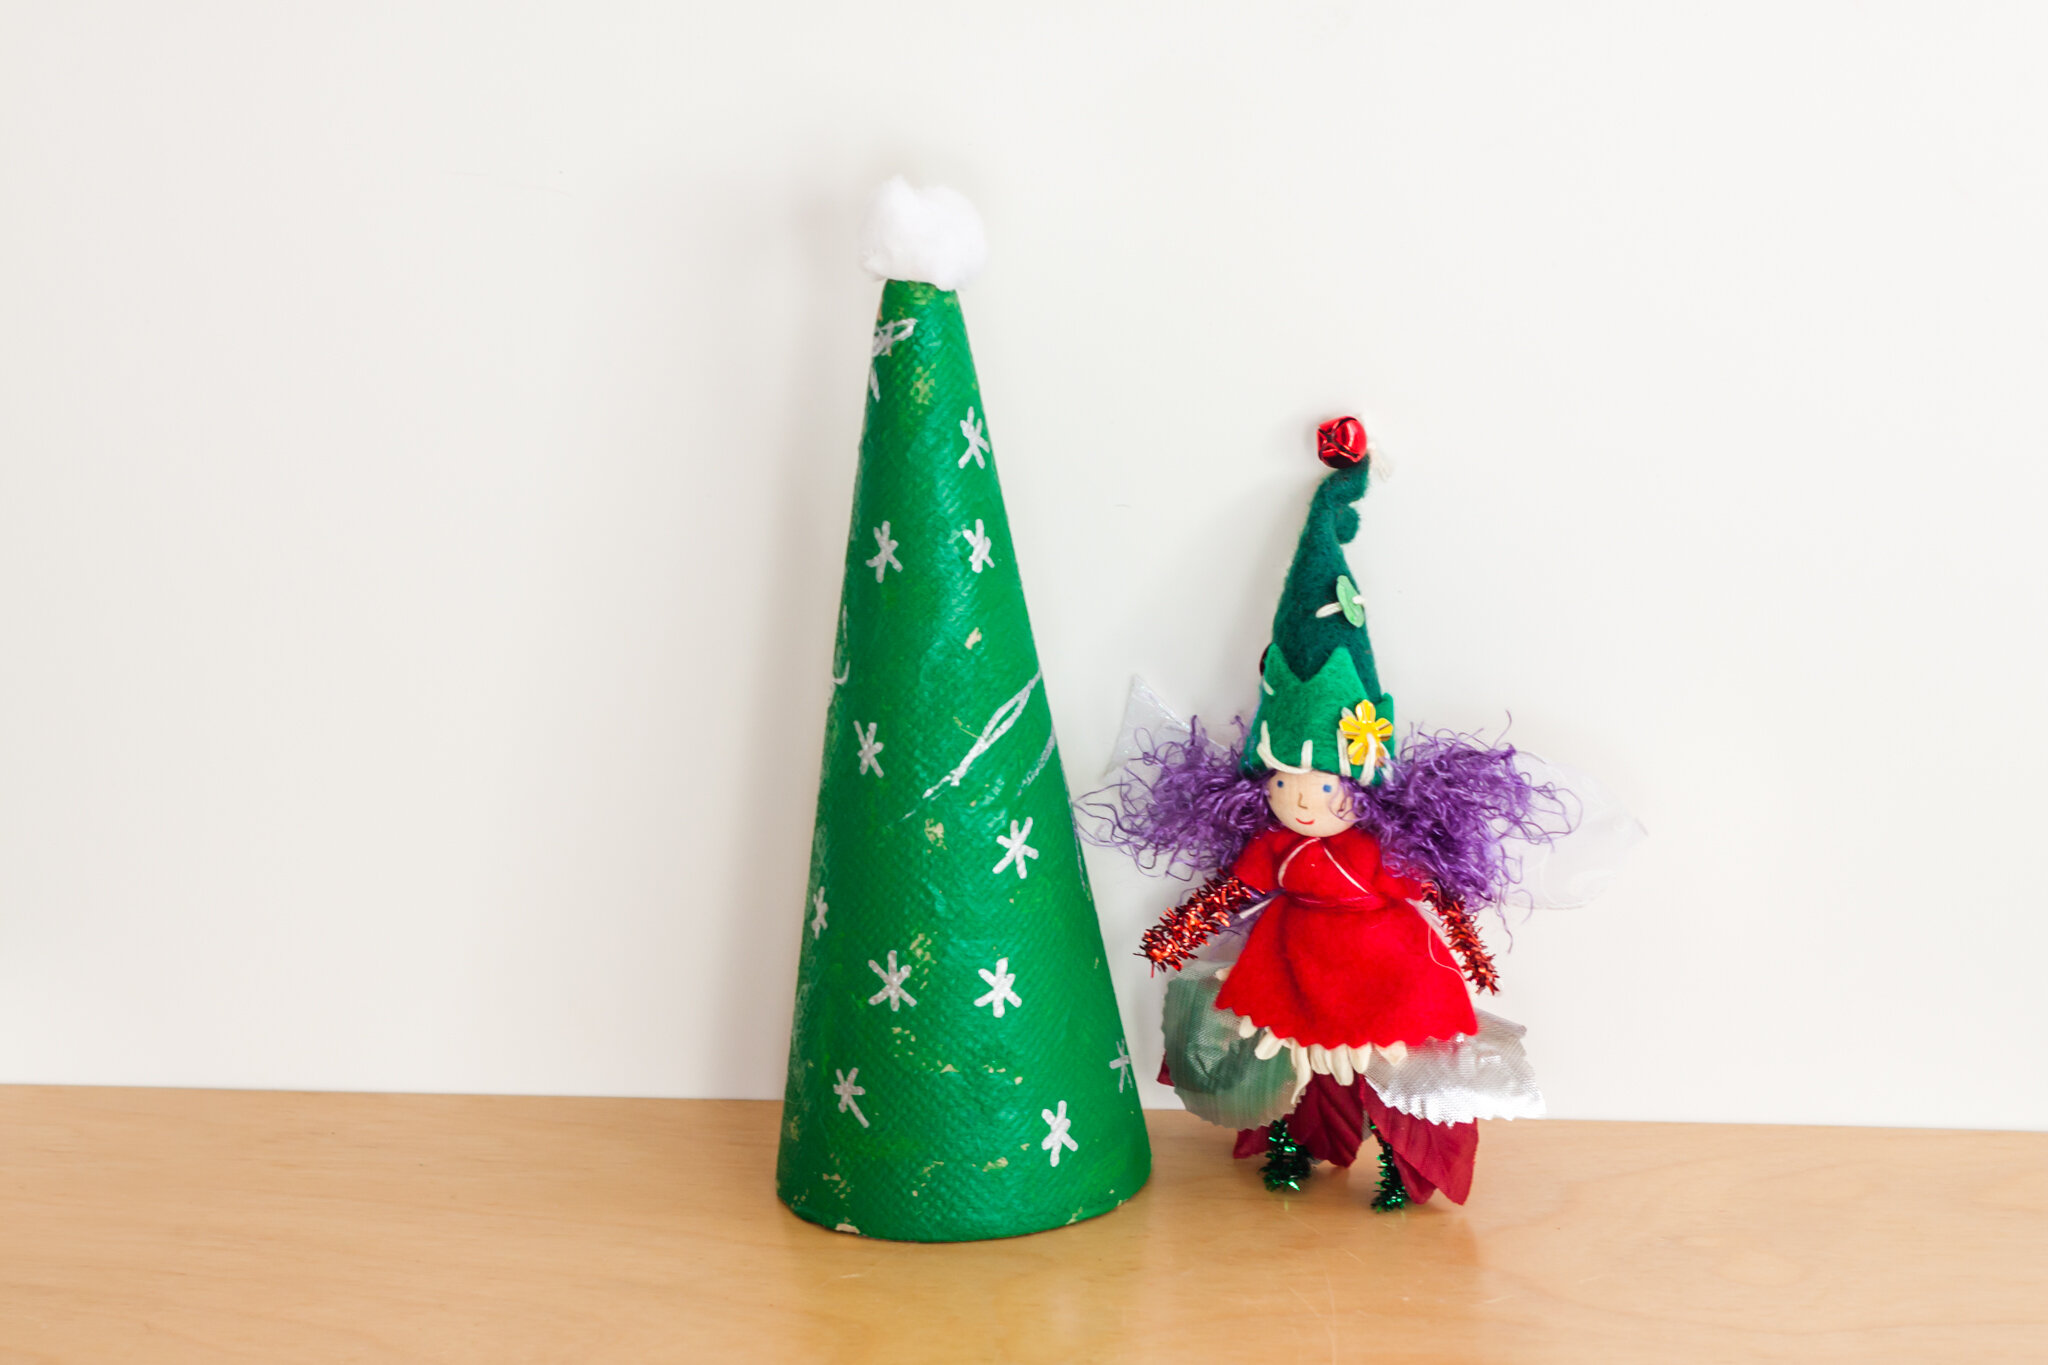
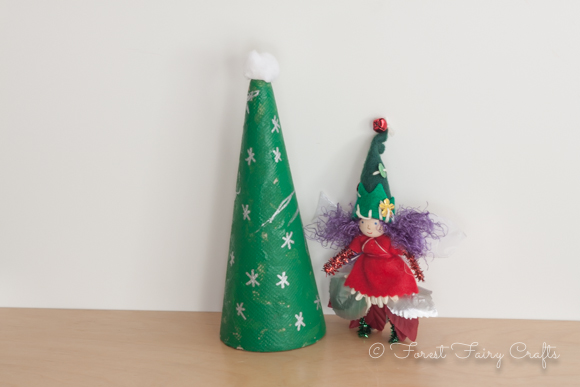
Oh, and the tree was a cone sold at the craft store that my son painted. When the paint dried, he used a silver pen to draw the stars.
Favorite Characters
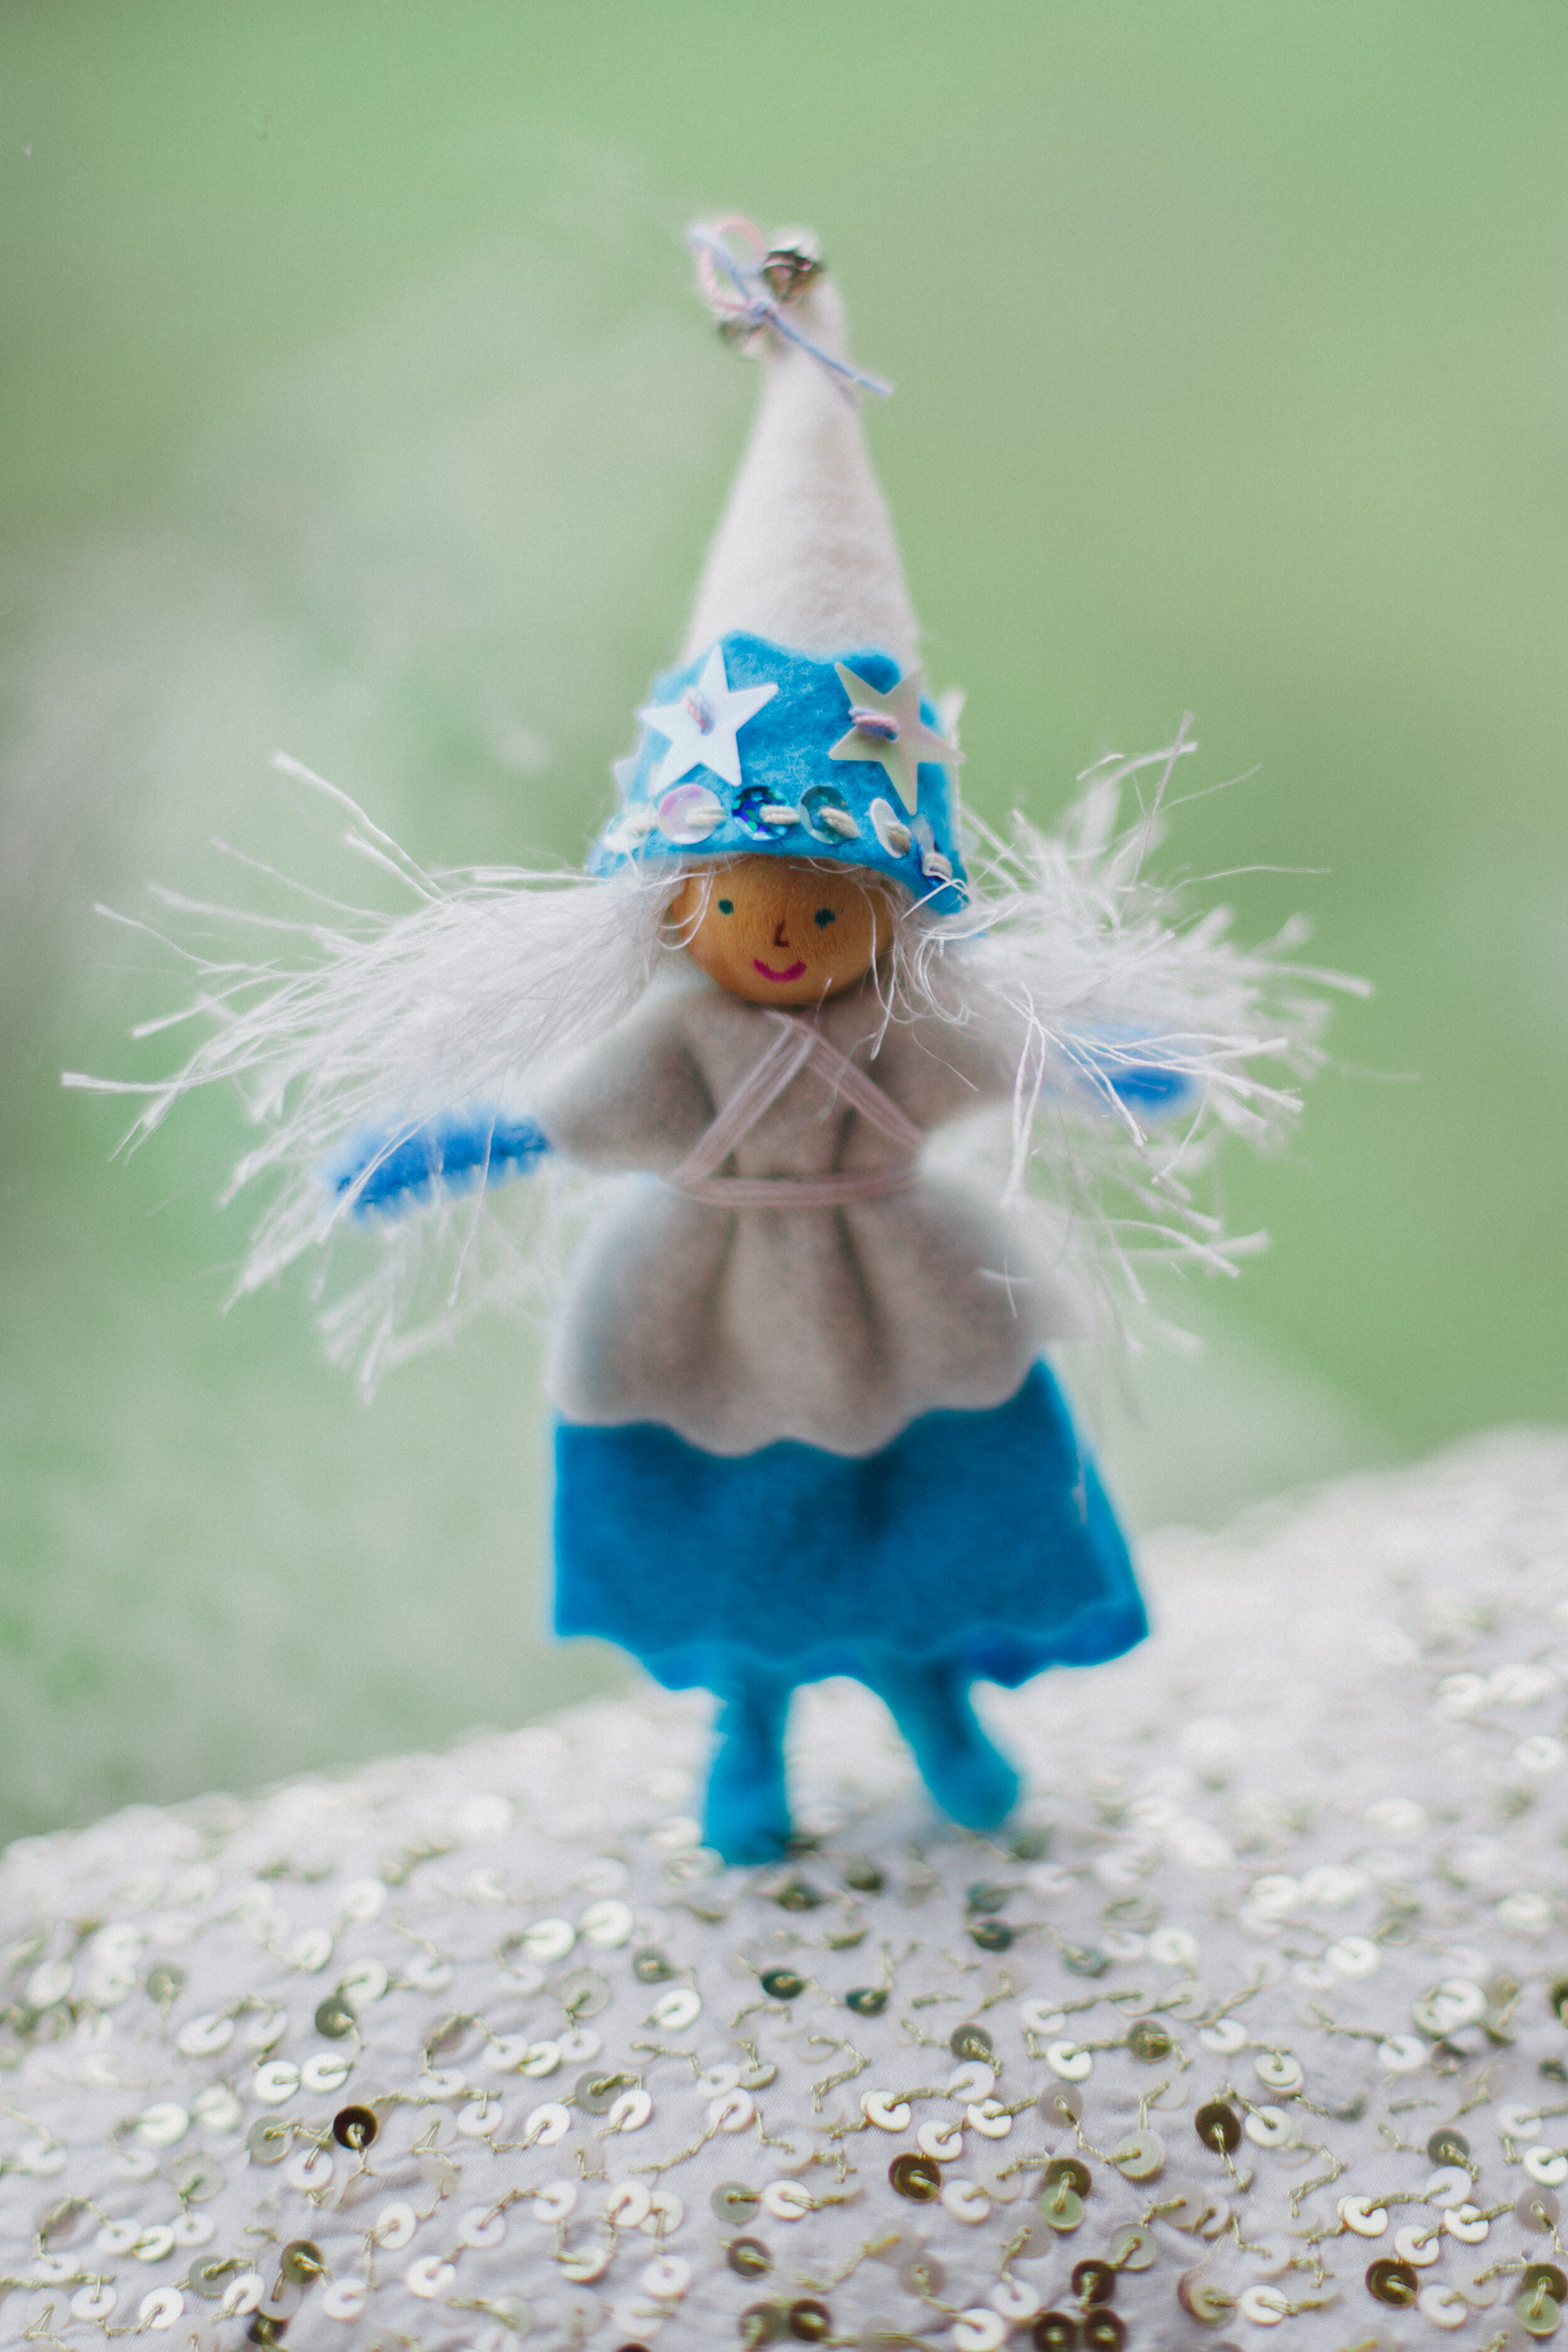
Whether your favorites are a certain ice queen, or Santa, you can create storybooks with fairies. For the ice queen, I used the Leprechaun pattern from Forest Fairy Crafts for her dress with curvy lines instead of triangles. Her hat uses star-shaped sequins. Santa was made with the wizard robe from Forest Fairy Crafts. His robe is edged with faux fur, which is visually perfect but super-fiddly, fair warning. If you haven’t tried it before, practice cutting before making your strips to sew on the robe. You need to “part” the fur to clip the underlying cloth. It can be tricky for pushing a needle through depending on how tightly wound the underlying fabric is. I sewed two strips along the front of the robe, not around the neck because the fur is too stiff. You can achieve the same look with white felt edging a red coat. You could even make it shorter to look just like Santa’s jacket. Mrs. Claus can be made with a red and white felt dress.
Children would have a difficult time sewing faux fur. If they’re sewing, I recommend white felt and white sequins. The little pompom on top of his hat was found in a packet of pompoms at the craft store.
I also gave Santa a white shirt and red pants using black thread with the basic fairy pattern. He’s a favorite ornament on our tree now :)
Winter Fairy Ornament
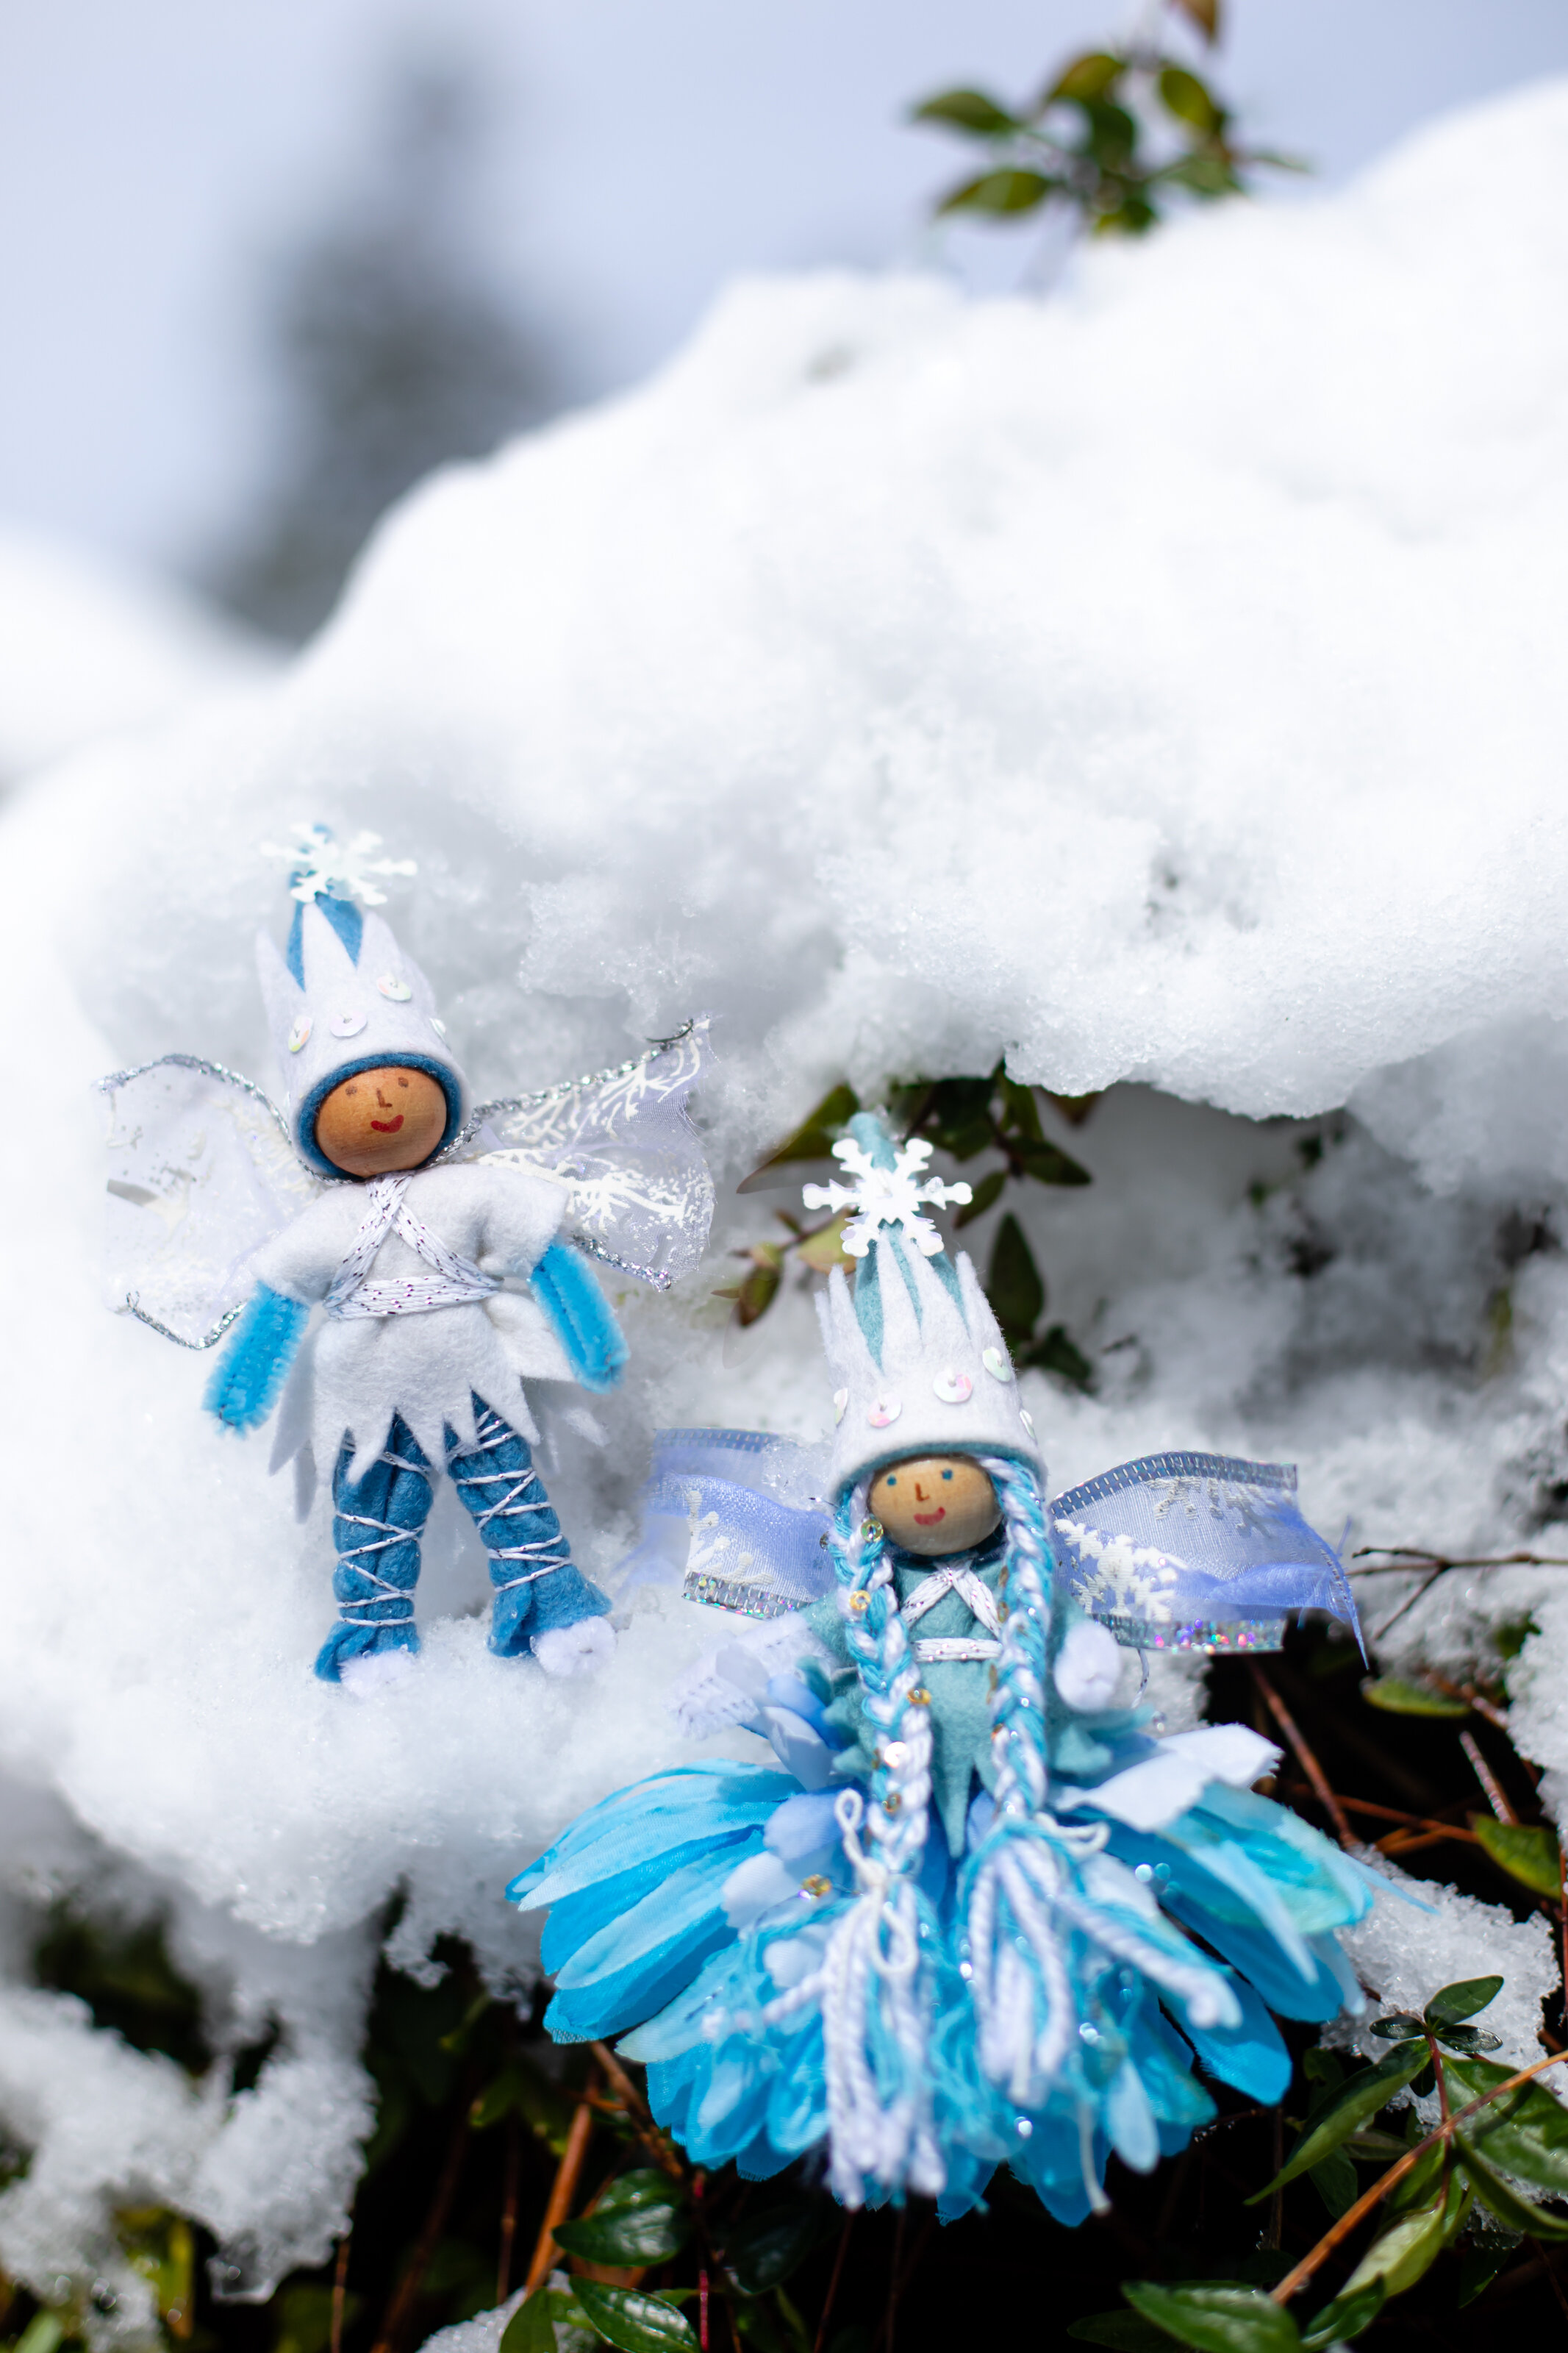
The winter fairies are wonderful ornaments or toys for kids that love a certain ice queen movie. They’re in Magical Forest Fairy Crafts through the Seasons which has their exact instructions (no modifications necessary).
The Fairy Family
This was a gift for my niece when she enjoyed dollhouses and little worlds. This family featured many of her favorite colors. I’ve given them as well when the fairies matched people in a child’s own family (two brothers or two moms or more children). I even add gnomes to show a baby. You can make the “adult” fairies and “baby” gnomes with either book. The “kids” aka little brother and sister are in Forest Fairy Crafts.
Mermaid Ornament
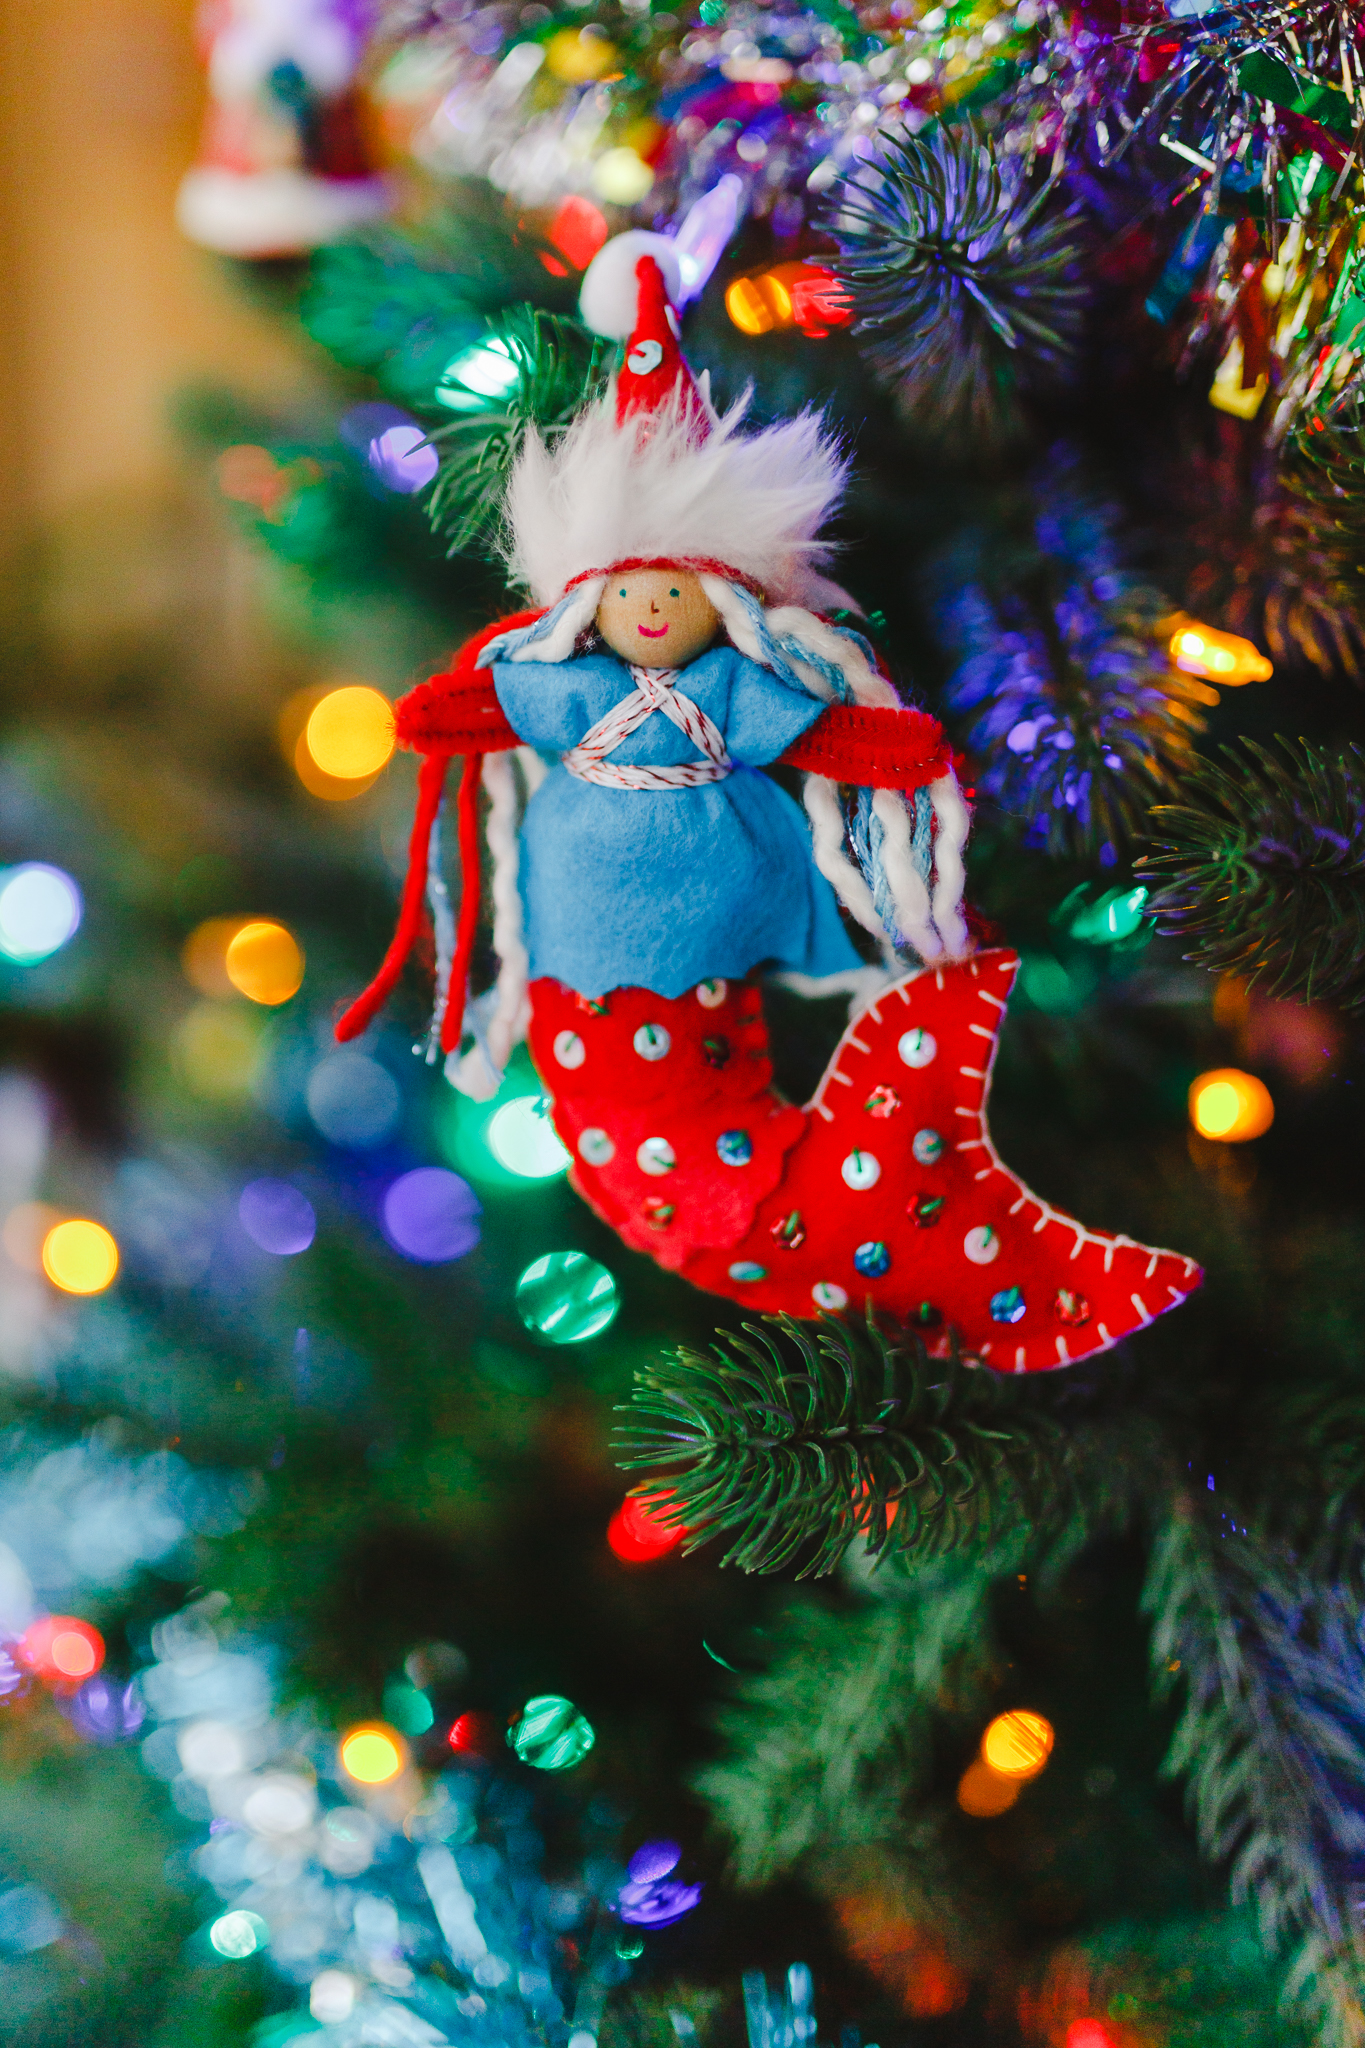
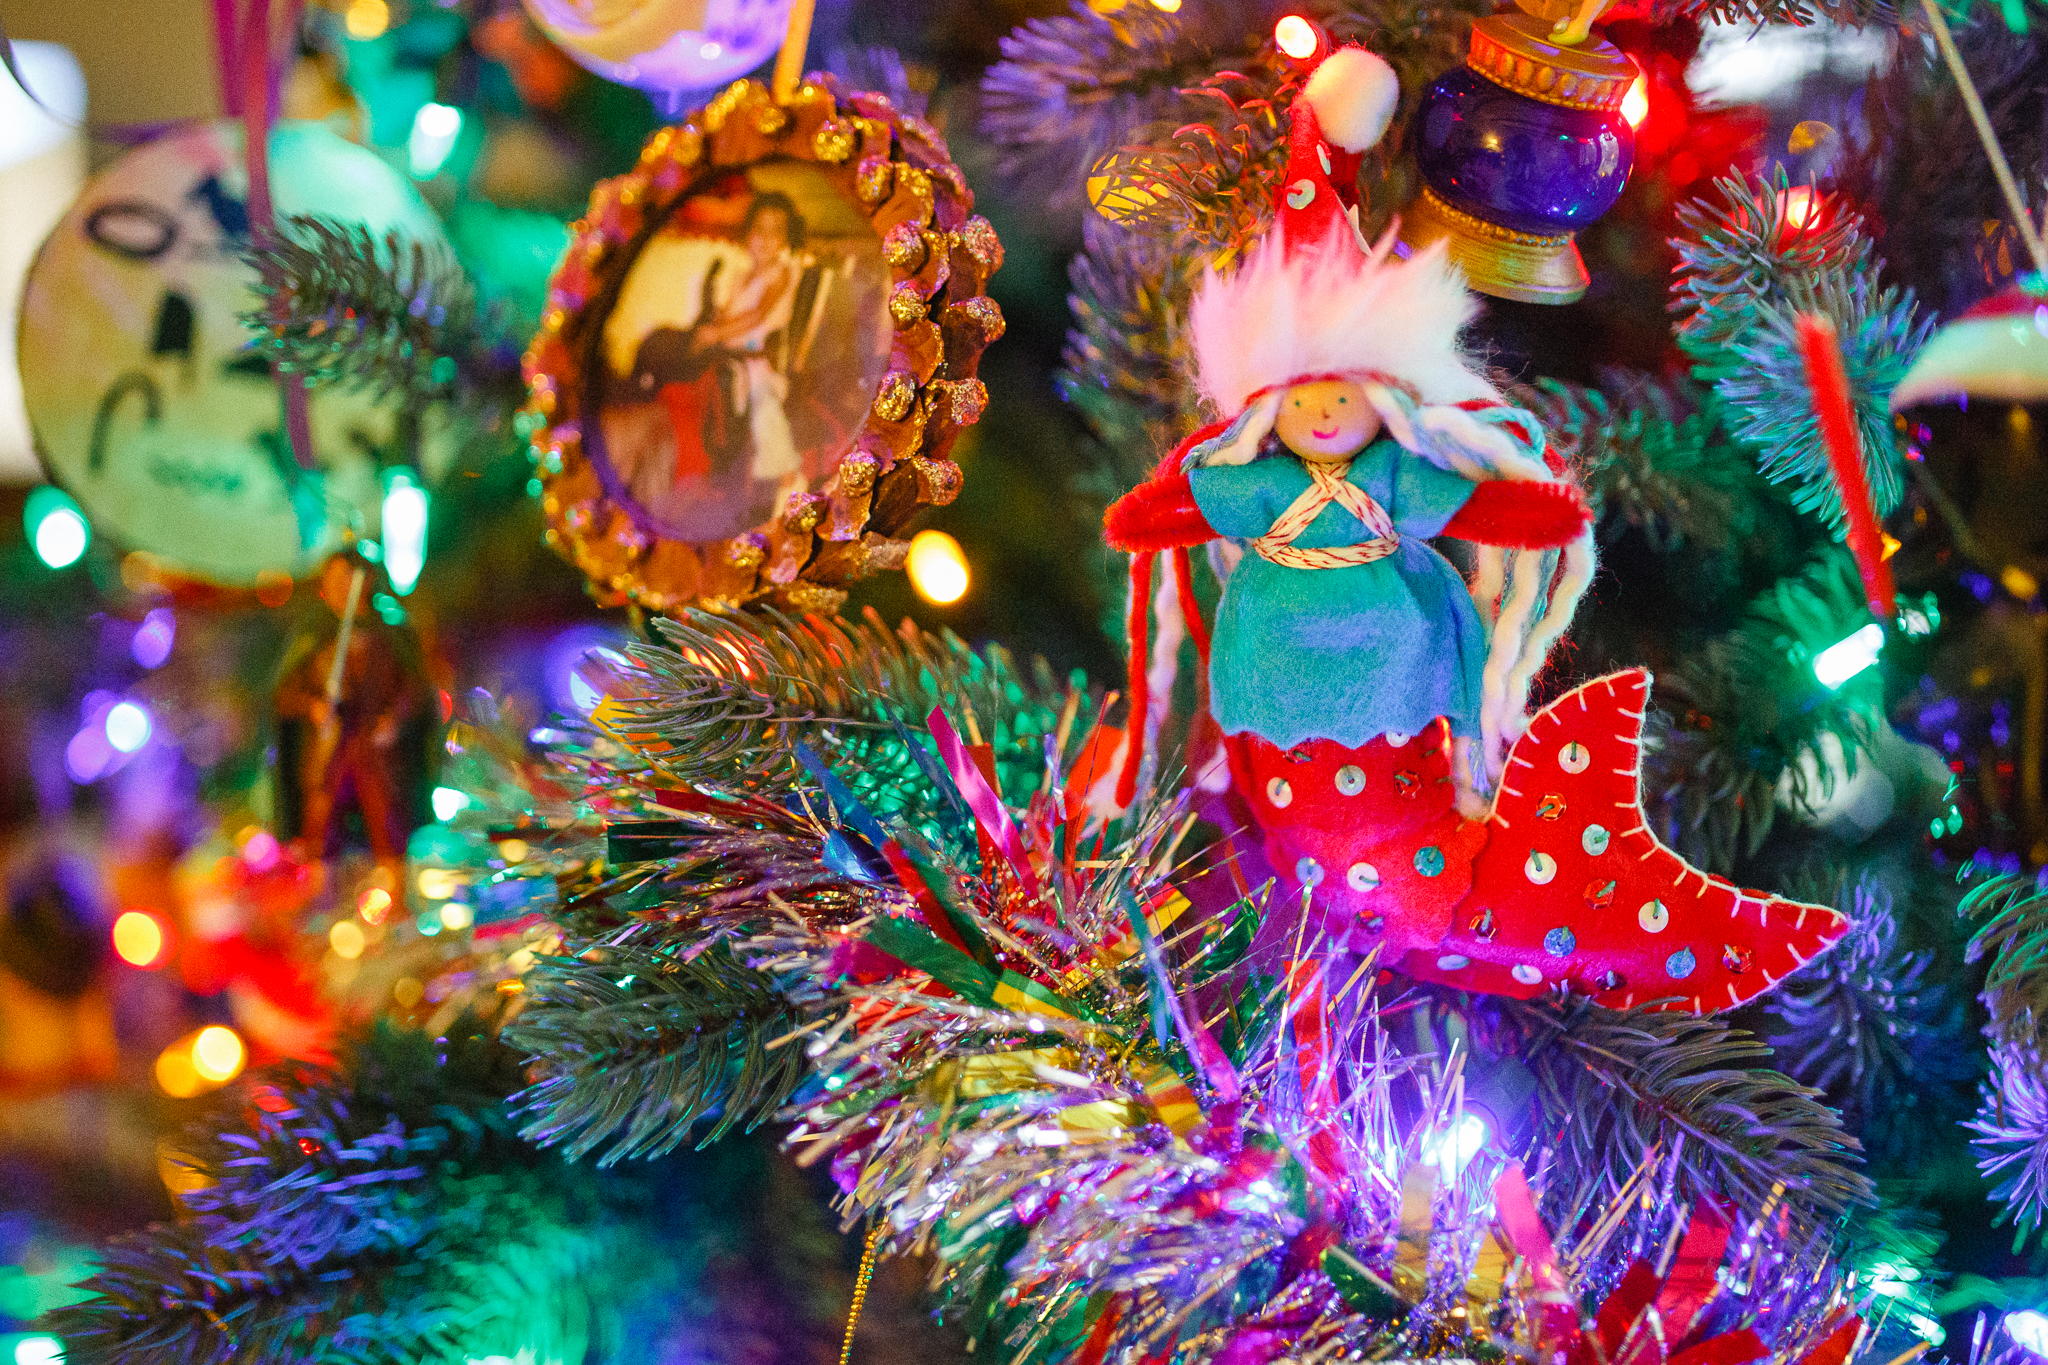
These are above-and-beyond mermaids I made when my daughter was obsessed with mermaids. A mermaid by herself isn’t that seasonal until you give her a Santa hat. The faux fur is fiddly, and not the most fun for hand sewing, so I wouldn’t expect a child to enjoy sewing with it. The hat looks great with white felt as well if the faux fur is too fiddly. You can make mermaids with the mermaid pattern in Forest Fairy Crafts. I wanted a challenge so I tweaked the mermaid pattern to the curve (currently not in a book). You don’t need a curving pattern to make a cute mermaid ornament for your tree. When I do tweak patterns, I first trace the top of the pattern that needs to math onto a blank piece of paper, then draw the curving tail. I cut that out and hold up to a wireframe fairy body to see if the scale will work, then cut a piece of scrap felt to again see if I like the shape and scale (too small or too big). If it looks good, I cut the final version from the felt I’ll use for the ornament. You can use this technique to adjust just about any pattern to match a new idea.
Hand Sewn Ornaments
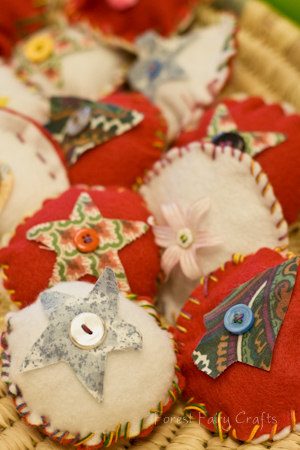
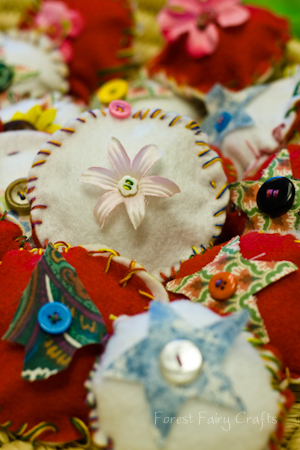
These are in Magical Forest Fairy Crafts through the Seasons, including the shapes for appliqué. You can tuck a tea bag into them for cinnamon or minty scents. These (not as fancy stitching) were one of the first sewing projects we brought into classrooms. They were favorite family gifts. If you do add a tea-bag, they can be gifted as sachets (though don’t get the tea bags wet. Tea will stain the felt).
Angels
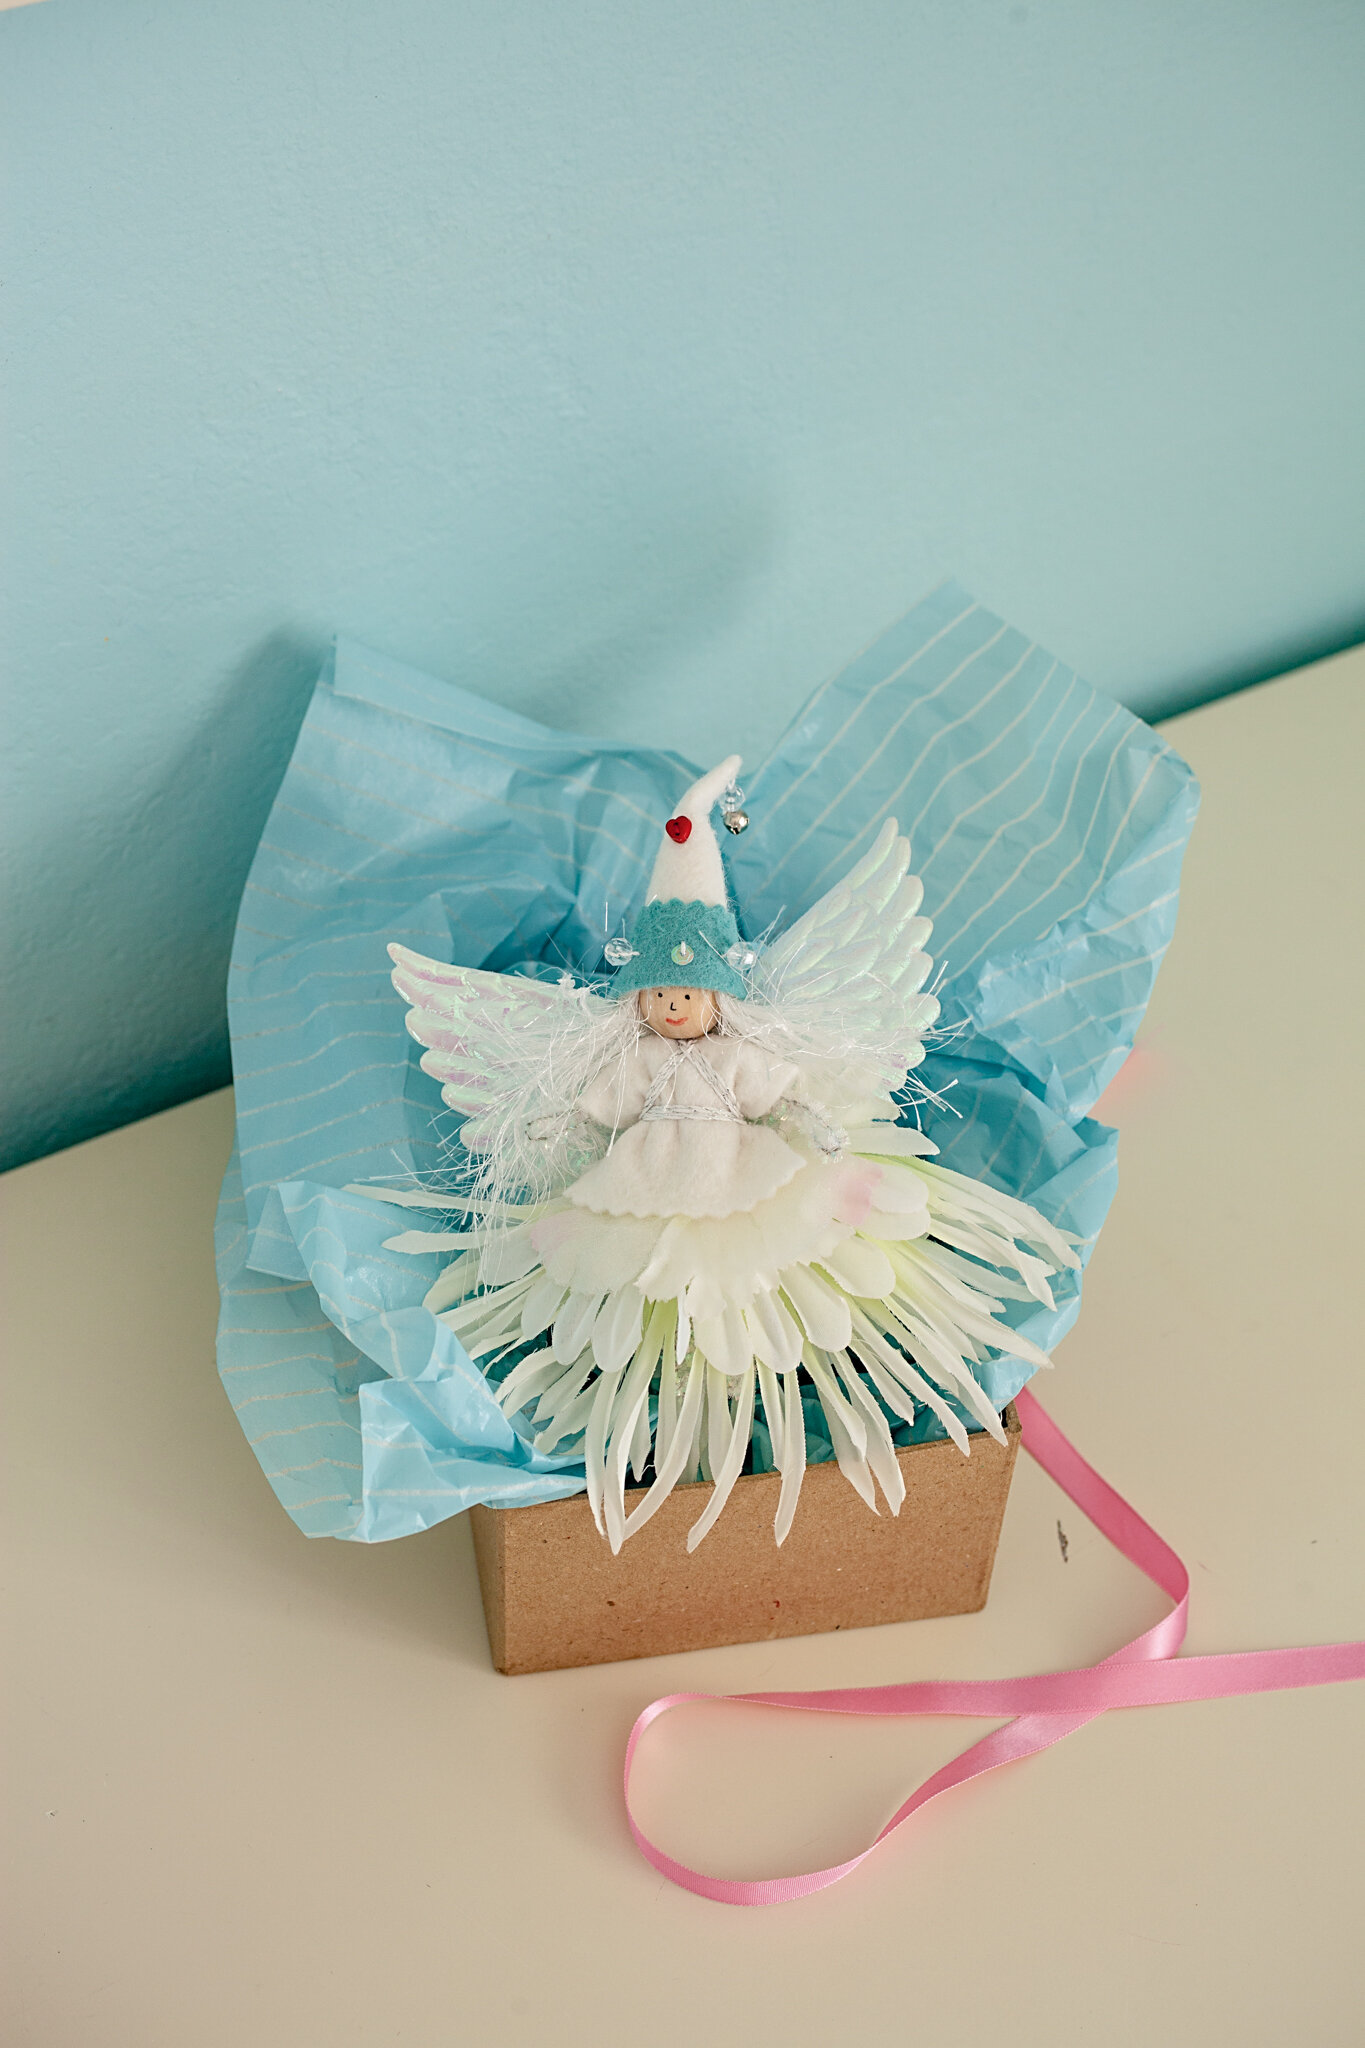
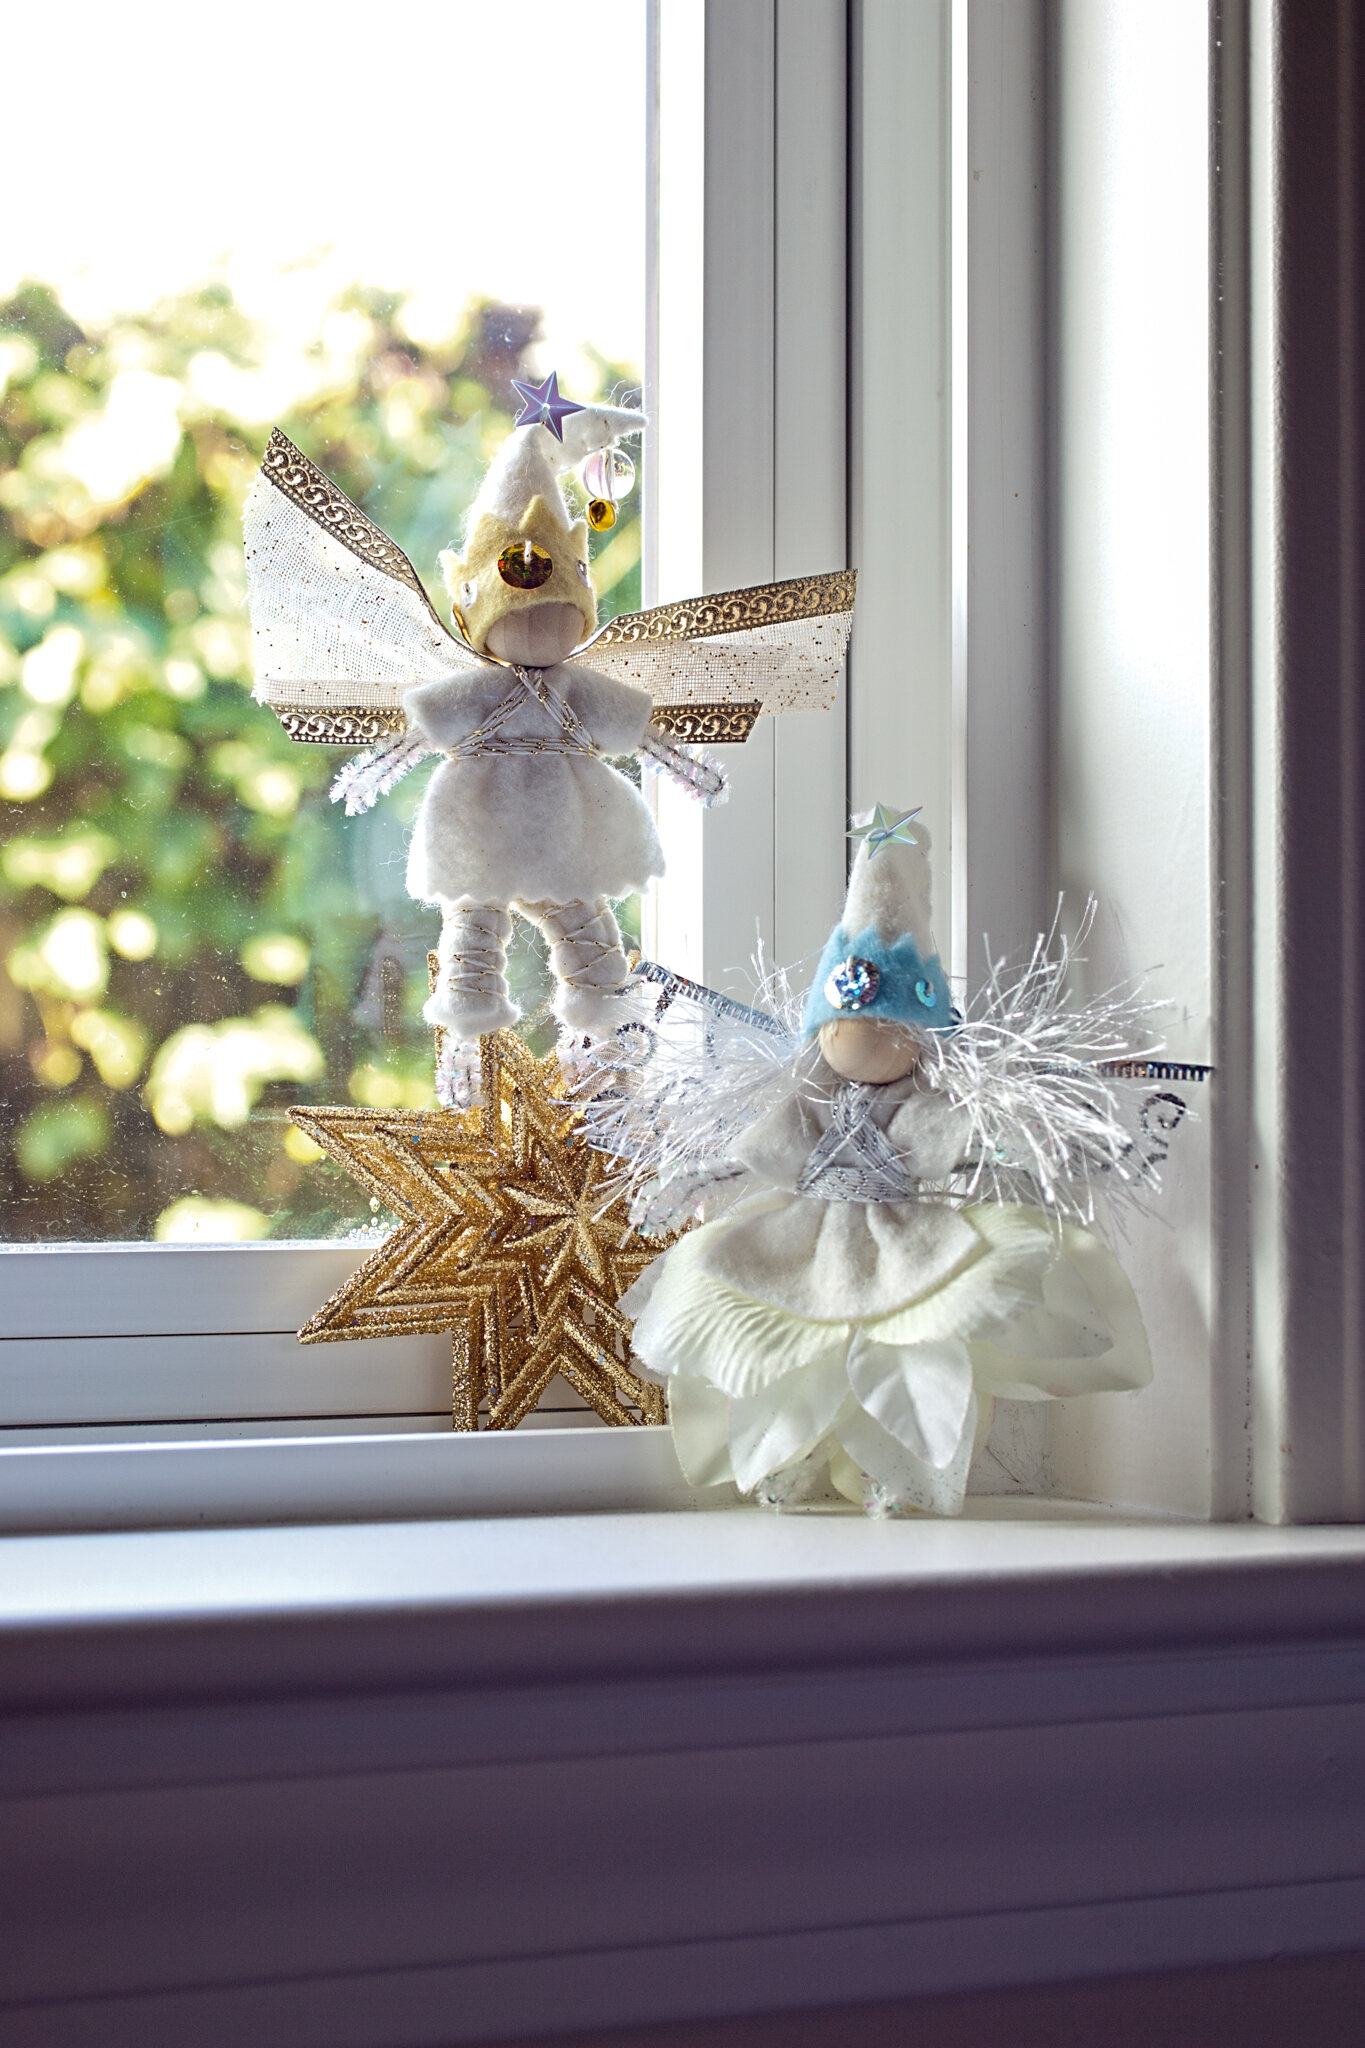
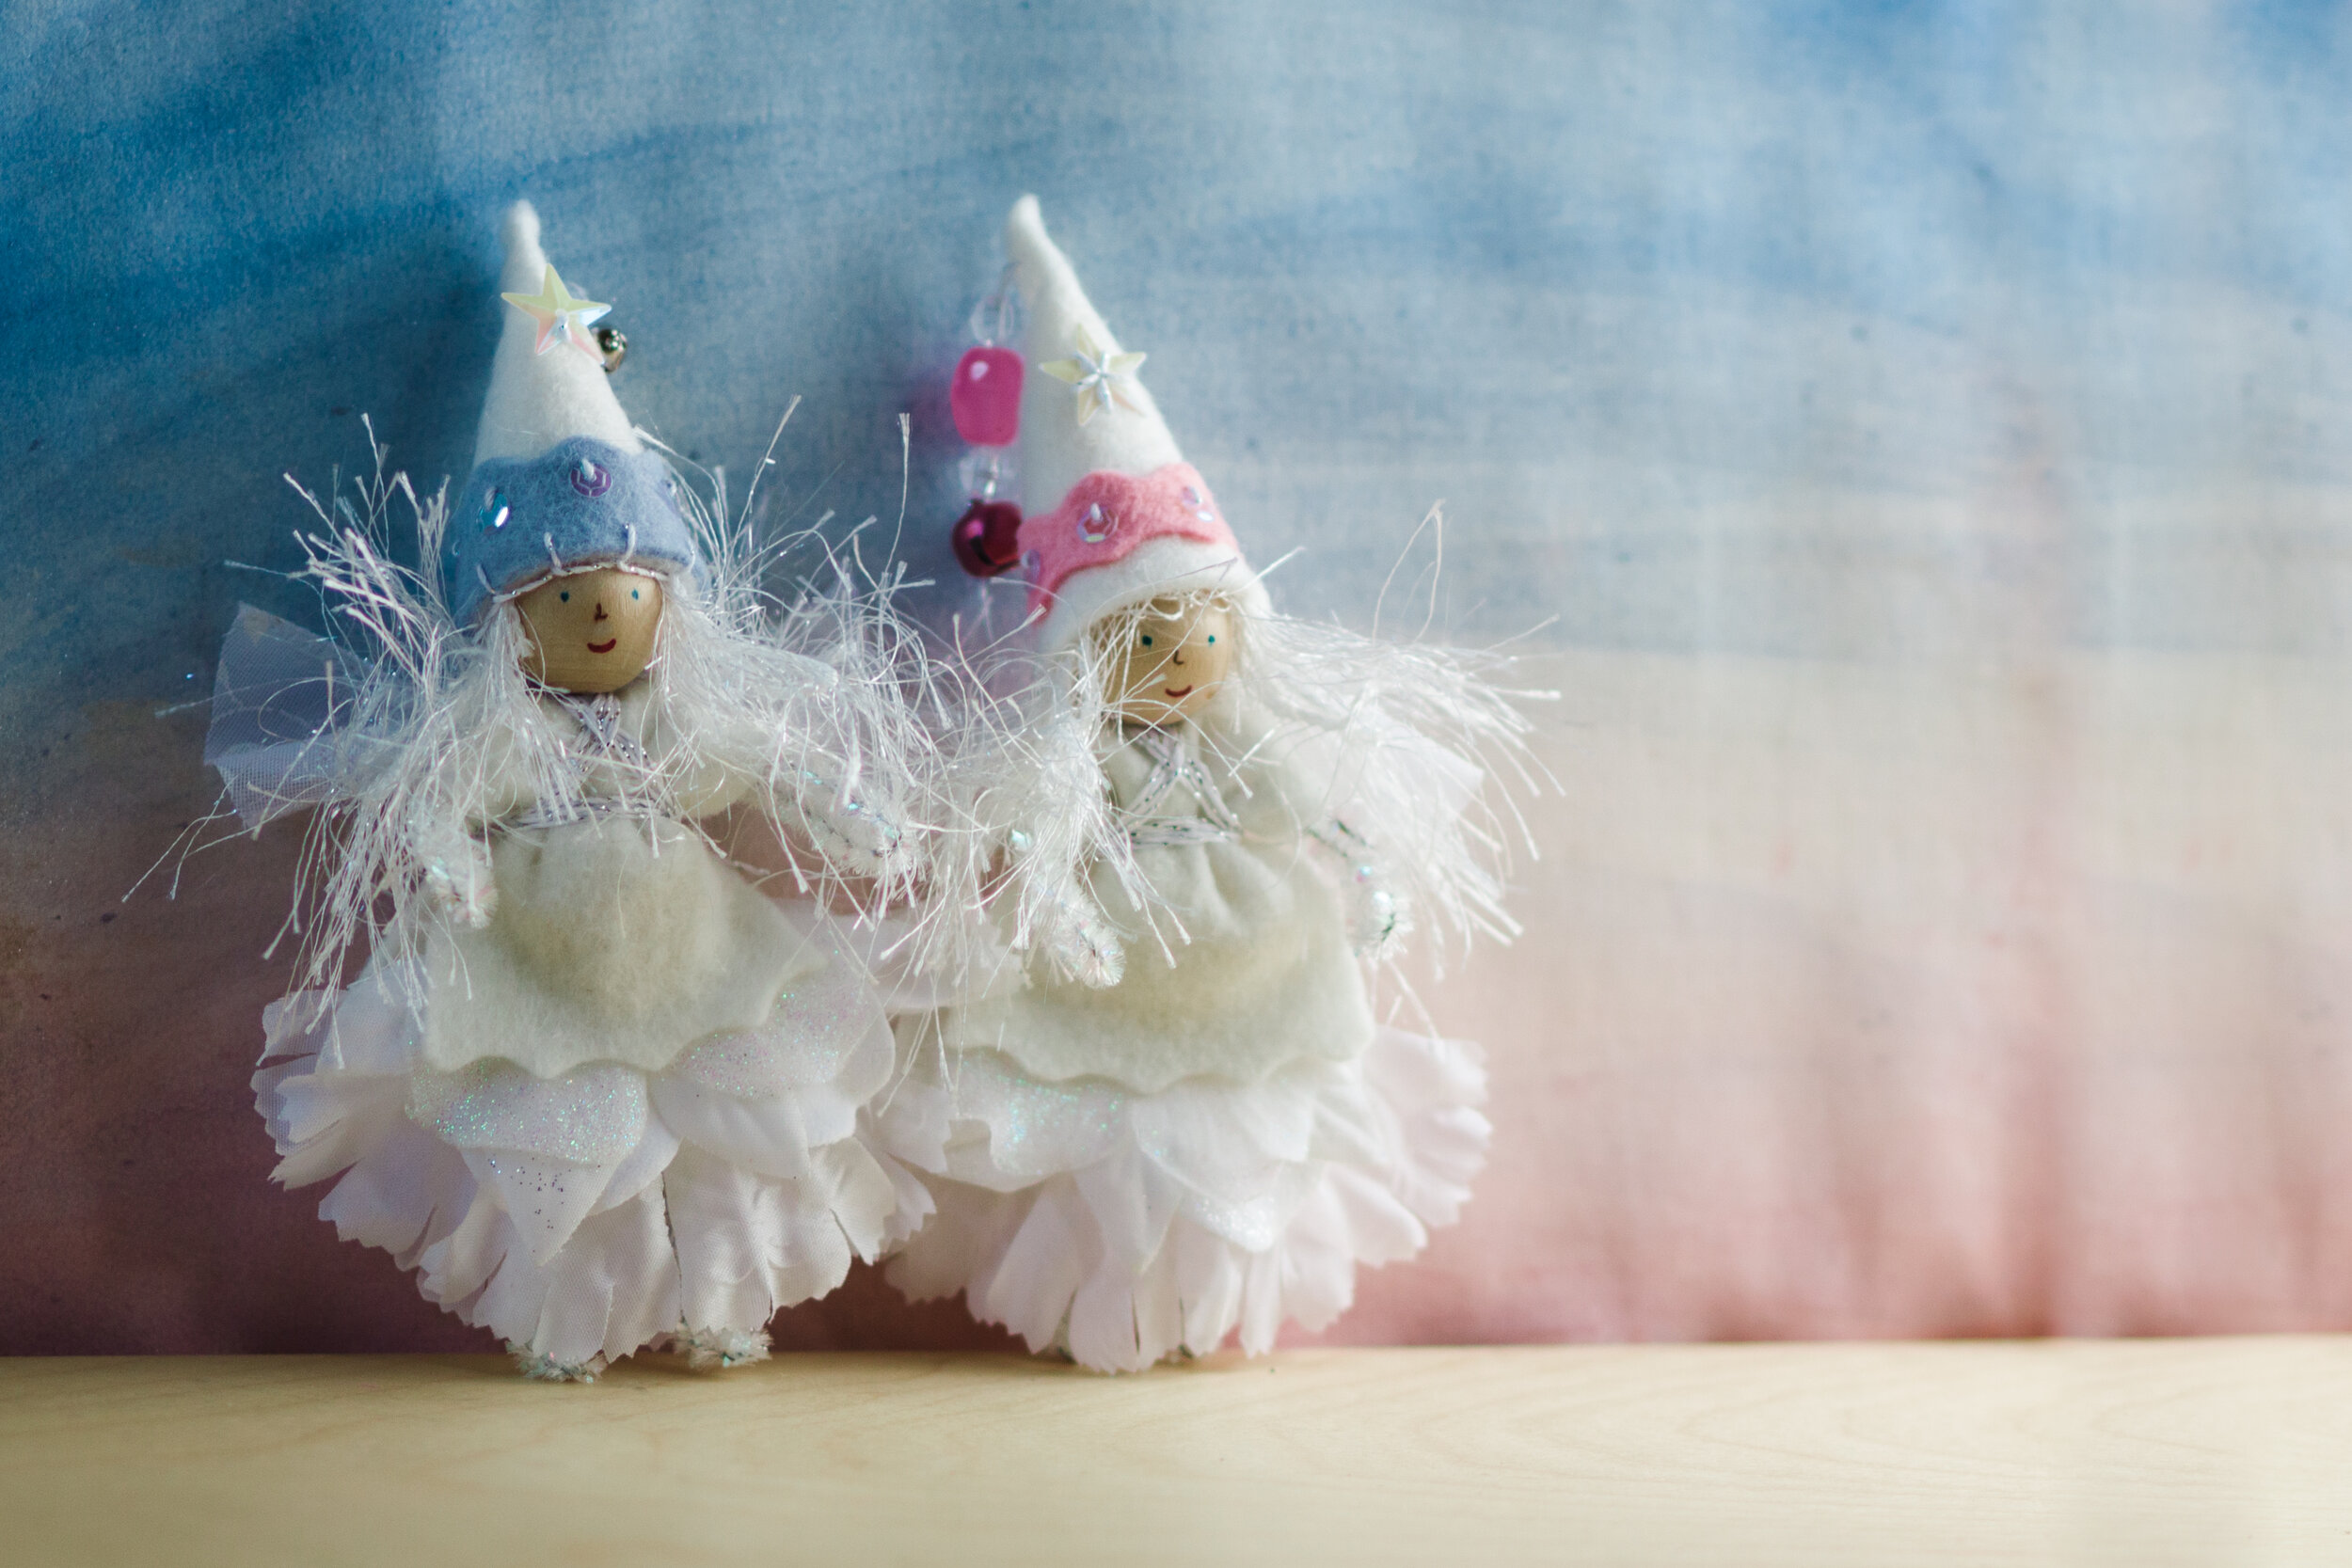
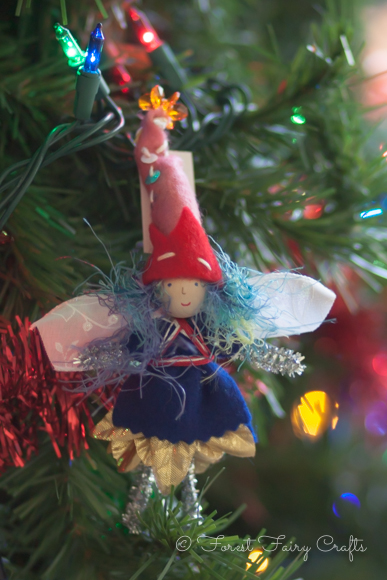
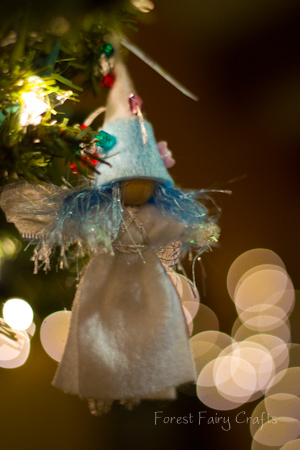
You can create guardian angels that can stay on a shelf or hang in a window all year round, or they can be ornaments. I’ve made them with soft highlight colors, like in the photo above, or leaning into silver or gold, like in the photo below.
For the fancy fairy, below, her iridescent wings were at the craft store and I knew they would look amazing on an angel. I added them the same way as I make any other fairy wings winding the thread around her shirt and wings. I added the red heart button on her hat for the love she holds in her heart.
The angel is in Forest Fairy Crafts.
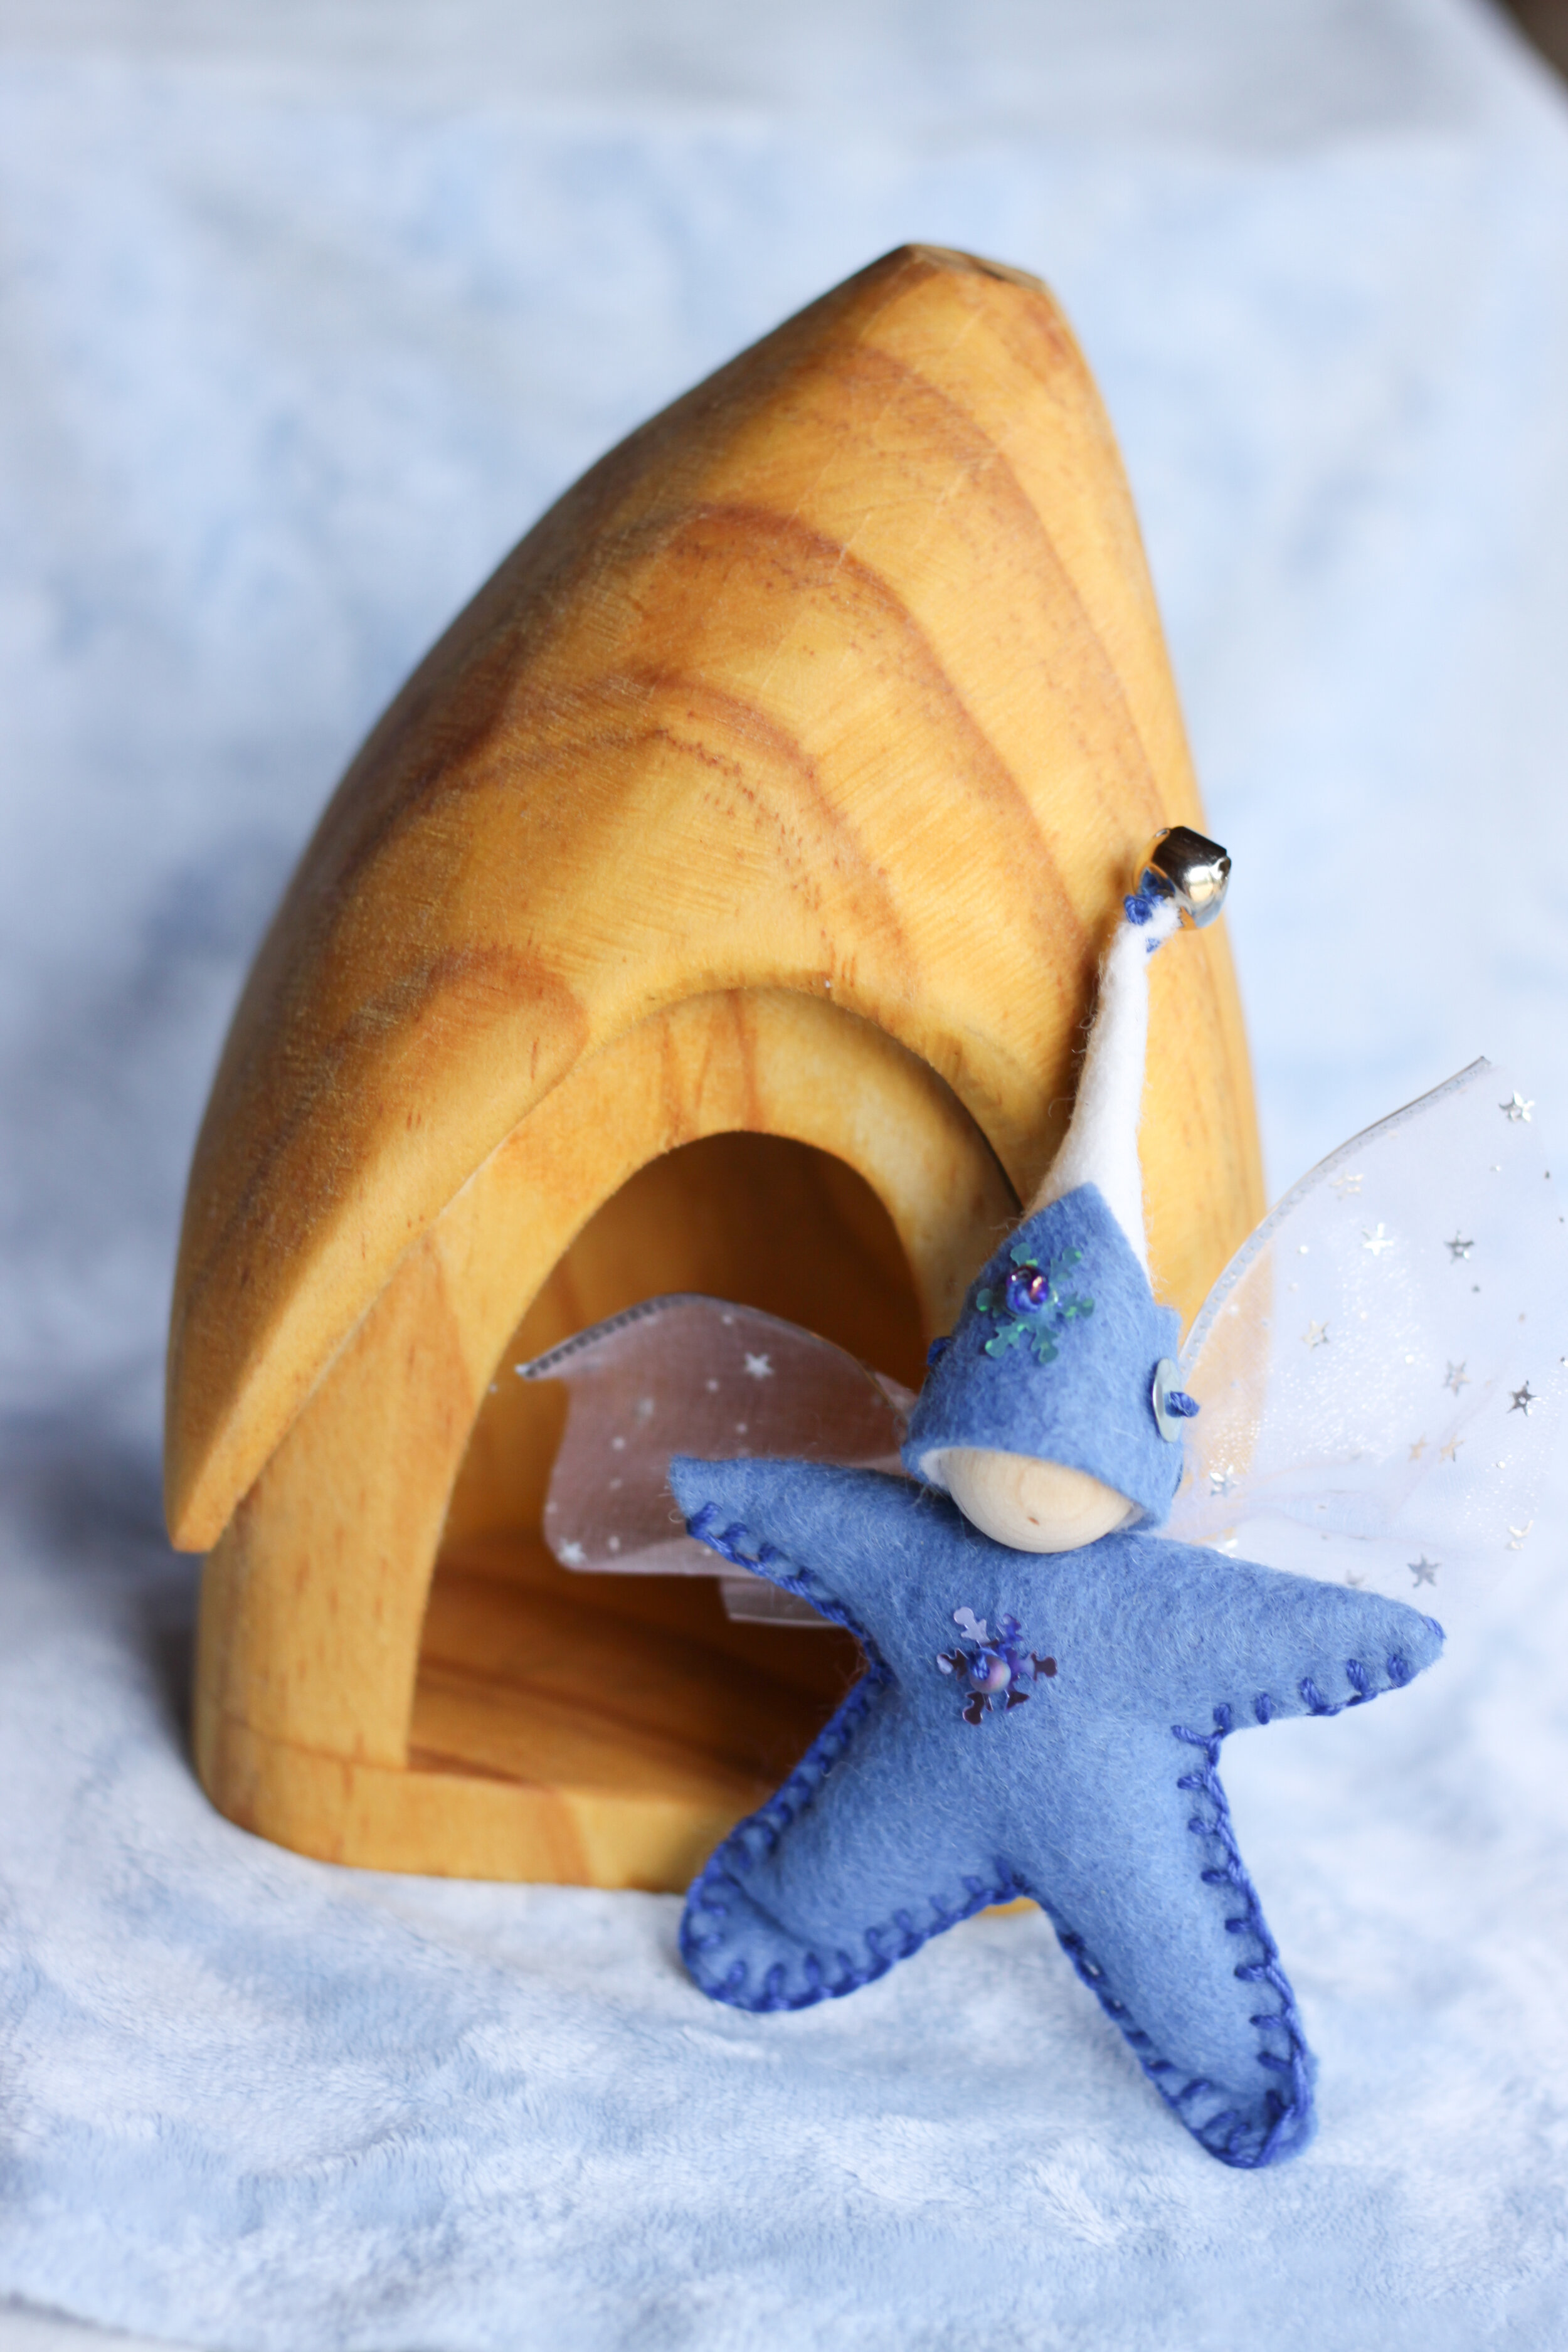
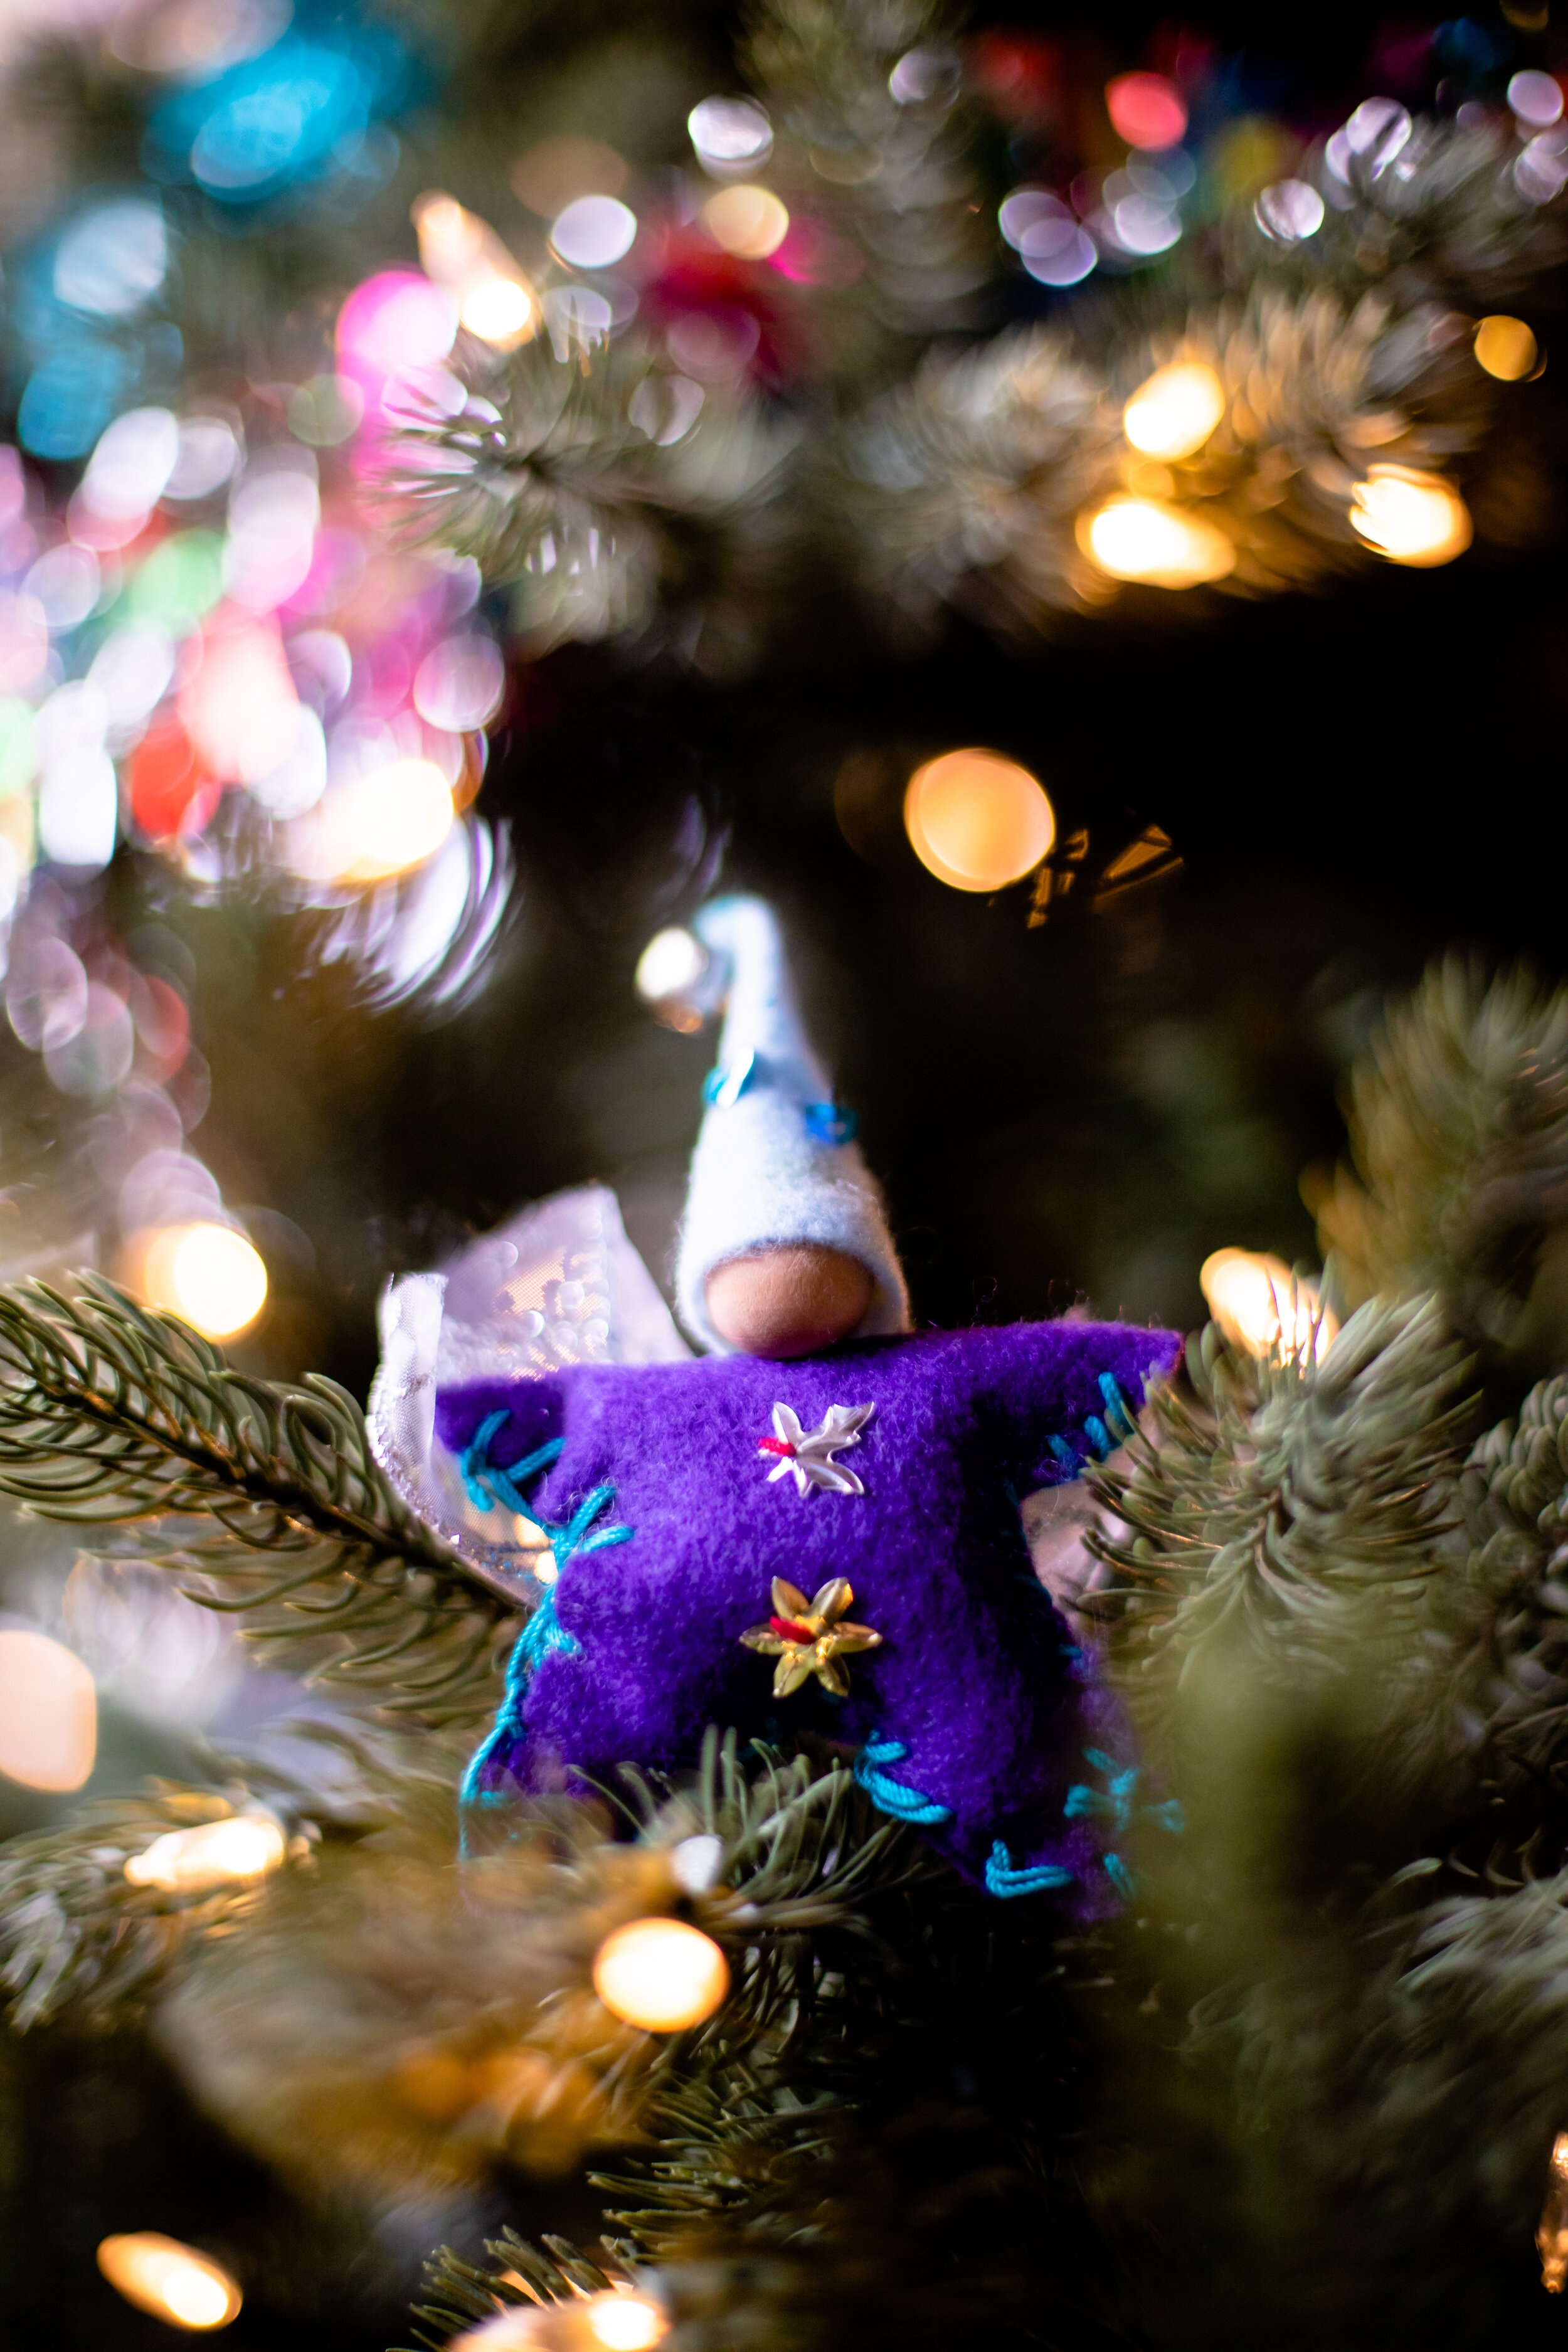
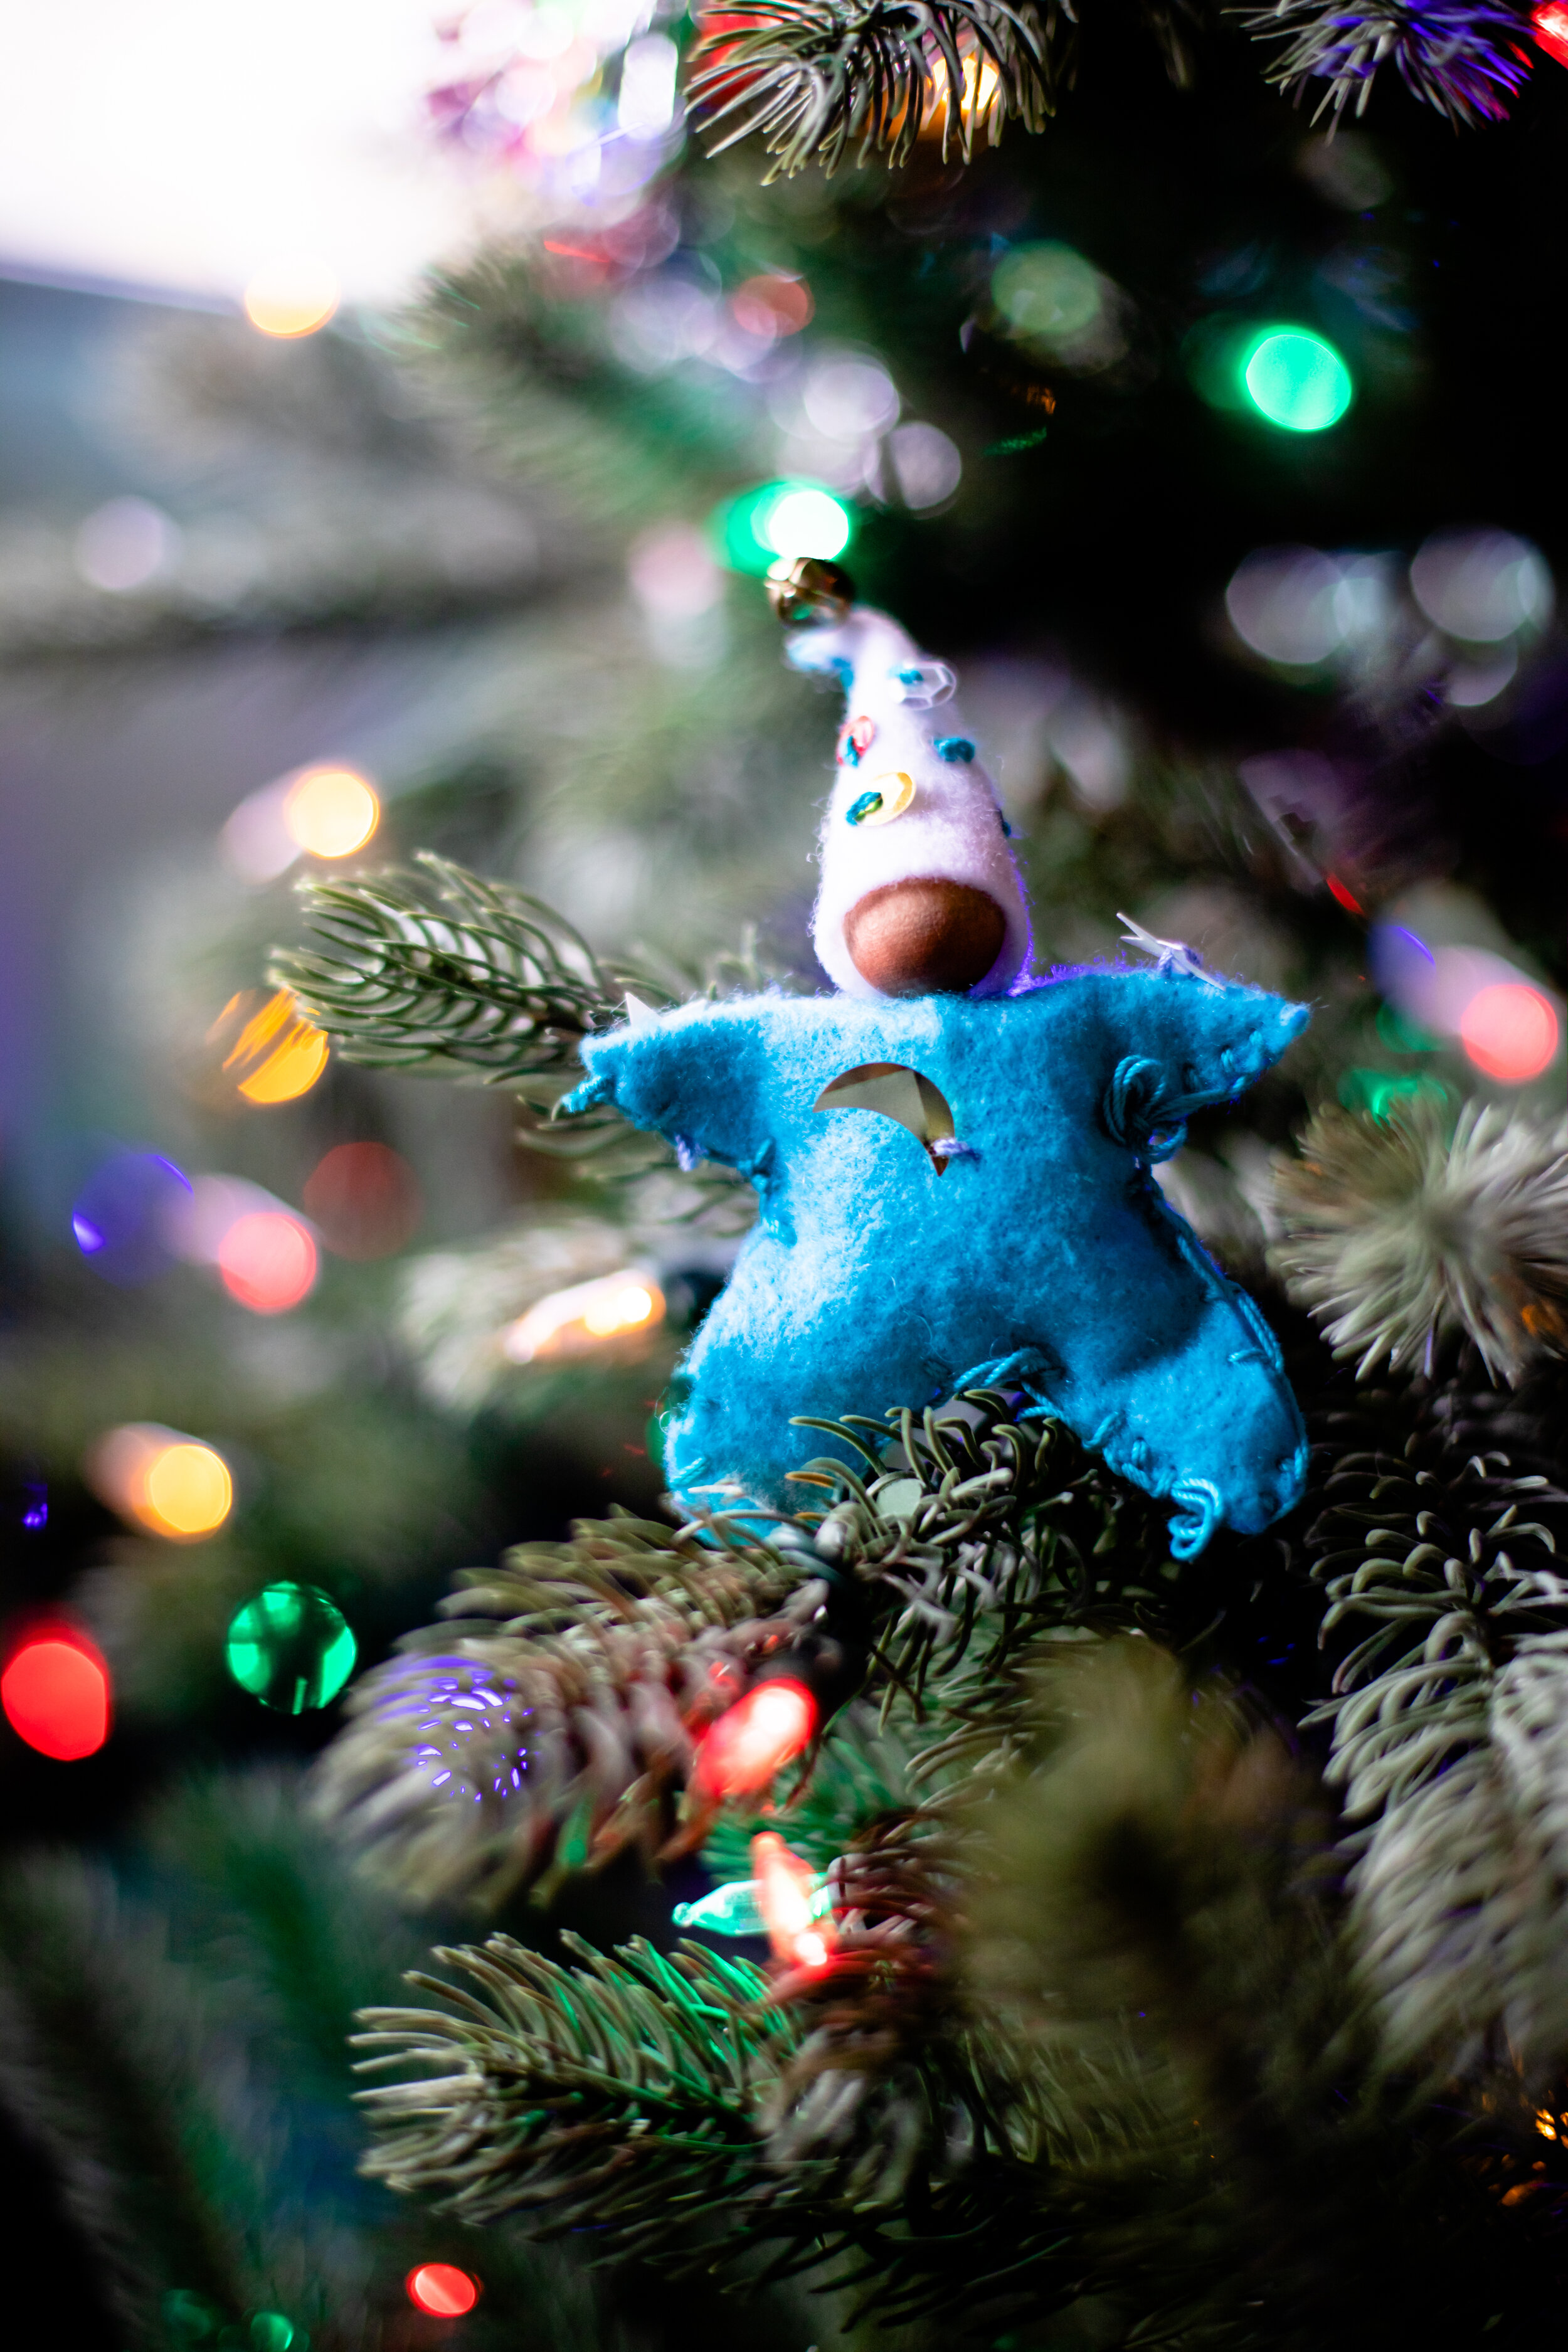
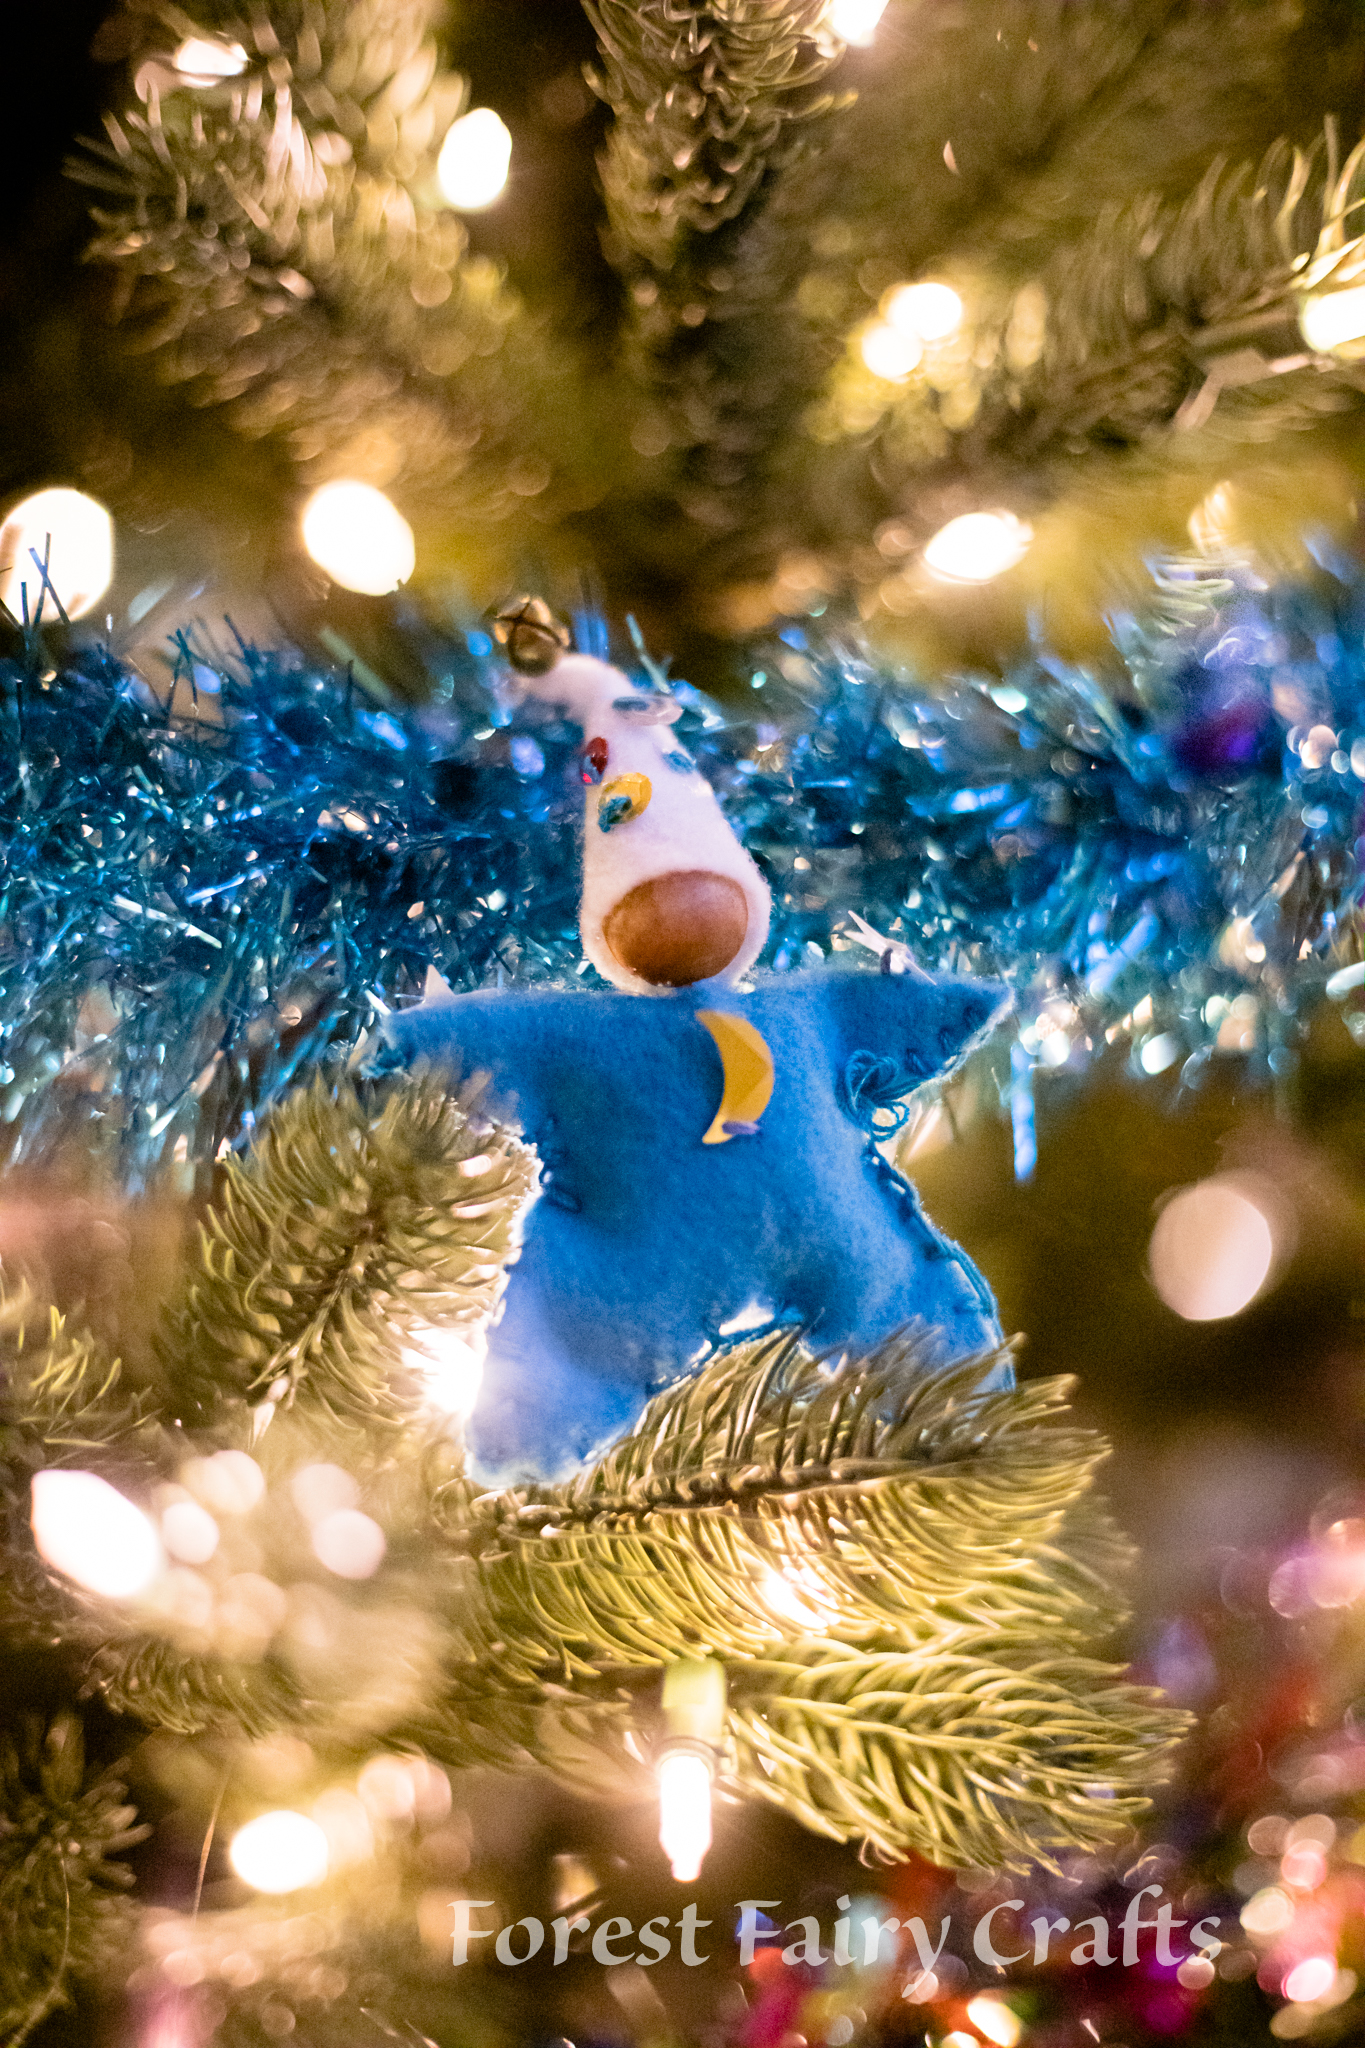
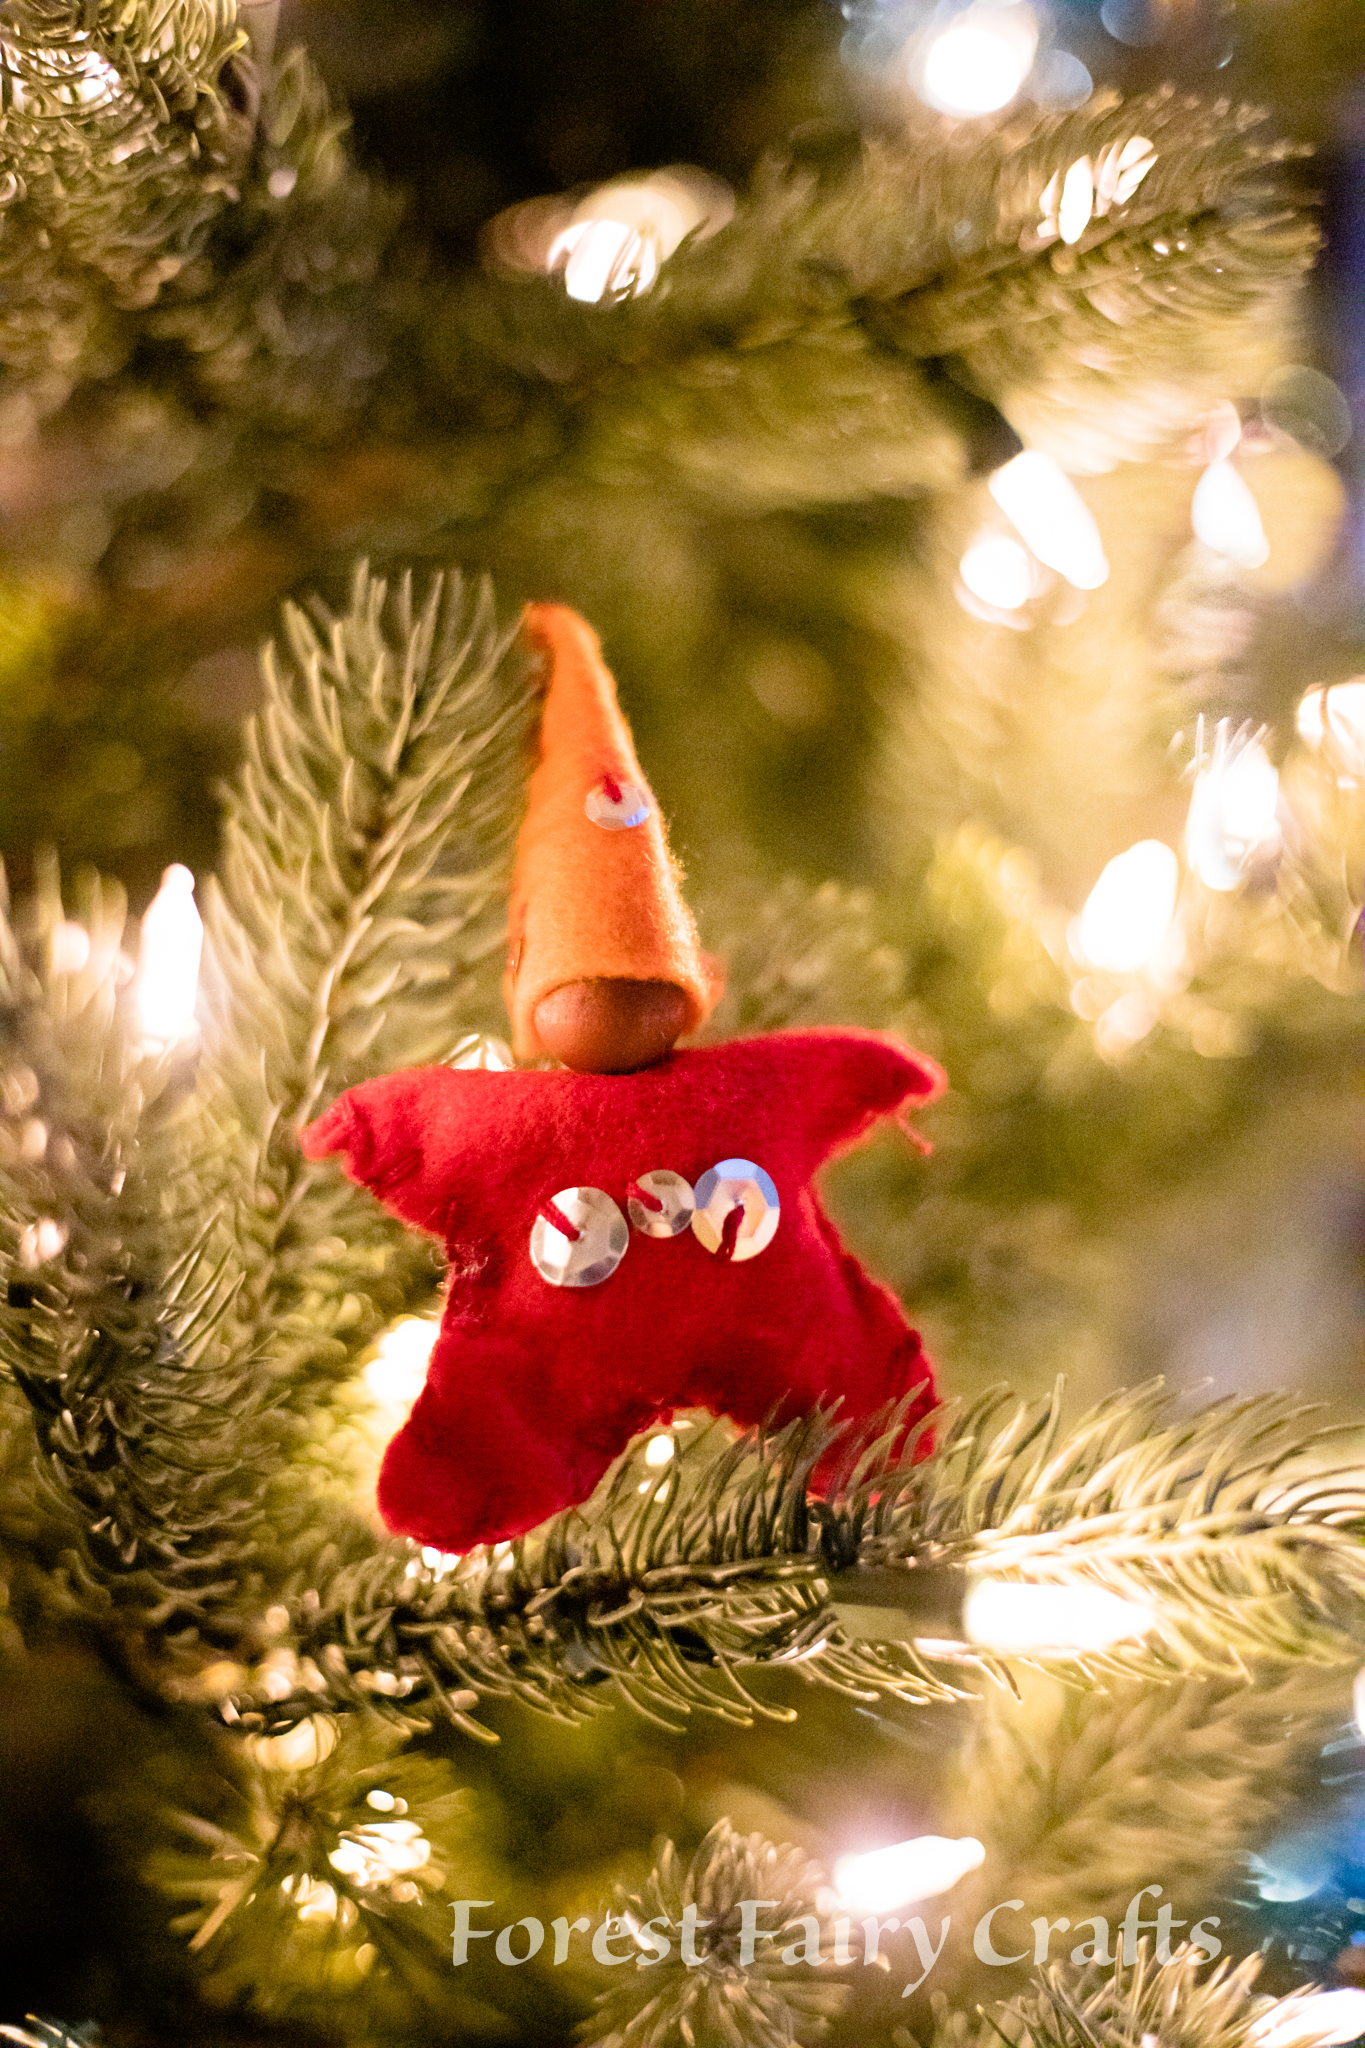
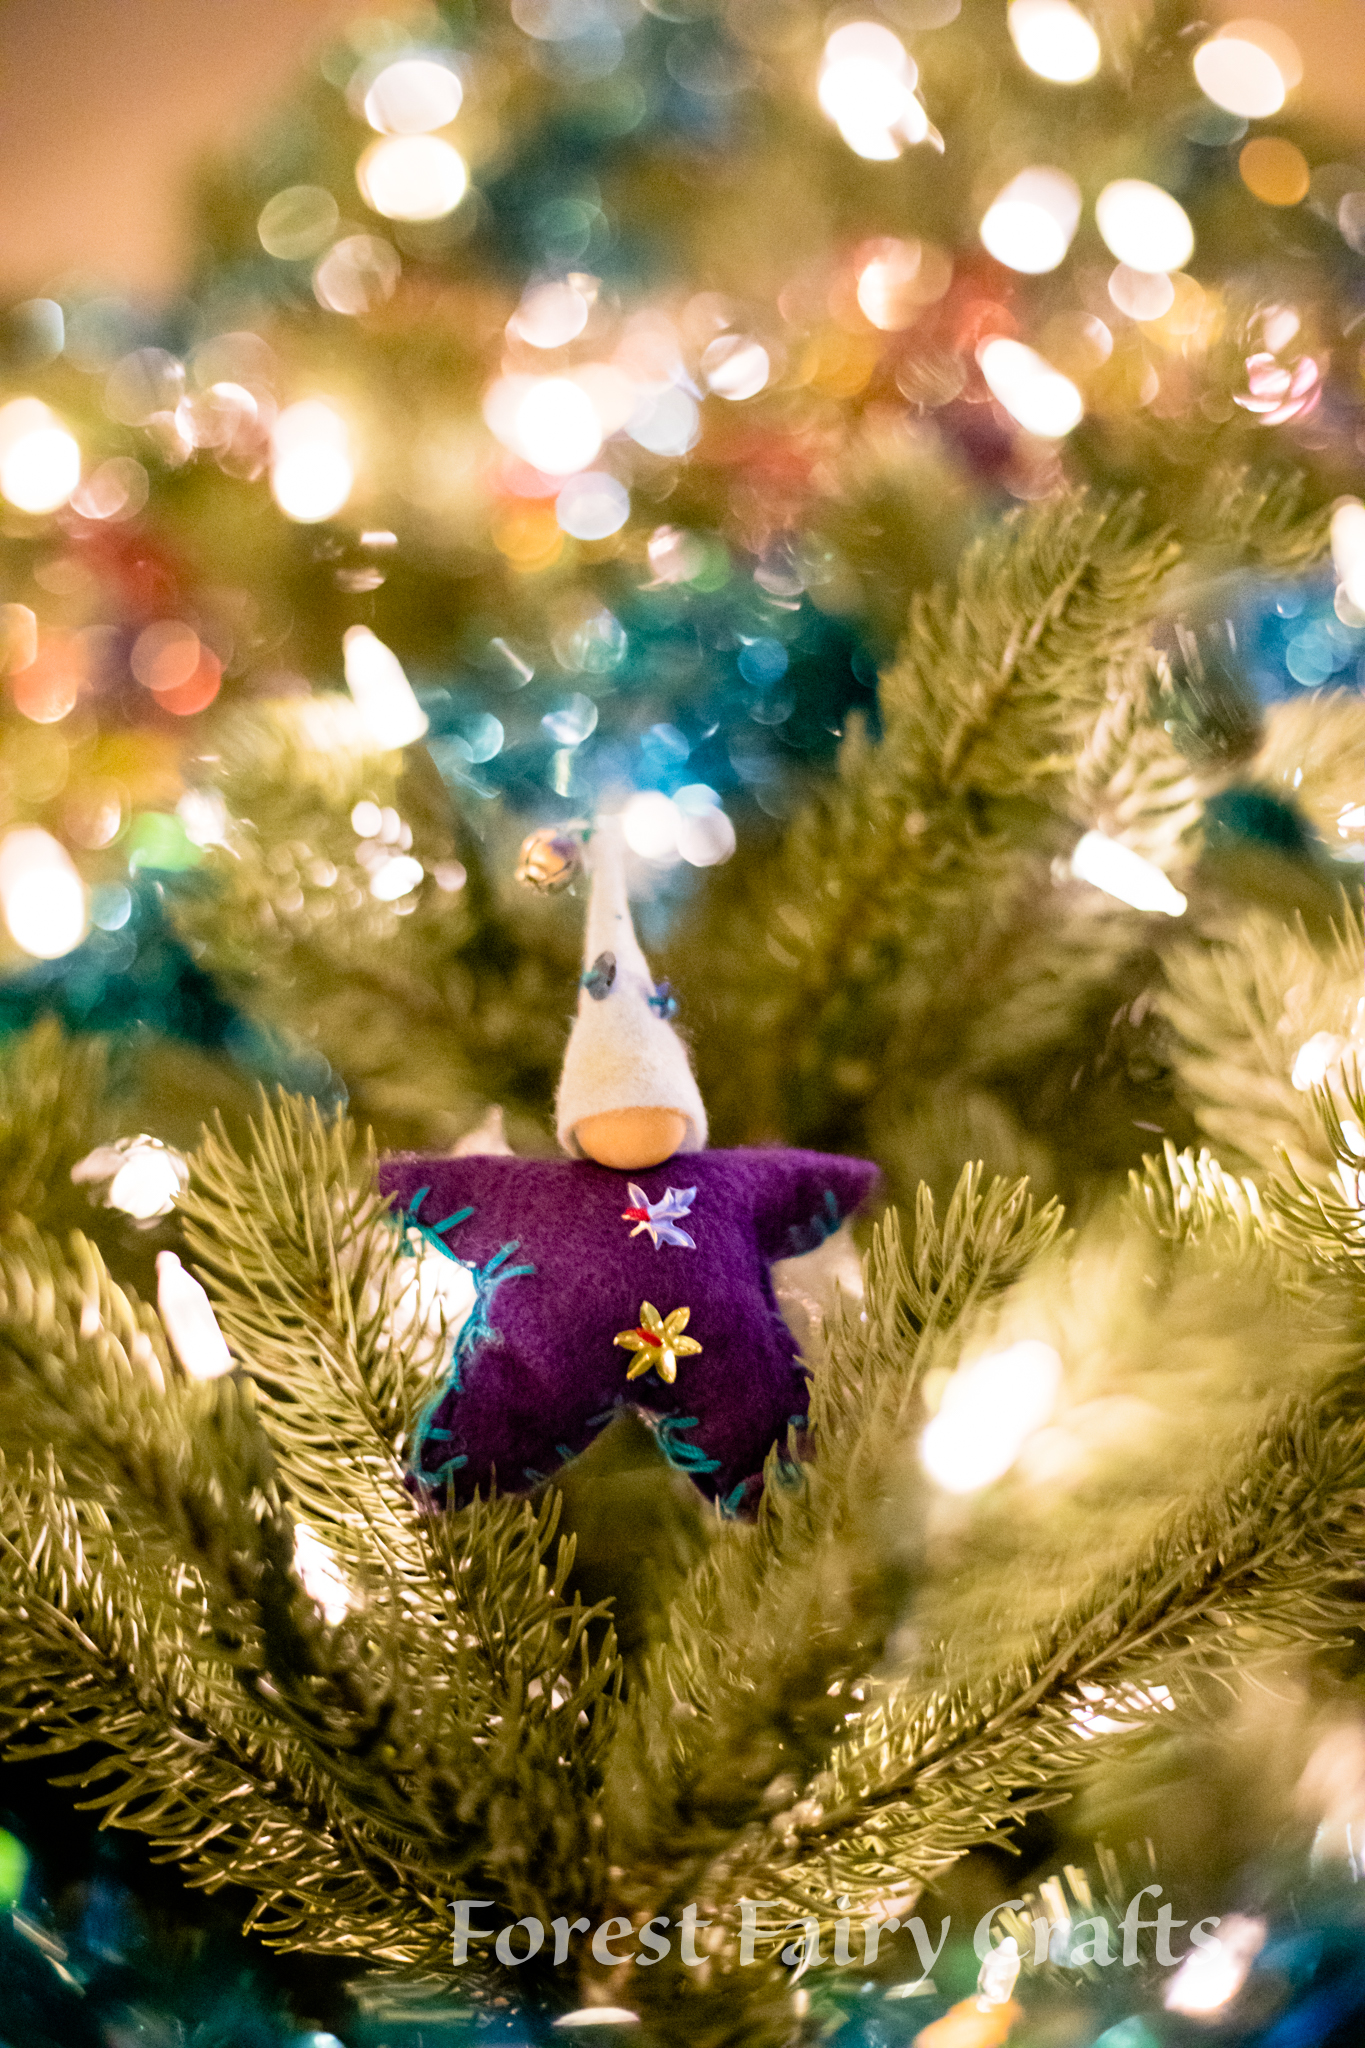
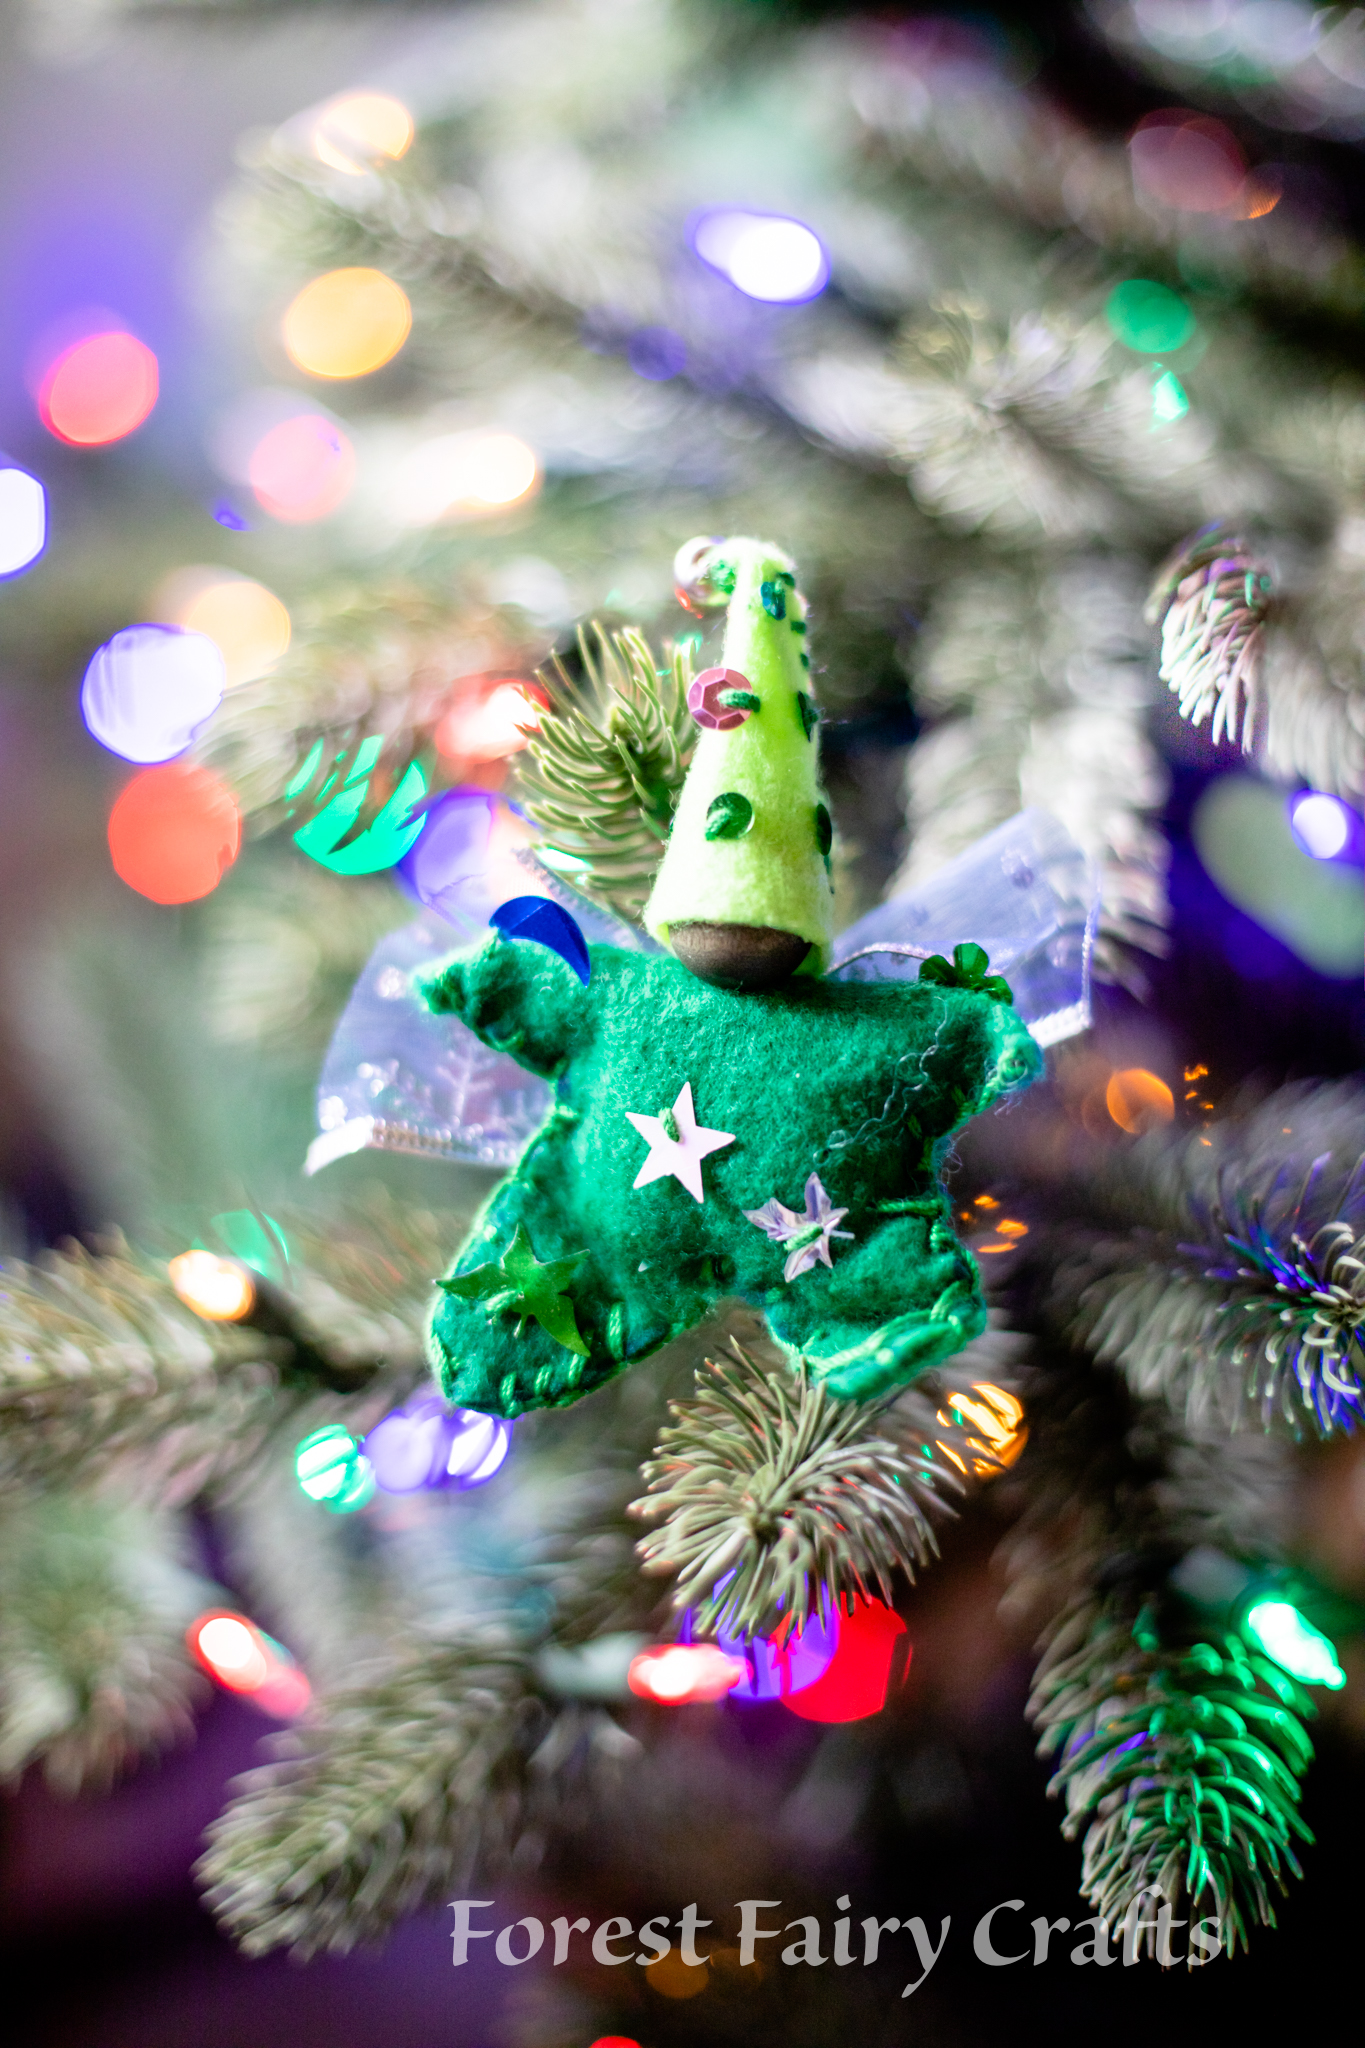
Star Babies
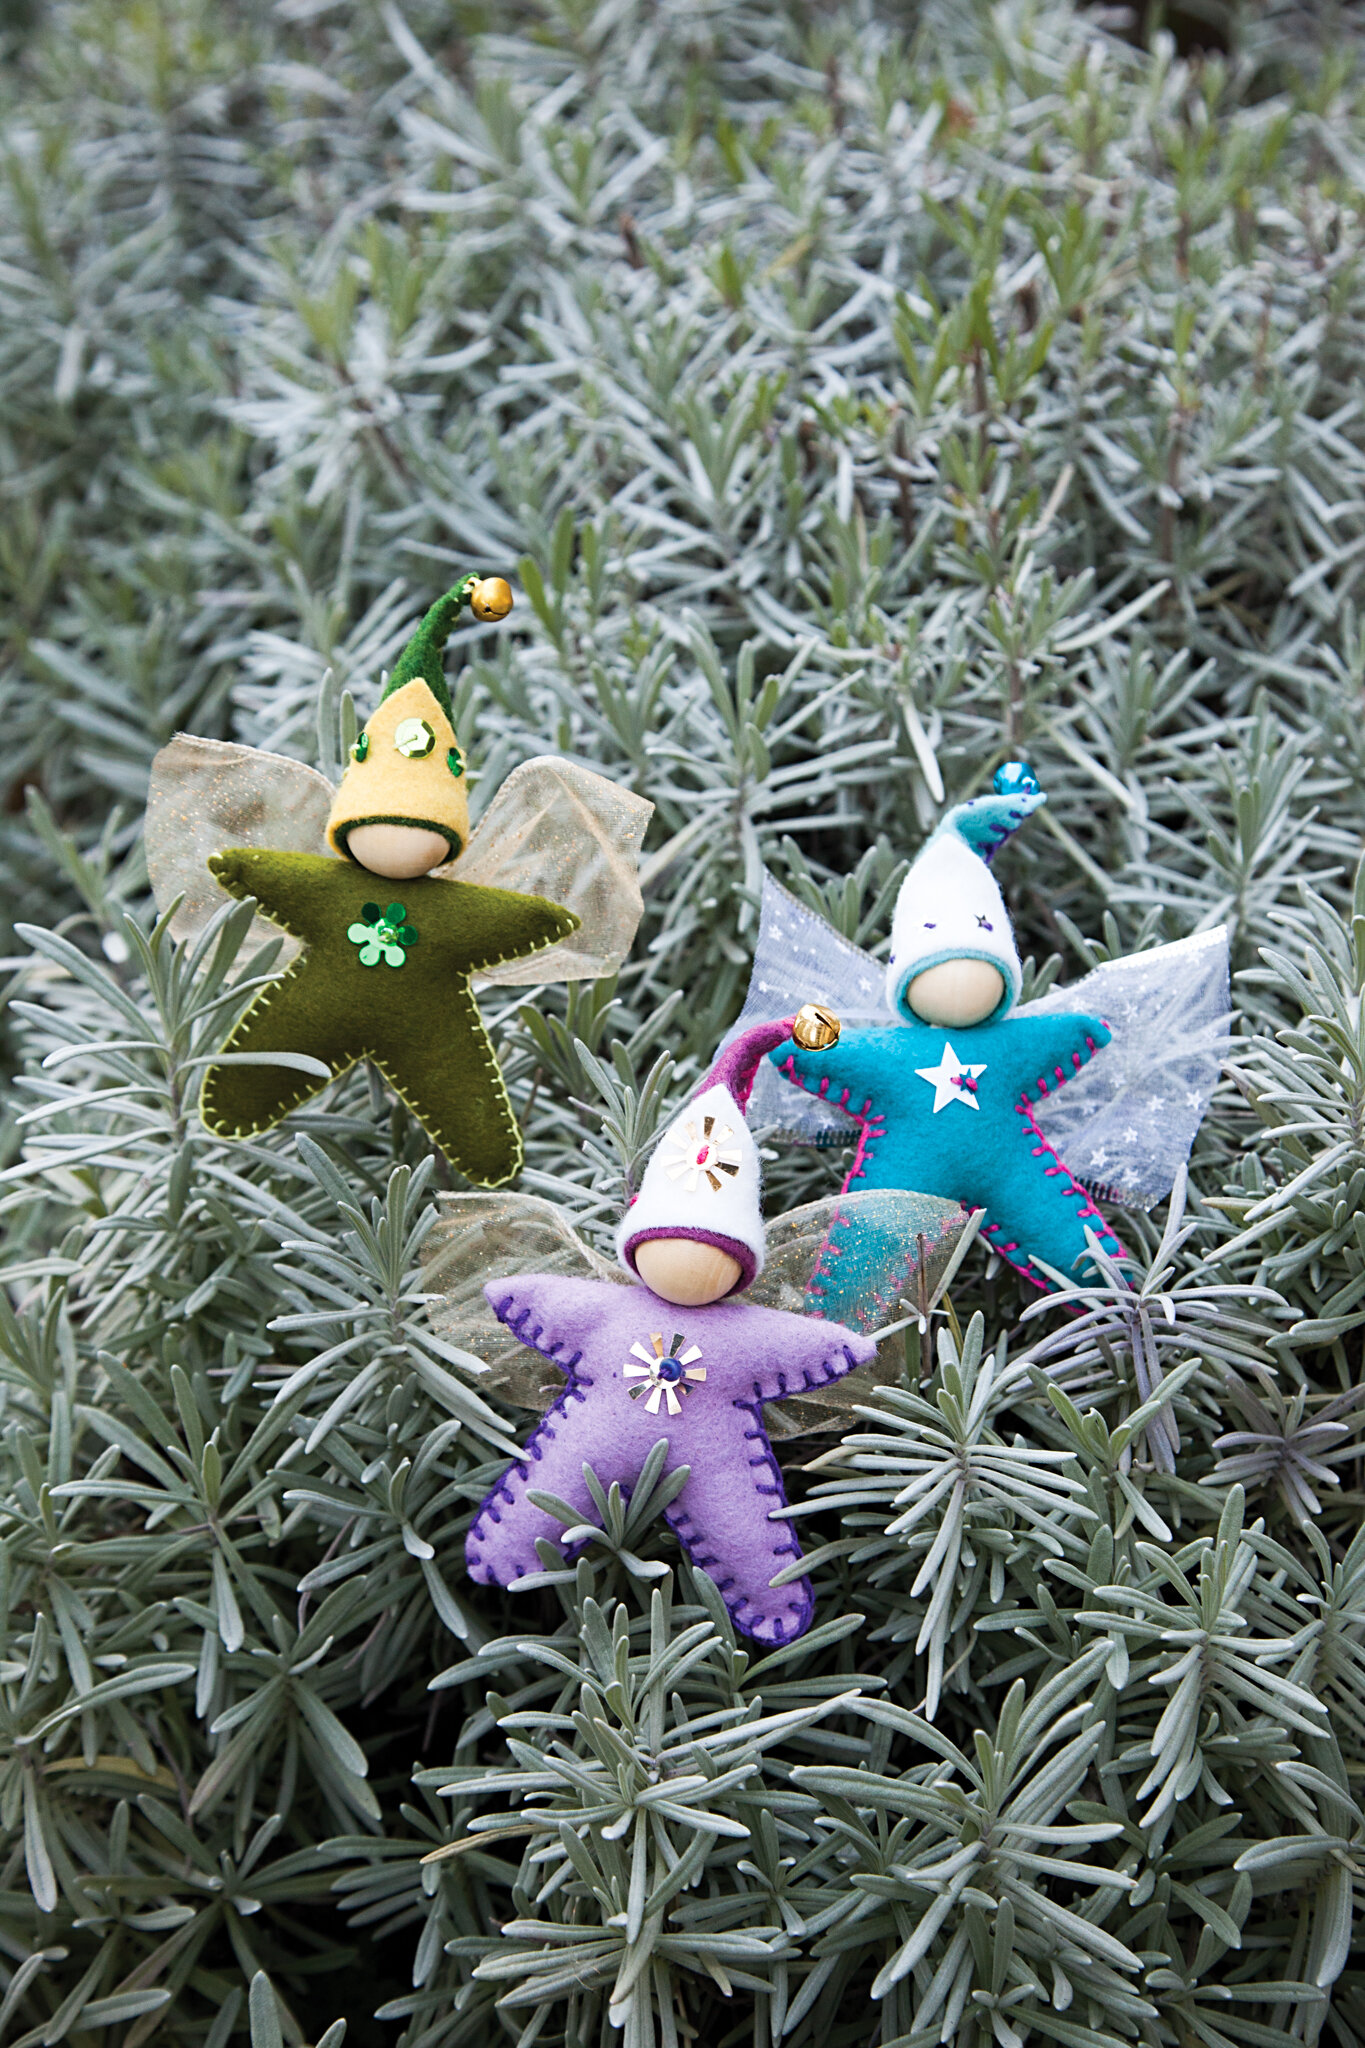
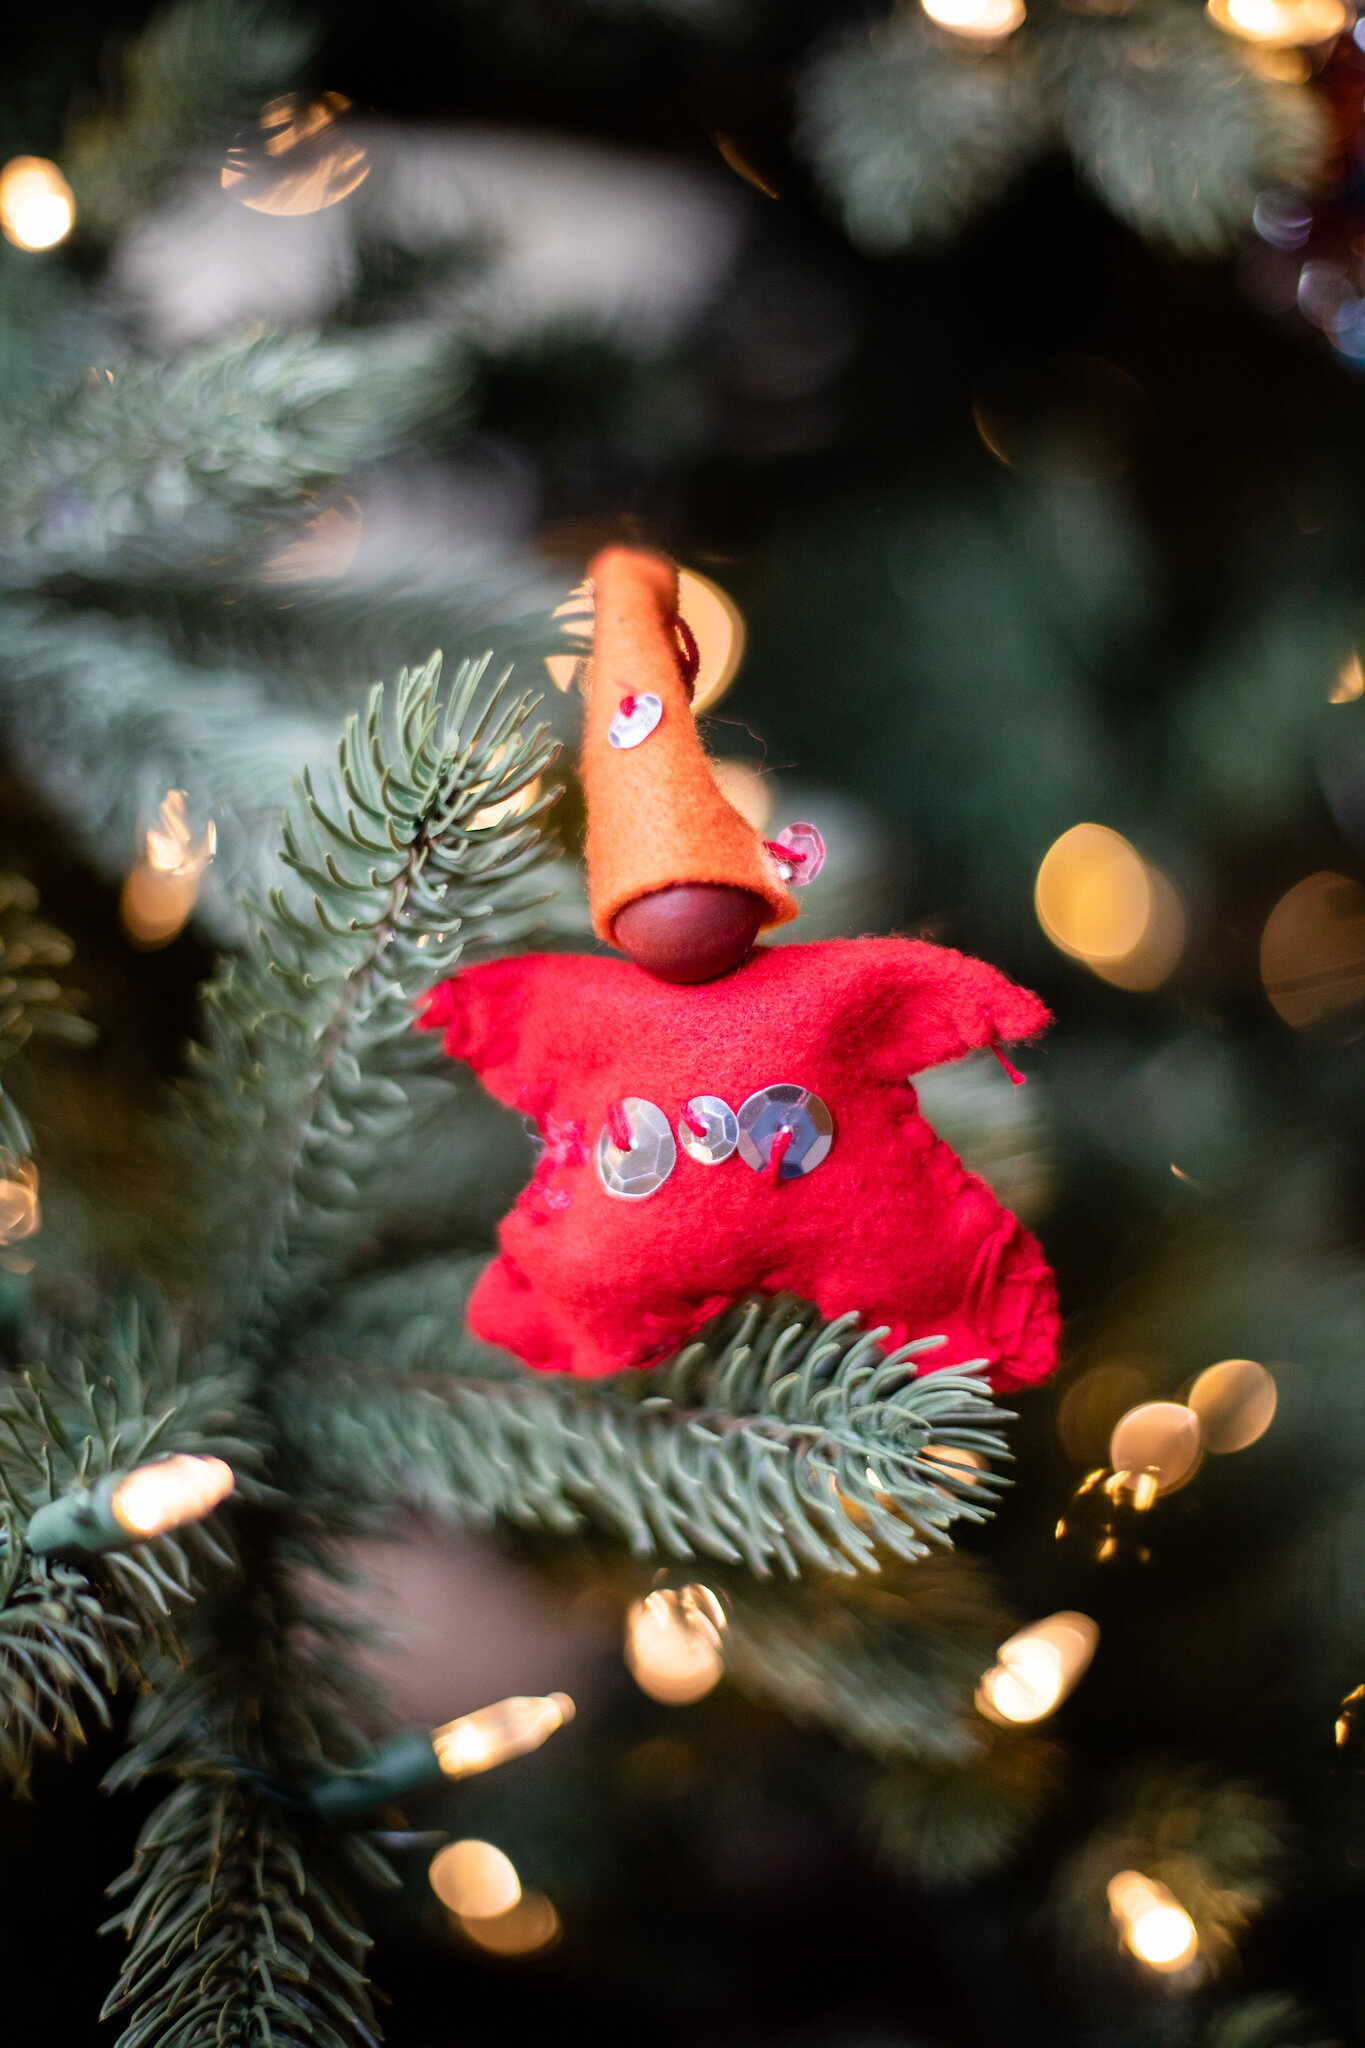
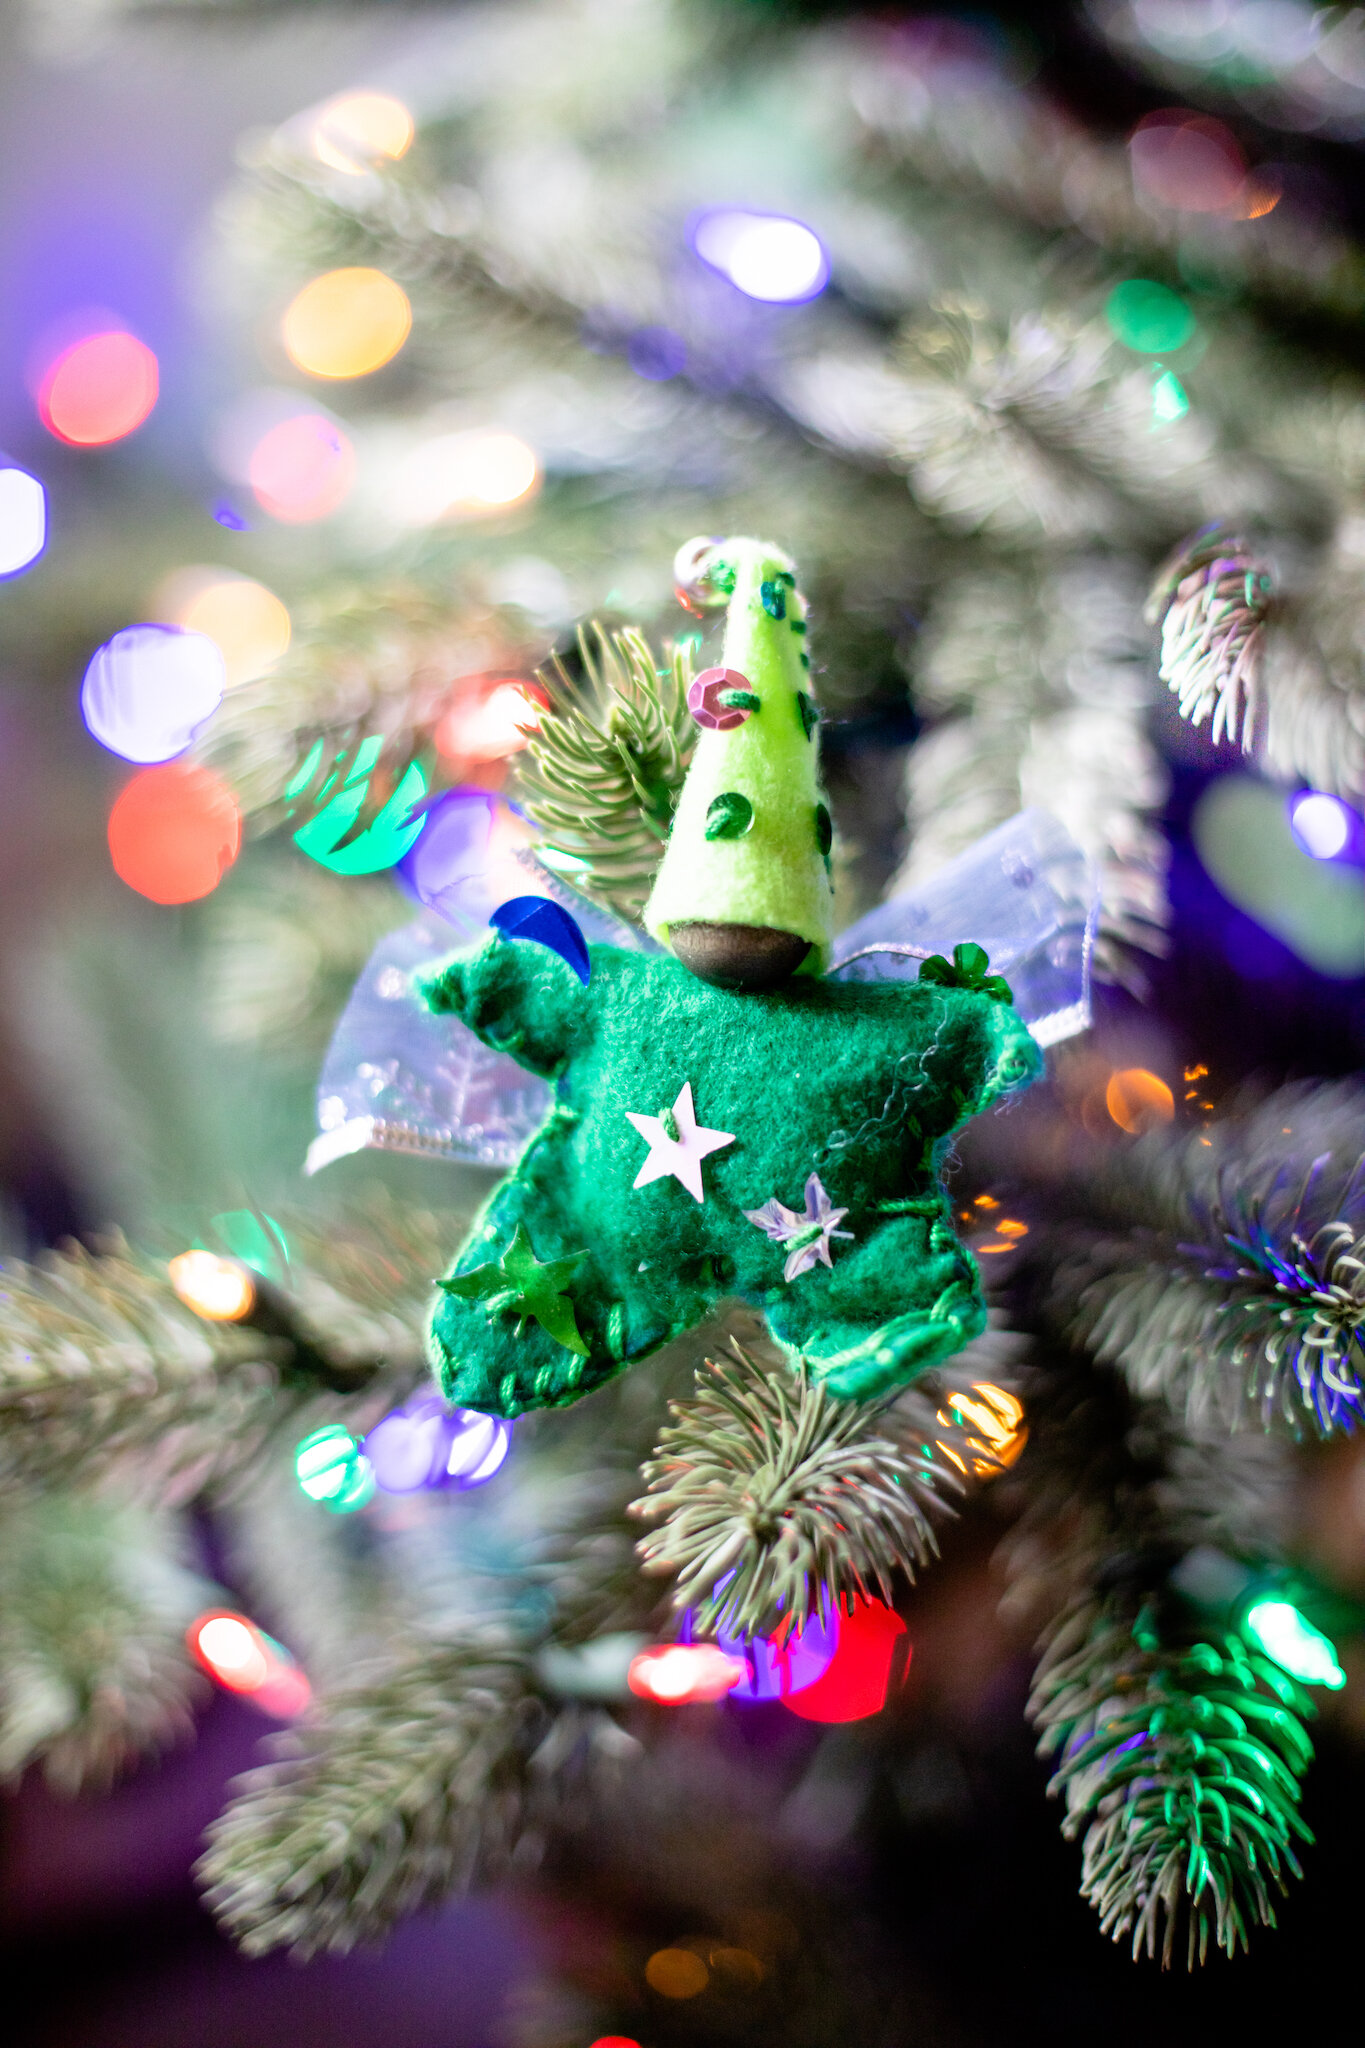
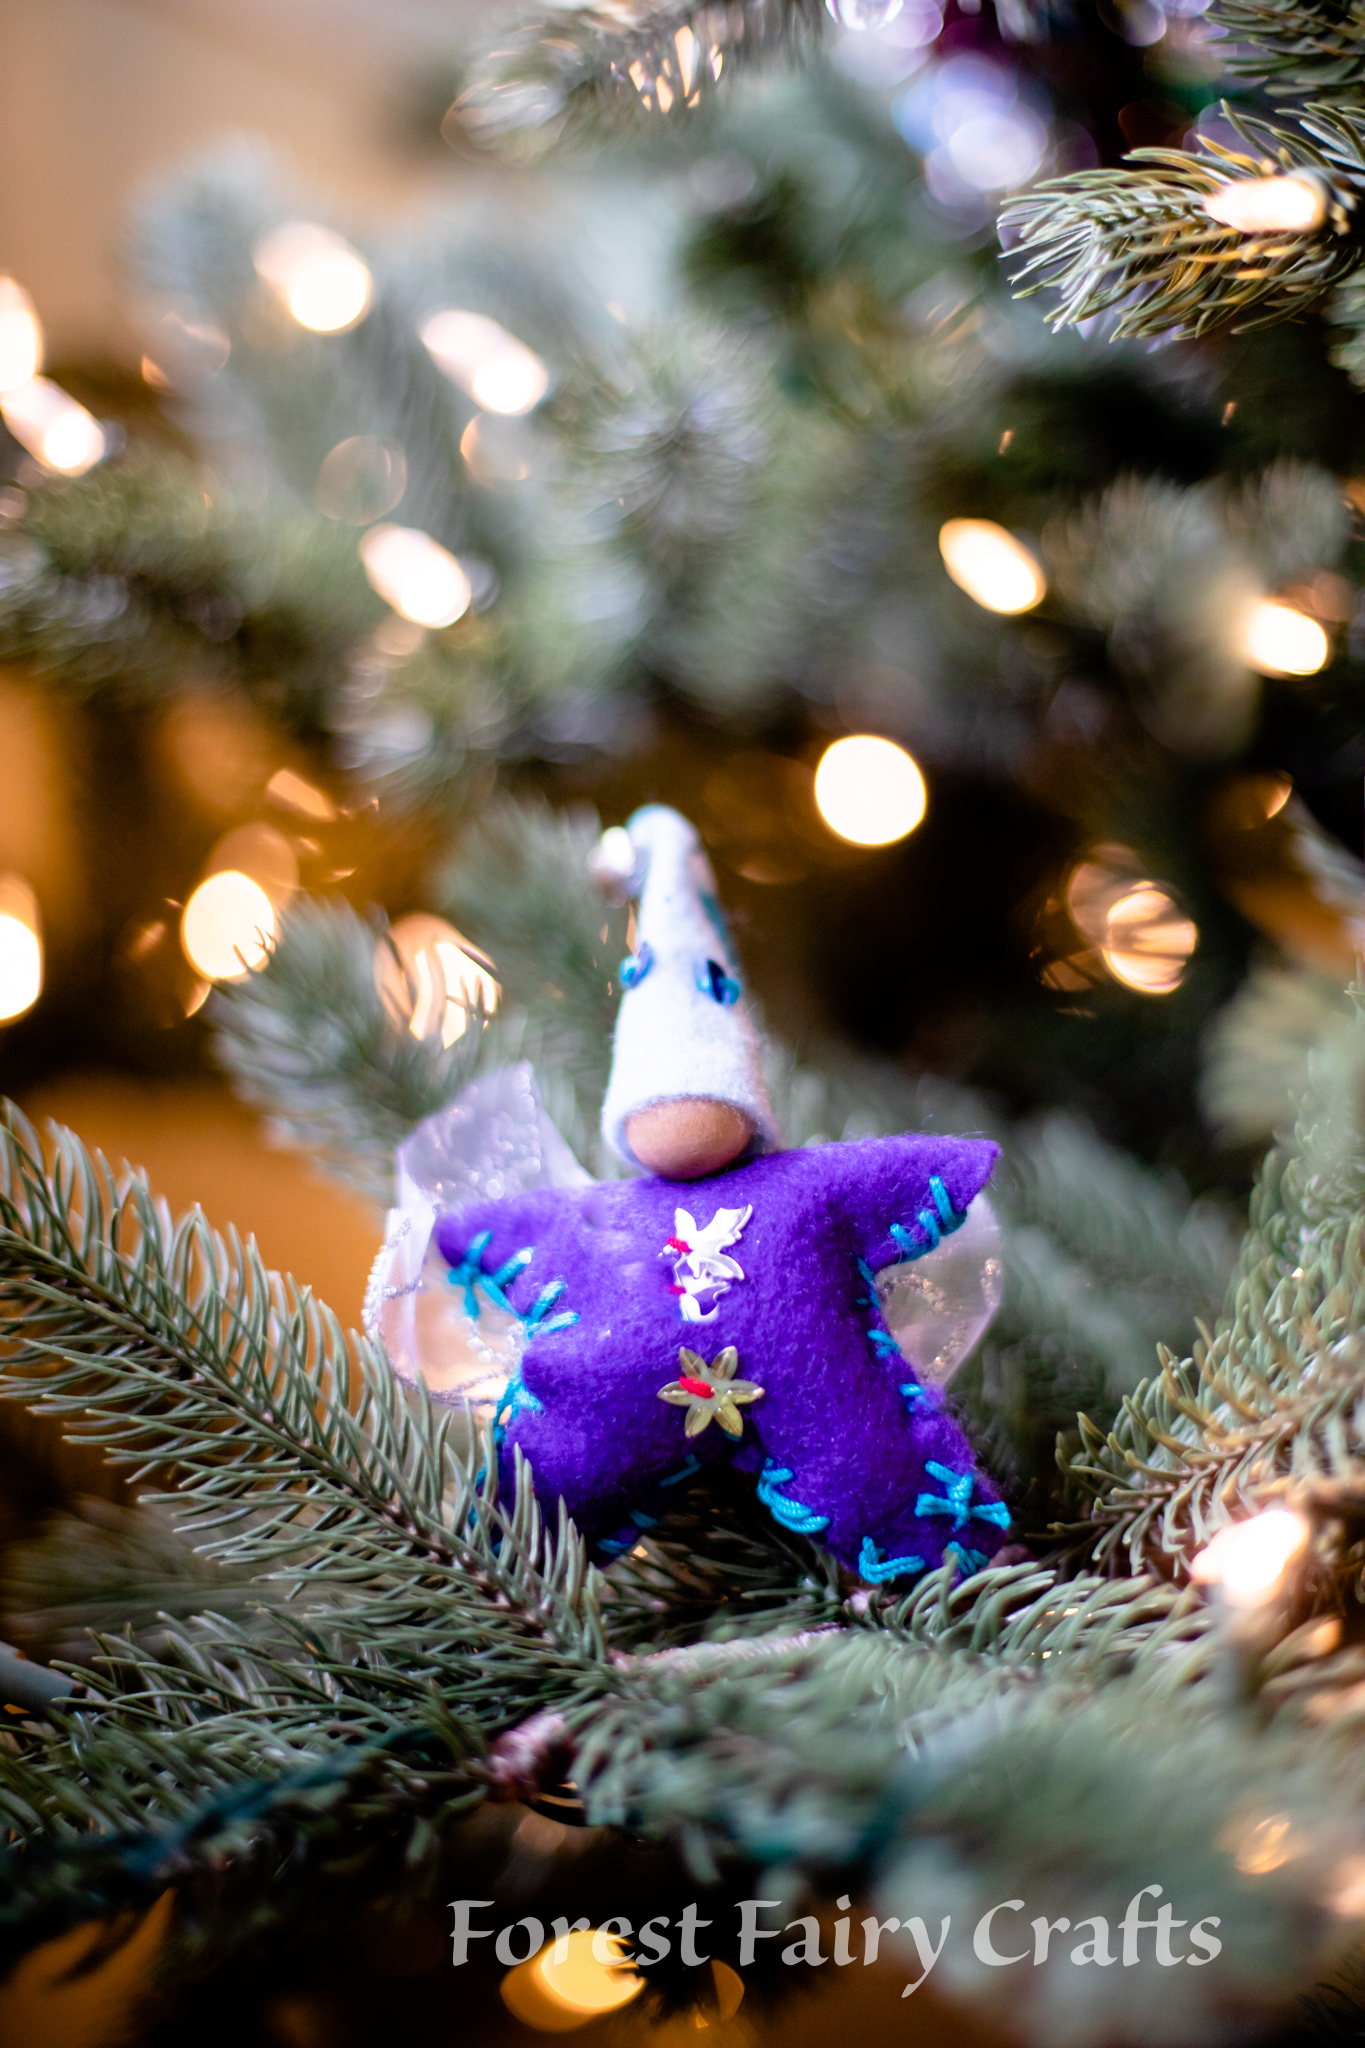
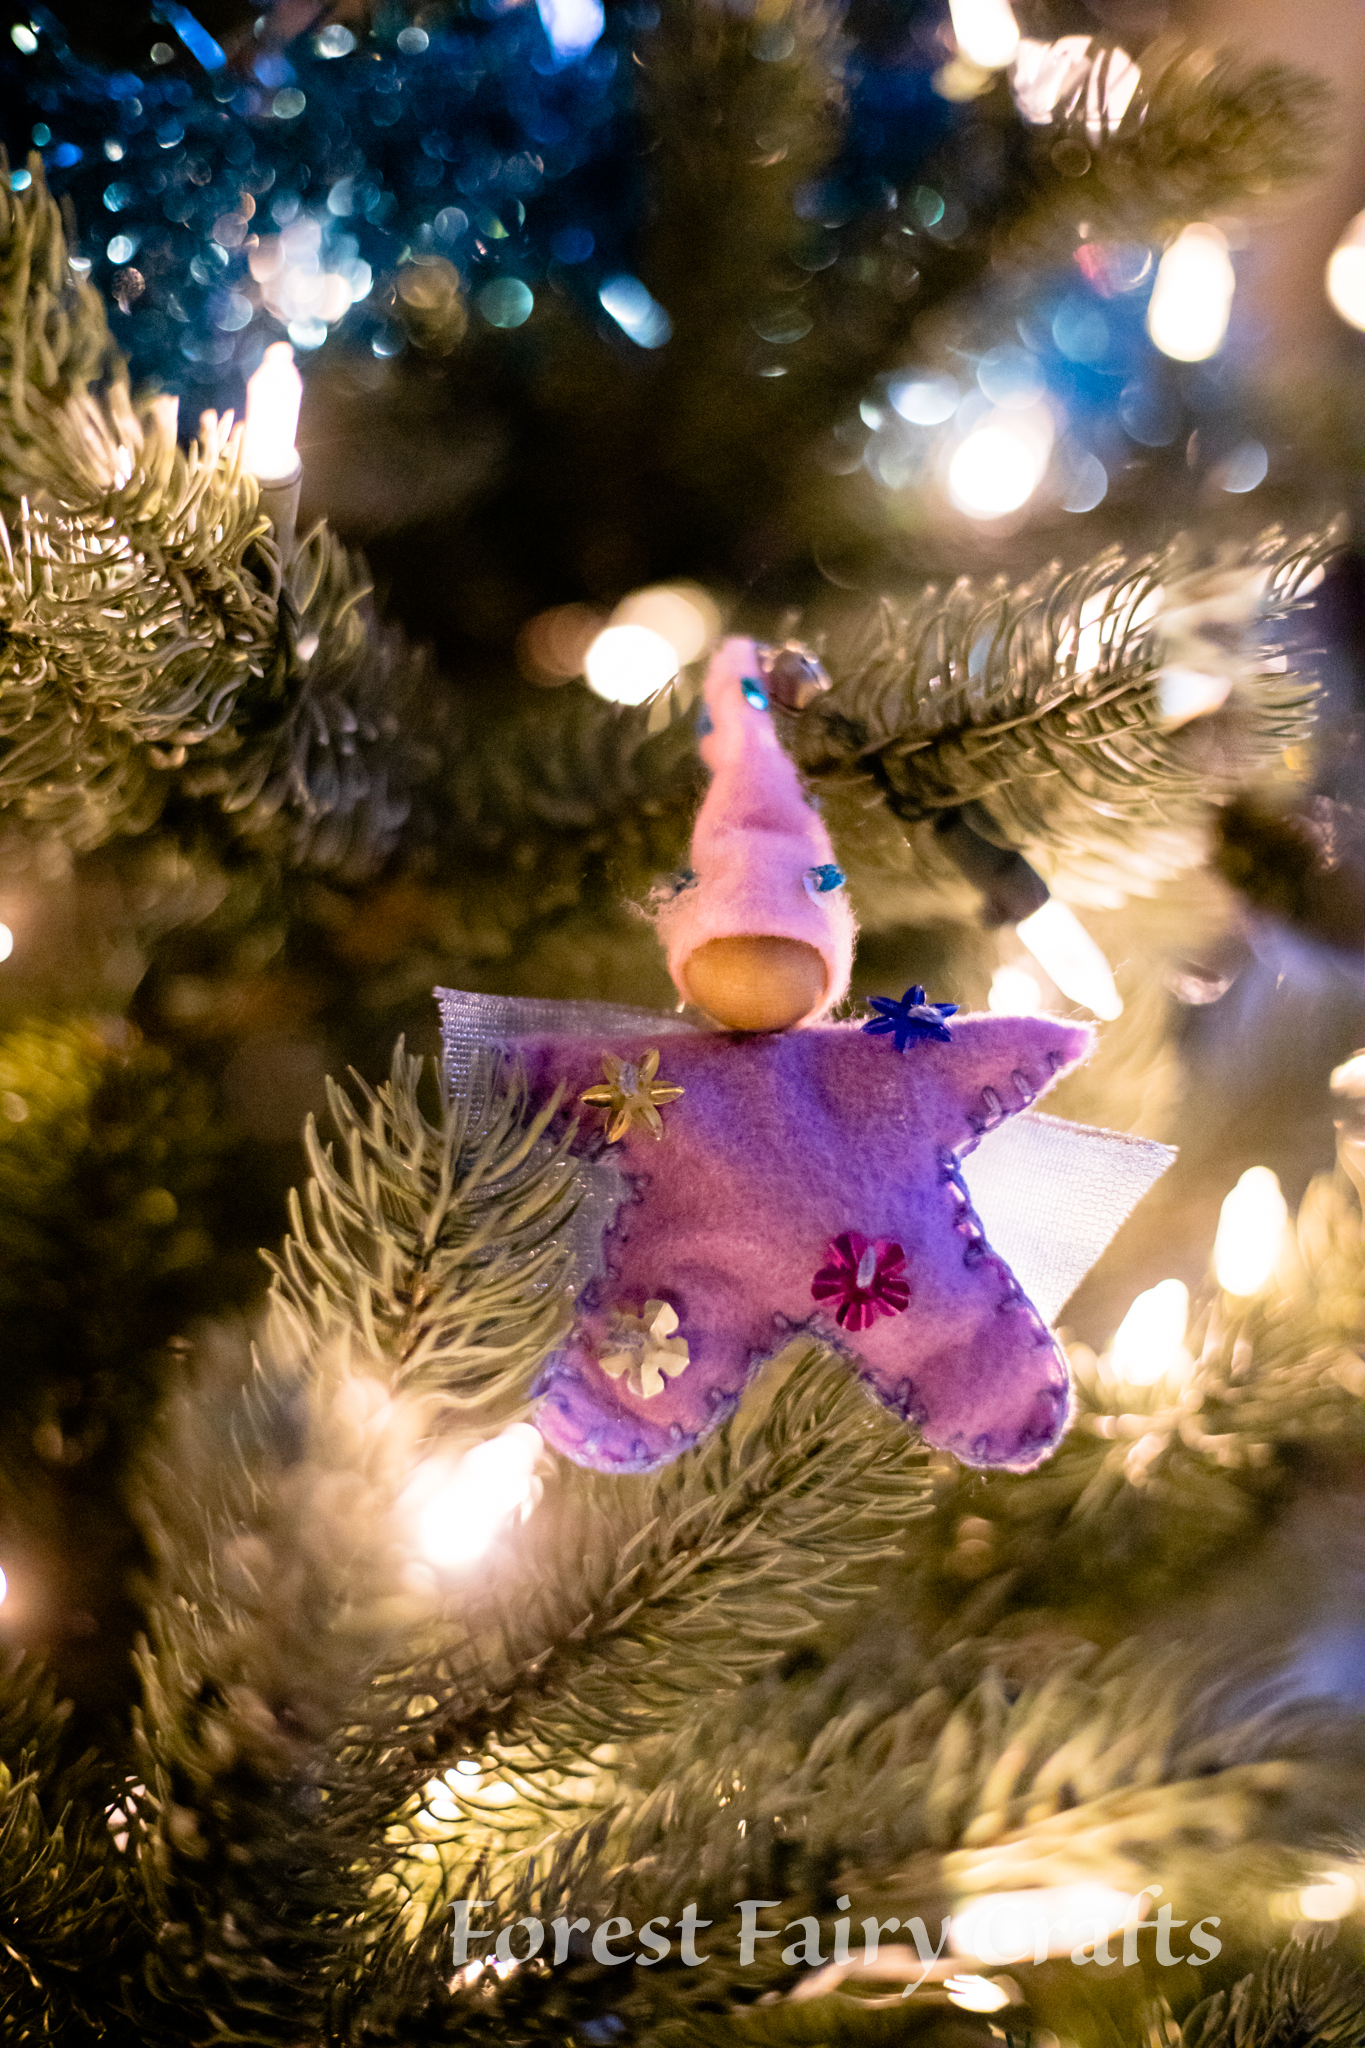
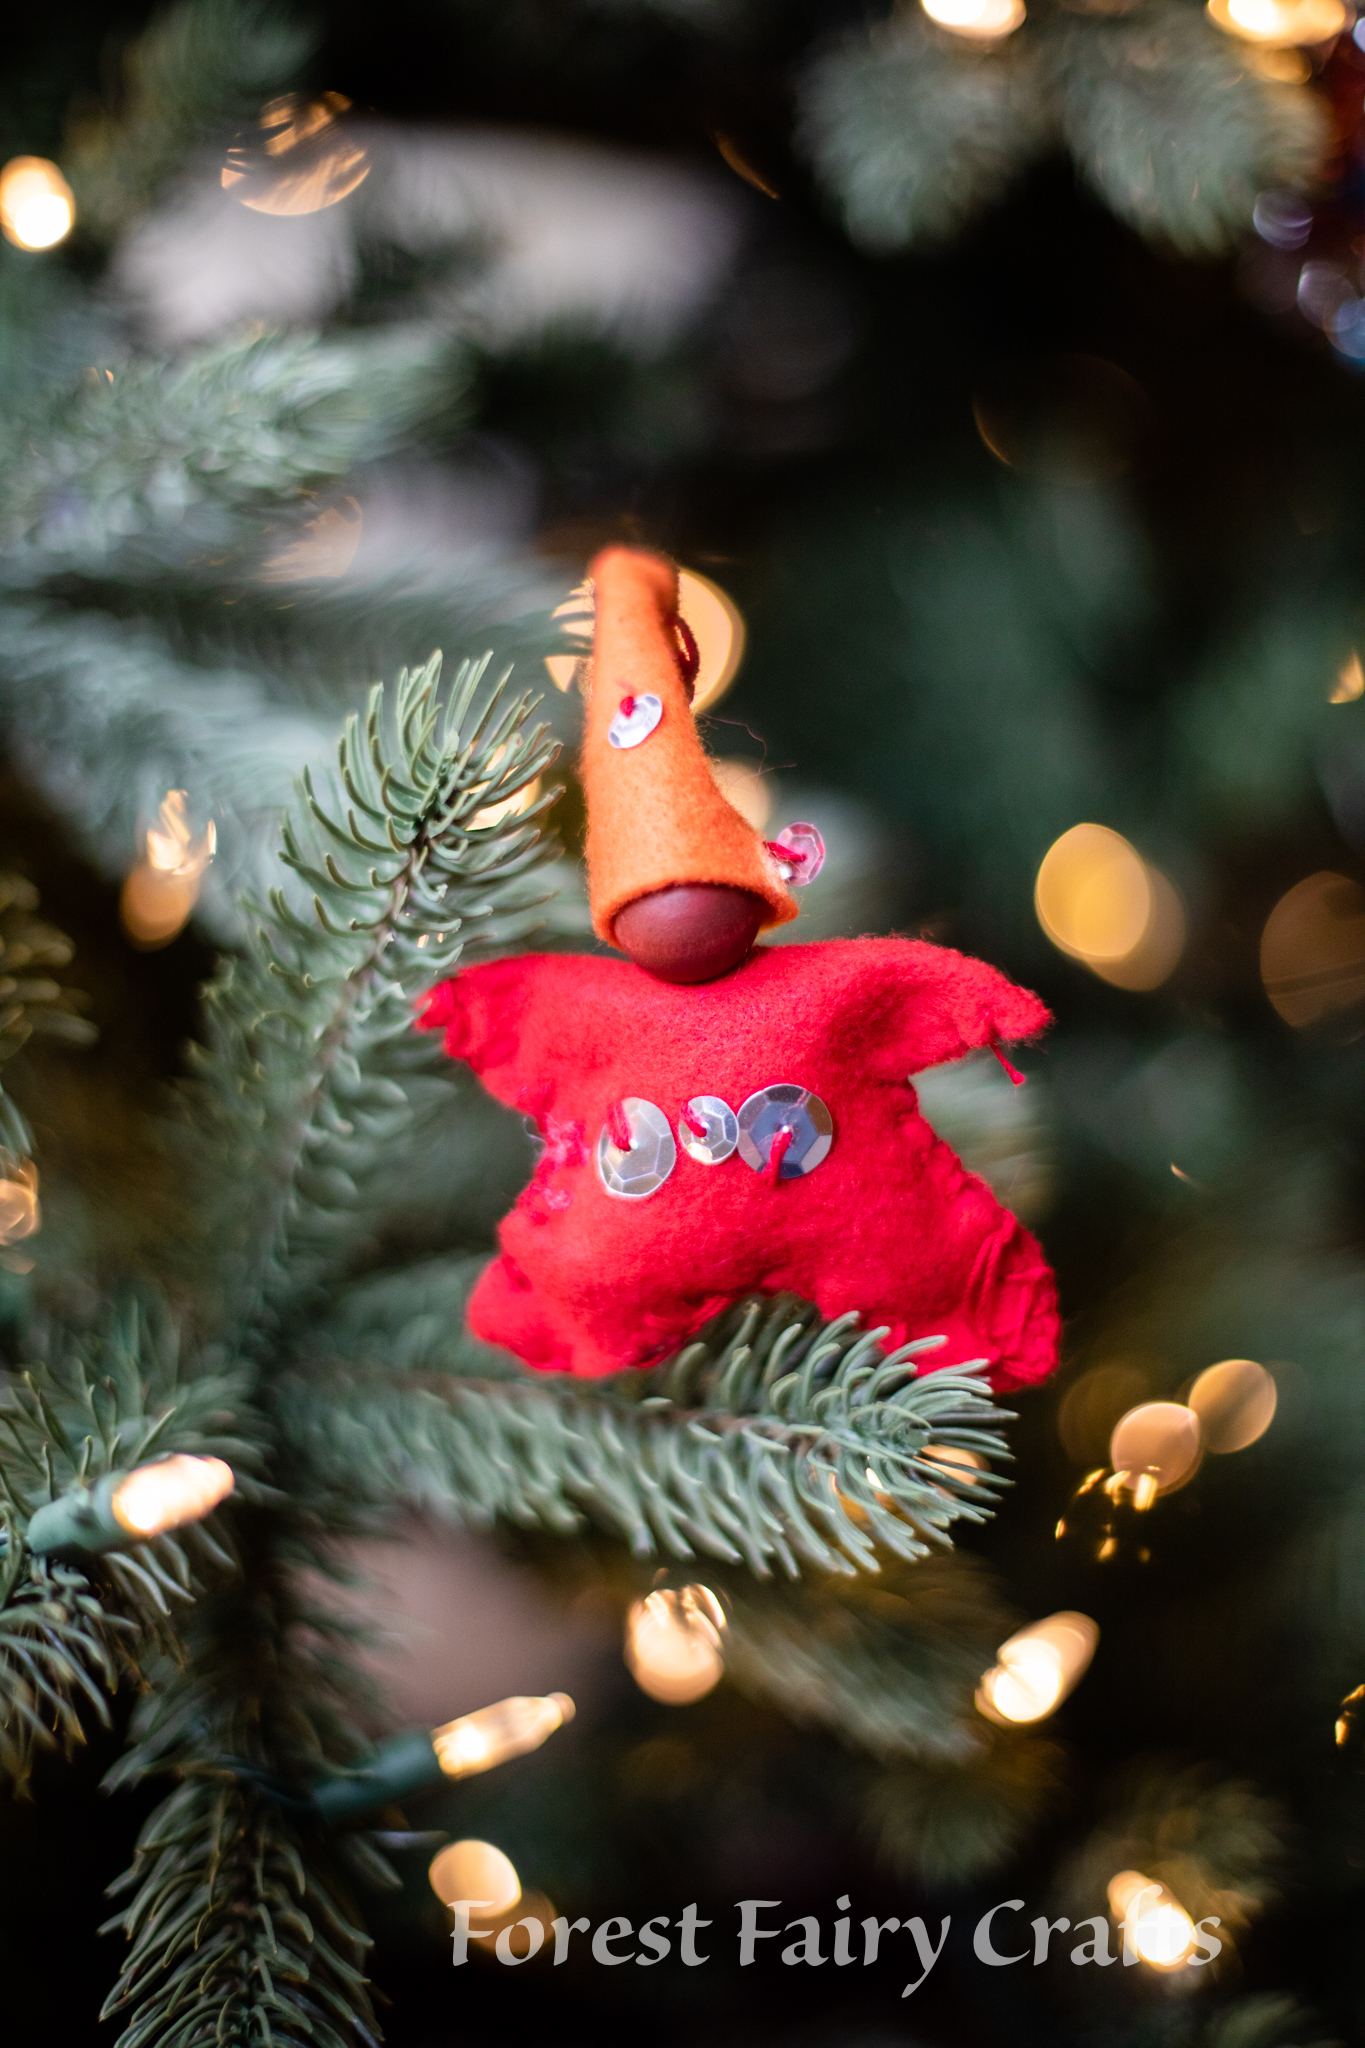
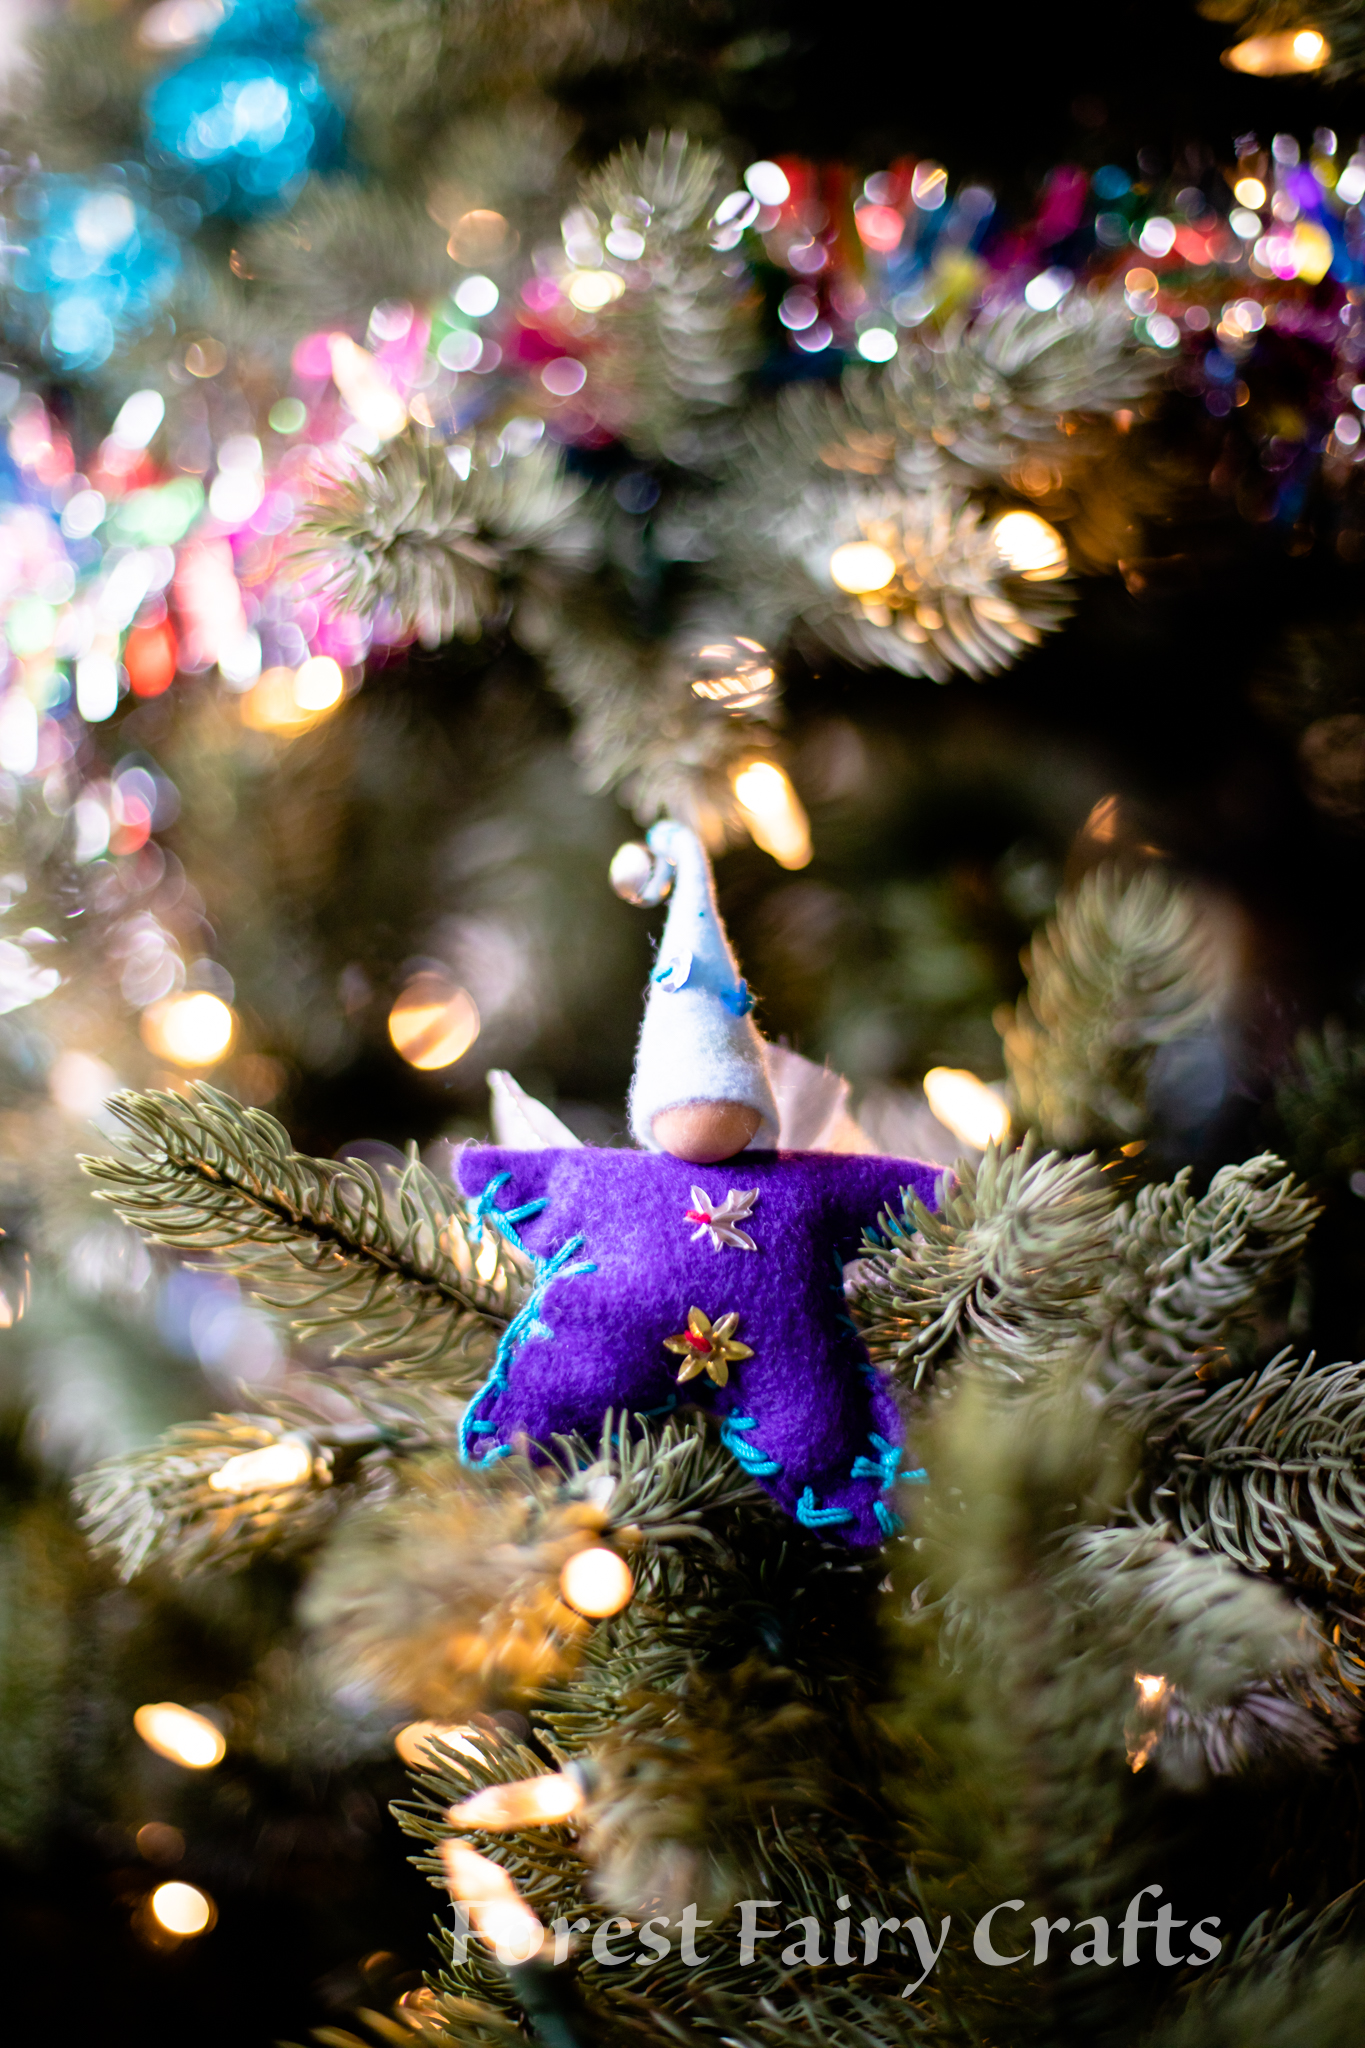
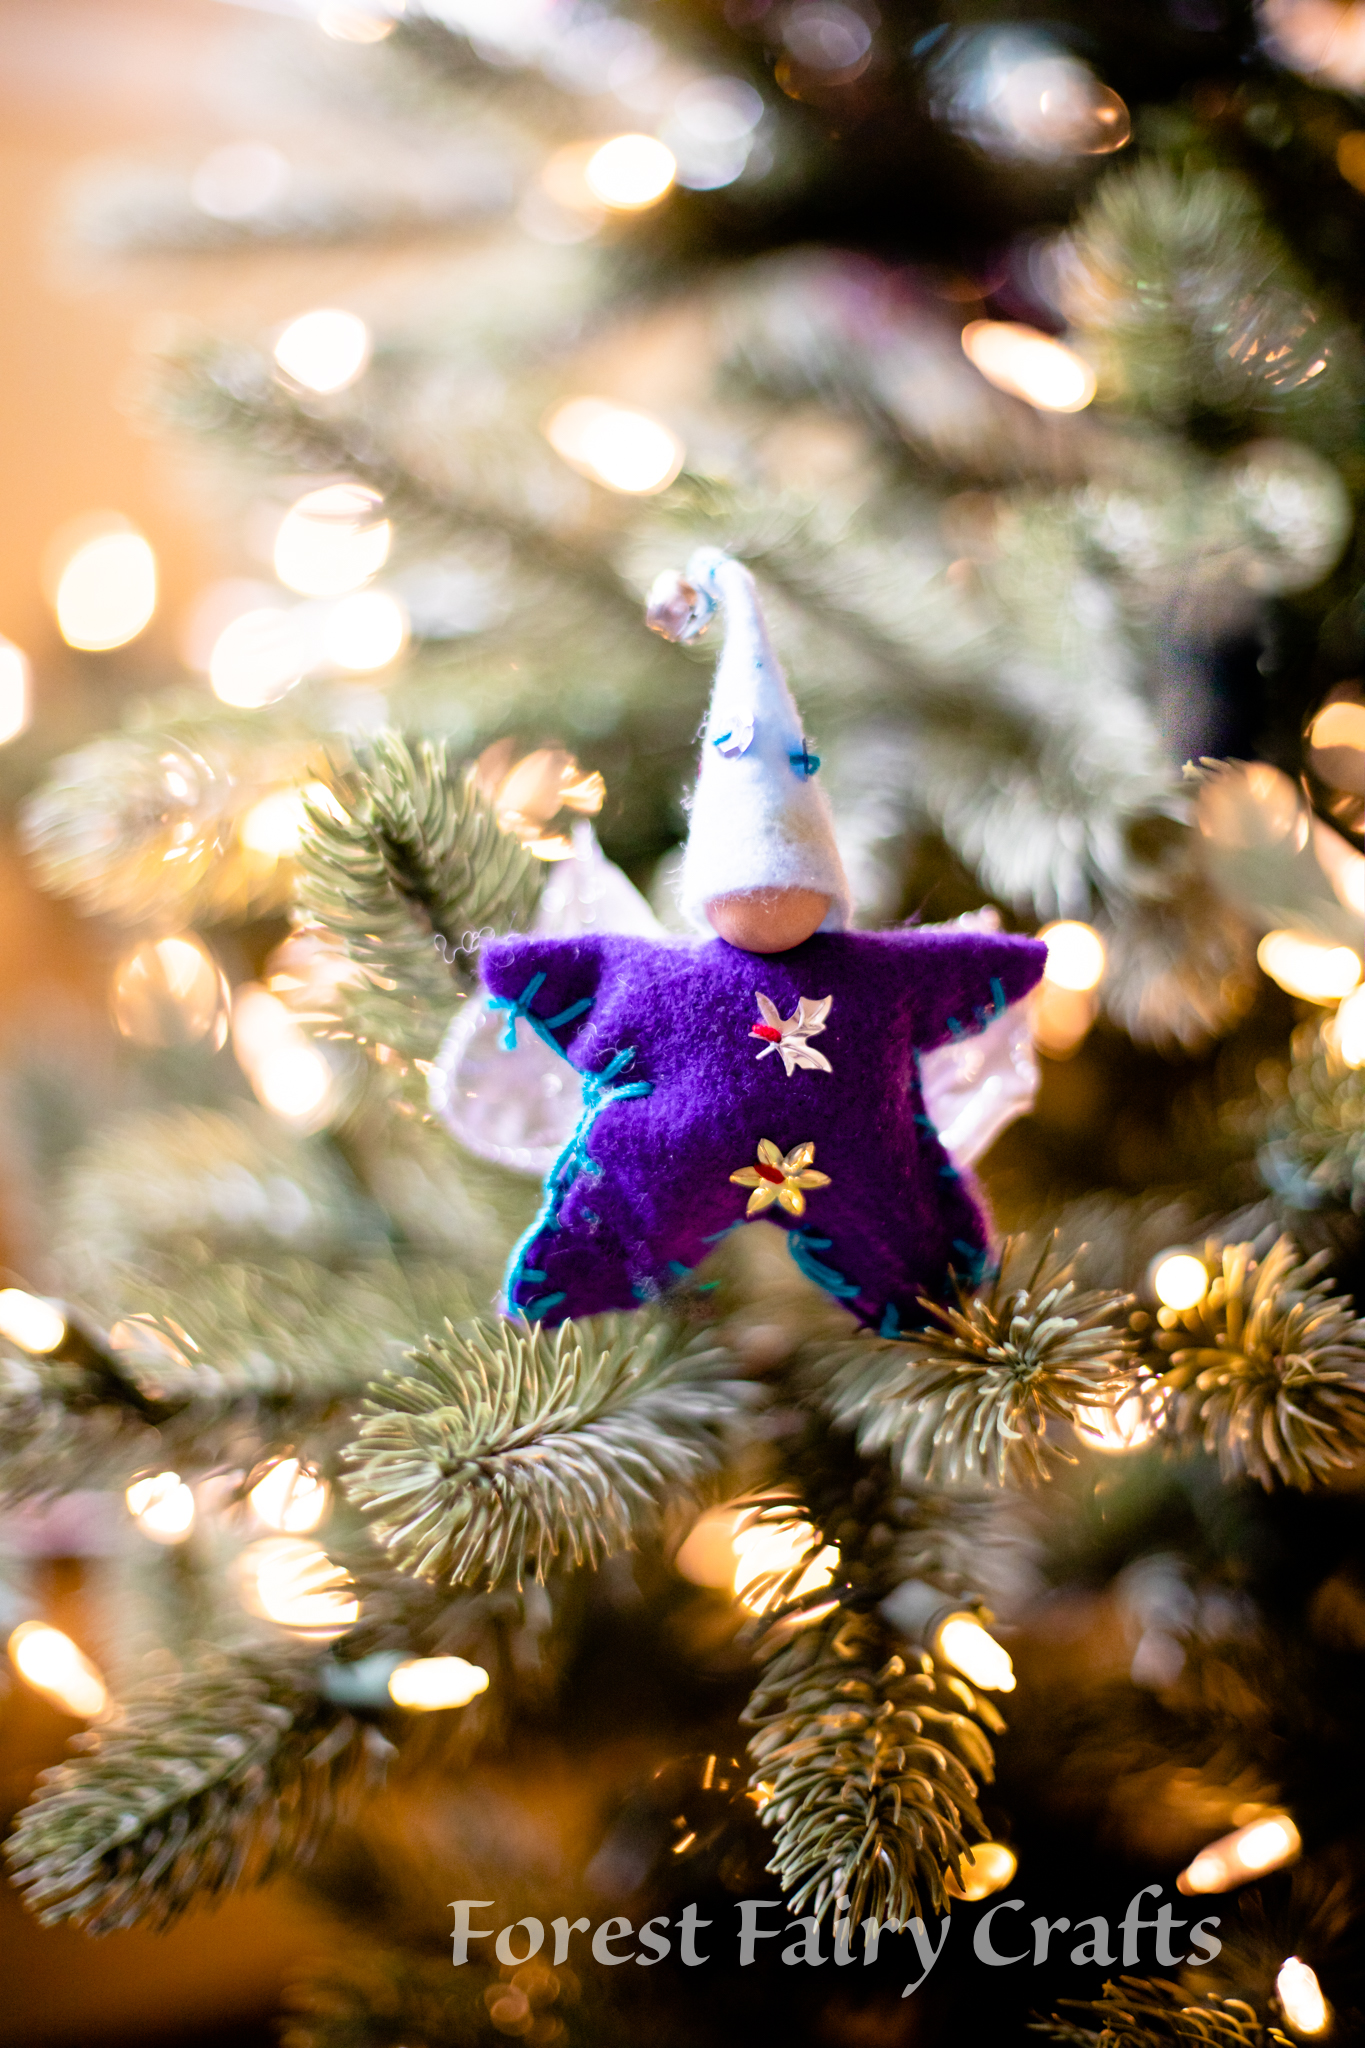
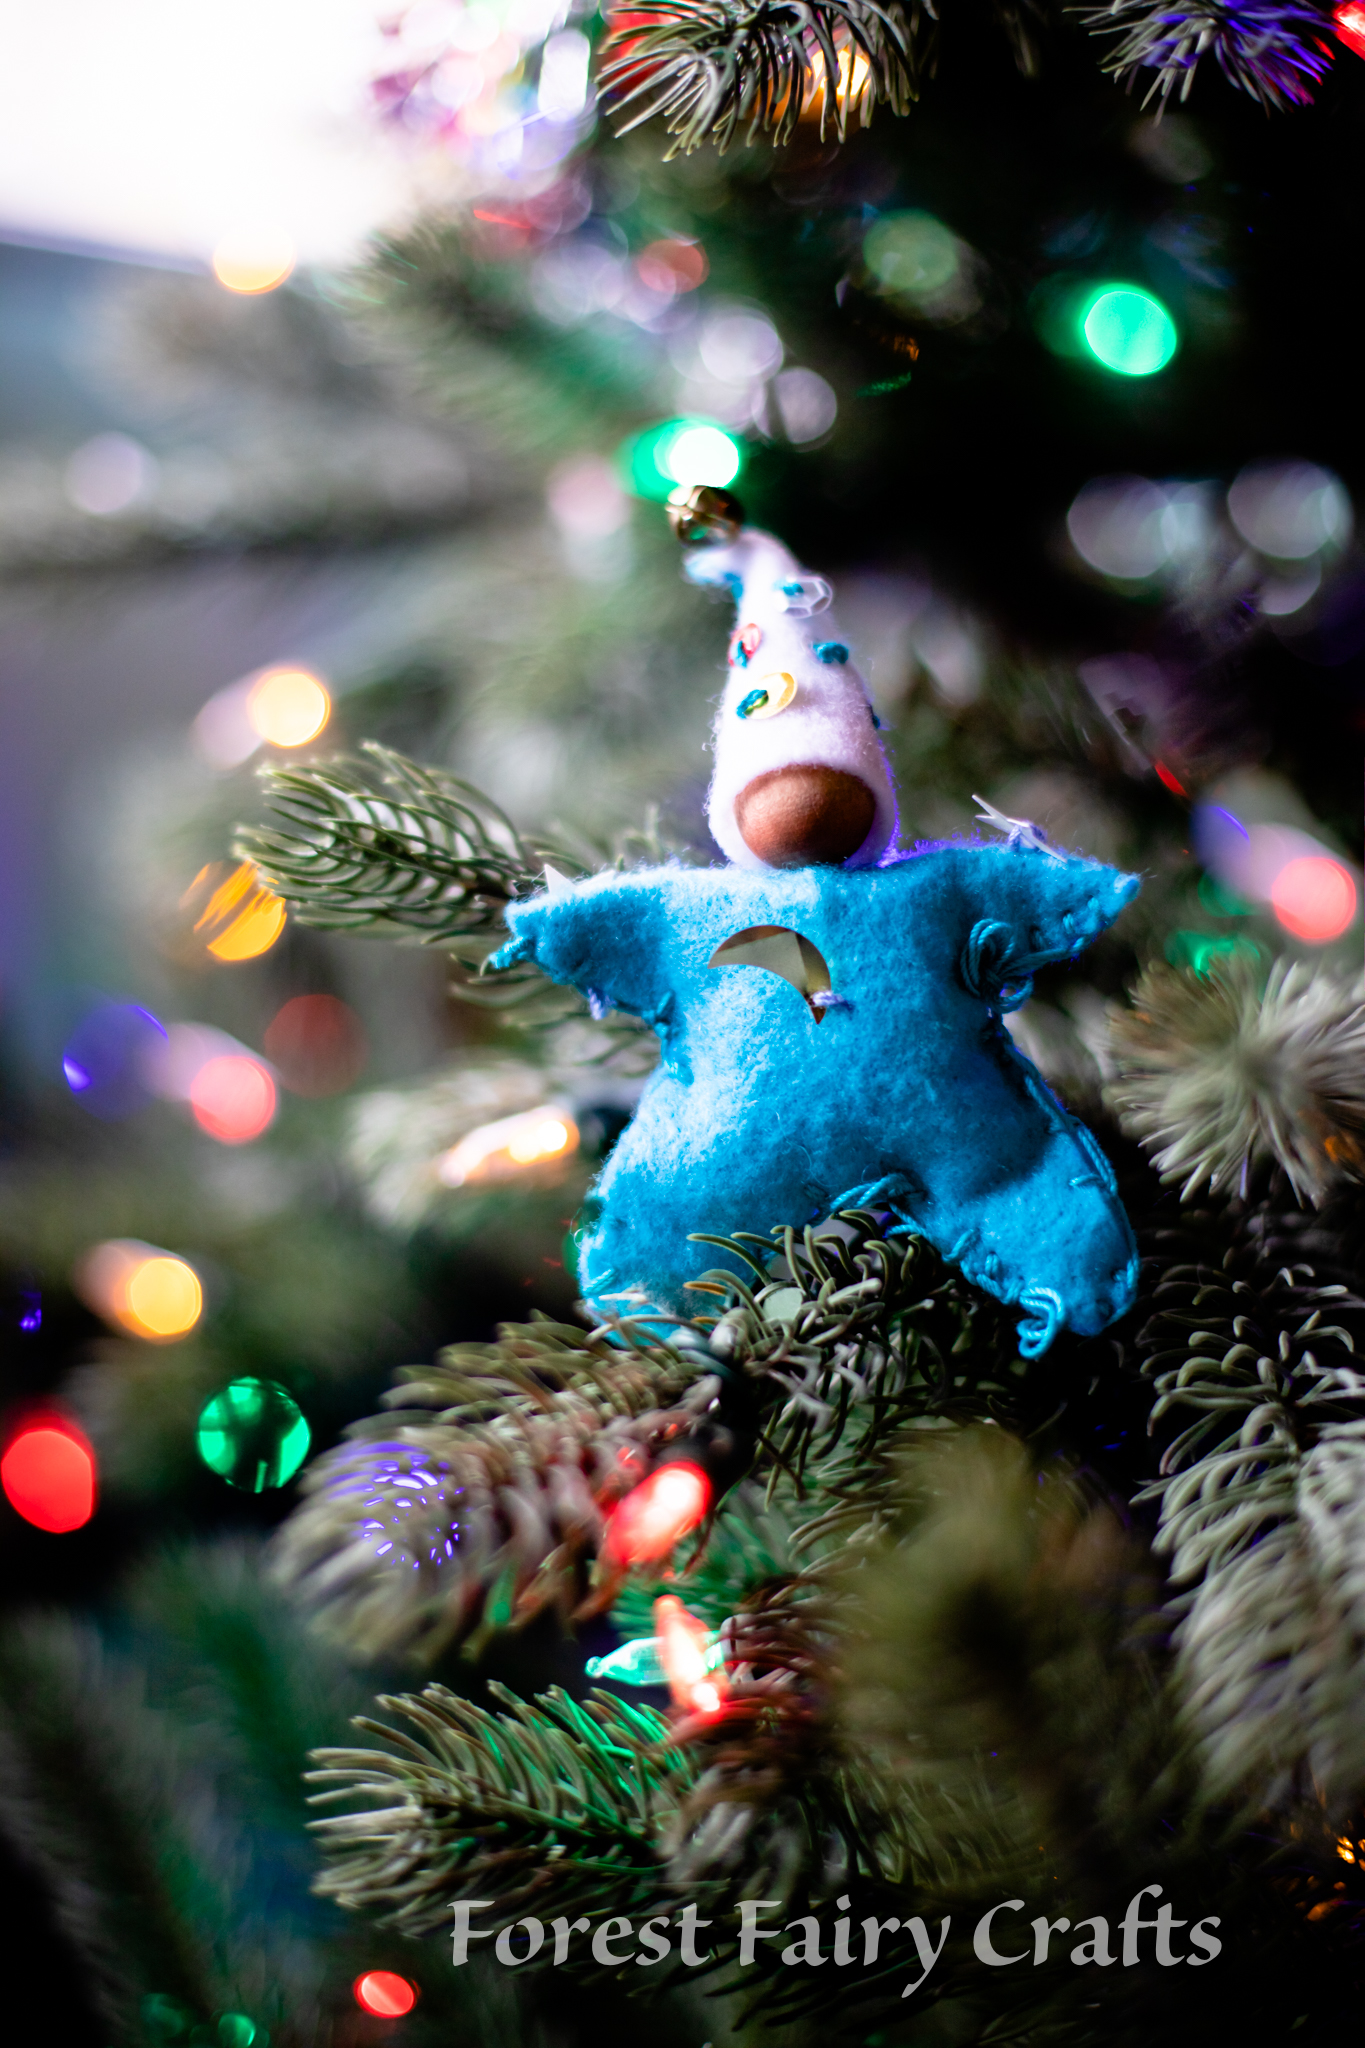
Star babies were a favorite with second-grade students. They were so charming and lent themself to a “wish upon a star” thought to go with the ornament as a gift. With my son, I let him choose a favorite color for his star baby. The star babies that my kids made at school are treasured ornaments (scroll to see a few made by students a couple of years ago). Star babies are in Forest Fairy Crafts.
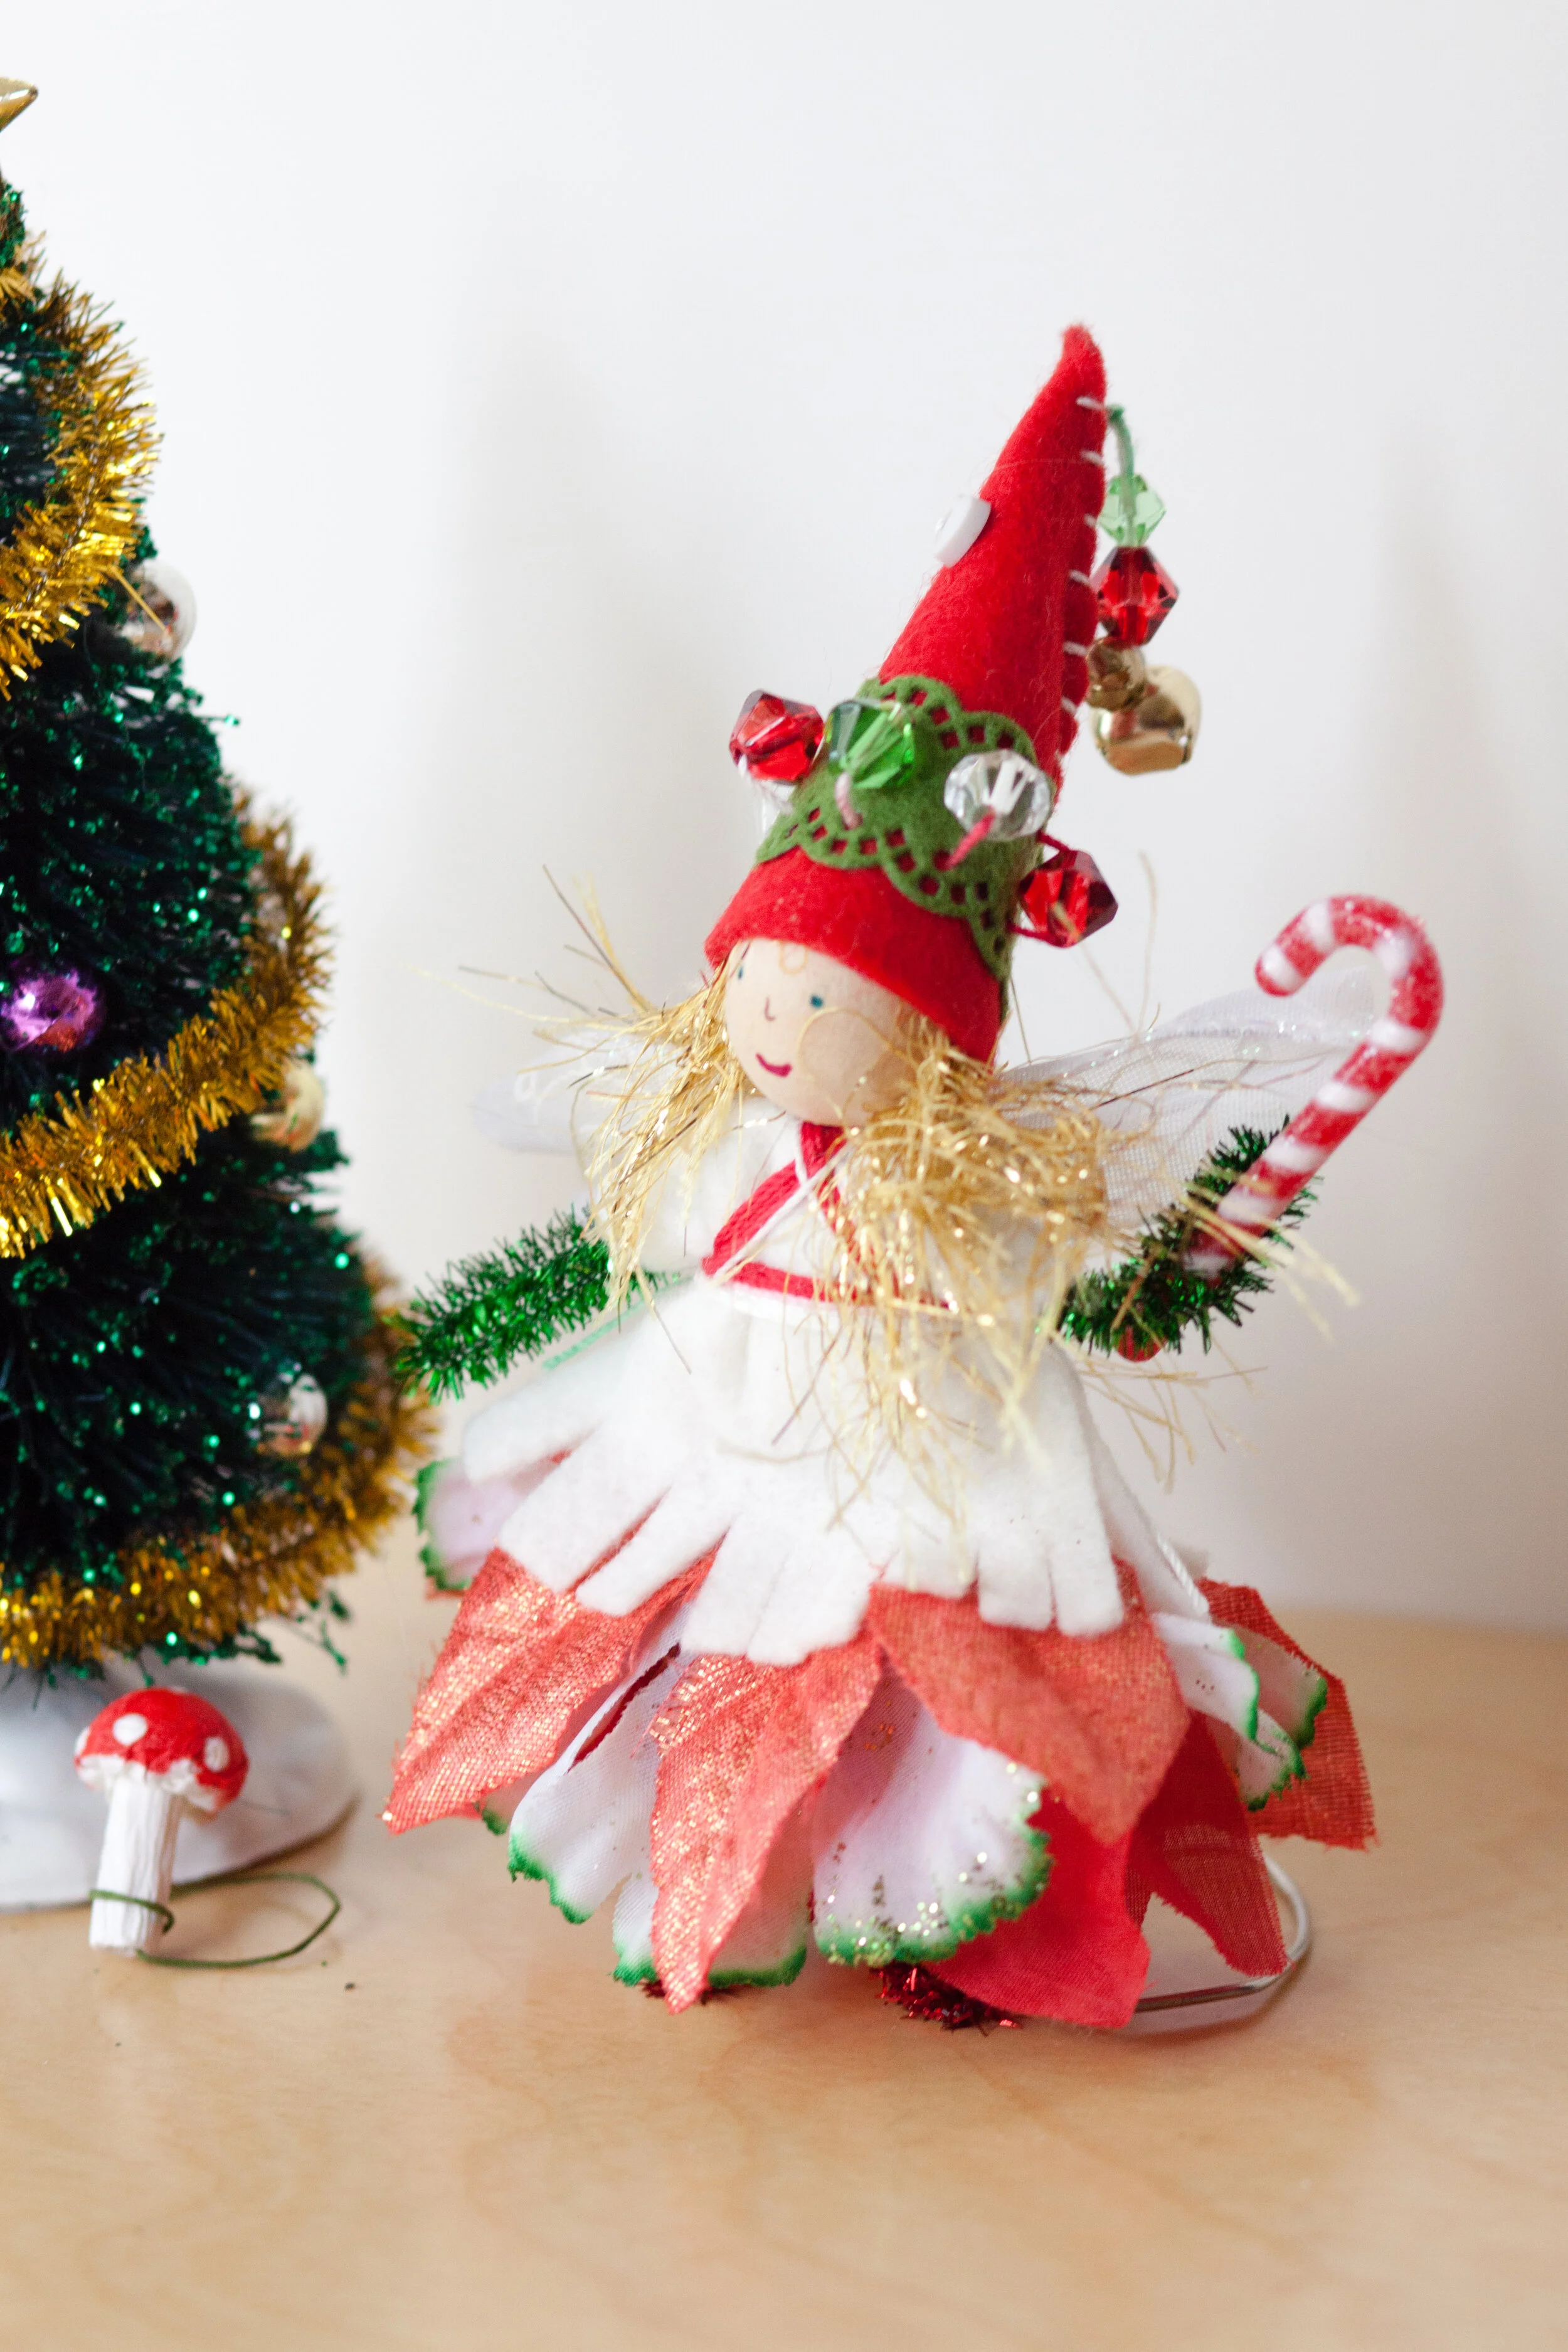
Christmas Fairies
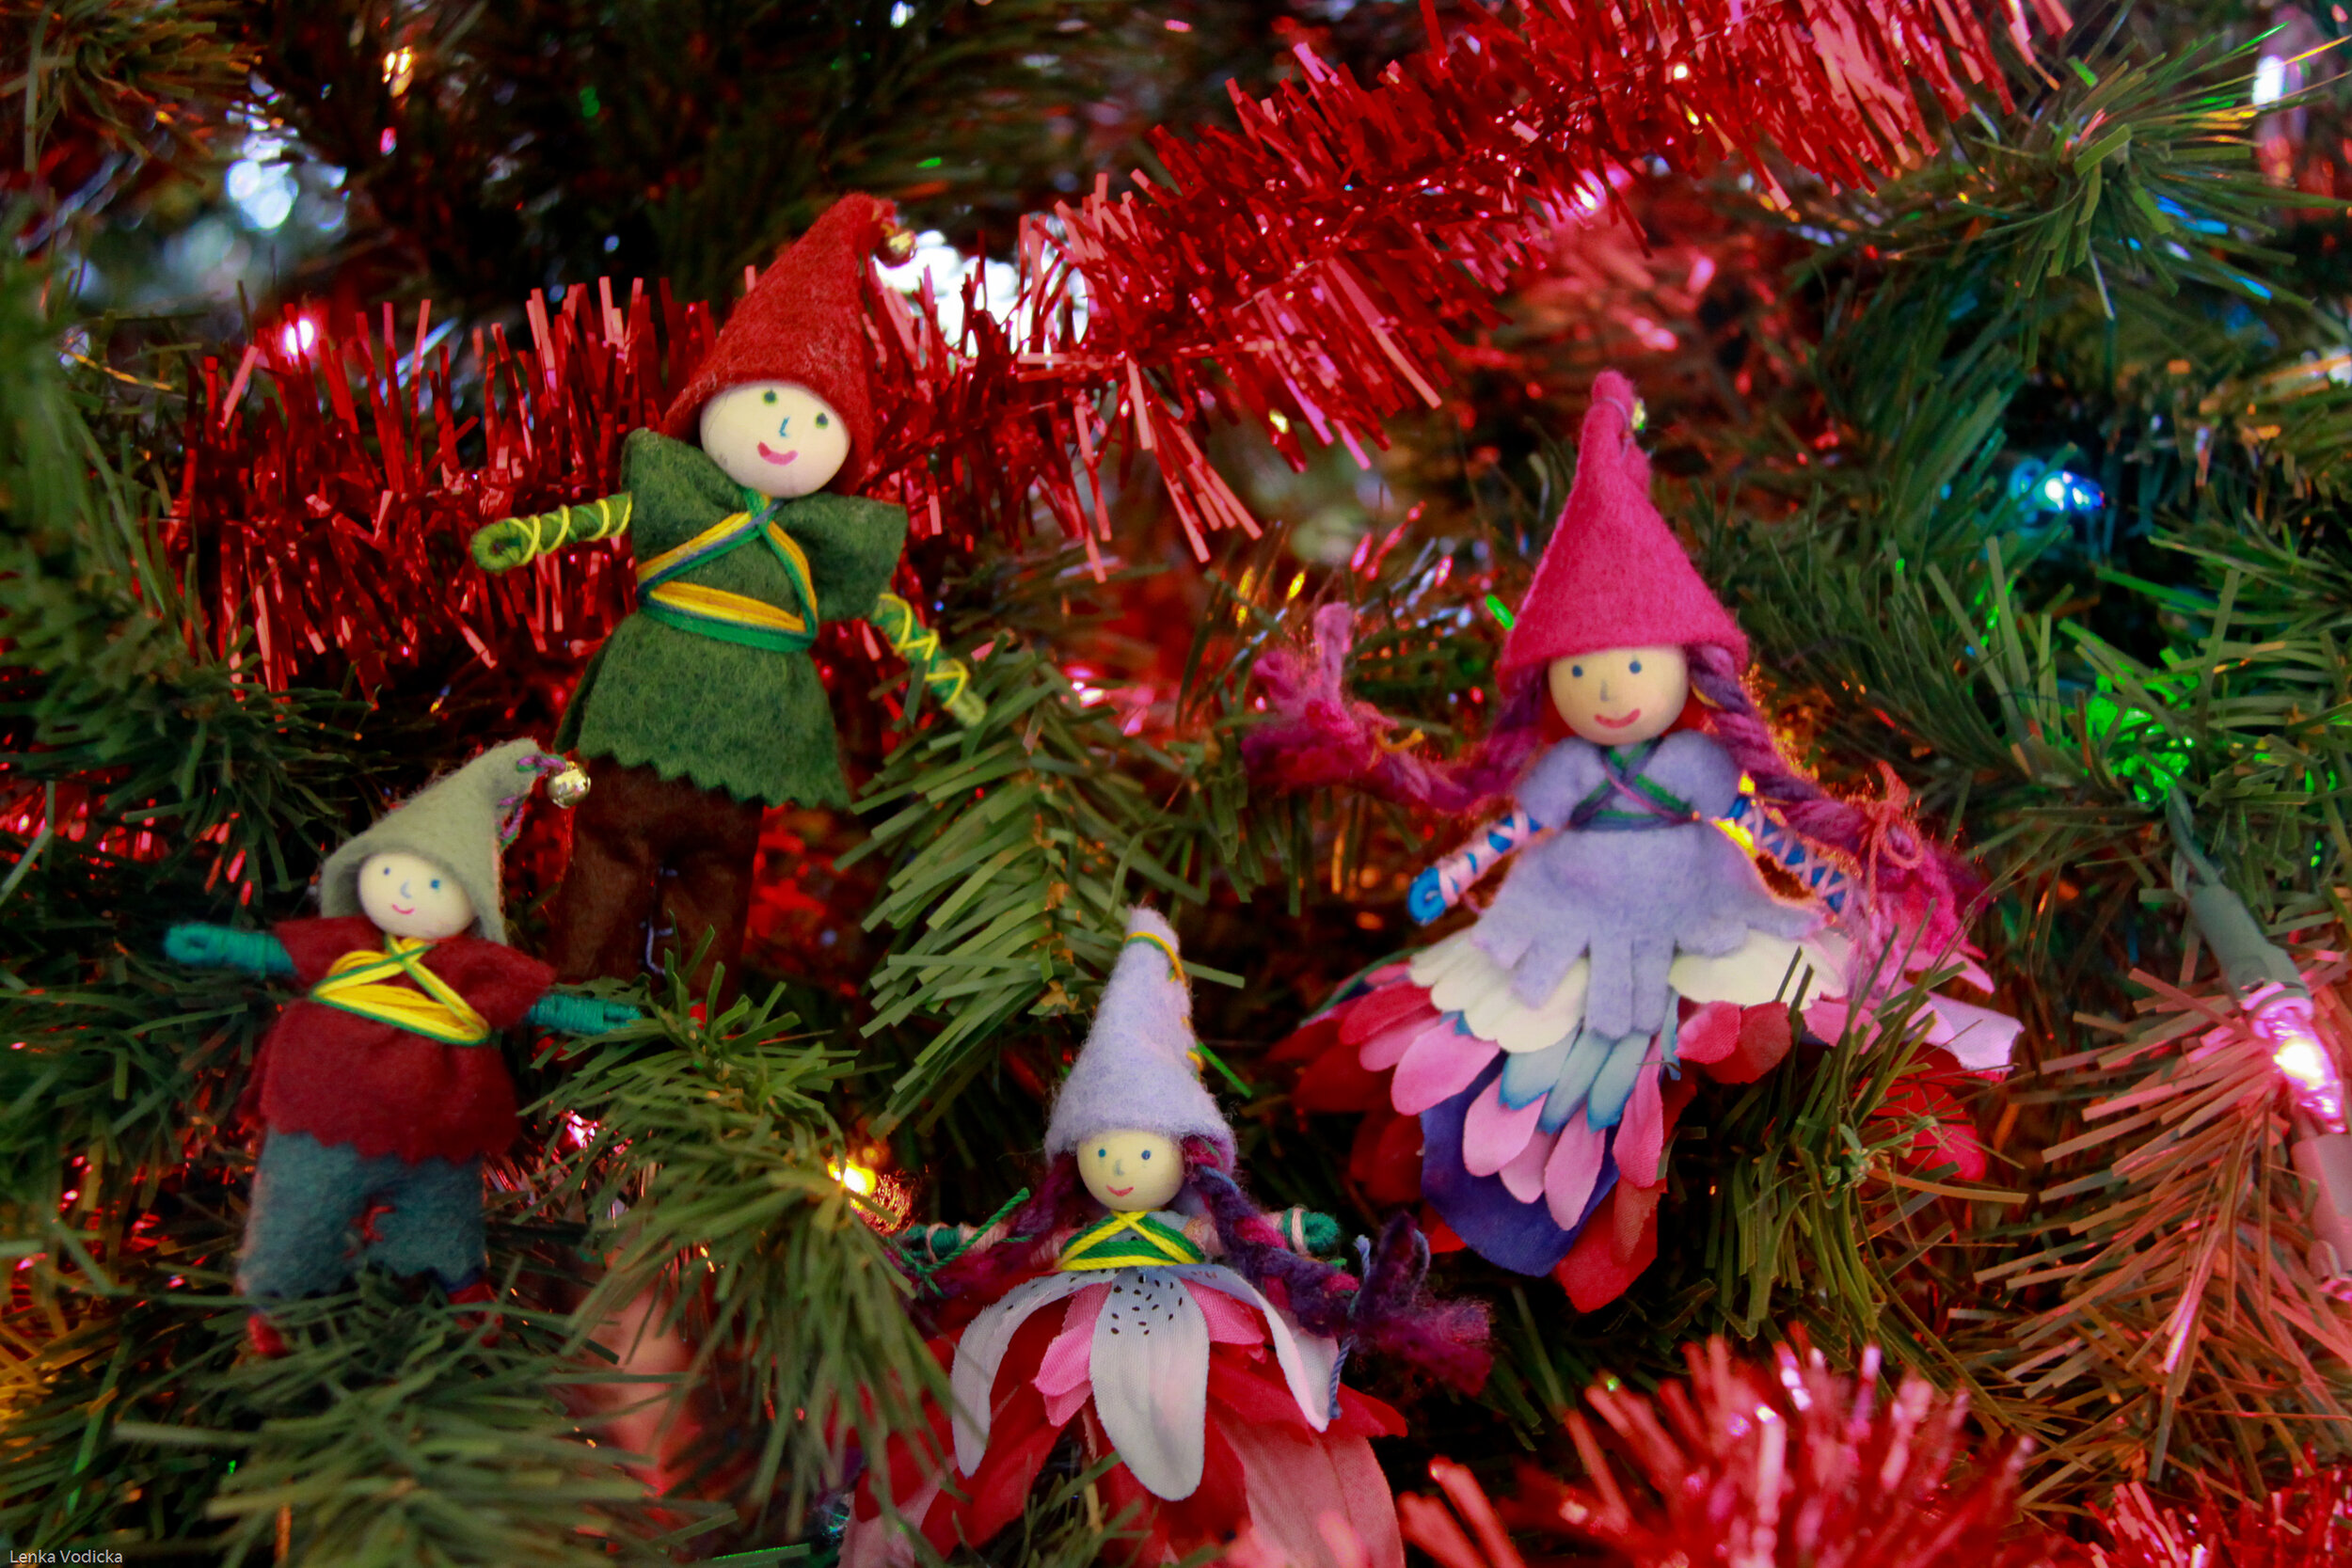
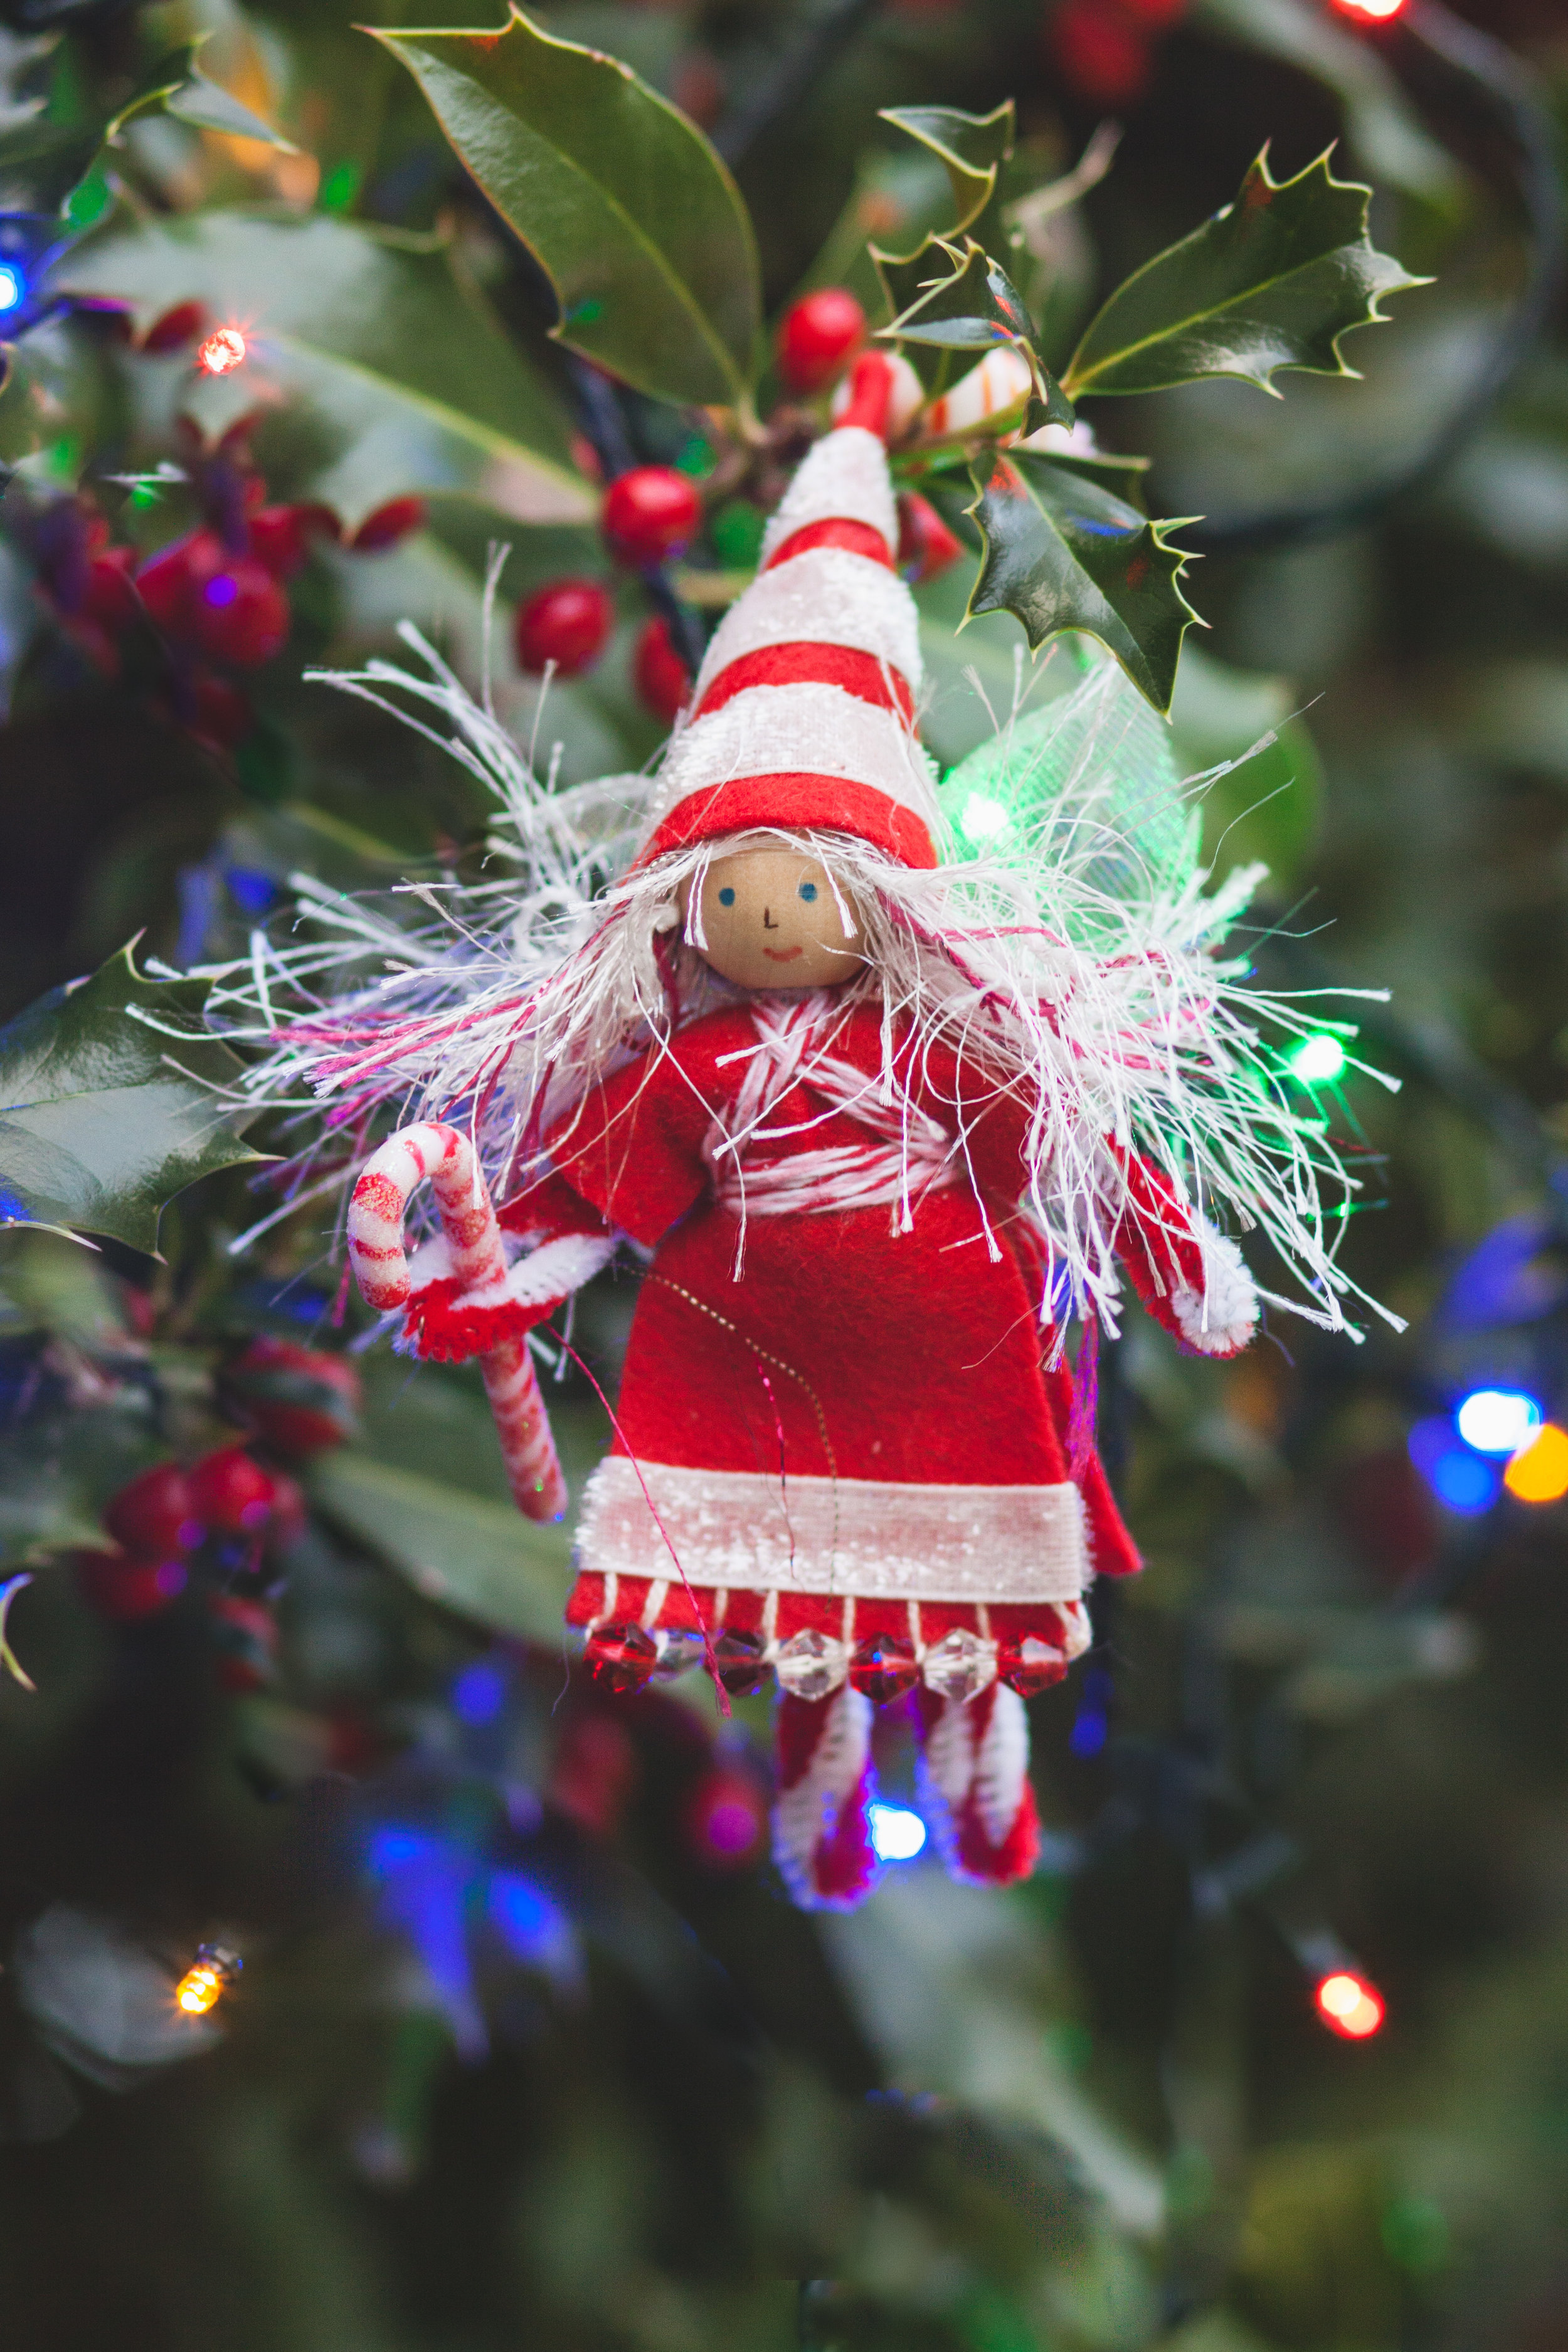
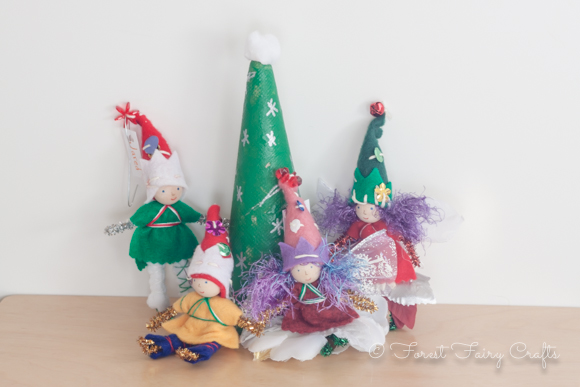
They may be simple, but they’re still magical. The premise for these fairies is seasonal colors. Red, green, and white for Christmas. With gold bells. They’re a celebration of nostalgic Christmas celebrations. I found the little candy cane in the miniatures section of the craft store. And the fancy ribbon with edging was also in the craft store. The nice thing with fairies is a little of a supply goes a long way. I like the beads because they look like ornaments themselves. The sparkly pipe cleaners are also fun when Christmas lights shine on them. You can find many seasonal petals at places like the Dollar Store. The pattern for Christmas fairies is the basic fairy pattern in both books. The Christmas fairies in the left image are in Forest Fairy Crafts.
Modern or Mod Christmas Fairies
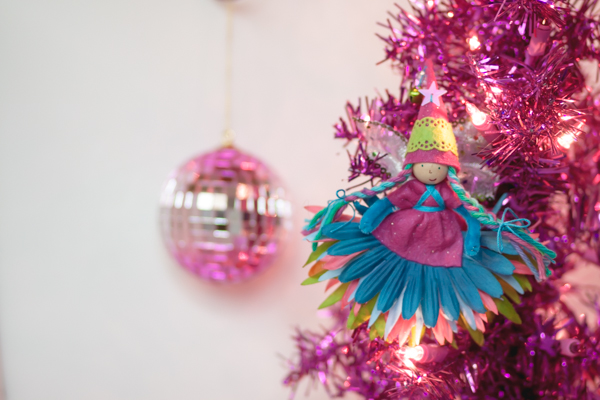
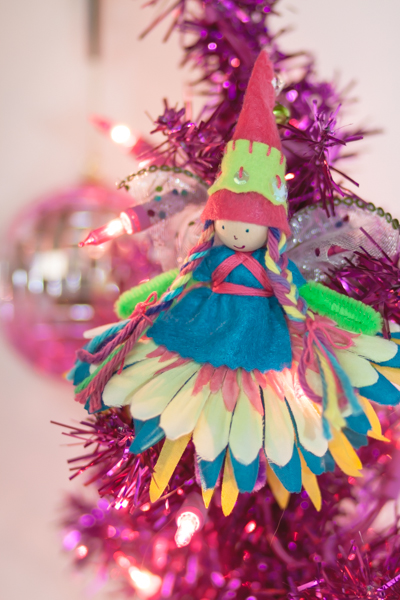
While I love classic Christmas colors as much as anyone, playing with modern colors delights me (or are they retro colors, or mod colors?). Regardless, they’re so fun to play with pink, turquoise, and lime green. The scalloped ribbon was a perfect decorative accent (you can see another shade on the Christmas fairy, above). And you may recognize the star sequin from the ice queen fairy with Santa. You’ll start seeing elements appearing on very different fairies. After all, a little decoration goes a long way :). You can use the flower from Forest Fairy Crafts or spring fairy from Magical Forest Fairy Crafts Through the Seasons with whatever colors inspire your holiday vibe.
Phew, if you made it this far, congratulations! I created galleries below that may inspire you. All of the projects are the same as those mentioned above. I do have more projects that didn’t appear in either book. I’d love to share more for different holidays. And I have more, like the peppermints fairies. More inspirations for other posts. For now, I hope one of these has sparked an idea that could entertain you, and/or your children, in the weeks before the holidays. Once you learn one, it’s easy to make more and more. I’ve heard of people gifting them to local children’s organizations. And one person made quite a few to decorate a tree in the local children’s hospital, that could be gifted to children on Christmas. The holidays are all about sharing magic.
Enjoy!
My favorite holidays are handmade :)
Handmade Holiday Gifts in the Forest Fairy Crafts Books for Decorations and Giving to Family and Friends
Disclaimer: This post contains affiliate links. Should you choose to purchase after clicking through a link, a small commission is paid to us while your pricing remains the same. Thank you for supporting the Forest!
Holiday Crafts in Forest Fairy Crafts Books
Welcome to the season of making and giving. Our holiday decorations are filled with fairies and hand-sewn treasures that have become wonderful memories. Children love to make and give handcrafted treasures. And they can give to Mom or Dad or Grandma if you want to keep one (or two or three) in your own family.
With two books, we want to connect you with projects that speak to your heart. I’m sharing which projects are in which books so you can choose your favorites. Of course, you can have it all with both books :)
Angels in the Forest Fairy Crafts Book
Angel (with a dress or pants, image above)
Christmas Fairy (with a dress or pants)
Fairy Star (fairy doll with a star shape, also called star babies, image below)
Pocket Treasure Keepers (can be ornaments)
Magical Forest Fairy Crafts Through the Seasons
Winter Fairies (dress and pants)
Winter Gnome
Snowflake Ornament
Star or Tree Ornament
Star, flower, and snowflake ornaments in Magical Forest Fairy Crafts through the Seasons
Of course, any of the fairies, and most of the crafts sewn with felt, can become charming ornaments. Mix and match for an endless array of creative ideas. From our first book, Forest Fairy Crafts, you could make a Christmas Ninja or Mermaid. Simply choose colors that evoke the holiday season.
We also use projects included in other “seasons” in Magical Forest Fairy Crafts Through the Seasons for holiday-theme crafting. We’ve made the Lavender Mouse using red, white, and pink felt, then hanging them as an ornament (especially if they have a field trip to see the Nutcracker). We’ve used the heart and star shapes from the summer beanbag to make ornaments.
Christmas Fairies sewn by children from the Forest Fairy Crafts book
We often create gnomes as ornaments. One year I called them elves (inspired by the Polar Express) and we made an entire village of their homes with all the things they needed in the community. Which included a dance studio complete with disco ball :) I’m sure many became ornaments once they went home. See more of their creativity here: https://www.forestfairycrafts.com/journal/elf-houses.html
Gnome directions are in both Forest Fairy Crafts books
And you can lean into any of the holidays of the season. Choose Hanukkah colors or Kwanza colors to make decorations that connect with your family’s celebrations. One of the magical things about the Forest is that we encourage children (and you) to make crafts reflect you.
I encourage everyone to let a child create crafts with messy stitching, long stitches, or random stitches. Soon enough, those exuberant sewing styles become tidy. As long as the project isn’t scrunched into a little ball (and maybe even then you can hang the scrunched up version on a tree), they become tokens of the time. Kids love to see what they made :)
We hope that you enjoy choosing crafts that celebrate the season. We love to see what you create :)
Oh, and I’ve made many fairies to gift to children (or made baby mobiles) for the children in my world. I made this little family for my neice for her dollhouse. I’ve made St. Nicolas gnomes, 20 of them, for my son’s class to tuck into their “shoe” (not really a shoe, but a lesson about St. Nicholas celebrations). You can be the one having fun making little magical gifts. We met one lovely lady who made them for the tree at the local children’s wing of the hospital, and children got to take one home. How magical is that?
Enjoy your holiday crafting!
Fairy inspiration: https://www.forestfairycrafts.com/journal/child-made-fairies-for-christmas.html?rq=elves
* Affiliate link disclosure: I receive compensation for helping you discover where to find our books on Amazon. Your pricing is the same. Thank you!
If you are able to support your local independent bookseller, please do so by choosing our books off of their shelves. We support local :)
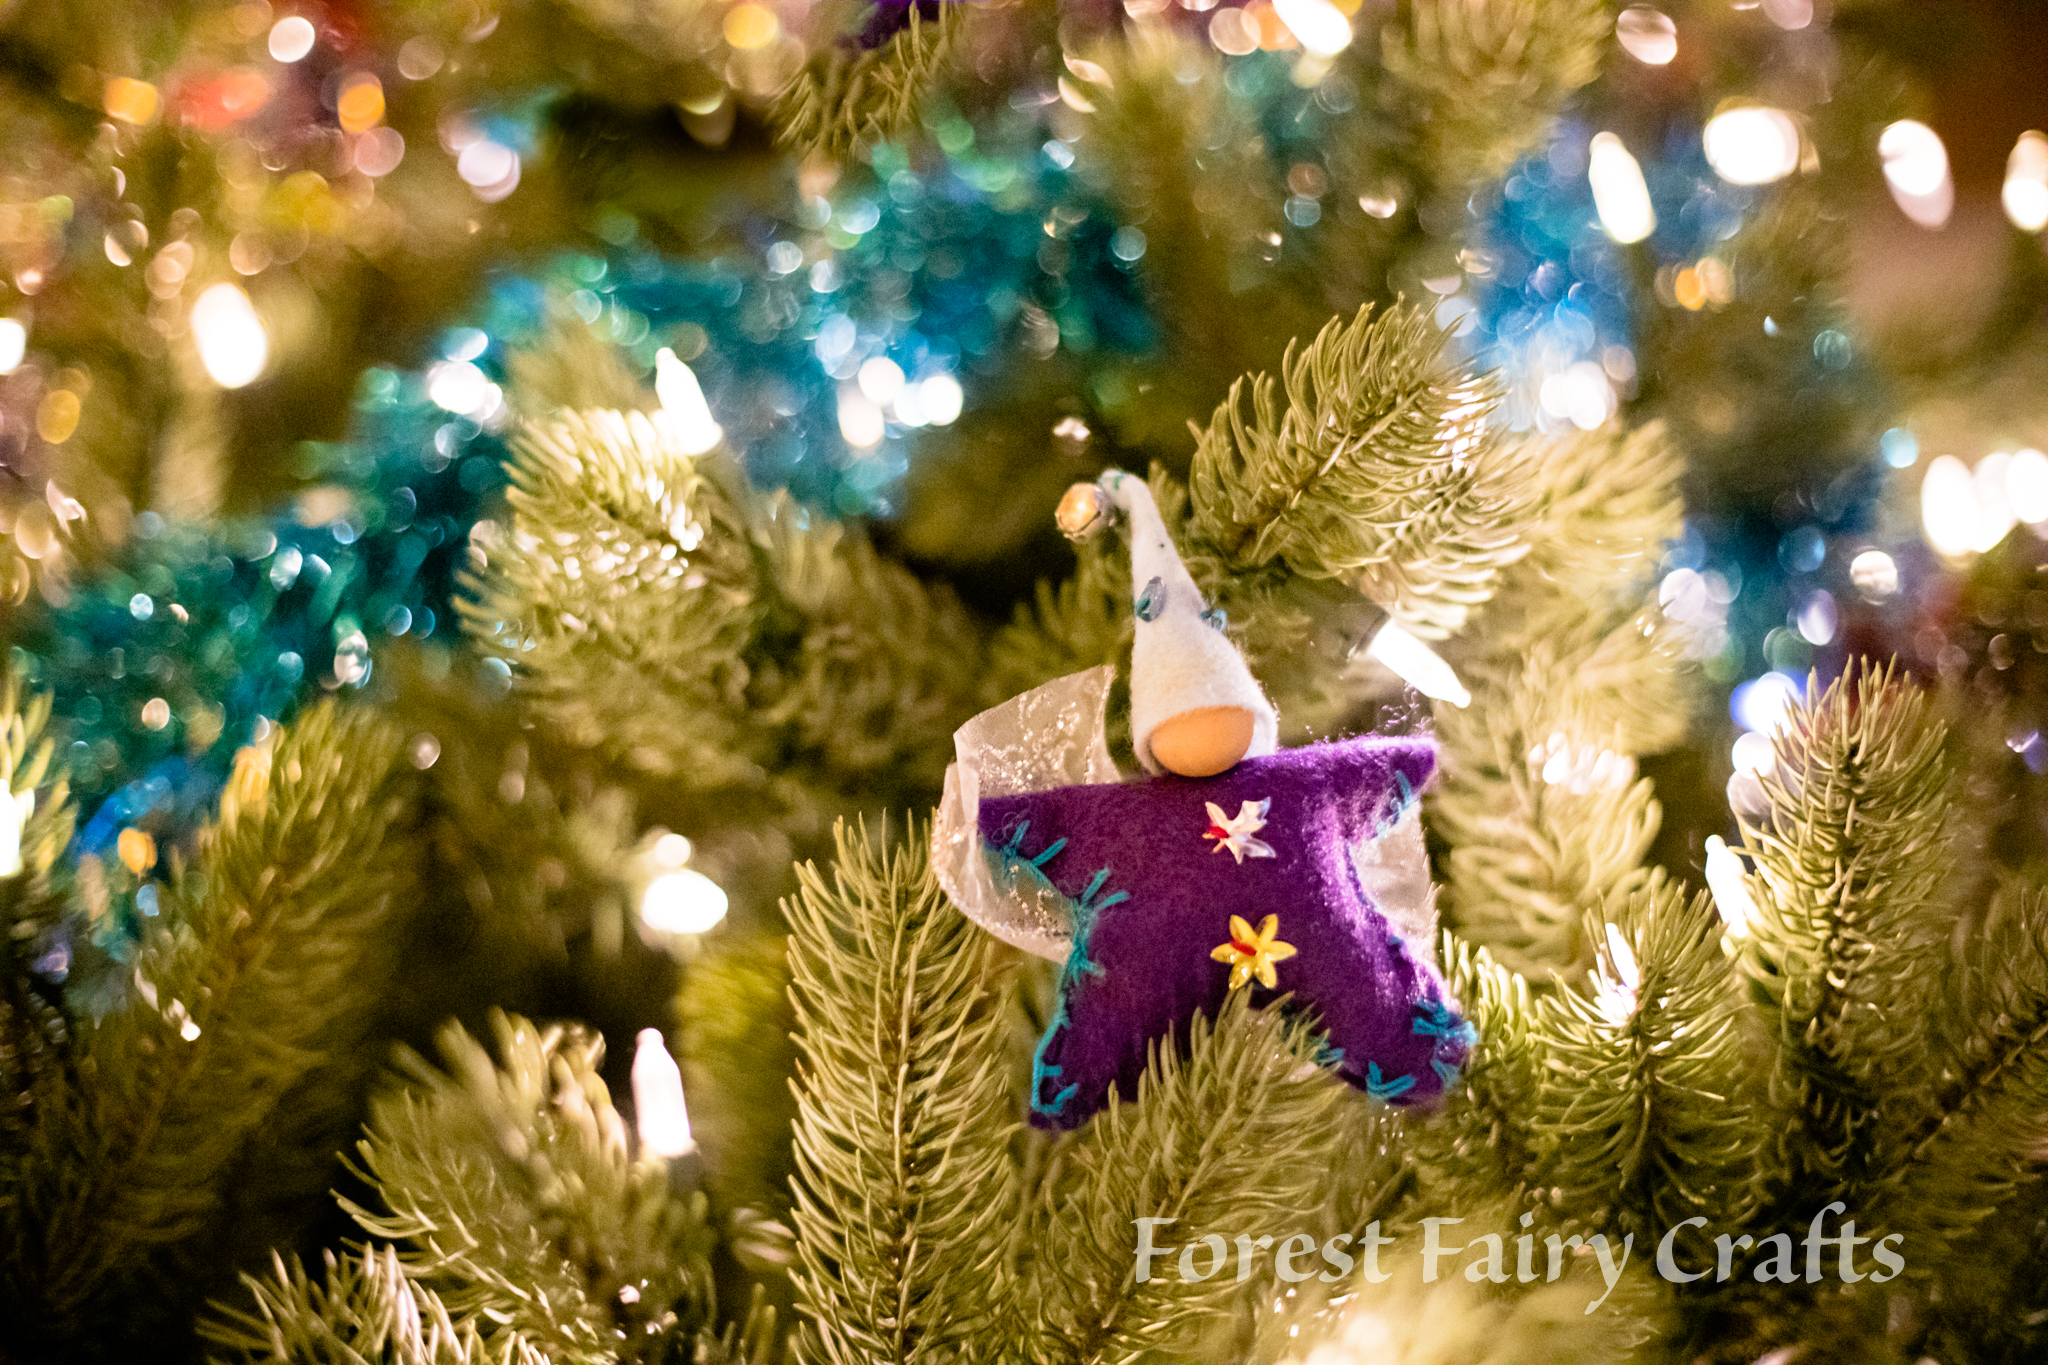
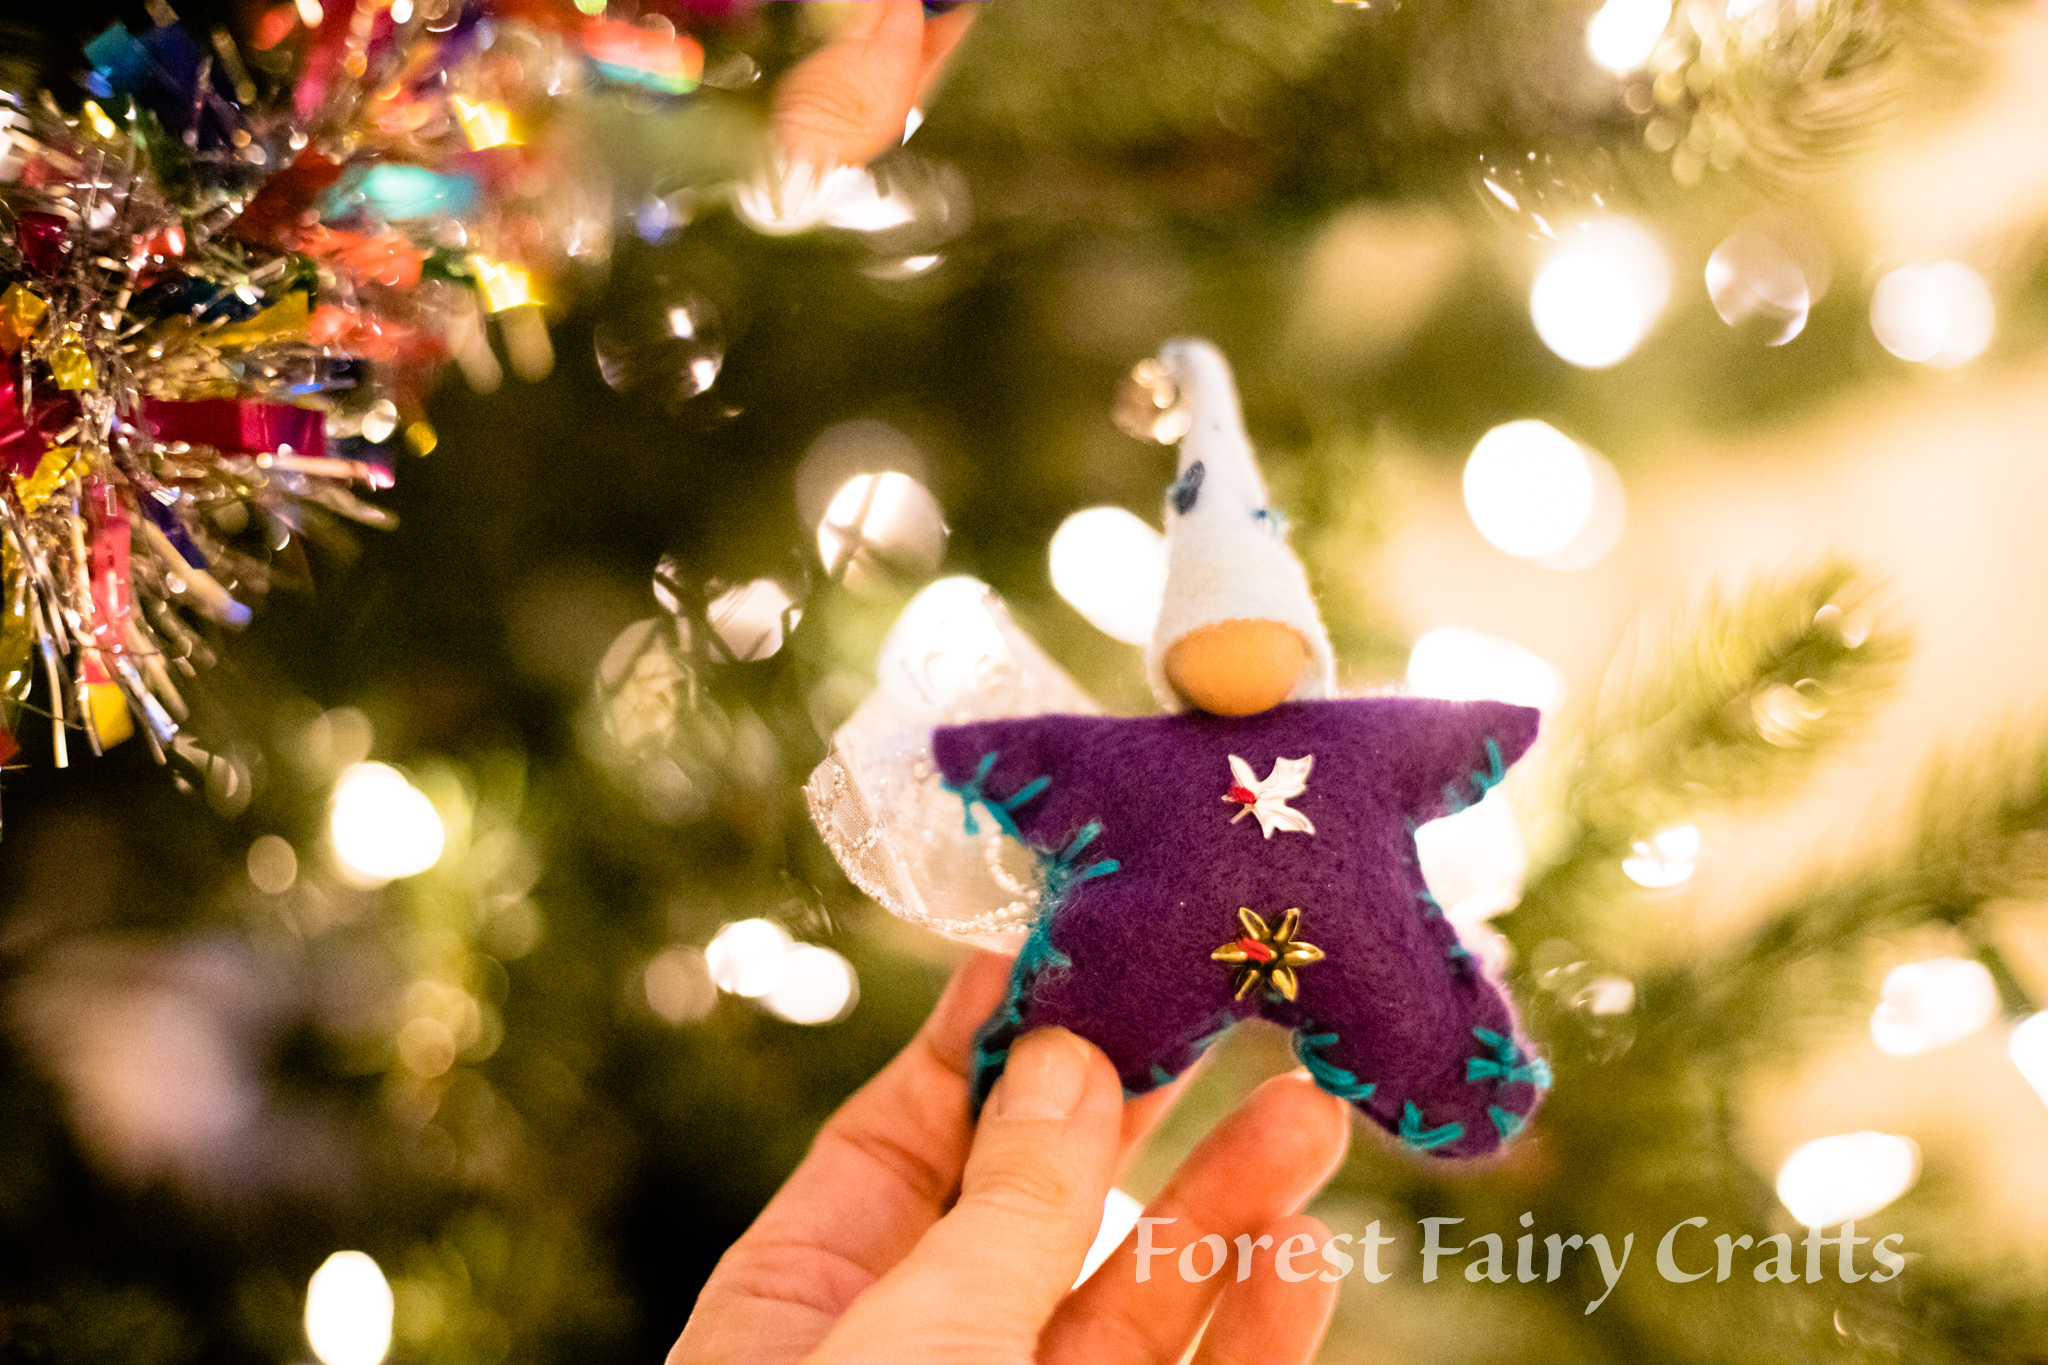
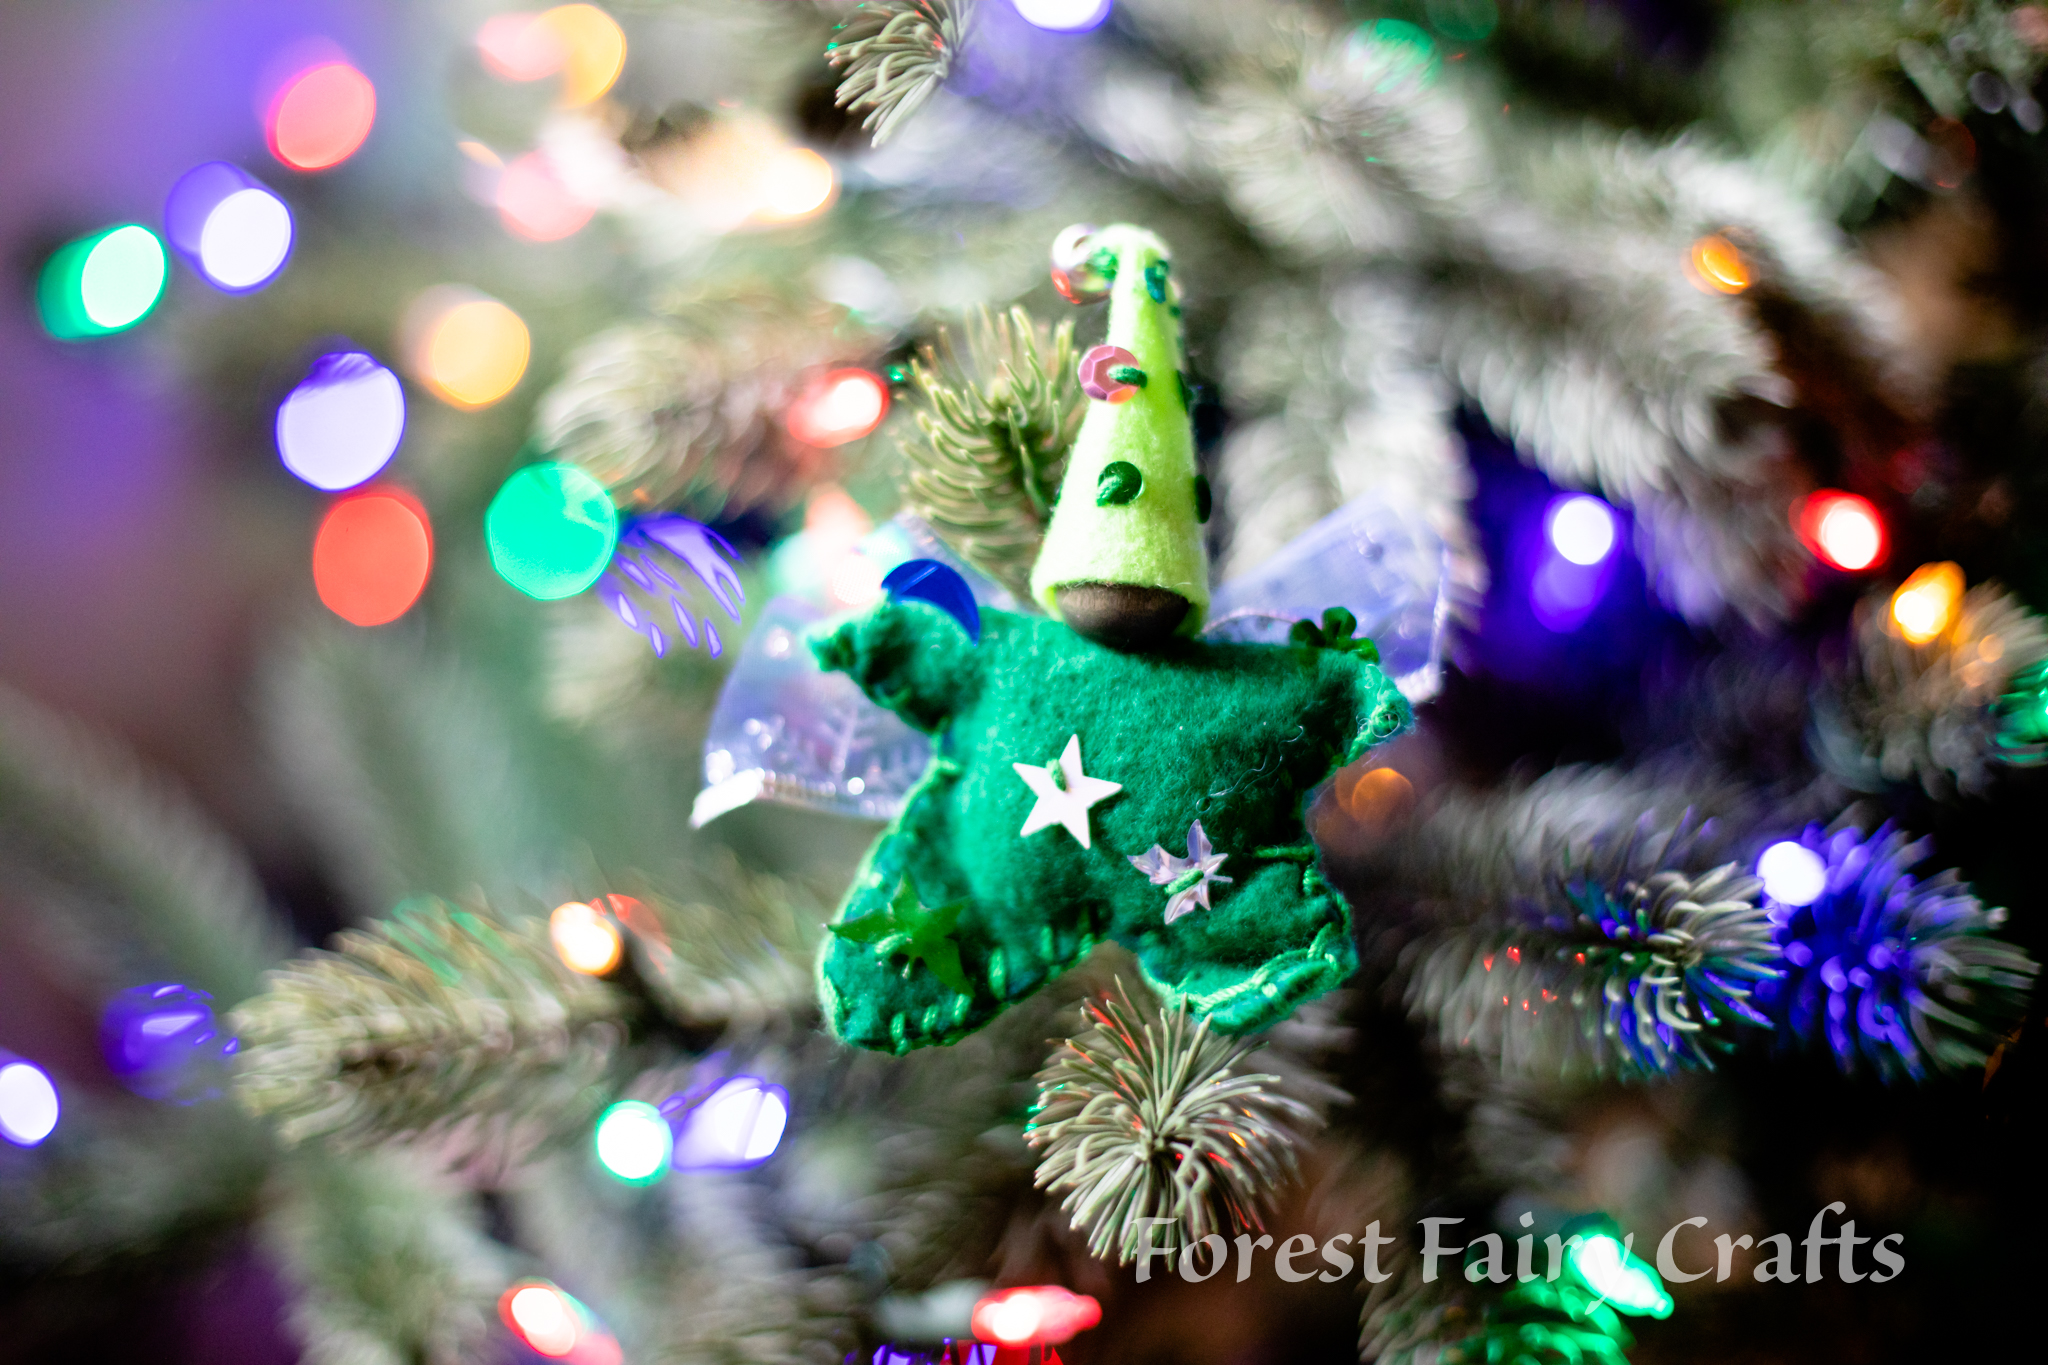
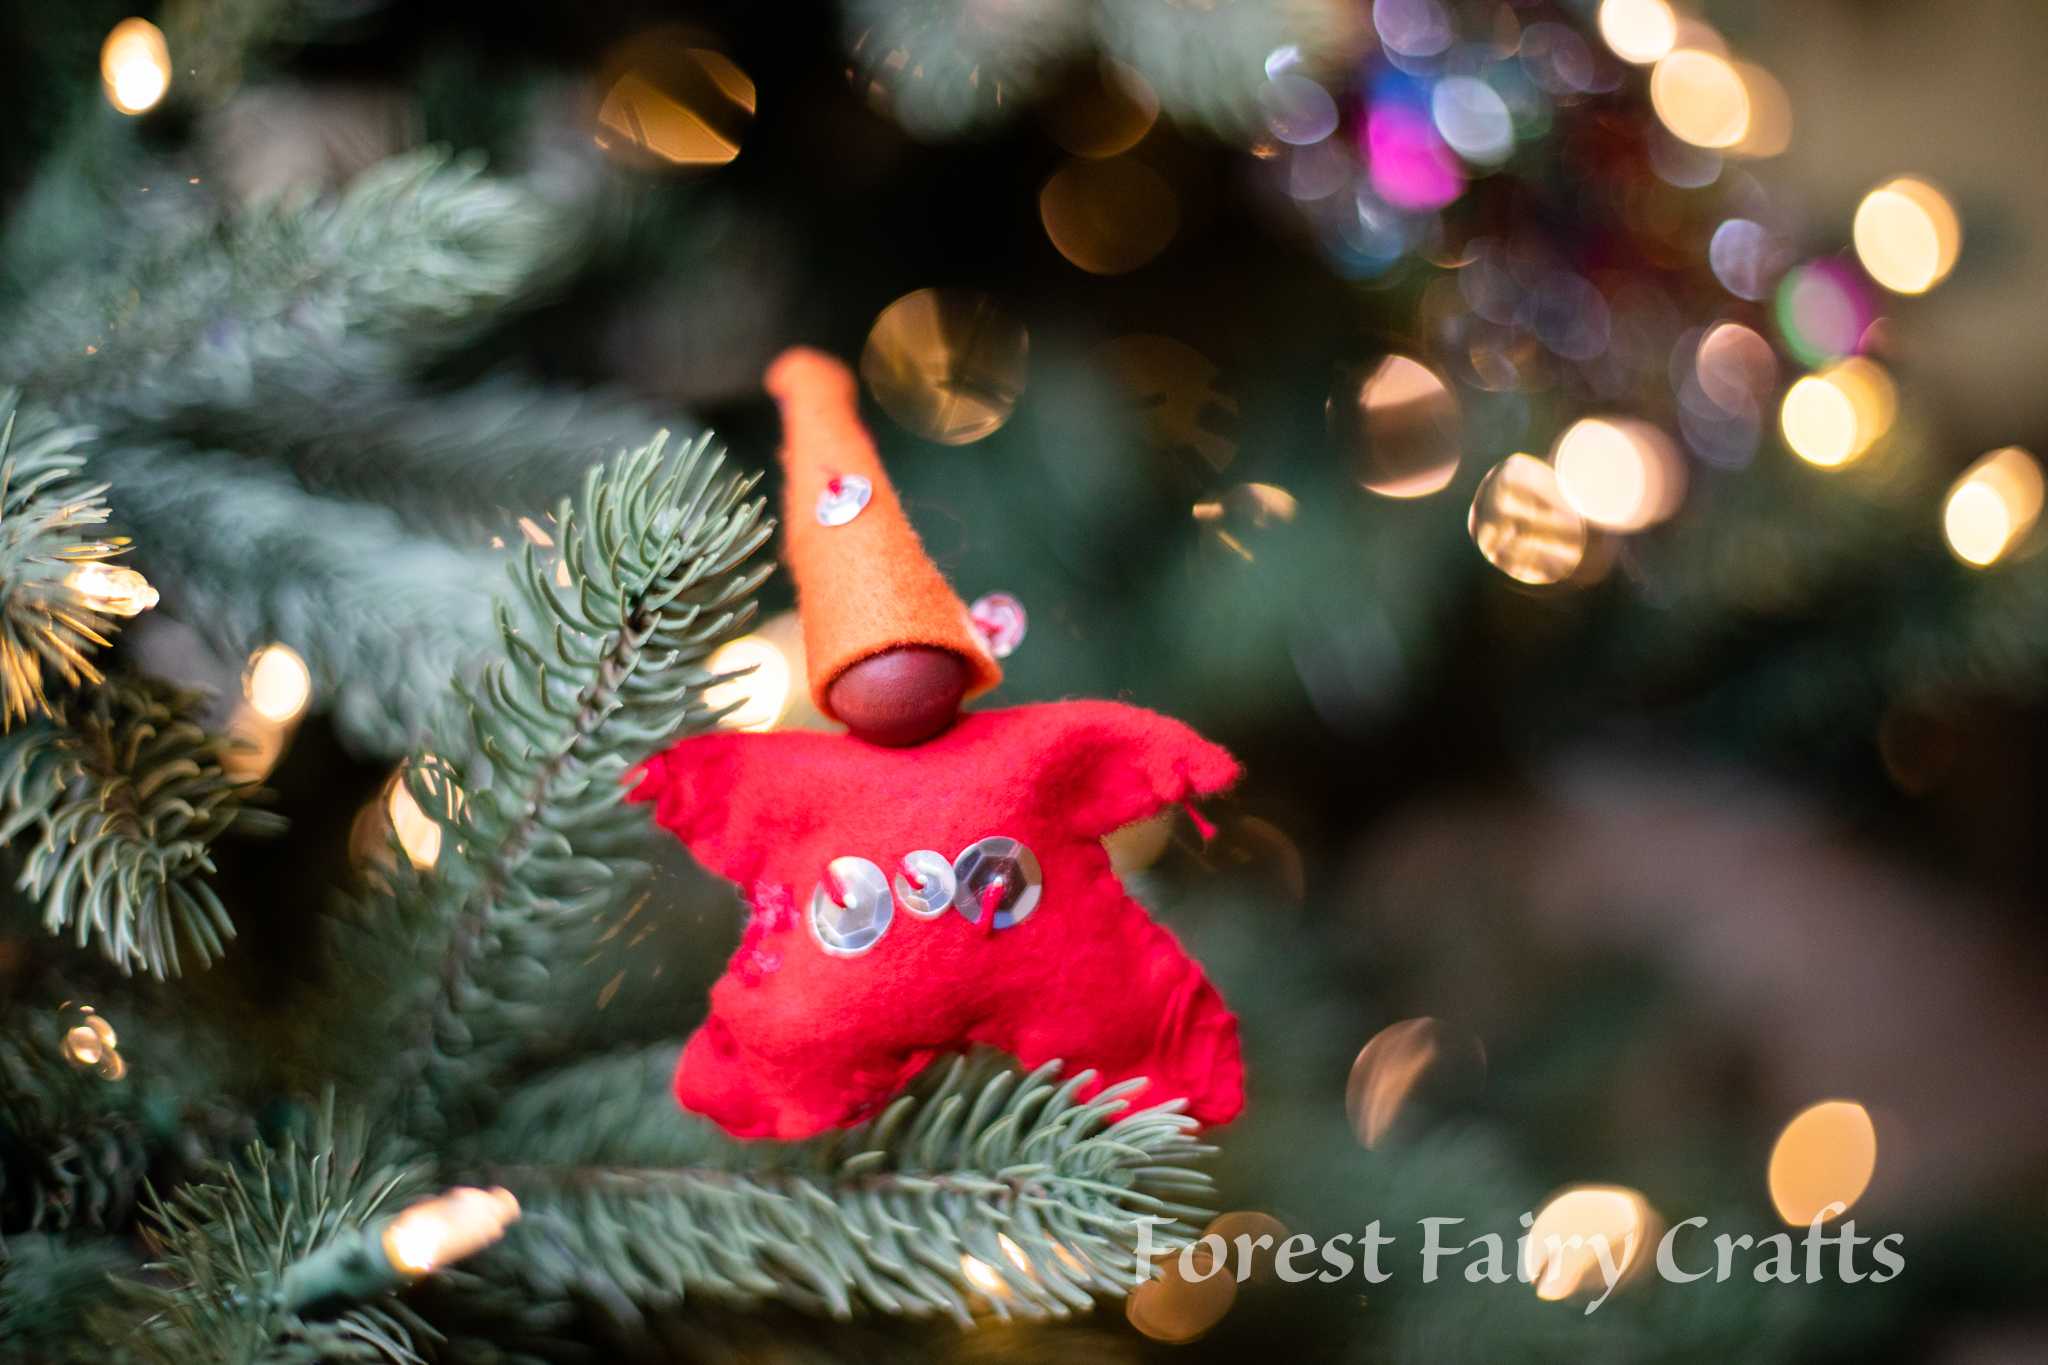
Star Babies made by Children
Star Babies made by Children using Forest Fairy Crafts Book by Lenka Vodicka-Paredes and Asia Currie | Christmas Ornaments and Decorations with Fairy Dolls and Felt Crafts
This time of year is all about the magic of making and giving. The Star Babies are a delight to make and share. They are perfect ornaments or decorations on a shelf. Over the years, we’ve made hundreds of star babies with children. They enchant children. This year, Asia brought a new technique to class. And the kids loved it!
This year, they painted the beads different colors. Classes discussed different skin tones and mixing colors. They painted beads different colors. Star babies enjoy being represented in many different colors.
All of the directions, with photographs, to make Star Babies are in our first Forest Fairy Crafts* book. We paint the beads with watercolors. Make a few for your tree with children you love :)
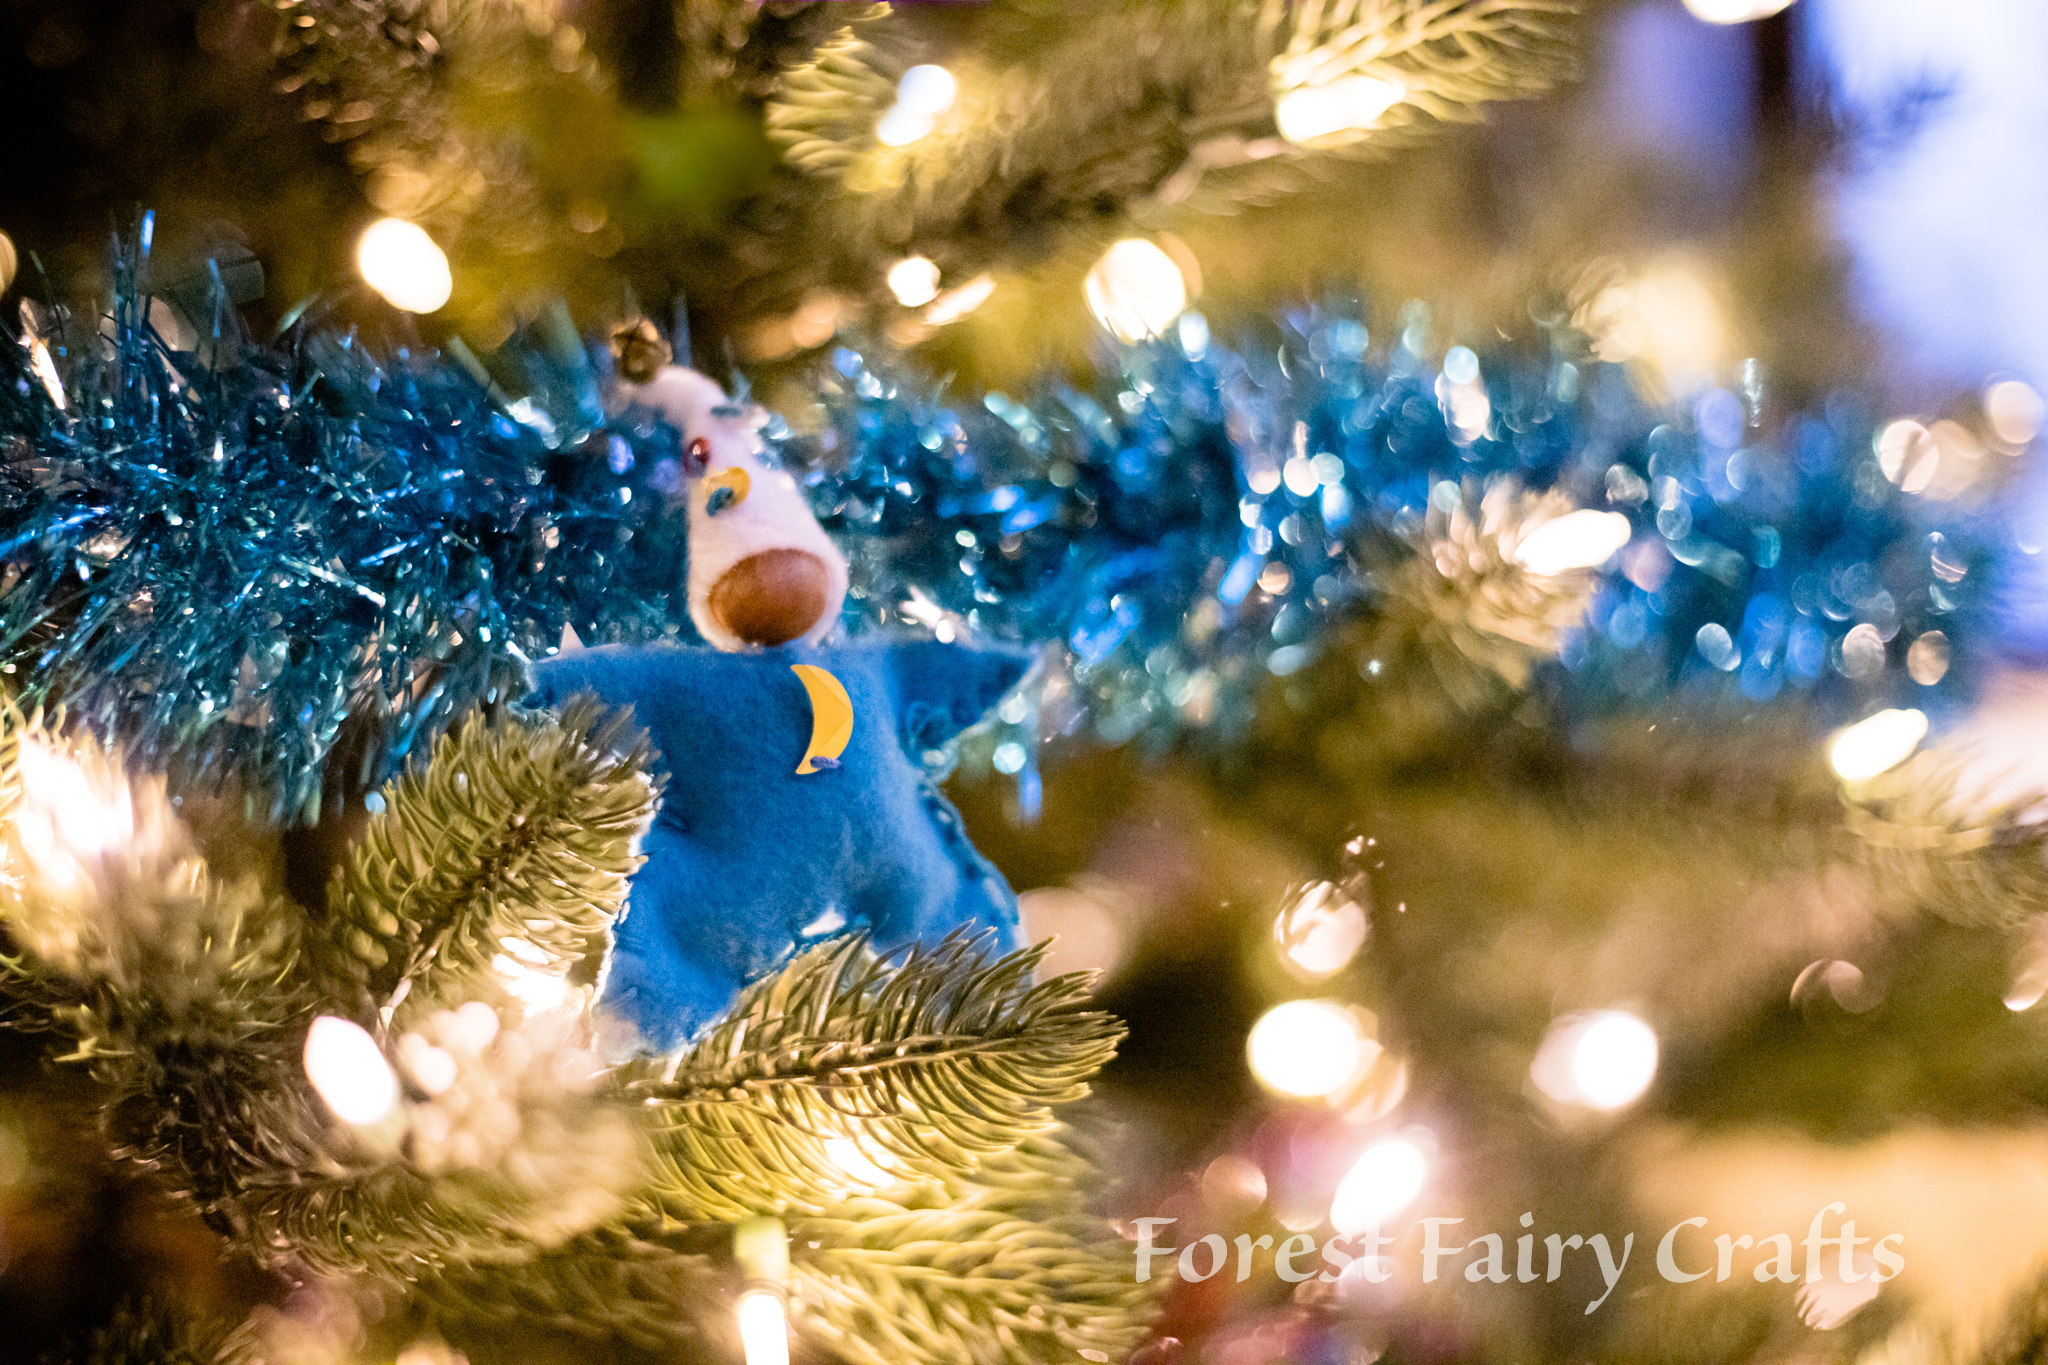
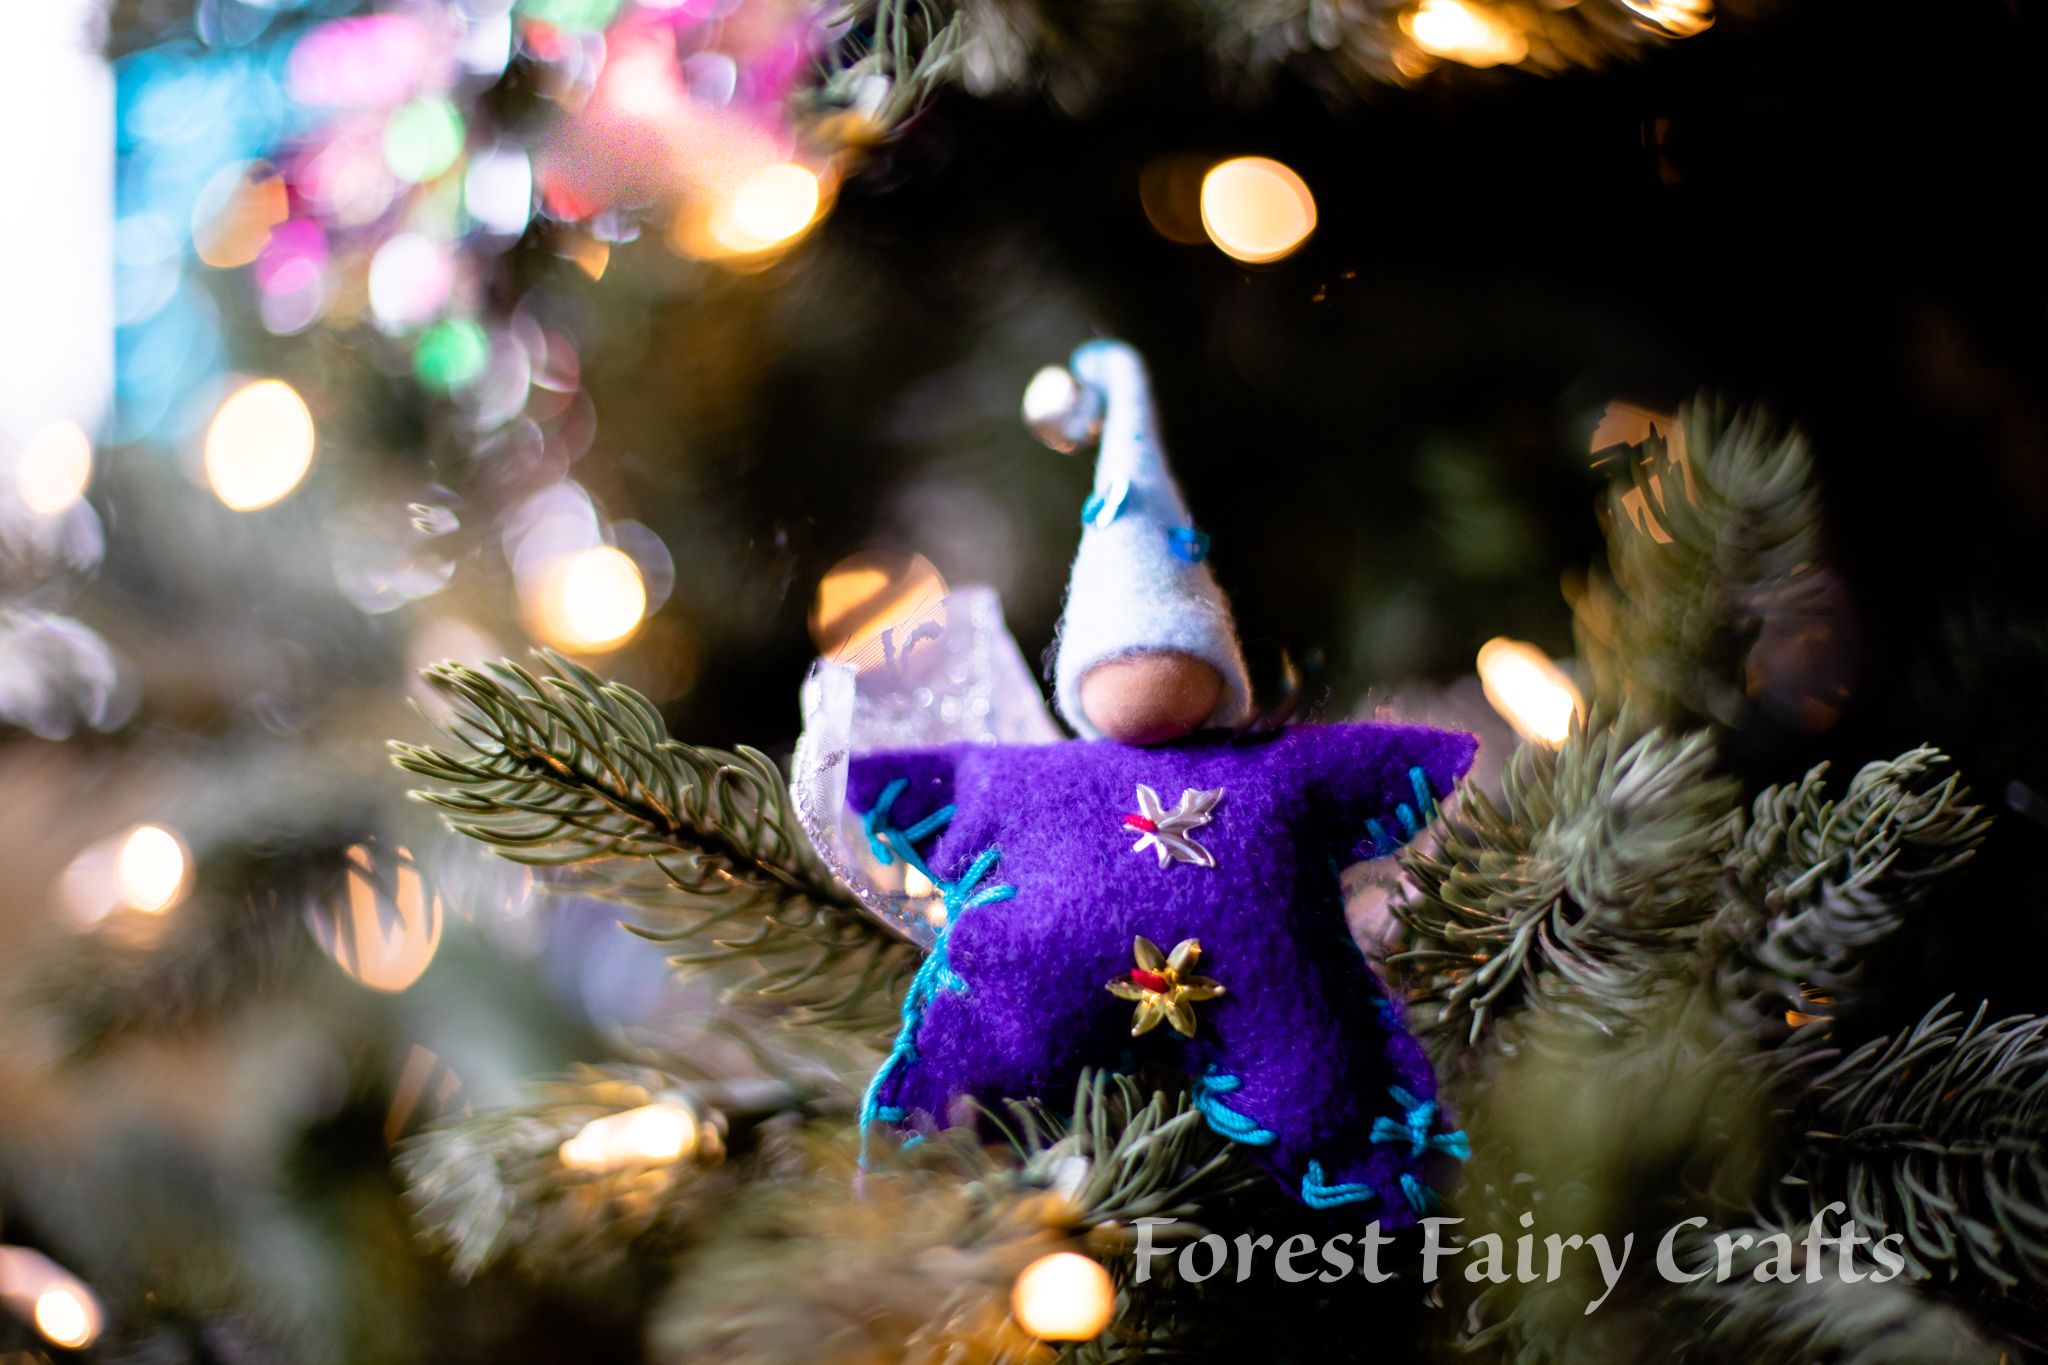
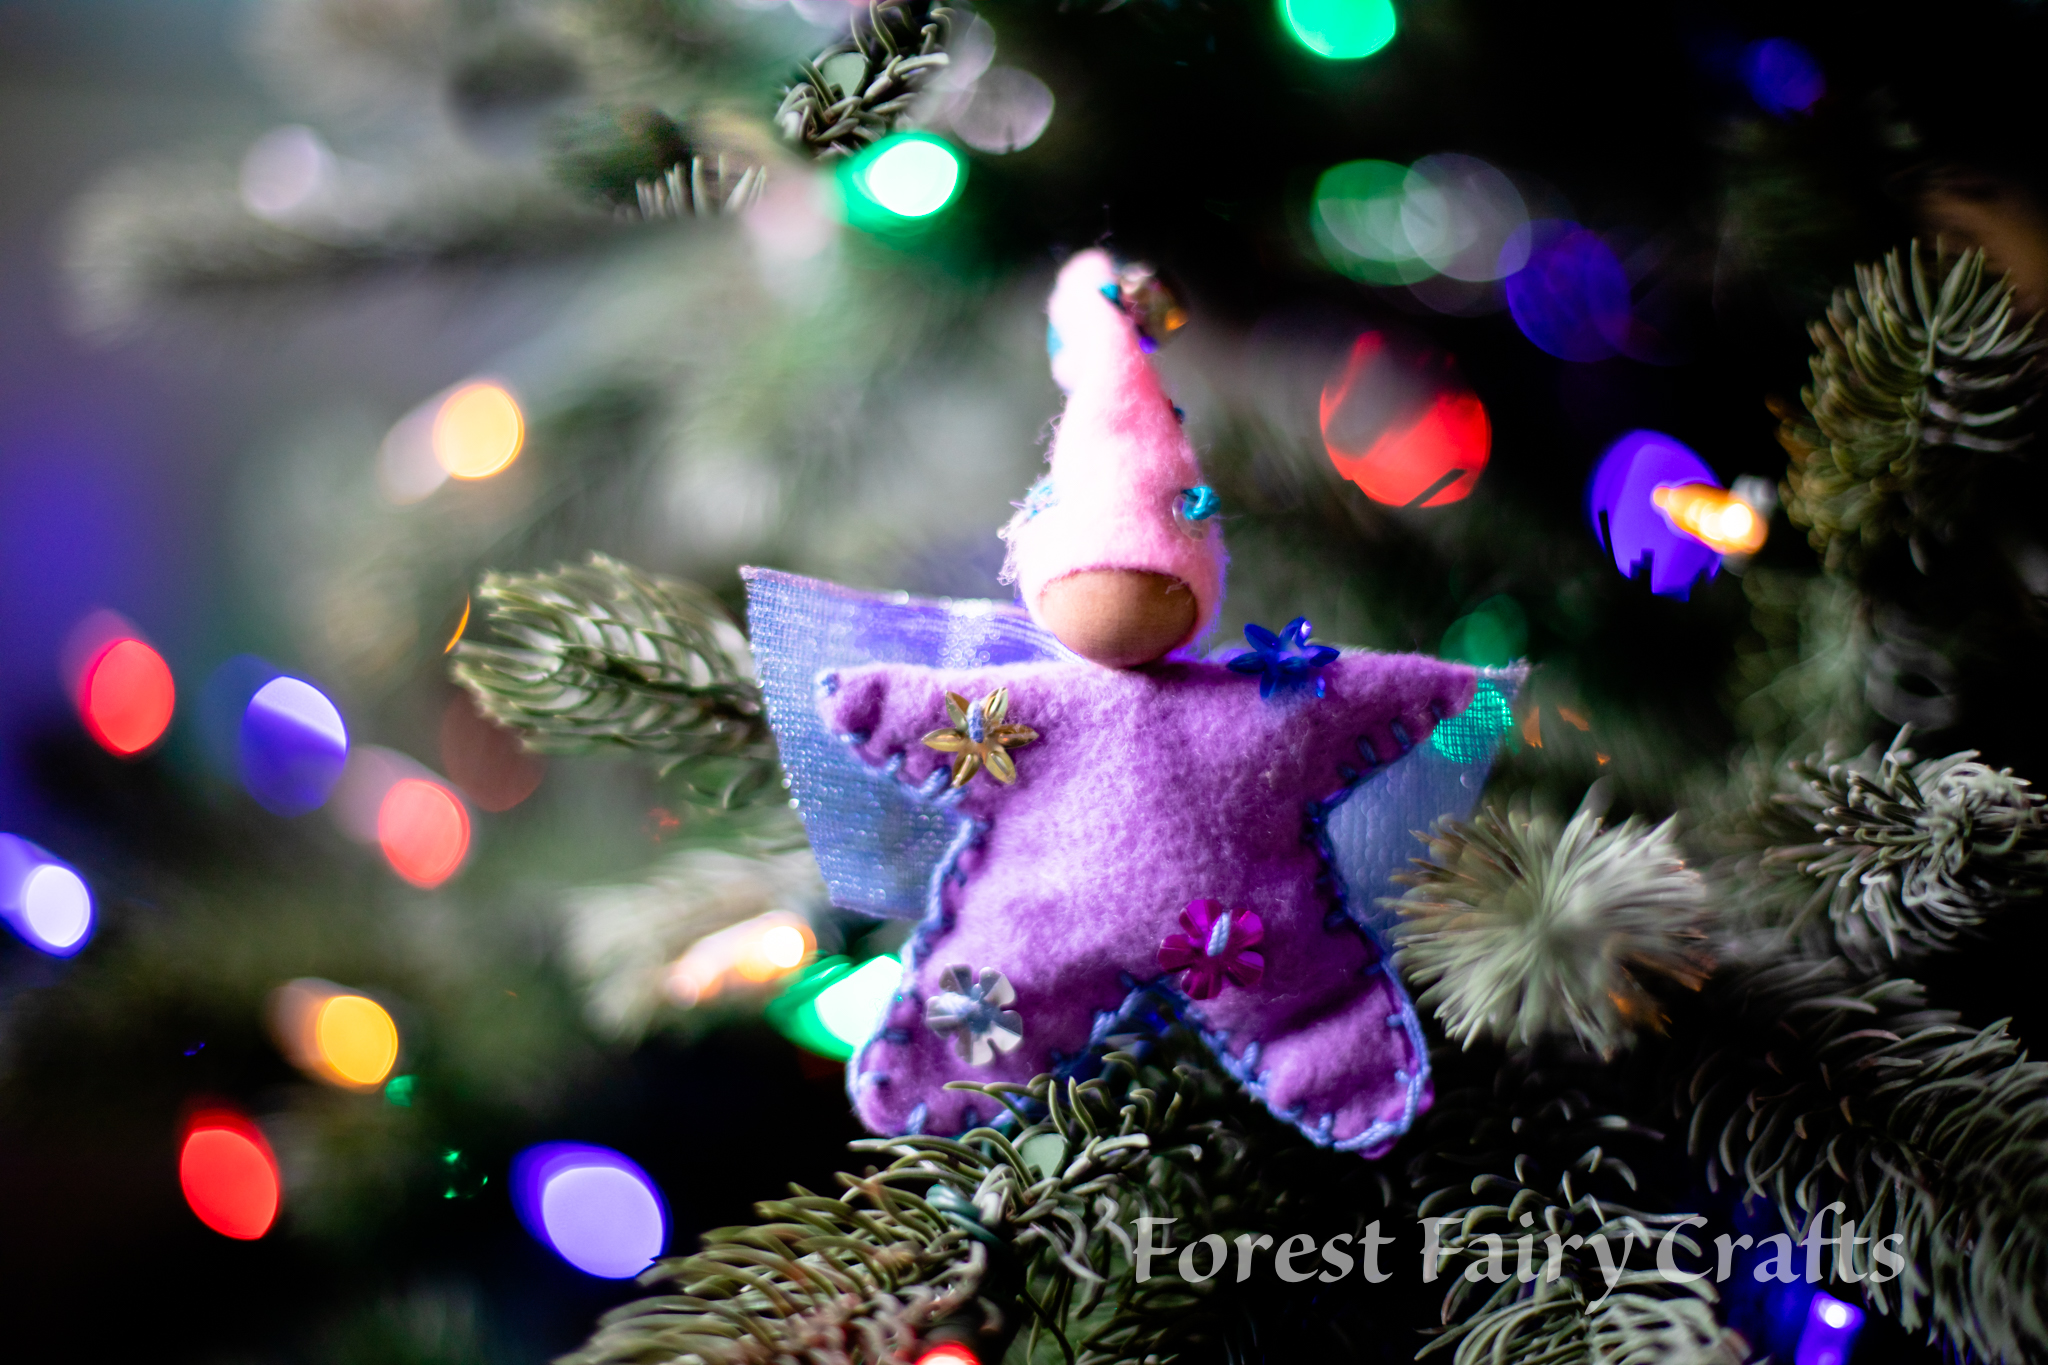
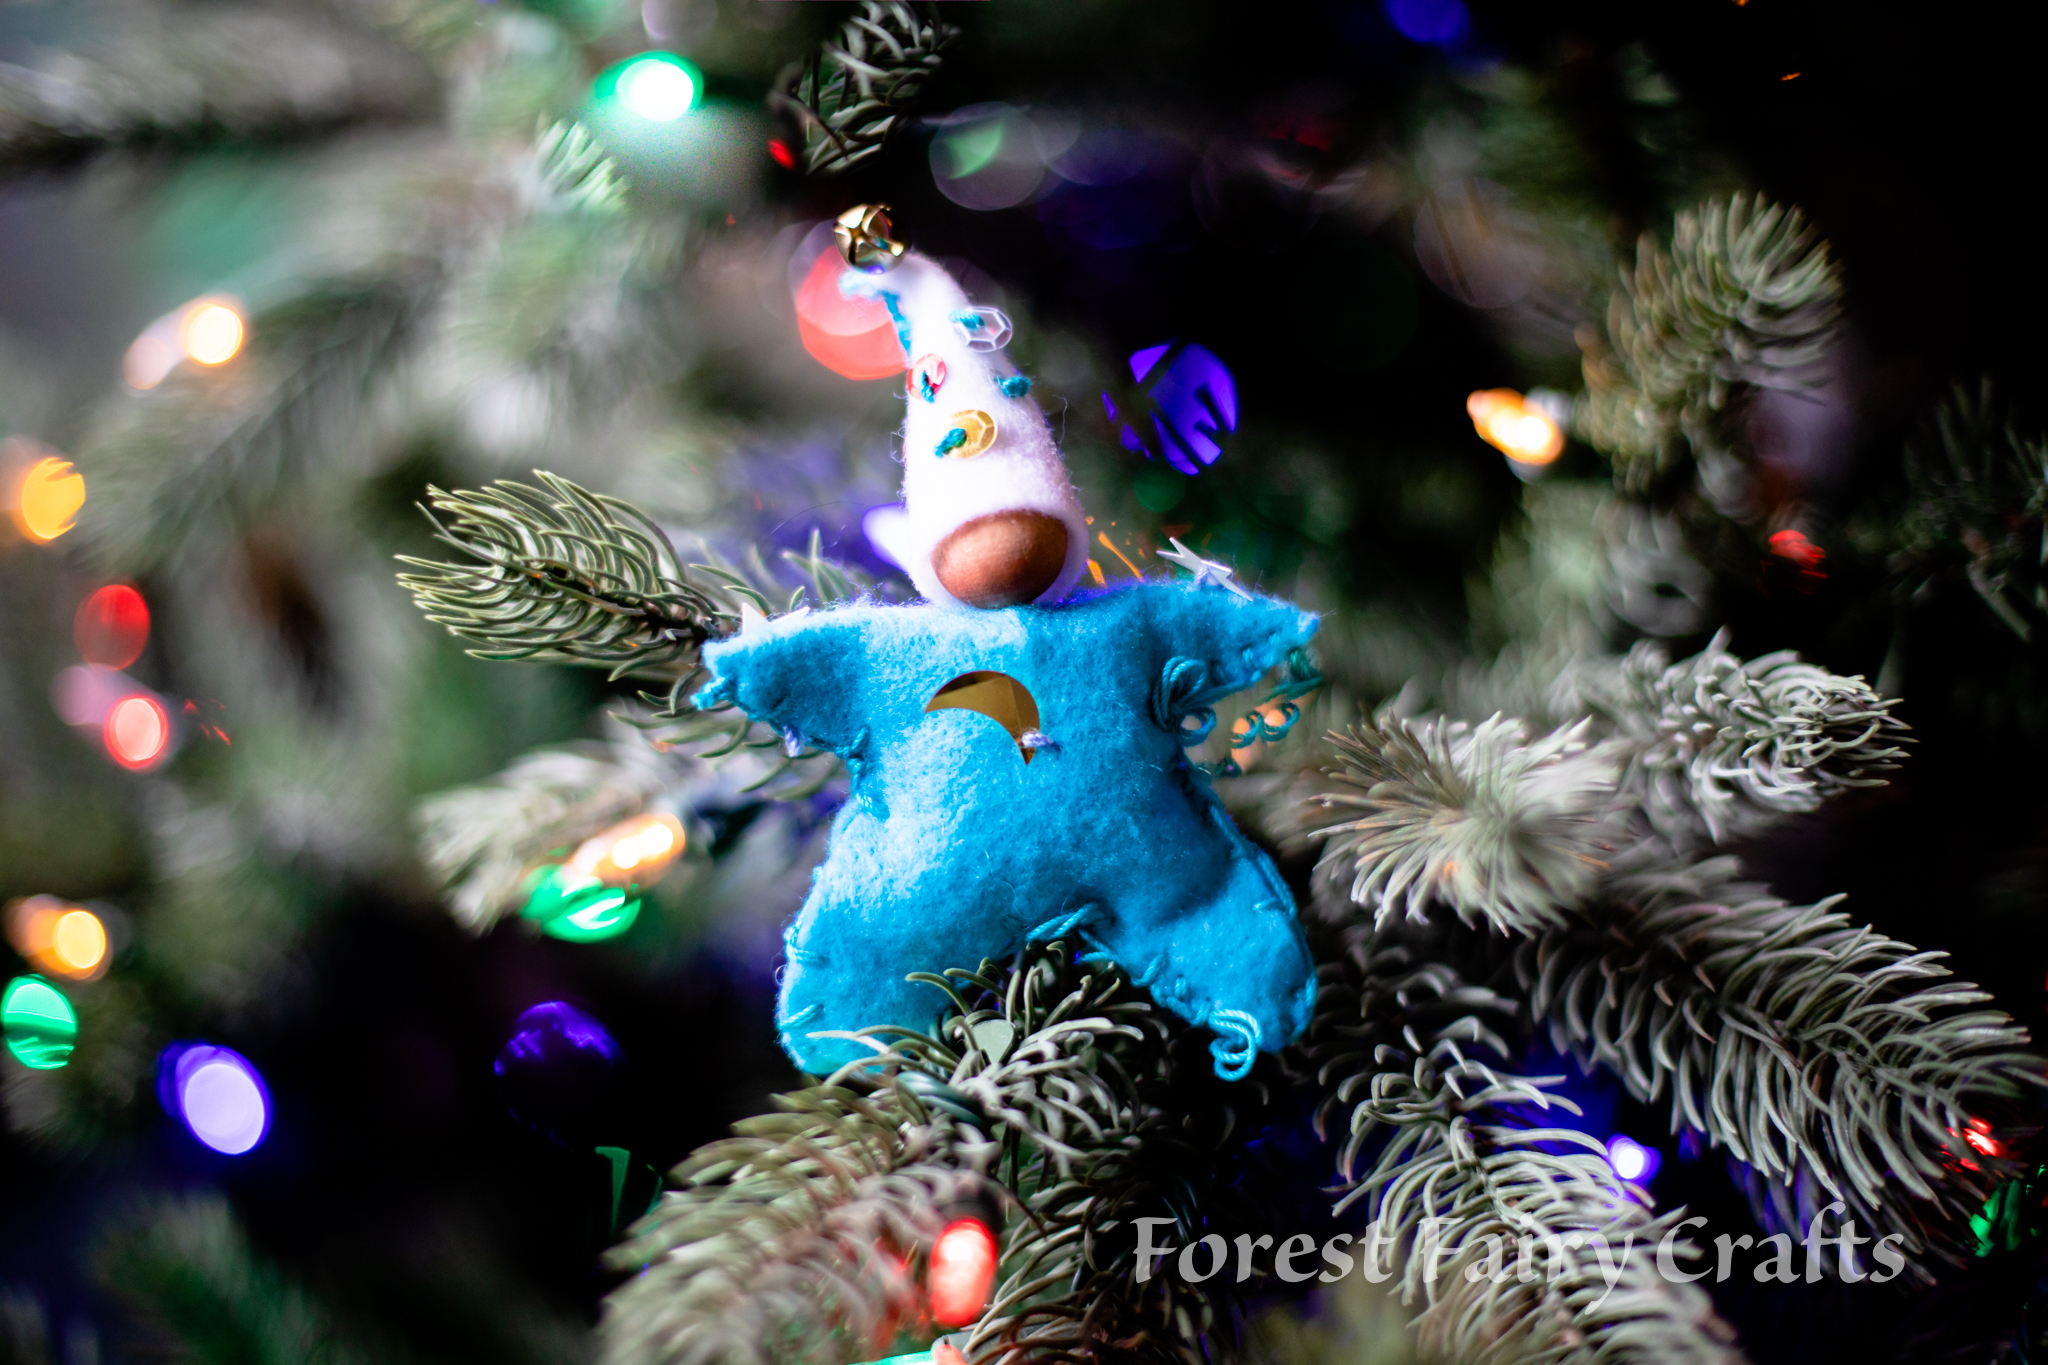
Paint beads first so they can dry while you sew decorations on your felt. And embrace that messy stitching :)
Enjoy the holidays!
*affiliate link- a small portion returns to the Forest while your price remains the same. Thank you for your support!
A Very Mermaid Christmas
Few people know that Christmas is popular even under the sea. Mermaids wear festive hats just for the occasion!
Many years, I create an ornament that shows whatever is enchanting my kids that year. From the Orange Fairy when my son was obsessed with all things Orange, to the Peppermint Fairy from the year my daughter danced as a Peppermint in our local Nutcracker ballet, the ornaments are fun to make, and even more fun to remember.
The peppermint fairy was a gift the year my daughter danced as a peppermint in the Nutcracker
Helping kids make fairies is fun. However, anytime I help them, I take the back-seat in order to support their ideas and choices. So giving myself room to create any fairy that I want is tremendous freedom.
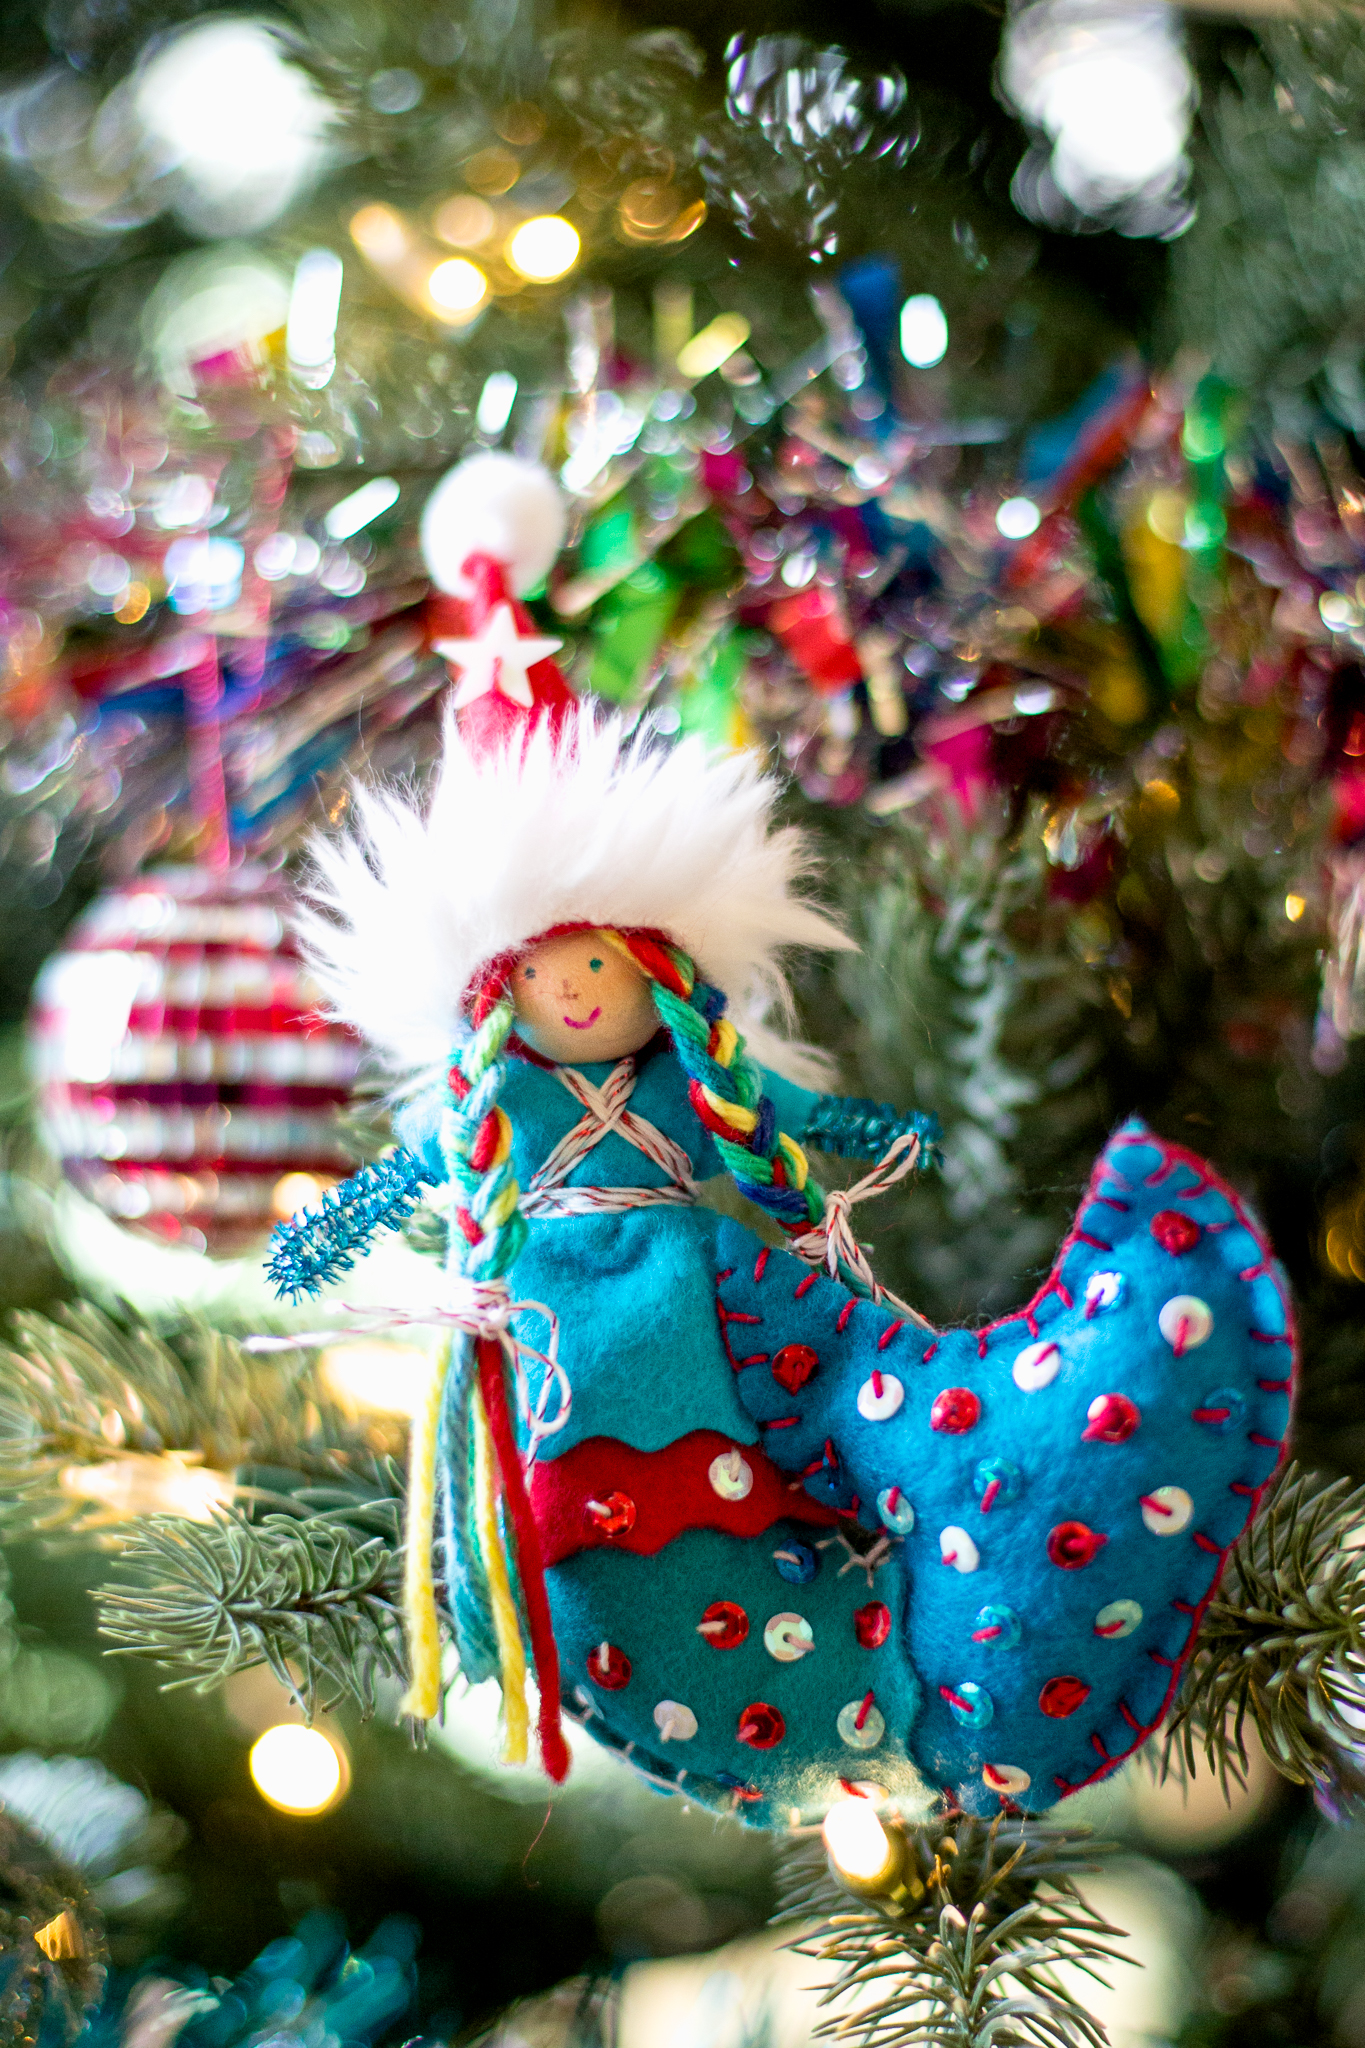
My daughter has a (slight) mermaid obsession. We included mermaids in the Forest Fairy Craft book. They were summer mermaids with crowns. How could I modify the mermaid for the holidays?
I wanted a tail that curved, which took finagling. A few trial and error attempts where it looked too bulky or gigantic. I always draw pieces on paper first to cut out and test shapes. Then I use test felt (inexpensive felt in any color) which I can sew together with a few little stitches to see if the scale works. Once it does, time to create!
Both my daughter and nice love turquoise, so I used that as an inspiration color for both mermaids.
Using just a wee strip of faux fur on their hat was a fun carryover from other fairies that I was working on at the time (Saint Nicholaus). The Faux Fur is a little tricky to sew, hard to get the needle through, so it's definitely an adult quest. You could create a similar look with a strip of white felt.
I also use metallic thread similar to this one for that added sparkle. It's tricky to sew with the thread so it winds around their outfit.
The girls loved their mermaids! And it's a joy to see them again year after year.
Happy creating, one and all!
*this post does contain affiliate links. Should you choose to purchase through these links, a small amount returns to the Forest while your price remains the same. Thank you :)
Happy Christmas!
We send happy, sparkling wishes for peace and joy to everyone today. Whether you celebrate Christmas or other holidays, we hope today finds you with family, good health, and delightful laughter.
I love creating fairies all year. Christmas gives me a lovely chance to create glittering decorations.
I adore Fairyland during the holidays :)

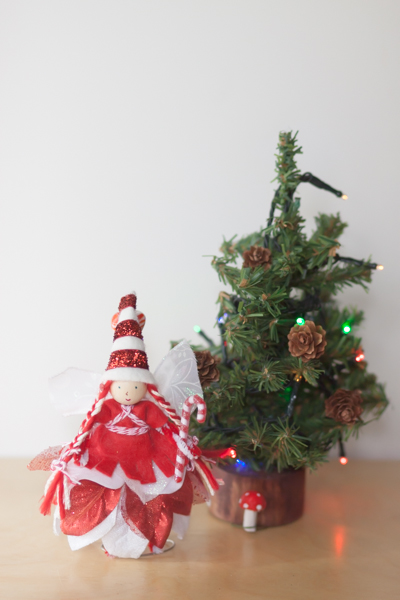
Wishing peace, abundance, and love to all :)
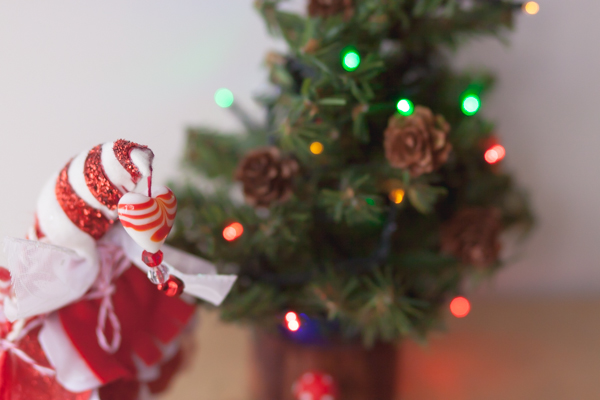

Happy Celebrating :)
Child-Made Fairies for Christmas
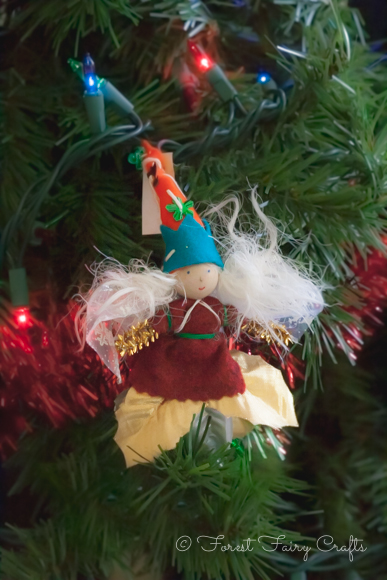
One of my favorite things about the holidays is making fairies with children. Every student in my class (20 in all) makes a fairy. The boys (and a few girls) are not inspired by fairies, so they make elves. Or angels. Whatever the fairies are called, they bring joy to the season.
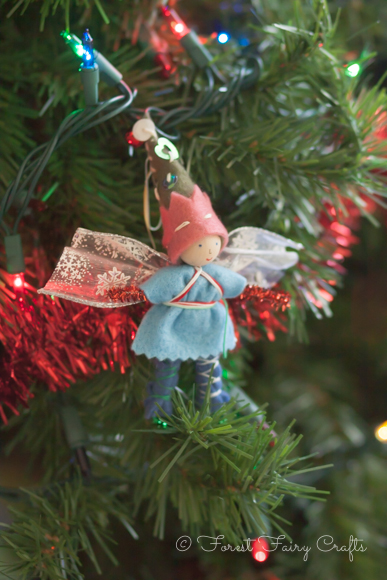
Our book was inspired by projects like these fairies. Because families sometimes wonder how their five, six, or seven year old made such treasures. Every little fairy/elf/angel is unique. Reflecting the unique voice of the child.
How does it work?
The directions, with many photographs, are all in our book. What the child makes and what I make depends on time and the child. Some children show great independence and want a lot of creative freedom. Other children enjoy having my attention for each little step. I do have a plan for creating twenty child-made fairies. I am working on a post for sewing fairies with groups of children. For now, though, I want to share my secrets for working with one child at a time. Because I get to make these with family, too.
What the child does:
- chooses felt and pipe cleaner colors, yarn, sequins, wings
- sews the decorating felt band on the hat, adds sequins and decorations galore
- sews up the back of the hat
- adds beads and bells to the top of the hat
- winds thread (pants or tunic)
- chooses petal skirts
- tries hat on to see how it all looks together
What the adult does:
- makes the body
- draws the face
- cuts the felt
- threads the needle and ties knots
- demonstates (models) the first couple of stitches and how to add sequins
- lets go of expectations :)
- folds hat in half when decorating is done, sews an anchor stitch at the bottom
- models sewing up to the top of the hat (one stitch)
- knots thread for clothing
- models first steps for winding thread (pants or over-shoulder, under arm)
- holds wings until they are attached with winding thread
- clips tiny amount so petal skirts can scoot up the legs
- glues hair and hat on fairy/elf/angel
Of course, this all changes depending on the age and personality of the child. And it doesn't have to be done on the same day. Take breaks. See the little bits of felt and thread come together to create a magical keepsake.
One of our favorite things at the recent craft fair was hearing from families whose students left us five or even ten years ago. "We still have our fairies," they said. On the tree or the table or the mantle.
We still love our fairies :)
Christmas Card Giveaway
I just took photos for this year's holiday card and I can't help but share :)
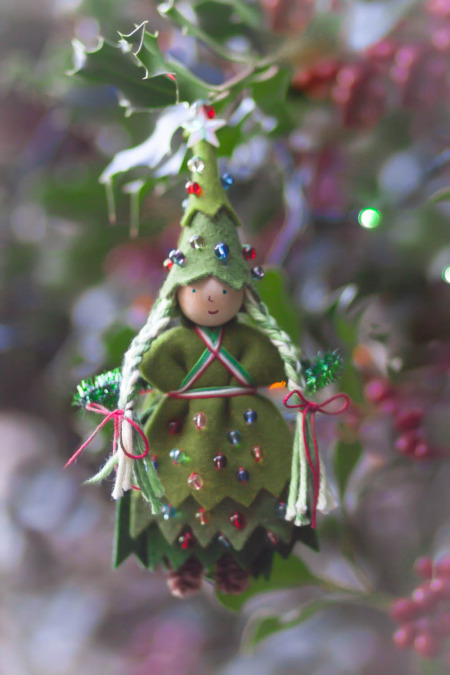
Introducing the Christmas Tree Fairy! She shines in the forest.
Last year, I made special peppermint fairies in honor of my daughter dancing as a peppermint in the Nutcracker.
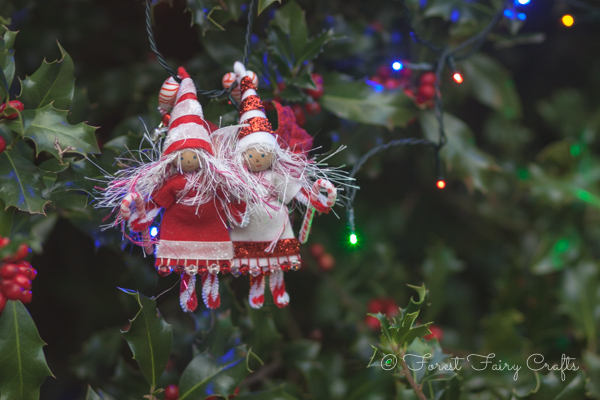
They appeared on a forest-fairy holiday card.
This year I chose a Christmas Tree Fairy. Just because.
Now I need to get busy making the cards :)
I would love to send one to you or a child in your world! These good wishes from the forest will be fun to open in the mail!The fairies love to share happy cheer!
I will pick two comments from below to receive a limited edition holiday card from the forest. We can send to your address or a different address of your choosing. The contest closes on December 1. We have a super-fancy surpise planned for December 2 so check back Tuesday. We love giving magic!
I will contact you through email, so be sure to leave that for me. I hope this week finds you enjoying family and the sparkle of the season!
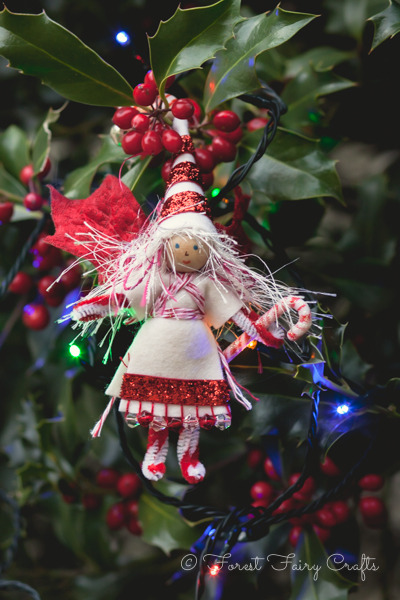
Terms and conditions: Entries are free. International entries are accepted. Contest ends on December 1 at midnight Pacific Time. All comments are appreciated :) Peace and joy!
Thank you for the lovely comments! It's too hard to pick two, so I am working on a way to send more cards. Stay tuned :)
Peppermint Fairies
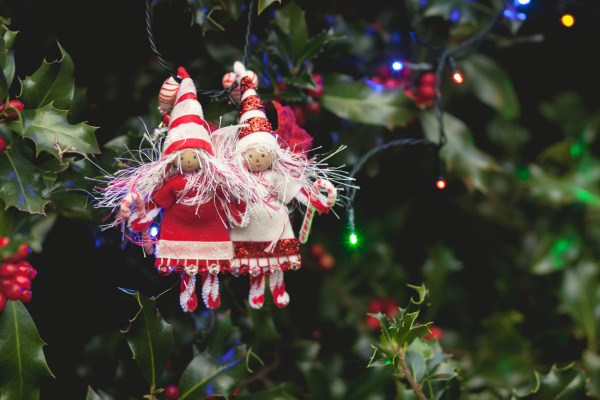
Every year I like to create a fancy fairy. I want to inspire myself. This year, my daughter is dancing in the Nutcracker. She is a peppermint. What a perfect theme for a fairy! And of course I had to make two, one with white on red and the other with red on white.
I planned to keep one and sell one to share the joy, but my girl will have none of that. They are sisters, you see, and cannot be seperated. So our home now has two new sparkly sweet-fairies!
I must admit, I don't mind. I couldn't choose one, either.
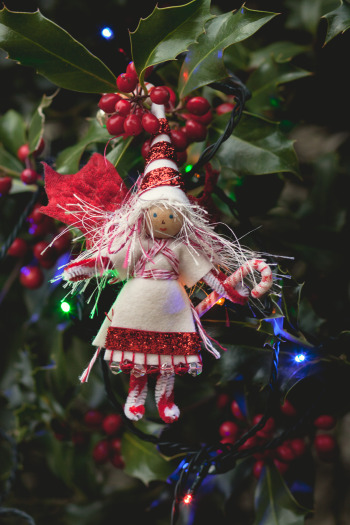
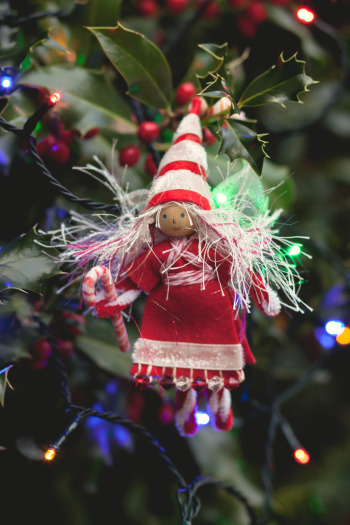
To make these fairies, I collected lots of red and white goodies since fall. Beads, baker's twine, sparkly ribbon... I bought the chenille stems (pipe cleaners) already twisted red and white. And the candy canes were with the Christmas Miniatures in the craft store.
I am not planning on making anymore for this year. She was a puzzle! I rarely use glue except to put the hair and hat on their heads. For these ones, though, I glued the ribbon onto their hats after a few attempts to sew with tiny-tiny stitches. It was a lot of work! Then the ribbon slipped anyway and the spiral wasn't matching... The fun of crafting, the labrynth with lots of false-ends where you turn around with another way, there must be another way. :)
My girl adores them. And they will remind me of this year and her dancing in the land of sweets. A happy holiday season indeed!
Christmas Sketches
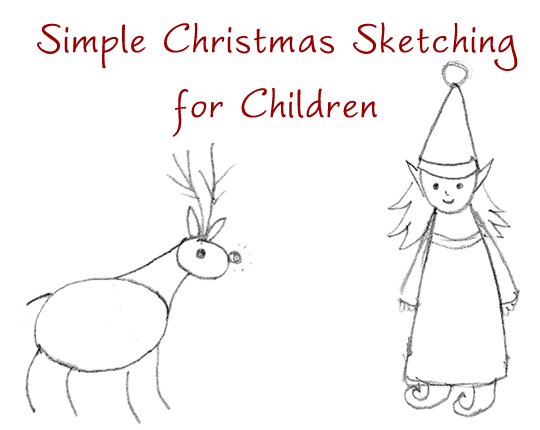
We draw a lot in our classroom. And, every year, students ask me for help.
"How do I draw an elf? How do I draw a reindeer?"
As often as possible, I encourage their own ideas. "What shapes do you see? Where can you start?"
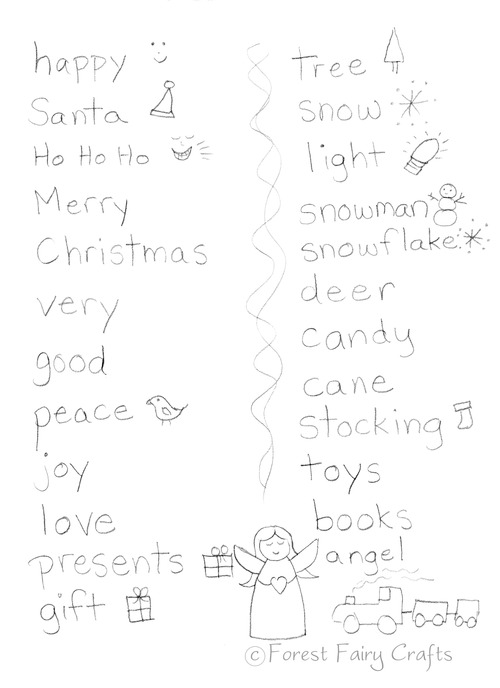
My students are 5 and 6 years old. Especially around the holidays, overwhelm may rise up at any moment. So this year I decided that a little inspiration could go a long way. I made simple sketches for them in an easy, one page format.
Clicking on the image will bring you to a larger size you can print for personal or classroom use. I also have a PDF you can download with both pages.
At first, I planned to fill the back-page with more drawings. Except I ran short on quick, easy ideas.
Then I had my own inspiration. Words!
Of course! Children love to make cards and decorations. They could use a word-bank for holiday ideas.
As often as possible, I used a visual cue to help show the written word. This helps our early readers.
We realized that I forgot an angel and train along the way, so they are on the back too. I print these out double sided and keep them available throughout the season. Children love to color them and use them for project ideas. Children usually take my basic shapes and create with a lot more detail in their finished projects.
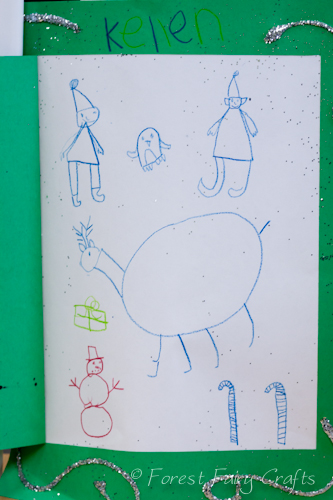
So fun!
Please be aware, I drew these with student-help after school in pencil :). They are a little rough through my eyes. When I scanned them, the pencil transferred light so they may not print perfectly. If I wait to make them perfect, though, they will never be posted for you :). Also, the light writing gives children a nice chance to trace letters!
I hope these sketches inspire us to create more winter scenes. Let's draw together :)
Enjoy!
Christmas Sketches and Words PDF Dowload
All resources are property of Forest Fairy Crafts. Please contact us for commercial use permissions. Thank you!
Handmade Ornaments, You Still Have Time, Really!
Only days remain, yet these ideas don't take more than an hour. You could collect the supplies in a cute bag or basket to give on Christmas morning, then share craft-time together that day and sew a memory of the holiday together.
Who can resist a well decorated tree?
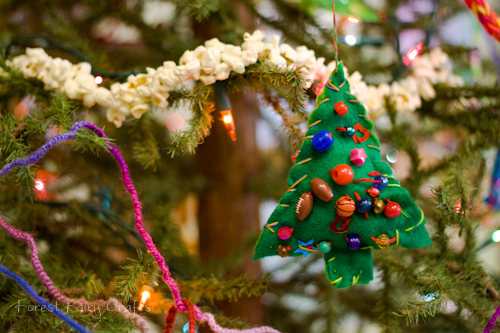
Download the free pdf tutorial here
The turorial shares how to make the ornaments with very young children who sew the needle through both pices of felt at once and add decorations to both sides. For the pillow-version, children decorate each side seperately. Then children sew around the edges, leaving a space for stuffing. Add stuffing and sew shut.

Or heart?
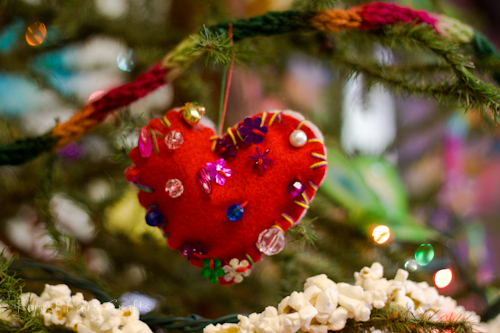
I love shiny happy beads and sequins.

Another quick idea that keeps children busy for awhile, and makes charming decorations for tree or windows (or gift tags), is God's Eyes. Once children pick up on the wind around pattern, they are hooked and will make one after another. The Magic Onions has a lovely tutorial posted here.

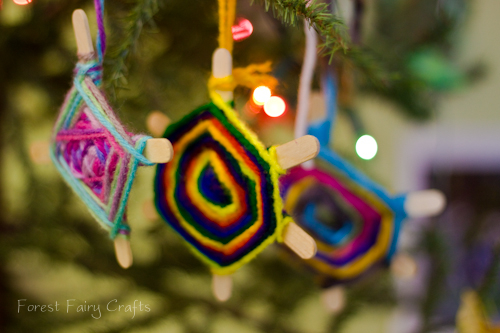
Trees and grandparents and parents love handmade ornaments. Have fun!
Oh, and just to share, our fairies from the Dragonfly Class (these take more than an hour):
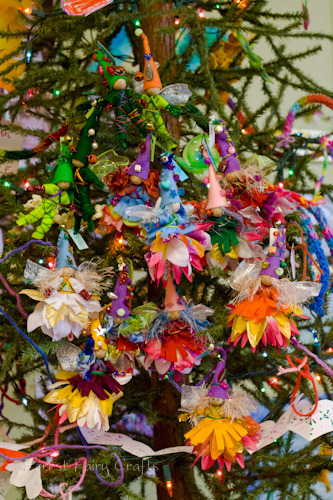
Sending you sparkles and magic as you enjoy the season!
Angel Collection
The angels are home for Christmas. I made these with our early-kindergarten students. Since I only see them once a week, we sewed the hats together and I assembled the rest. Their hats give them personality.
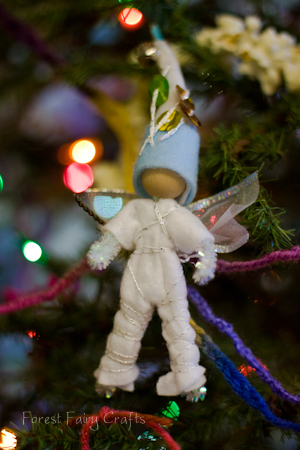
This little boy showed me that sequins with very long stitches are charming.
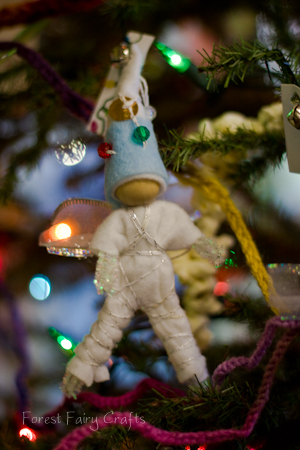
While this boy's fairy used many different stitches with lots of decorations. Each one became unique.
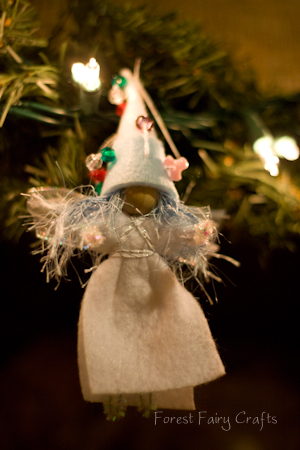
This girl put three beads on most stitches (look at the left side of the hat). She was very careful to choose a green, white, and red bead.
I hope that they will bring magic to the families who get to open them as gifts.
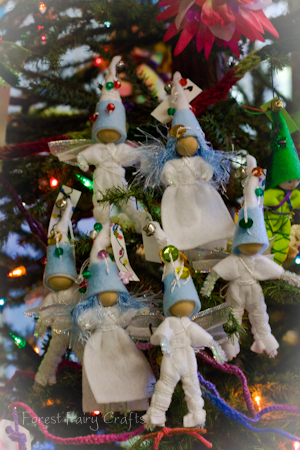
Sweet Angels :)

Elf Houses
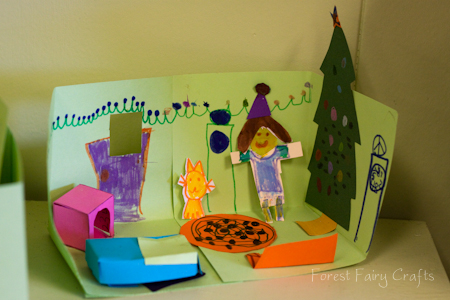
Make your own Elf Houses!
Click here for the pdf directions
Last week was a fun adventure in my Dragonfly class. I made rooms and the kids brought a thousand ideas. I saw a workshops, homes, and even a dance studio!
Once we had the walls, I gave the children lots of paper scraps.
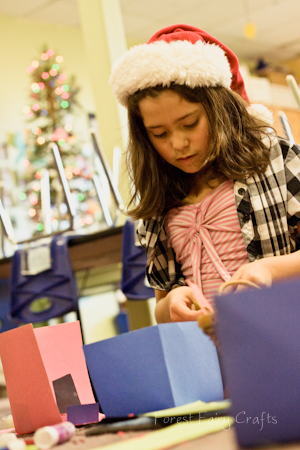
They inspired each other to keep adding more and more clever ideas. This was one of my favorite open-ended activities ever.
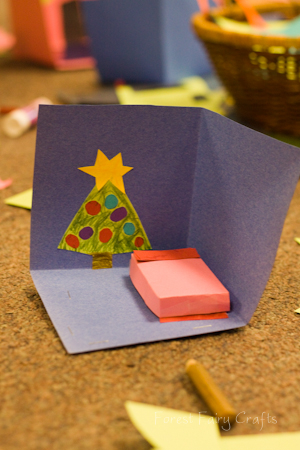
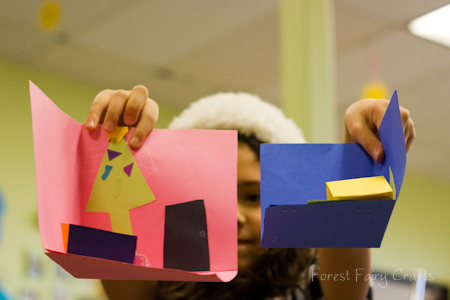
I helped make the beds and tables, but the rest was all their creating. And they got very creative.
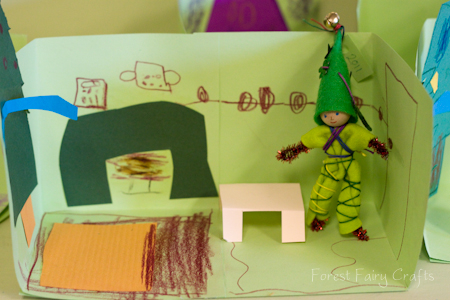
Then they realized their fairies and elves could live in the houses. How cool is that?
And my daughter stayed after school with her friends. She said a gnome lived in her house. Couldn't they make gnomes?
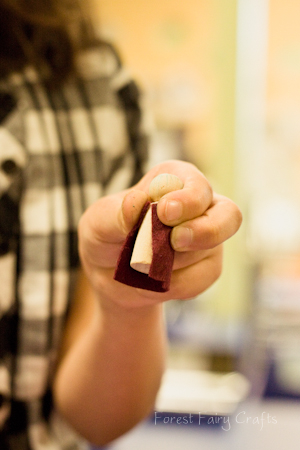
Of course.
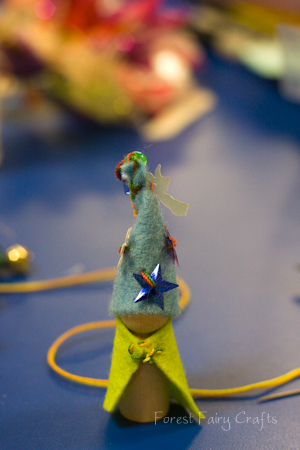
And every gnome needs a disco-dance room in his house.
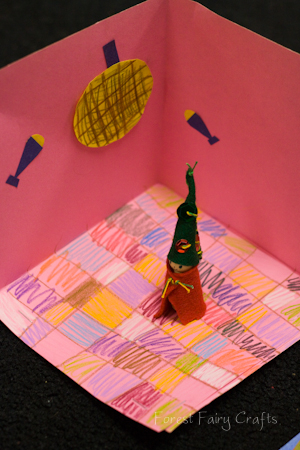
Elf houses quickly became elf-town. And elf-town is ready to celebrate the holidays. Happy holidays!
Christmas Fairies
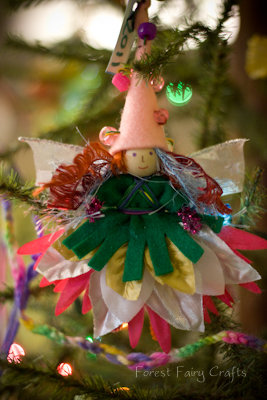
These faires were created by our kindergarten and first grade students at the Nevada City School of the Arts. We provide guidance, but they provide the magic :). Each fairy becomes a sweet reflection of the child who created her (or him). We made seventeen over the past three days. We hope you enjoy this glimpse of Fairyland.


Using the Waldorf tradtion of allowing children to imagine the faces . . . this boy liked his fairy to keep his fairy whimsical. I used to leave all of the faces blank, but students walked away and drew a face with the nearest pencil, then came to me crying when it wasn't what they imagined. So we compromise and I draw faces for most students.

And one Christmas Goblin (my student's words as he wanted red eyes)
Happy Holidays!
The tutorial to make the girl versions of these fairies is available in our Etsy shop. If you're interested in the boy version, send me a conversation through Etsy and we can figure out a way to help you (I haven't created his tutorial yet :)).
Many thanks to Miss Becky, Miss Marin, and Asia for helping make Fairyland possible!

Paper Lanterns
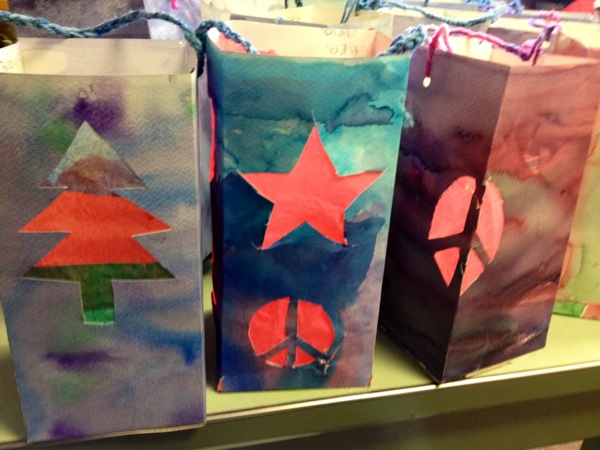
Winter in our Dragonfly kindergarten/first grade class is filled with fun and fancy projects. We are happy to share ideas. These tutorials are quick because we're all busy in the winter season. Feel free to ask questions. Enjoy!
To make these lovely lanterns, watercolor a long piece of paper. When it's dry, draw a line on the back about 1/2 inch from a wide edge.

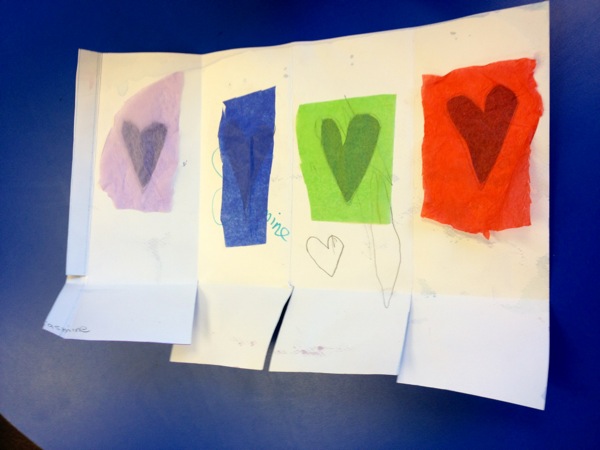
Fold in half to your drawn line. Fold in half again so you have four sections. Fold up a few inches along the bottom edge to make a base.
Cut along your fold lines on the bottom edge. Draw or trace shapes on each panel. Cut out those shapes to make holes.
On the back, glue tissue paper over the holes to make pretty glowing windows.
Fold the lantern again with the bottom edges overlapping to form the base. Glue along the 1/2 inch extra paper from that first line you drew in the beginning. Tuck that into the lantern to glue the four sides together. Let your lantern dry.
For the handle, we punched two holes and the children finger-knitted a chain to tie onto the lantern. We don't have our own finger knitting tutorial (yet) but I liked this one by Moonbeams and Applesauce. You could also braid or tie a few strings in a bow.
We use battery operated candles inside our lanterns. Fire can be dangerous.
These lanterns are a beautiful reminder of light during these dark nights. We hope you enjoy the crafting.
Many thanks to my co-teacher, Marin, for this gorgeous gift :)
Sew Sweet Felt Ornaments
Hurrah, the holidays are here! In our home, we celebrate each year with a hand-crafted ornament. They show us the years in a story. "I remember making this!" my daughter said with excitement.
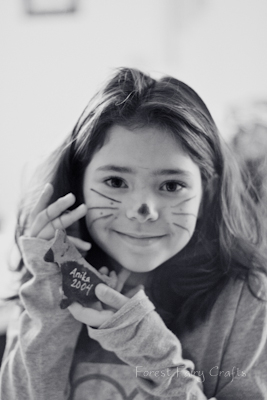
This is very impressive since she painted it when she was one :)
This year, we are sewing. My three-year-old sewed the beads and sequins on his tree.

Can you guess his favorite color?
I know he'll be reminscing about this tree in future years. And we want to share the fun. You can download the tutorial for these very easy felt ornaments. Children get to decorate both sides so it is a perfect first project for children learning to sew. Older children can trace other shapes around cookie cutters and get fancy with their stitching and decorating. We hope that you enjoy the craft!
Happy Holidays!
Click here to download the PDF tutorial
All tutorials are property of Forest Fairy Crafts for family crafting. We are happy to share the tutorial on your website if you link back to us. For other uses, please contact us. Thank you.

