Batty in the Forest
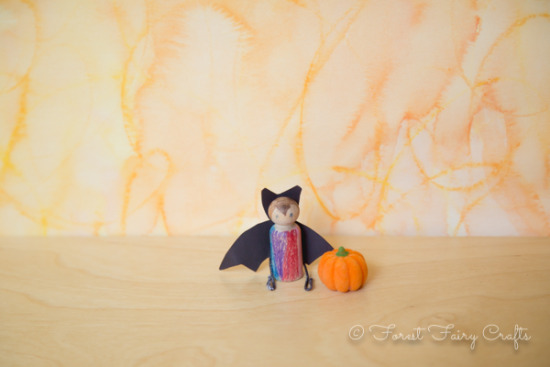
We adore bats!
The bats on We Bloom Here inspired us! We had to bring them to Handwork class. But how? Each week I am challenged to bring an adorable and sweet idea to forty students in first or second grade. Margaret Bloom, the lovely author of Making Peg Dolls and Making Peg Dolls and More
(new! yay!) helped me adapt her tutorial for lots and lots of bats.
I thought of using sharpies instead of paint. Which meant a layer of sealant so the sharpie wouldn't 'bleed' into the wood.
"Why not use colored pencils?" she said.
Why not?
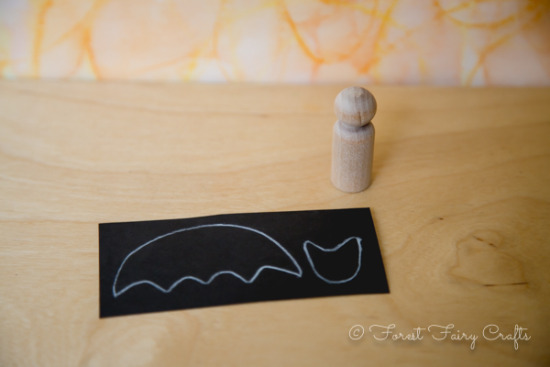
So we used colored pencils and black paper instead of felt. I played with the shapes until I made a template that I liked. I traced that shape forty times onto black paper. The kids cut their own wings and ears. They decorated their pegs with rainbows or fangs or both. These are magical bats after all :)
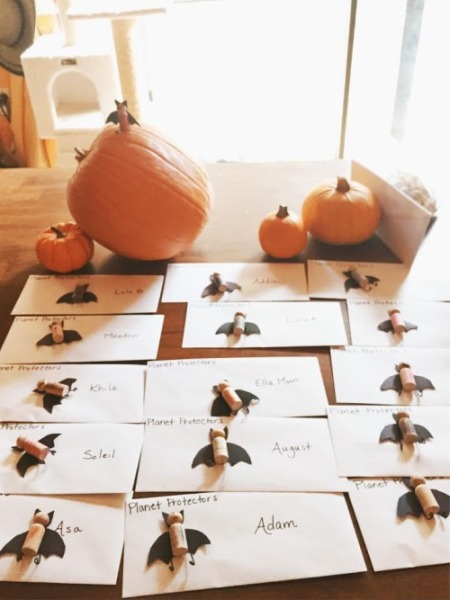
Each student had an envelope where I collected the decorated peg, wings, and head to glue at home. I used tacky glue because I added wire feet. Every bat needs to hang out!
Here was a little mistake, though, for me. I had white floral wire and thought, "this won't be so difficult to color black." Ack! I should have gone to the store and bought black wire to save myself a lot of time. If you are making one or two, coloring the wire was fun. For forty bats, not so much.
At home, I layered out the wings, head, and wire. I added glue and the peg. I let them all dry on the envelopes to return the next day.
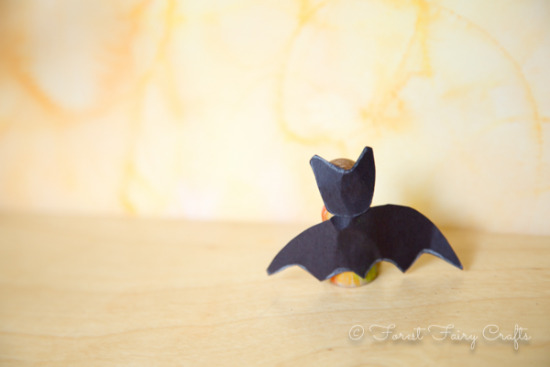
Back of the Bat
Thank you so much for the wonderful idea and tutorial, Margaret! Children loved their bats :)
Even a grumpy tree needs a little bat friend hanging about :)
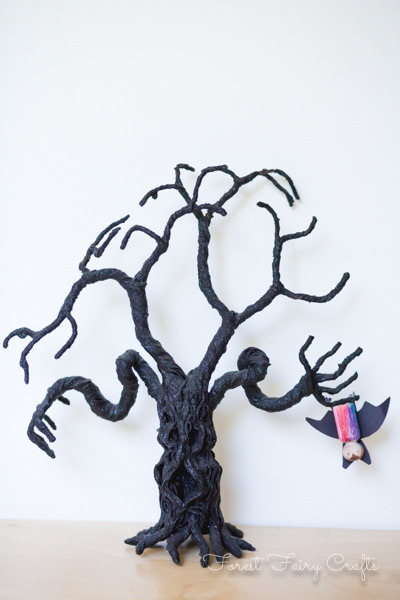
Enjoy :)
*please note: this post contains affiliate links. Should you decide to purchase a book using these links, a small amount returns to the Forest. Your price remains the same. Thank you!

