Holiday Crafts in Forest Fairy Crafts Books
Welcome to the season of making and giving. Our holiday decorations are filled with fairies and hand-sewn treasures that have become wonderful memories. Children love to make and give handcrafted treasures. And they can give to Mom or Dad or Grandma if you want to keep one (or two or three) in your own family.
With two books, we want to connect you with projects that speak to your heart. I’m sharing which projects are in which books so you can choose your favorites. Of course, you can have it all with both books :)
Angels in the Forest Fairy Crafts Book
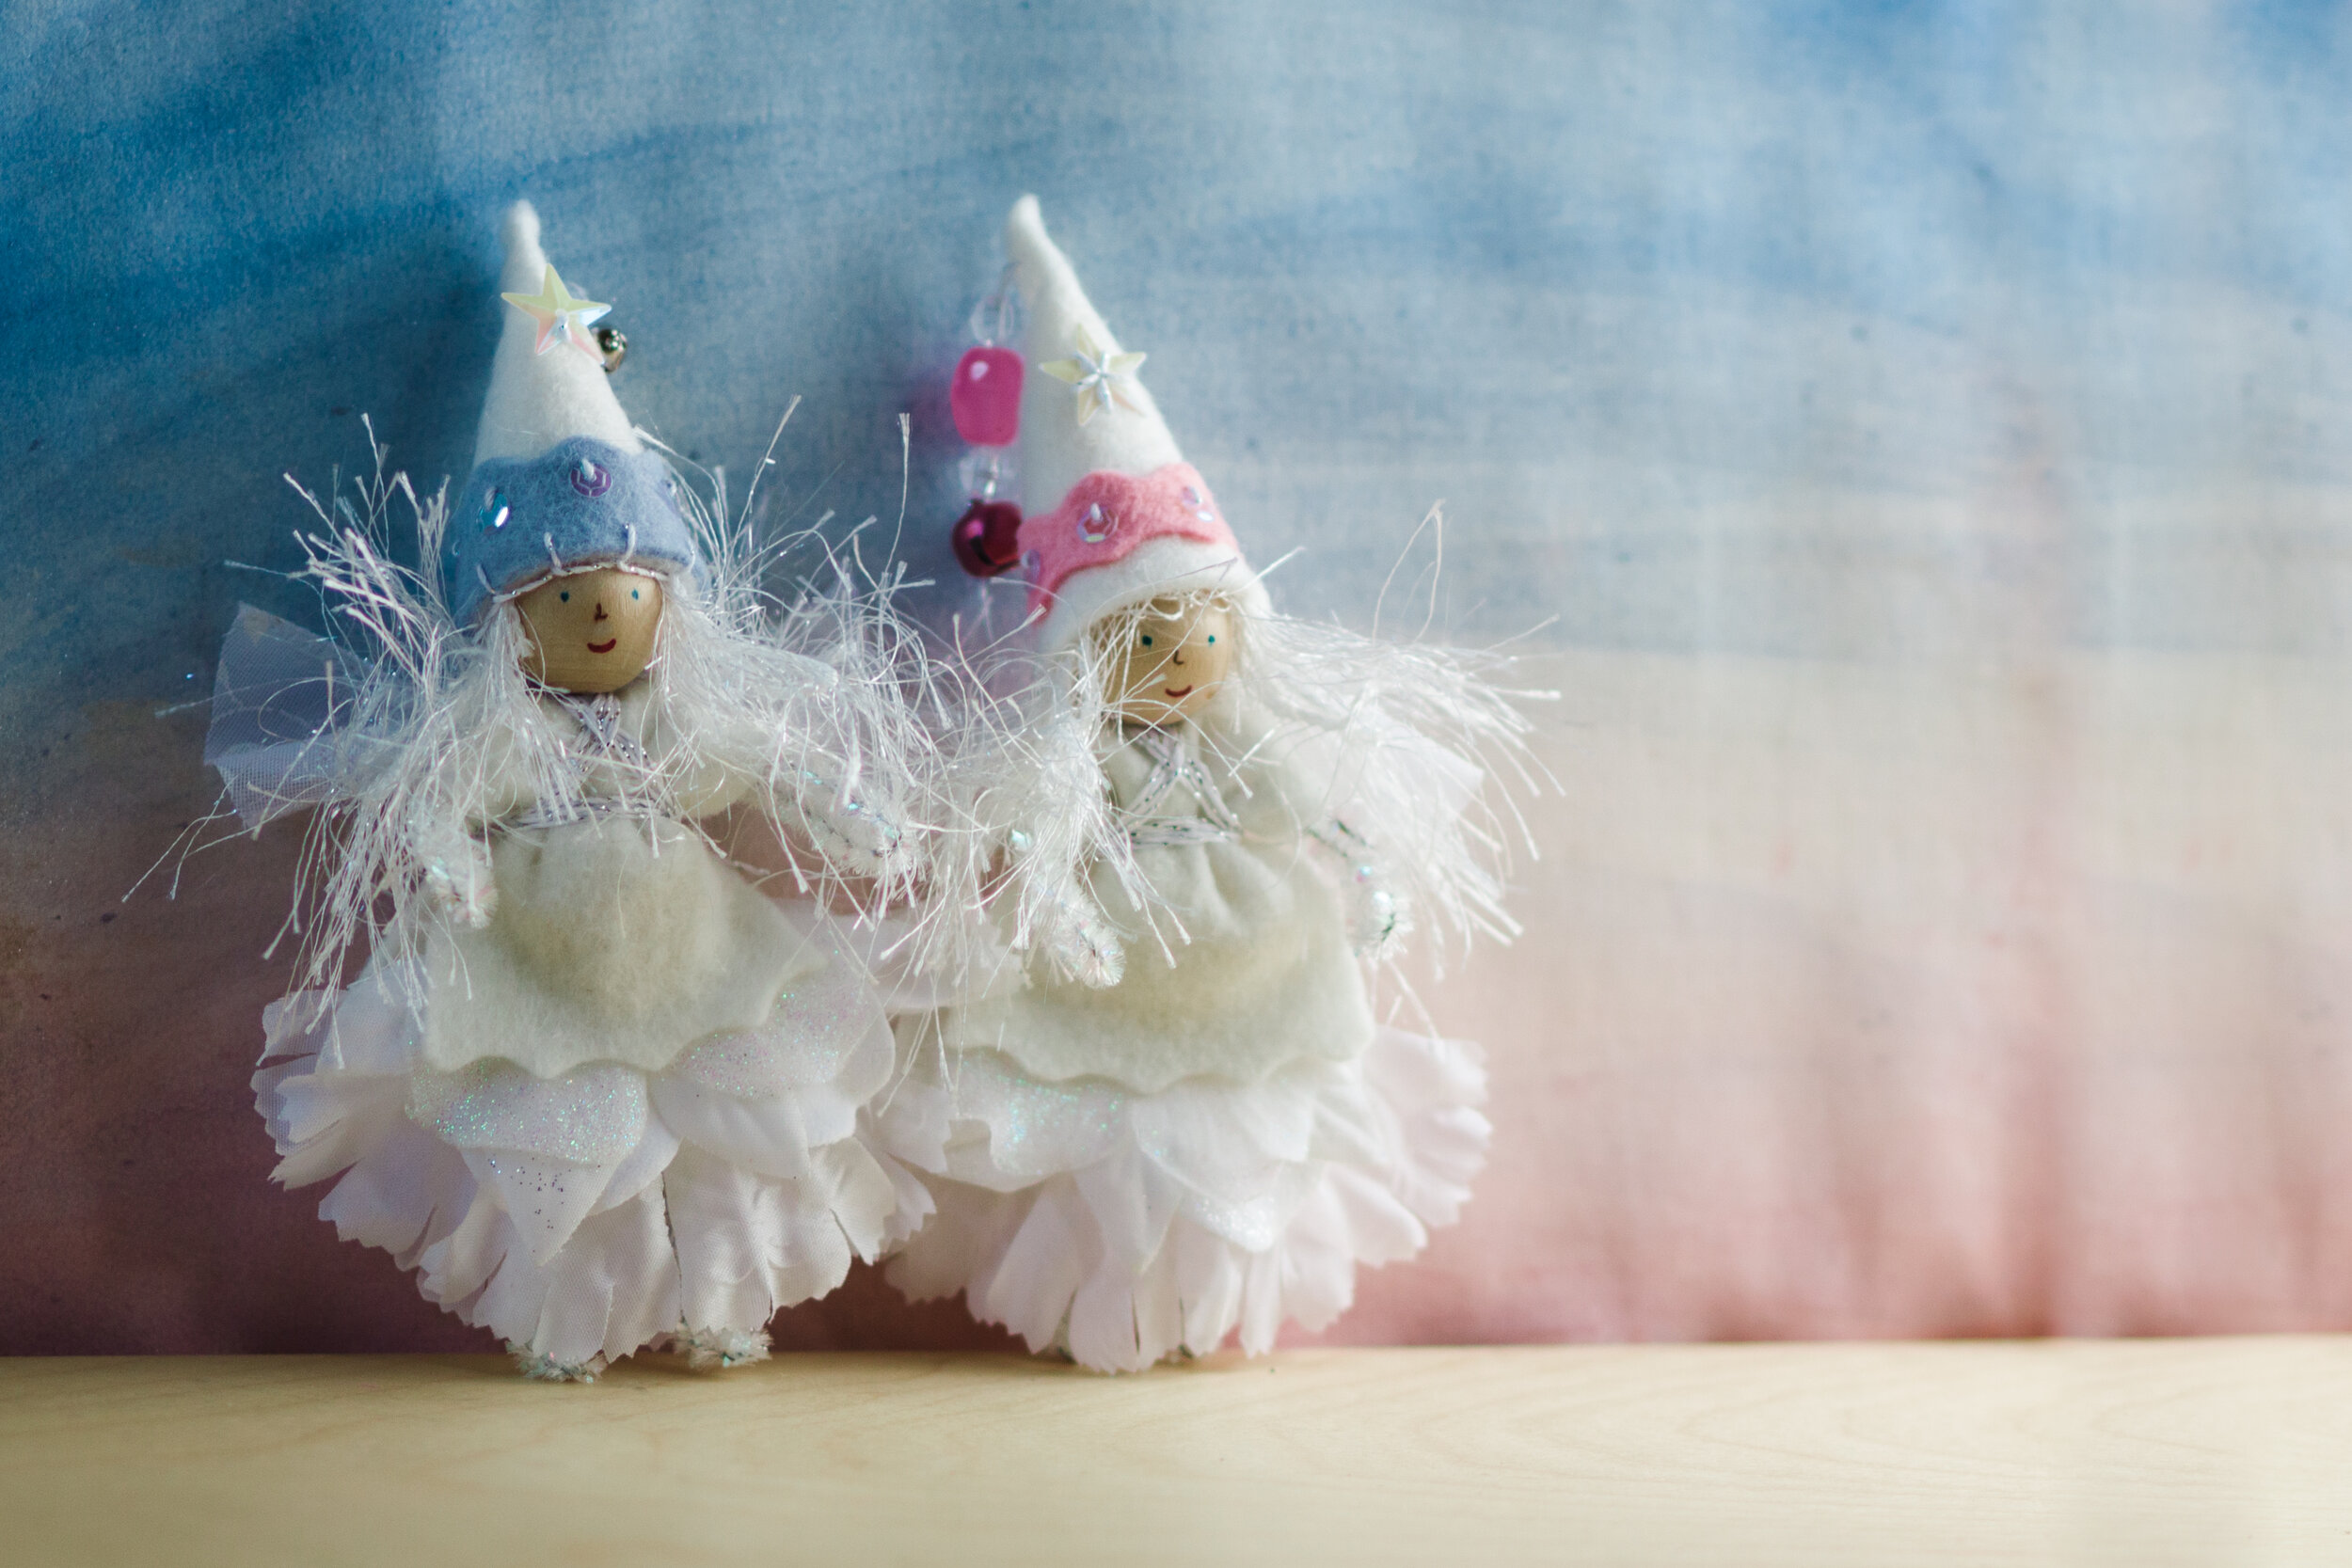
Angel (with a dress or pants, image above)
Christmas Fairy (with a dress or pants)
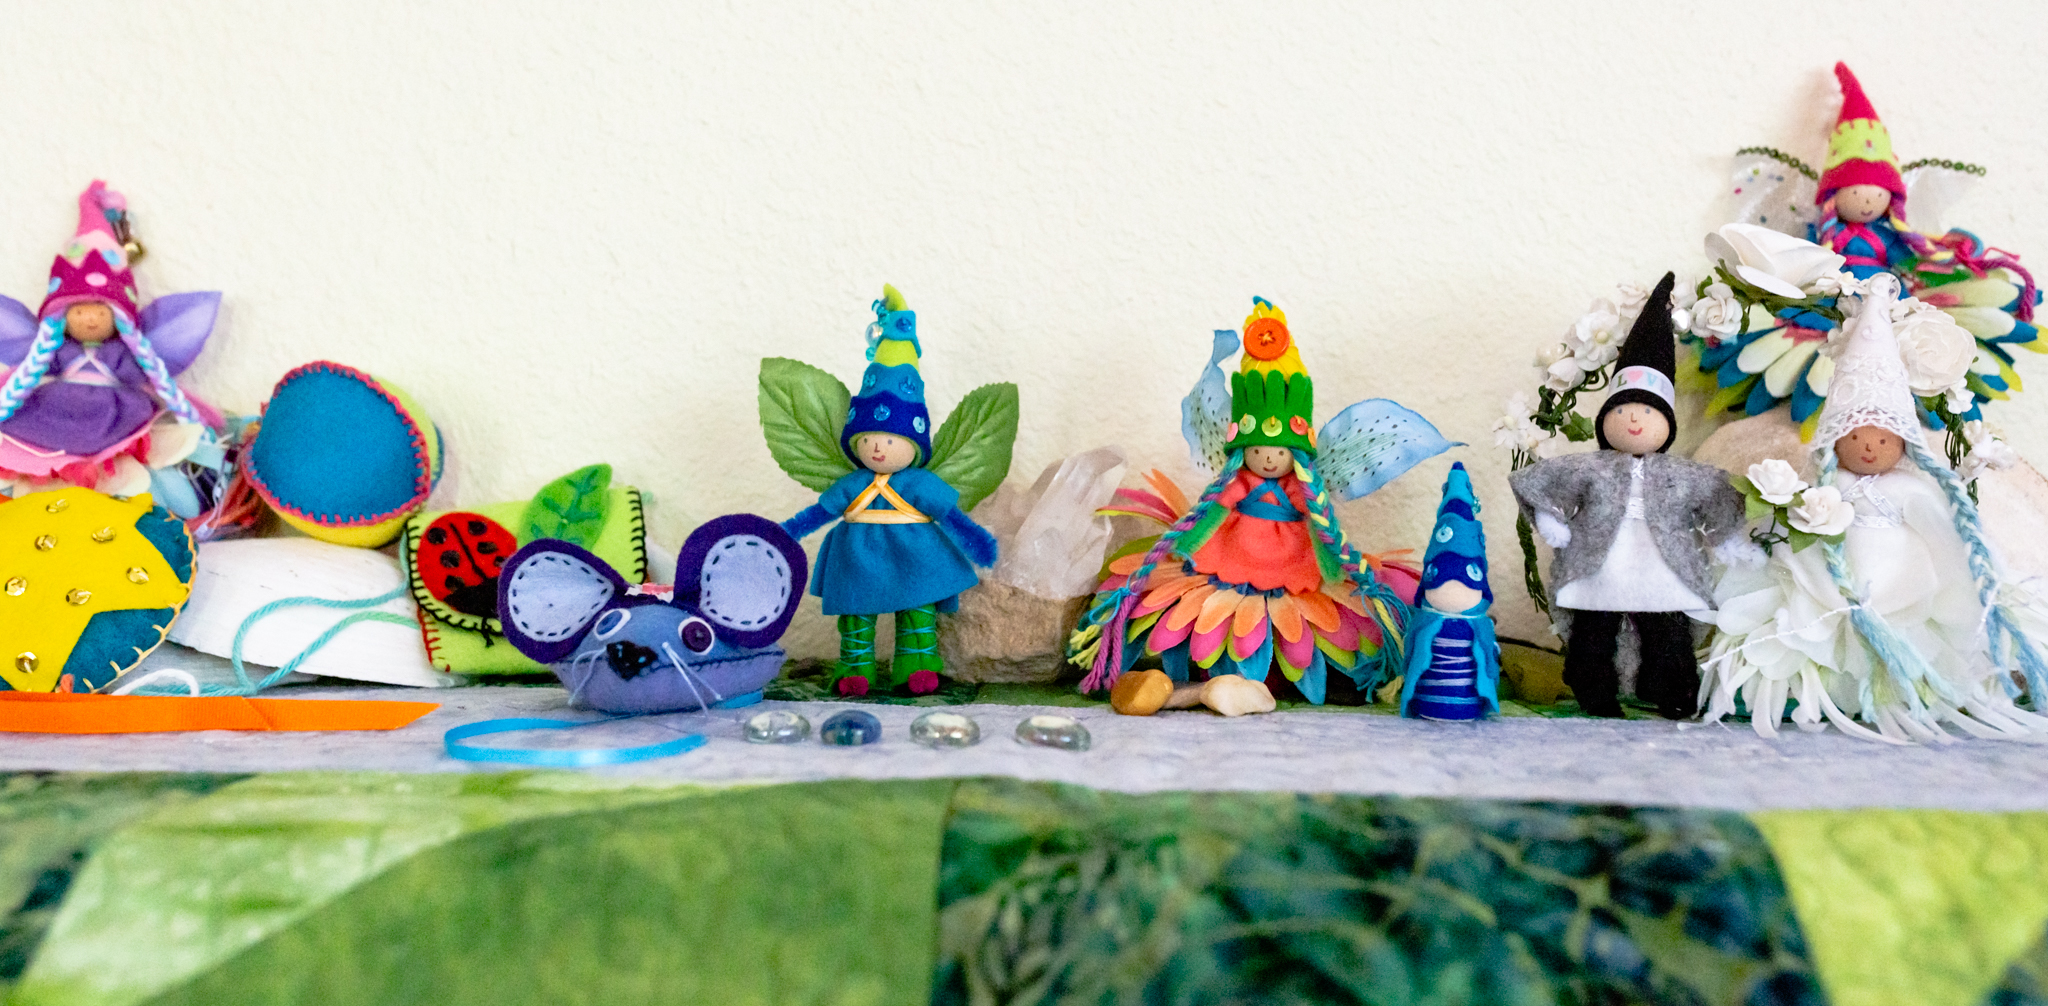
Fairy Star (fairy doll with a star shape, also called star babies, image below)
Pocket Treasure Keepers (can be ornaments)
Magical Forest Fairy Crafts Through the Seasons
Winter Fairies (dress and pants)
Winter Gnome
Snowflake Ornament
Star or Tree Ornament
Star, flower, and snowflake ornaments in Magical Forest Fairy Crafts through the Seasons
Of course, any of the fairies, and most of the crafts sewn with felt, can become charming ornaments. Mix and match for an endless array of creative ideas. From our first book, Forest Fairy Crafts, you could make a Christmas Ninja or Mermaid. Simply choose colors that evoke the holiday season.
We also use projects included in other “seasons” in Magical Forest Fairy Crafts Through the Seasons for holiday-theme crafting. We’ve made the Lavender Mouse using red, white, and pink felt, then hanging them as an ornament (especially if they have a field trip to see the Nutcracker). We’ve used the heart and star shapes from the summer beanbag to make ornaments.
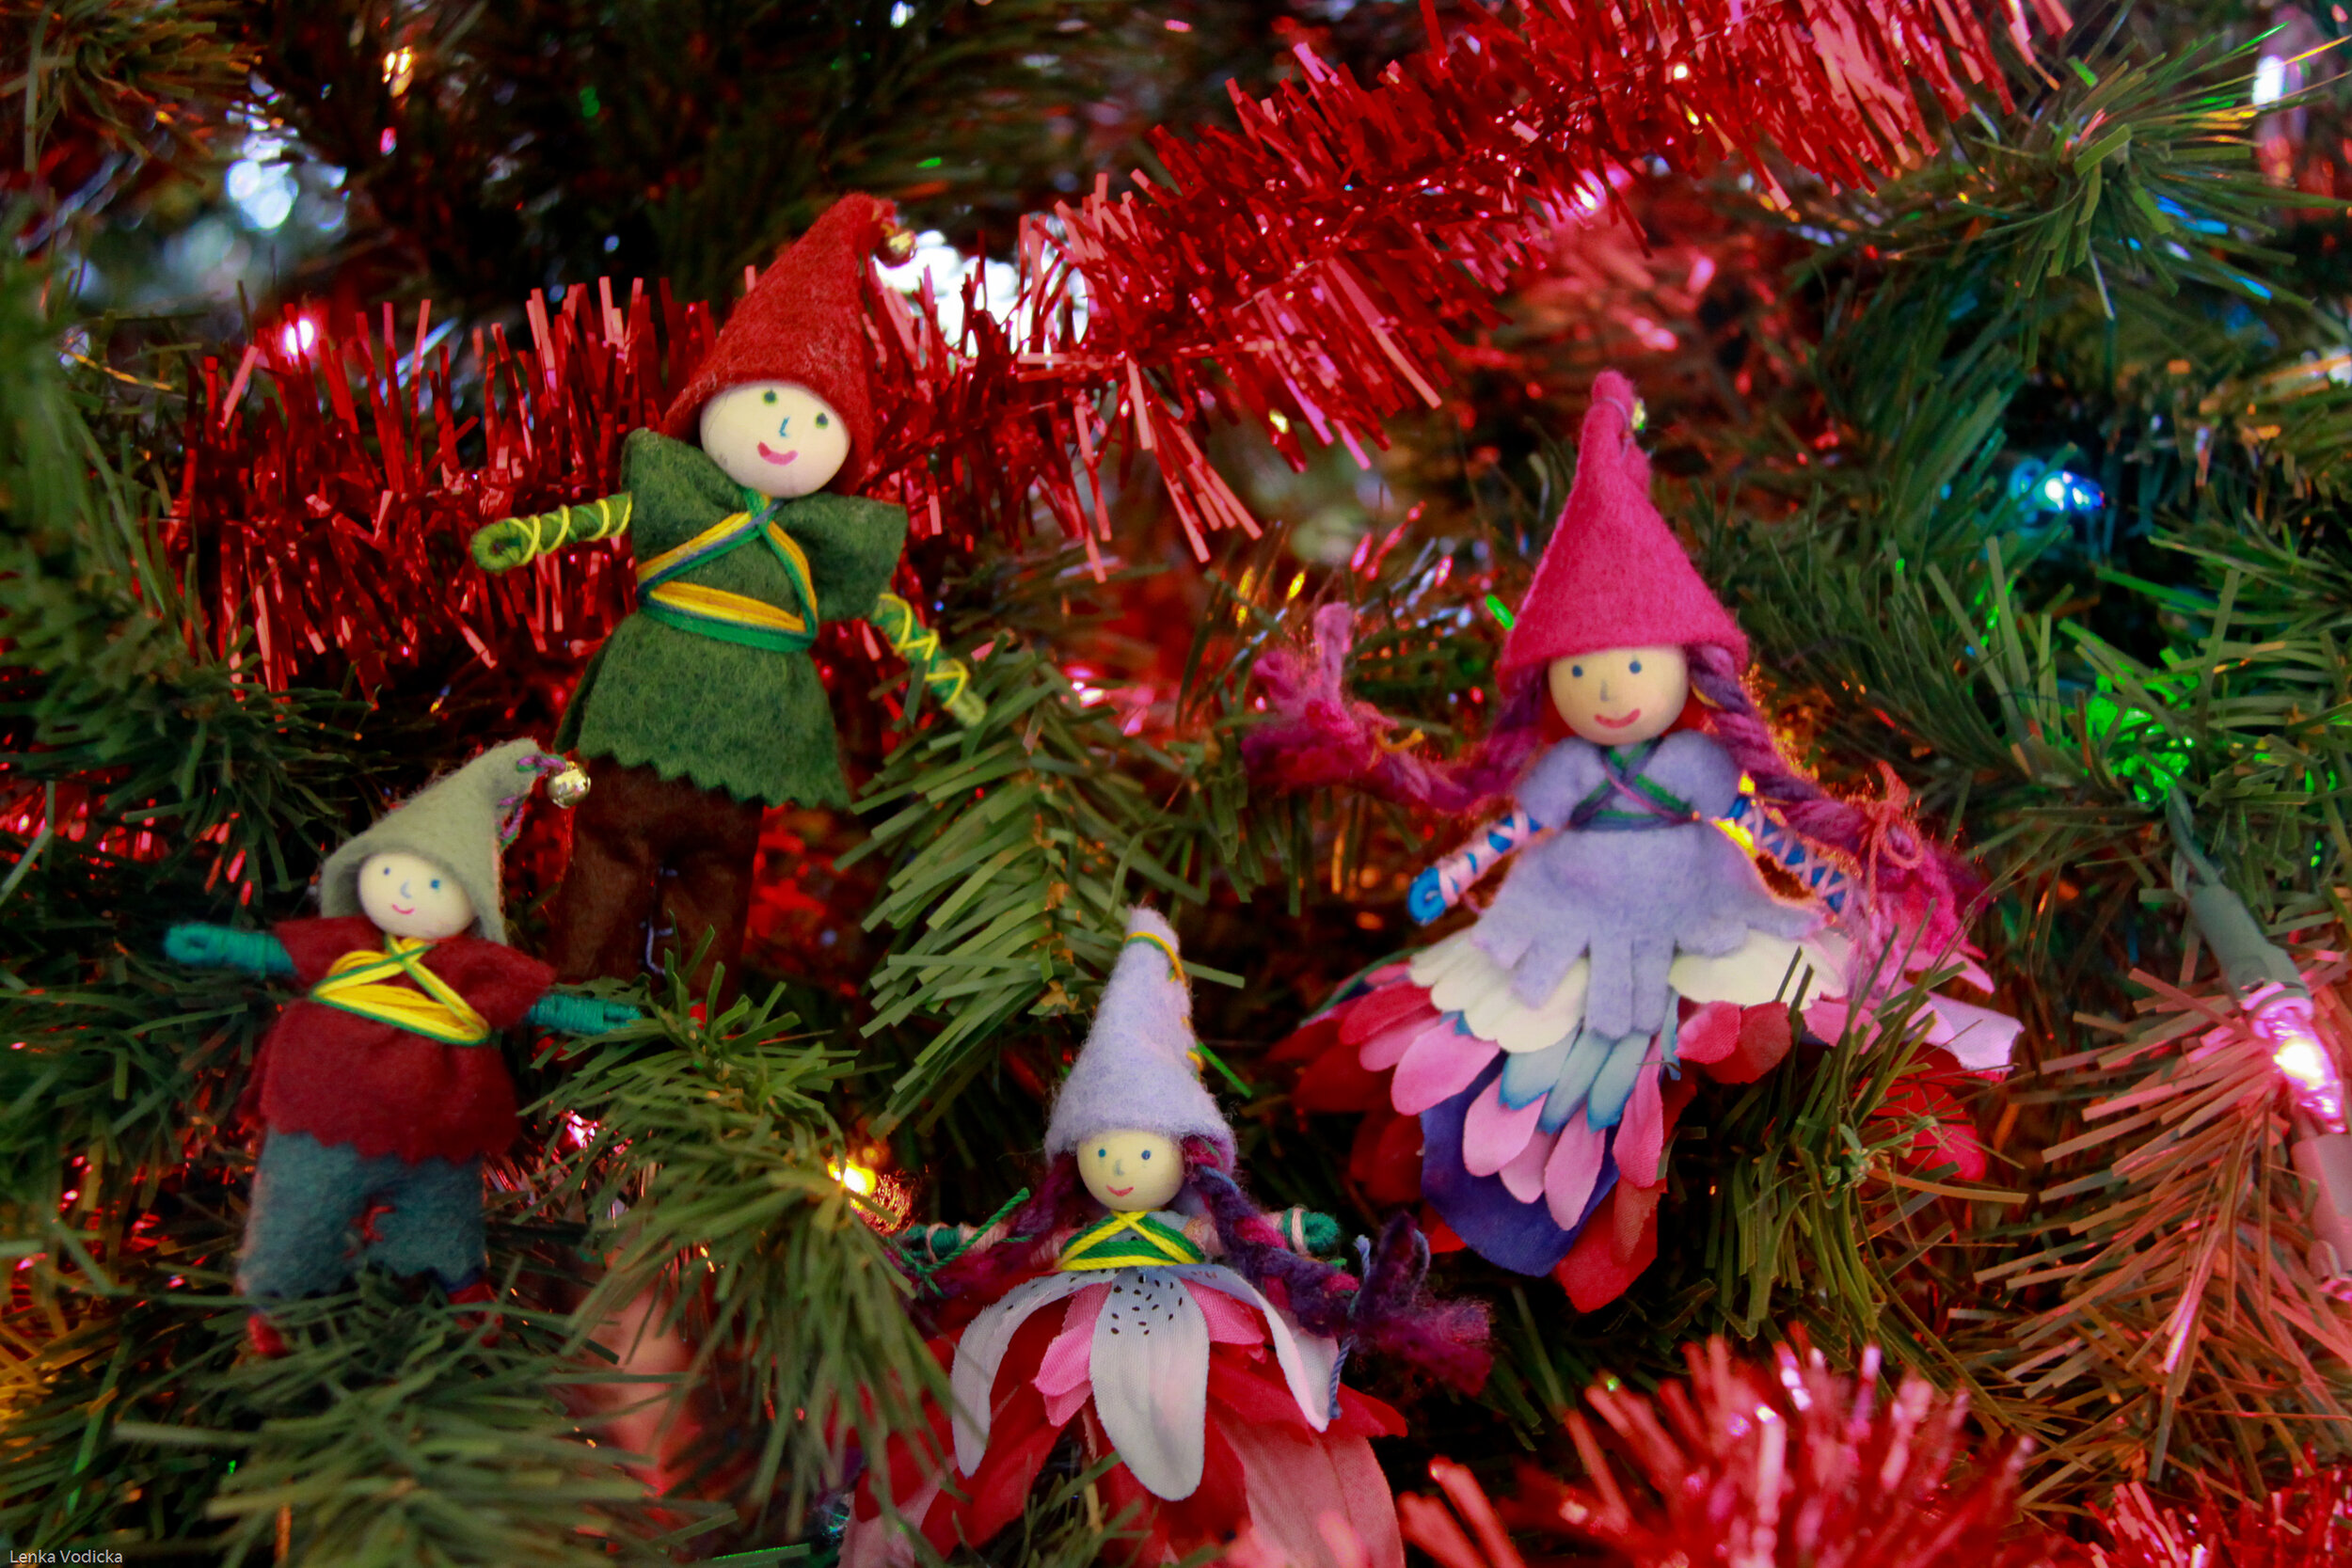
Christmas Fairies sewn by children from the Forest Fairy Crafts book
We often create gnomes as ornaments. One year I called them elves (inspired by the Polar Express) and we made an entire village of their homes with all the things they needed in the community. Which included a dance studio complete with disco ball :) I’m sure many became ornaments once they went home. See more of their creativity here: https://www.forestfairycrafts.com/journal/elf-houses.html
Gnome directions are in both Forest Fairy Crafts books
And you can lean into any of the holidays of the season. Choose Hanukkah colors or Kwanza colors to make decorations that connect with your family’s celebrations. One of the magical things about the Forest is that we encourage children (and you) to make crafts reflect you.
I encourage everyone to let a child create crafts with messy stitching, long stitches, or random stitches. Soon enough, those exuberant sewing styles become tidy. As long as the project isn’t scrunched into a little ball (and maybe even then you can hang the scrunched up version on a tree), they become tokens of the time. Kids love to see what they made :)
We hope that you enjoy choosing crafts that celebrate the season. We love to see what you create :)
Oh, and I’ve made many fairies to gift to children (or made baby mobiles) for the children in my world. I made this little family for my neice for her dollhouse. I’ve made St. Nicolas gnomes, 20 of them, for my son’s class to tuck into their “shoe” (not really a shoe, but a lesson about St. Nicholas celebrations). You can be the one having fun making little magical gifts. We met one lovely lady who made them for the tree at the local children’s wing of the hospital, and children got to take one home. How magical is that?
Enjoy your holiday crafting!
Fairy inspiration: https://www.forestfairycrafts.com/journal/child-made-fairies-for-christmas.html?rq=elves
* Affiliate link disclosure: I receive compensation for helping you discover where to find our books on Amazon. Your pricing is the same. Thank you!
If you are able to support your local independent bookseller, please do so by choosing our books off of their shelves. We support local :)
Favorite Things from the New Book
Yay for discovering new fairies, gnomes, critters, and crafts. Yay for decorating homes with colorful, pretty garlands and ornaments. Yay for new ideas, new creativity, new celebrations. Yay for Magical Forest Fairy Crafts through the Seasons*!
This book inspired us with new ideas and projects. We wanted to build on the foundation of the first book while giving new techniques and inspiration for our community. Here are five of our favorite things in the new book. We look forward to hearing your favorites!
- Crafting for Girls AND Boys- it was so important for us that everyone gets to craft. Every fairy has a version with a fairy wearing a dress and a fairy wearing shirt with pants. We notice that the crafter gets to choose what a fairy wears. Girls can wear pants and boys can choose skirts too, if they want. Fairies could wear kilts if they want! We often craft with boys who make fairies with dresses as gifts. We believe in including everyone. We also paid attention to colors throughout the book, from sample projects to design elements, to show lots of colors. We know that families craft together so it's important to include everyone in the creativity. Also, we see how boys love making toys and learning how to sew. Everyone gets to have fun together!
The bride and groom get to be part of the new book
- Diversity in the Forest- we found a way to create many different skin tones on fairies and gnomes. By painting the wood with watercolors, we were able to showcase all skin tones. Having representation is so important to us. We teach painting. We also model many different skin types in the example photos. All children deserve to see themselves in the crafts they create. Even our kid models for this book show diverse ethnicities. Everyone gets to be included in the Forest.
- Empowering makers- making toys gives children tremendous creative expression. We teach the tools so that they can understand how to sew anything their imagination can design. We show one way, then invite other ways to make a project unique. This gives children an invitation to explore ideas and colors. We believe, strongly, that children are incredible makers. They love opportunities that empower the creative process. This book is a launchpad for creativity.
Gnome and his friends gather to celebrate the new book
- Gnomes- In this book, we got to make more gnomes. We developed a new technique wrapping thread around their tummy to give gnomes more color and texture. And we realized that two capes are fancier than one. By making one smaller cape and one bigger cape, the gnome designs are cute and look fancy while being accessible for kids to make. We include patterns and lots of photos for the gnomes.
Garlands with hearts and blossoms.
- Celebrating the year- by far the biggest request we hear is ideas for each new season. What projects can be brought to classrooms, homeschool students, and programs for children? What can inspire children, and their favorite adults, month after month? So many of our projects are designed to be made again and again. For example, a garland can use colorful felt leaves in autumn. Then it can be made with snowflakes in winter. And blossoms in spring. Or you can add raindrops, or clouds, or hearts, or stars. You can see how one project can lead to many more :)
What we love the most is celebrating the magic of childhood imaginations. We appreciate our community so, so much that has helped create Forest Fairy Crafts over the years. Our very favorite thing about this new book is getting to create more crafts with all of you! Thank you for coming along on the journey. Let's make magic :)
We cannot wait for every to get a copy of their own. Please, let us know what you think. What's your favorite project? Or your favorite idea in the book?
You can order your copy on Amazon,* or visit your local bookseller. Let's return to the Forest!
*affiliate link- a small amount is given to the forest by the seller while your price remains the same. Win-win :) and thank you!
Sew a Book
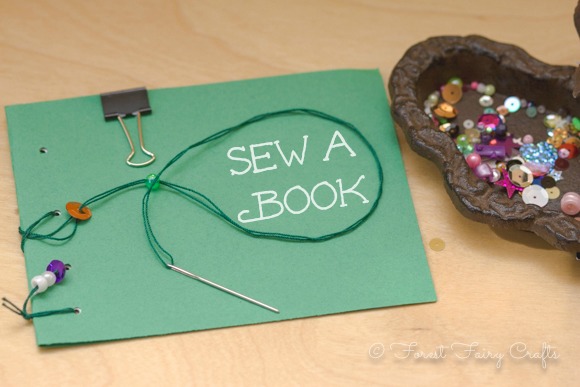
Once upon a time, books were treasures. They were kept in castles. They were guarded. And only a few very chosen people were allowed to read them. They were valued like gold and jewels. Because each and every book was made by hand. People worked hard to create paper. They lettered each word with ink and a feather. And then they had all these pages. How did they hold the pages together?
They sewed them.
Children found this idea fascinating. We looked in books to see the bindings. Most have modern glues. We did find a few with stitching.
I shared a few ideas for stitching their own books. They loved becoming authors and illustrators after sewing. I invited them to write about anything they wanted. What freedom! It could be fiction or non-fiction. A field guide to flowers in your yard or to dragons. We saw books about kittens. Books about the seasons. Books about unicorns. And books about flowers. I plan to revisit the idea and make more complex designs throughout the year. A wonderful first sewing project for all ages.
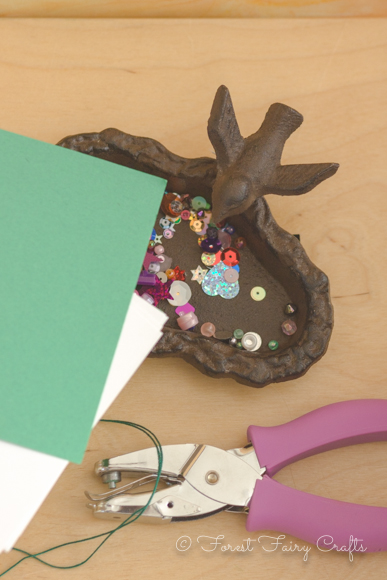
Ages
- All ages (these were with 5-8 year olds). Older children got into the history of bookmaking. They also dove into the writing and illustrating of their own stories. Younger children enjoyed threading beads and sequins.
Supplies
- Paper
- Construction Paper (or watercolor, anything for a cover)
- Needle and Thread
- Hole Punch
- Binder clip
- Sequins and beads
Preparation
- I cut the paper (any size works). I cut the construction paper so it could fold around the white paper (double the length of the white paper)
- I folded the construction paper around the white paper and secured with a binder clip
- I punched four holes along the folded binding edge. All the papers were now held together with the binderclip, keeping the holes aligned. Aha! moment :)
- I doubled and knotted thread on the needles (tips about our needle and thread choices are in our book
)
- I tied the thead around the first hole- actually went through and then back up through the loop in the thread. Any knotting will do. The books were ready for sewing!
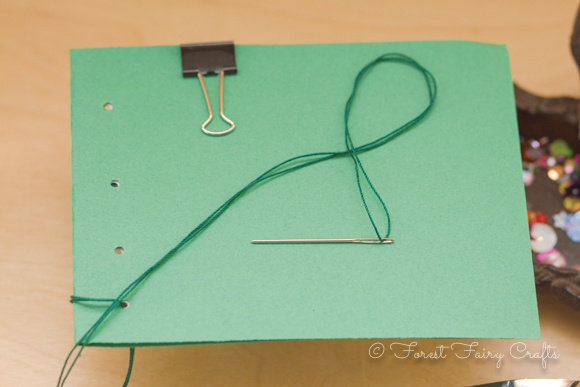
With Children
- We talked about history and sewing. We talked about taking our time. I showed how the needle can go back through a hole more than once to create a decorative binding.
- We talked a lot about not taking the binderclip off until after you sew through the holes. Pages will slip!
- Children threaded beads and sewed beads and sequins along the way.
- They discussed what they would write and draw. We talked about books with no pictures and books with no words. They really got to thinking about the process of creating a book.
I tied off threads and they drew and wrote. As long as the threads didn't wrap around the open side of the book, it was all good. They loved their books for many reasons. And wanted to make more! Which is always good. Love inspiration :)

Wishing you happy sewing today!
Please note: This post contains an affiliate link. Should you decide to purchase our book, a small percentage returns to the forest. Your price remains the same. Thank you!
Sweet Simple Reading Nook

We woke to cloudy skies. Cozy sounded perfect. So we pulled out a few goodies and created a lovely reading space.
We used our old crib mattress and lots of pillows. The big ah-ha moment happened when I pulled out a sheer curtain. What a perfect roof! It is light and airy and easy to tuck behind cusions. The light filters though with just a little magic.
The kids were in love.

For less than ten minutes of construction, I enjoyed ages of shared reading. They laughed and read to one another.
To be truthful, after the reading, the tent became a horse-home and that game lasted quite awhile. Until the tired horses discovered books again.
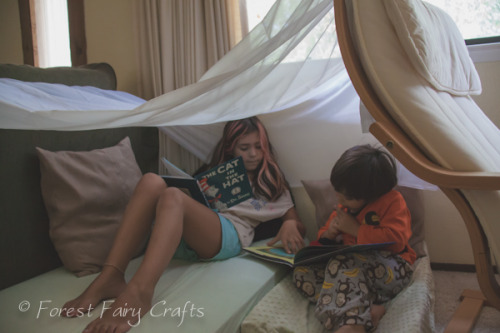
Amazing what magic a curtain panel can inspire :)
I hope you get to make a nook of your own :)
P.S. I was inspired by these fancy book nooks- maybe one day :)

