The First Fairy Mobile

Last month, I wanted to create a gift with our class of kindergarten and first grade students. Our beloved teacher was going to have a baby! What a perfect chance for me to try a long-time idea. How could I make the fairies into a mobile?
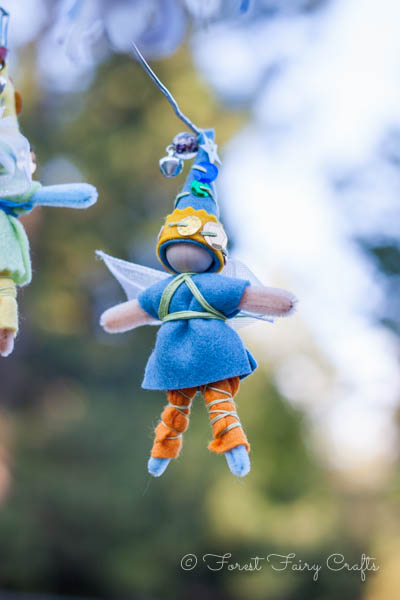
This was the perfect gift. Each student helped with one of the six fairies. We didn't know if the baby would be a boy or a girl, so we kept neutral colors. I chose the felt and cut the pieces before we sat down to sew- orange, blue, yellow, and green. The children helped sew hats and sequins so we had three girls and three boys.
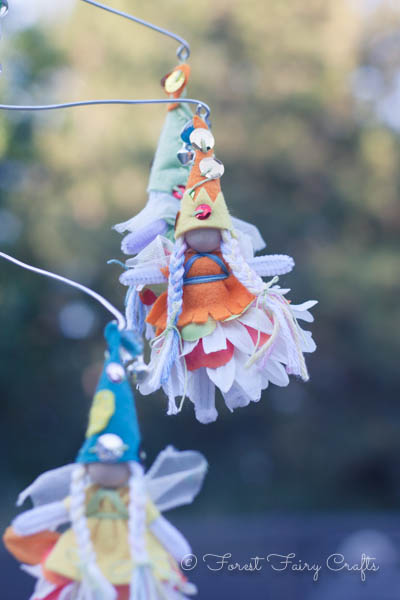
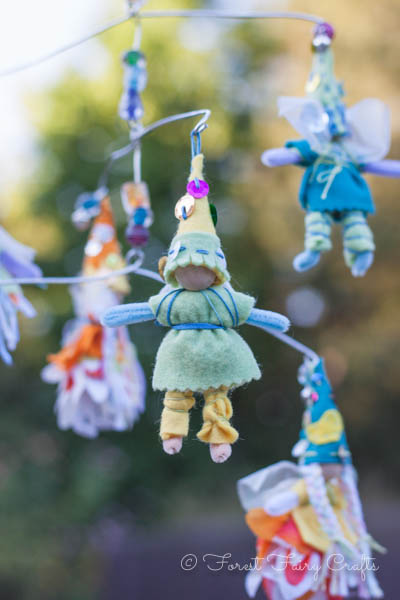

I also kept the thread choices blue or green. This way, the fairies looked similar with their unique personalities. Children also chose the beads for the hat that would end up matching the beads I used to connect the wires (I didn't plan that ahead of time, but it worked out perfect).
Once I had the six fairies, I used floral wire and the heaviest beading wire that I could find in our local craft shop. The beading wire was pretty, shiny, and soft. The floral wire was thin, but strong. I ended up using both wires. I liked the 'character' of the softer wire. The uneven bends here and there just added to the charm. I used beading pliers to make simple loops at the ends and the center. Each wire balanced with a girl and a boy. I attached these together with short pieces of wire. I felt like the middle sections needed a little something, and the beads were a perfect solution!
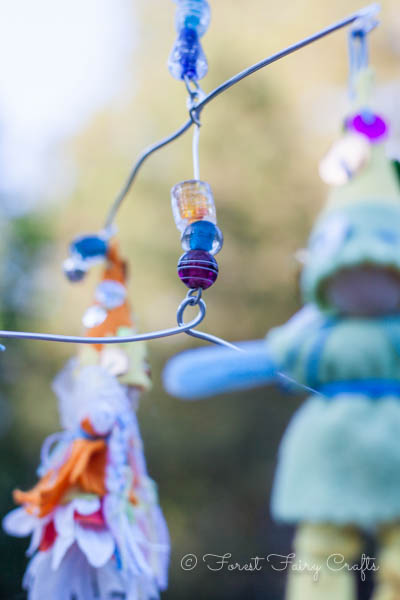
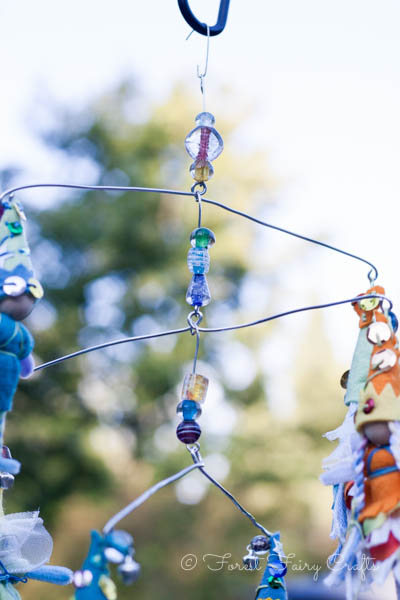
I could make a tutorial if people are interested in all the details of putting the mobile together. My magic was seeing how each child contributed to a collaborative gift. I have wanted to make a fairy mobile for ages! I am glad that I got the perfect opportunity. I have also seen lovely mobiles using a hoop. I would love to try sticks, too, for the natural elements.
I loved creating this fairy mobile with the children. We hope the baby loves our hanging Fairyland!
