Handmade Ornaments, You Still Have Time, Really!
Only days remain, yet these ideas don't take more than an hour. You could collect the supplies in a cute bag or basket to give on Christmas morning, then share craft-time together that day and sew a memory of the holiday together.
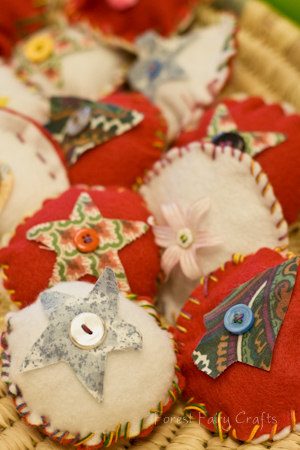
Who can resist a well decorated tree?
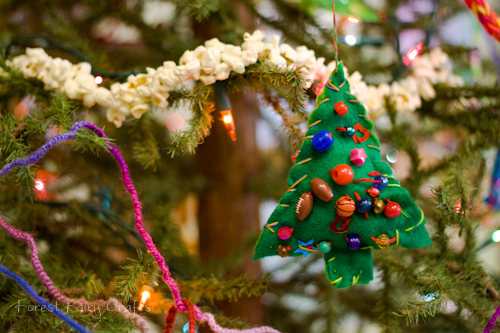
Download the free pdf tutorial here
The turorial shares how to make the ornaments with very young children who sew the needle through both pices of felt at once and add decorations to both sides. For the pillow-version, children decorate each side seperately. Then children sew around the edges, leaving a space for stuffing. Add stuffing and sew shut.

Or heart?
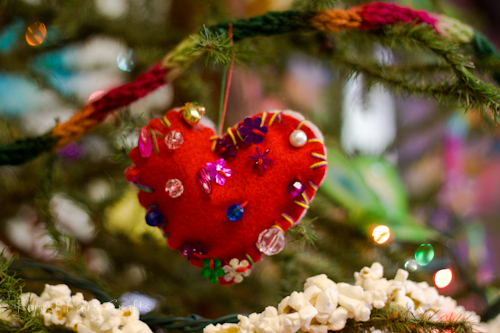
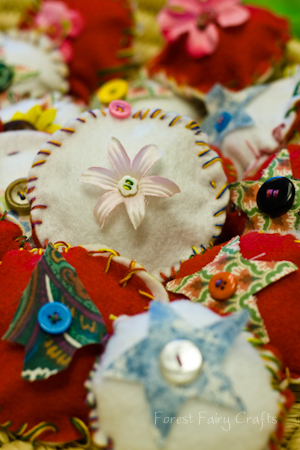
I love shiny happy beads and sequins.

Another quick idea that keeps children busy for awhile, and makes charming decorations for tree or windows (or gift tags), is God's Eyes. Once children pick up on the wind around pattern, they are hooked and will make one after another. The Magic Onions has a lovely tutorial posted here.

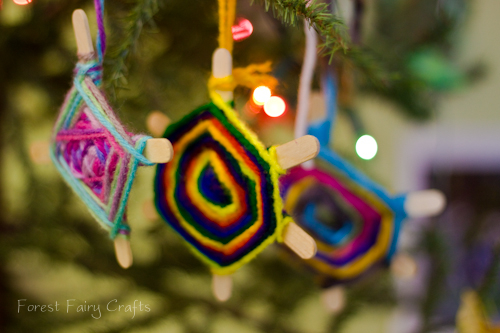
Trees and grandparents and parents love handmade ornaments. Have fun!
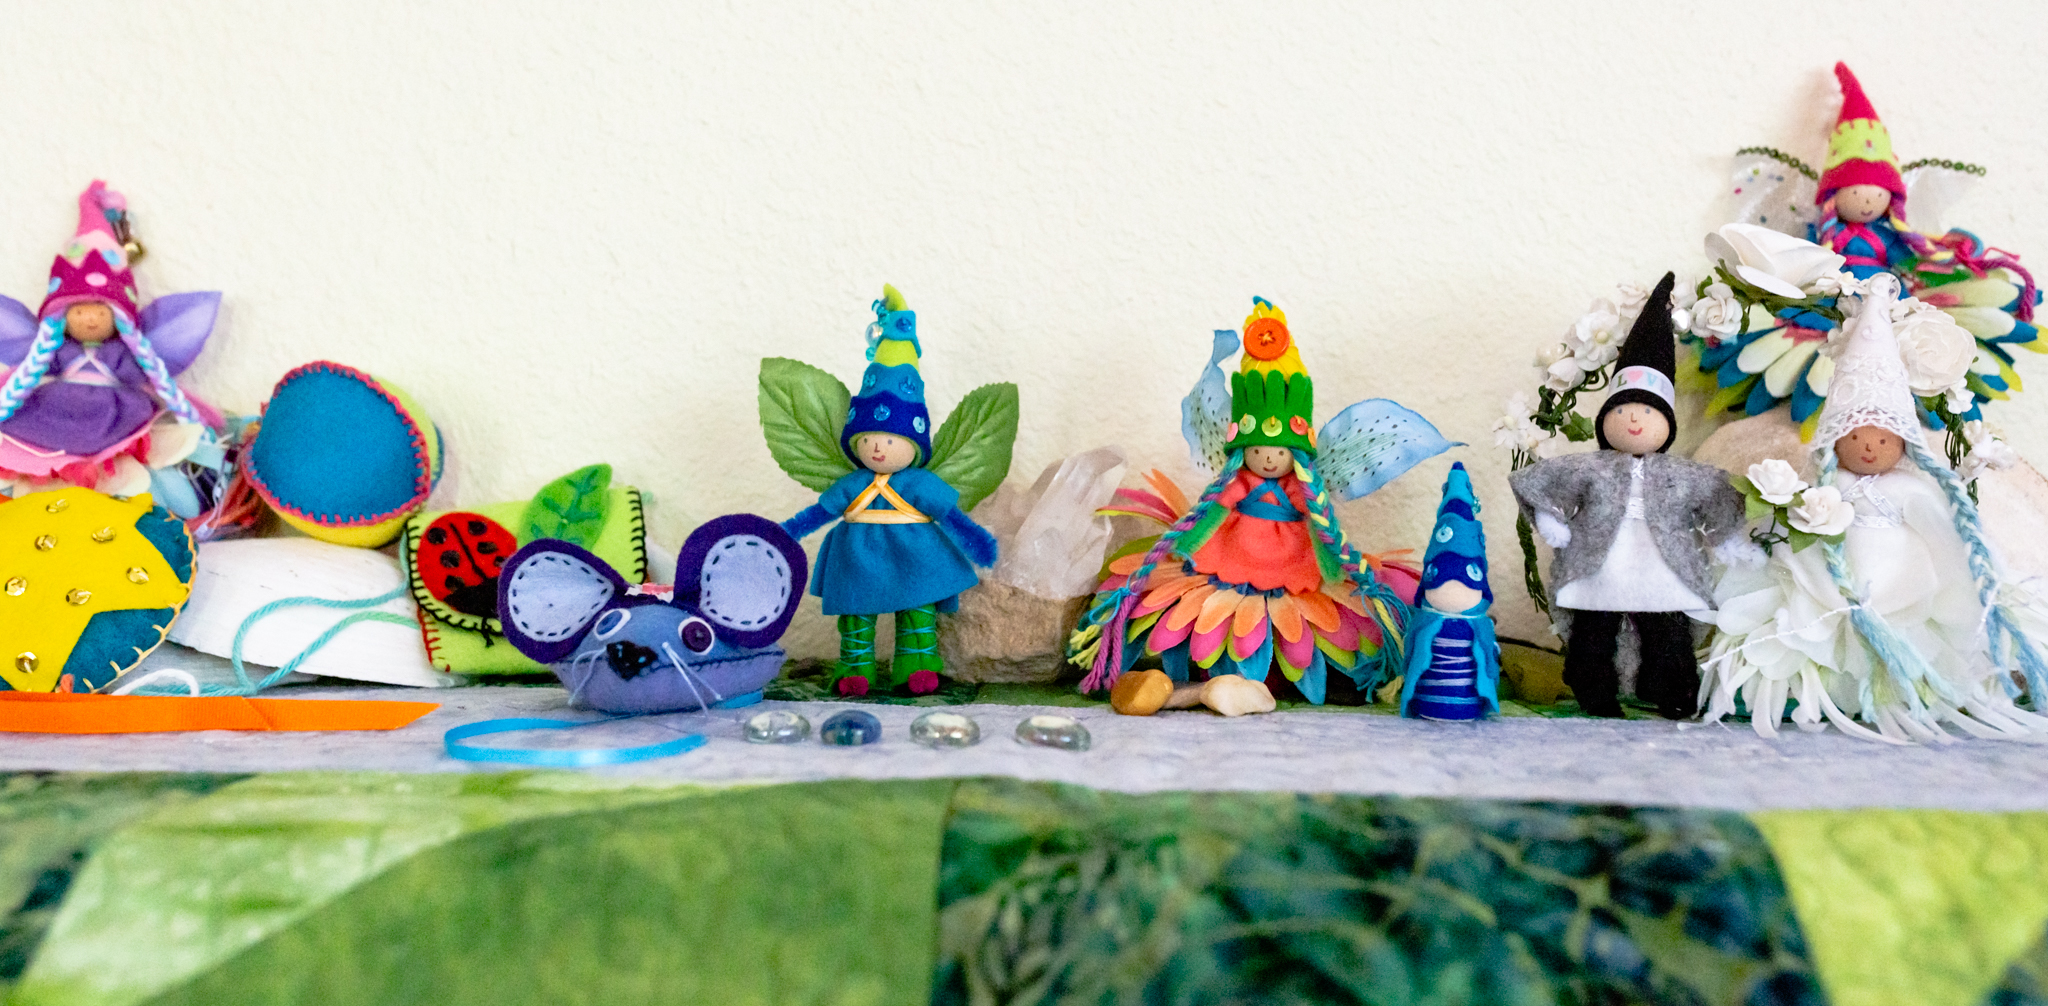
Oh, and just to share, our fairies from the Dragonfly Class (these take more than an hour):
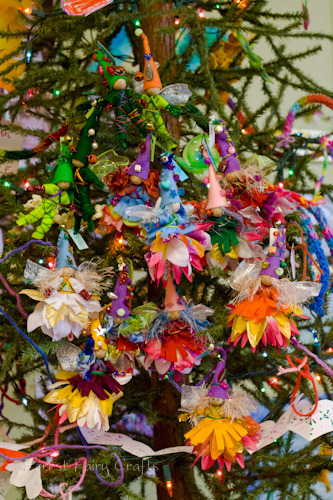
Sending you sparkles and magic as you enjoy the season!
Elf Houses
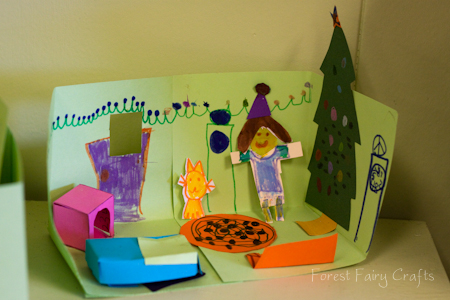
Make your own Elf Houses!
Click here for the pdf directions
Last week was a fun adventure in my Dragonfly class. I made rooms and the kids brought a thousand ideas. I saw a workshops, homes, and even a dance studio!
Once we had the walls, I gave the children lots of paper scraps.
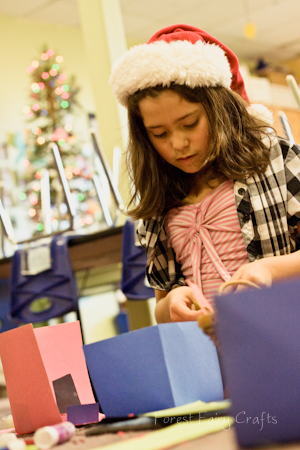
They inspired each other to keep adding more and more clever ideas. This was one of my favorite open-ended activities ever.
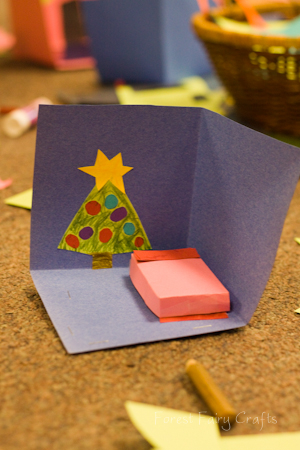
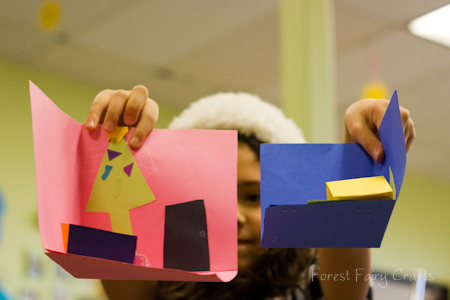
I helped make the beds and tables, but the rest was all their creating. And they got very creative.
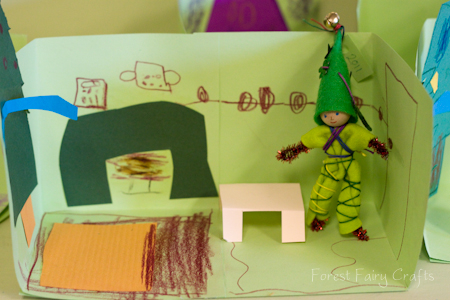
Then they realized their fairies and elves could live in the houses. How cool is that?
And my daughter stayed after school with her friends. She said a gnome lived in her house. Couldn't they make gnomes?
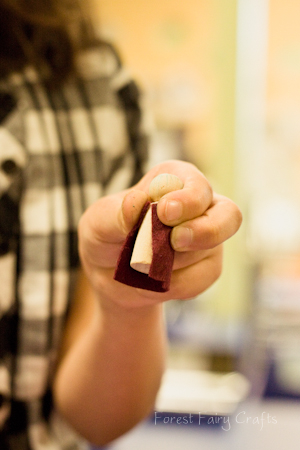
Of course.
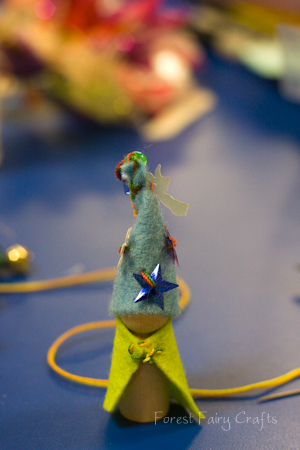
And every gnome needs a disco-dance room in his house.
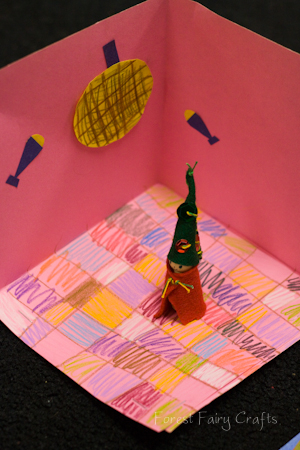
Elf houses quickly became elf-town. And elf-town is ready to celebrate the holidays. Happy holidays!
Paper Lanterns
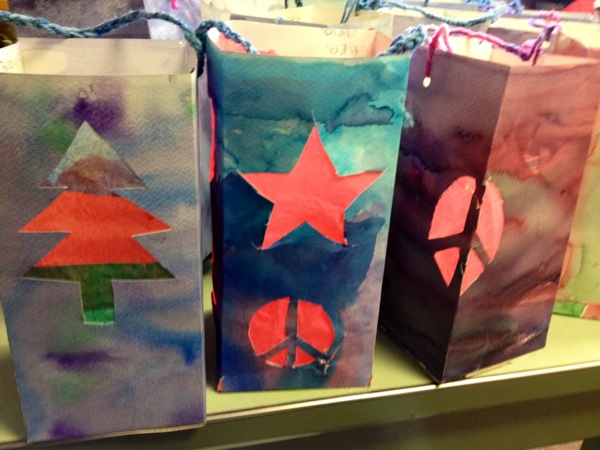
Winter in our Dragonfly kindergarten/first grade class is filled with fun and fancy projects. We are happy to share ideas. These tutorials are quick because we're all busy in the winter season. Feel free to ask questions. Enjoy!
To make these lovely lanterns, watercolor a long piece of paper. When it's dry, draw a line on the back about 1/2 inch from a wide edge.

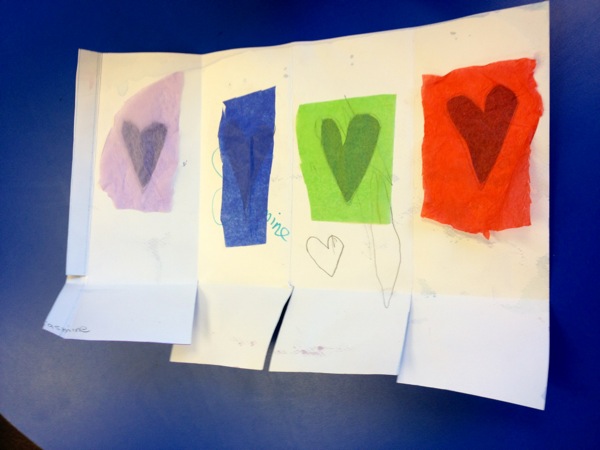
Fold in half to your drawn line. Fold in half again so you have four sections. Fold up a few inches along the bottom edge to make a base.
Cut along your fold lines on the bottom edge. Draw or trace shapes on each panel. Cut out those shapes to make holes.
On the back, glue tissue paper over the holes to make pretty glowing windows.
Fold the lantern again with the bottom edges overlapping to form the base. Glue along the 1/2 inch extra paper from that first line you drew in the beginning. Tuck that into the lantern to glue the four sides together. Let your lantern dry.
For the handle, we punched two holes and the children finger-knitted a chain to tie onto the lantern. We don't have our own finger knitting tutorial (yet) but I liked this one by Moonbeams and Applesauce. You could also braid or tie a few strings in a bow.
We use battery operated candles inside our lanterns. Fire can be dangerous.
These lanterns are a beautiful reminder of light during these dark nights. We hope you enjoy the crafting.
Many thanks to my co-teacher, Marin, for this gorgeous gift :)
Sew Sweet Felt Ornaments
Hurrah, the holidays are here! In our home, we celebrate each year with a hand-crafted ornament. They show us the years in a story. "I remember making this!" my daughter said with excitement.
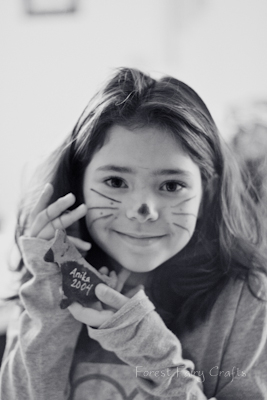
This is very impressive since she painted it when she was one :)
This year, we are sewing. My three-year-old sewed the beads and sequins on his tree.

Can you guess his favorite color?
I know he'll be reminscing about this tree in future years. And we want to share the fun. You can download the tutorial for these very easy felt ornaments. Children get to decorate both sides so it is a perfect first project for children learning to sew. Older children can trace other shapes around cookie cutters and get fancy with their stitching and decorating. We hope that you enjoy the craft!
Happy Holidays!
Click here to download the PDF tutorial
All tutorials are property of Forest Fairy Crafts for family crafting. We are happy to share the tutorial on your website if you link back to us. For other uses, please contact us. Thank you.
The Moment
Why I Sew with Children, Part 1: The Moment
It happens every time. I might be threading the twentieth needle, or cutting out the thirty-first piece of felt. And I wonder, "Why am I doing this?" Just about any other project would be easier. Painting, gluing, drawing. None of those risk injury.
Yesterday I questioned myself as I told the class that we would be sewing ornaments. I was with my youngest students, fours and fives. They could barely stand still to hear the two directions. I sew one-on-one with a child while the other children play or read or draw.
At this age, the children constantly bump against me. One tipped the bowl of beads and sequins before he chose his two colors of felt. "He doesn't know where he begins and ends," I said, smiling, to the class teacher.
And I was handing him a sharp needle? And holding the felt while he controlled the needle? Holding the felt is important for the youngest sewers (see our Magical Secrets). He didn't even want to sit down. He shifted weight from foot to foot. I took a deep breath. Here we go, I thought. I handed him the needle.
He studied it for a minute. The first stitches were shaky, barely looking at the felt before pushing the needle through. He dug around in the beads, at first just to hear the noise, then with serious intenton to find his favorite colors.

And then . . . then the moment. He sat down. His feet went still. He looked at me, really looked at me, then again at his work. And for the next few minutes. He was completely focused.

We shared a lovely converstation about colors he chose for his sister and mom and dad. He took the felt from me as his confidence grew. And he sewed with intention.
This is why I sew with children.

Because life is not all about Math Facts and Sight Words. Life challenges us to be focused, invested, careful, and calm. Life challenges us to give of ourselves, to see that we can make magic.
And sewing with children lets me feel magic. That moment is magic.

Tutorial for our Sew Sweet ornaments will be posted soon :)
*Please note: I mixed a couple of students together to write the story. Magic happened with the boy in the photos, but he was not the one that tipped the bowl of sequins :). I just want to be fair and true as I share :)
Moody Pumpkins with Groups of Children
On Tuesday, I sewed the Moody Pumpkins with the youngest students at our school. I am the art teacher on those days, and their all-day teacher was a little skeptical when I said I was bringing sewing into the classroom.
"With real needles?"
Yes. Real needles.
Because this is precious.
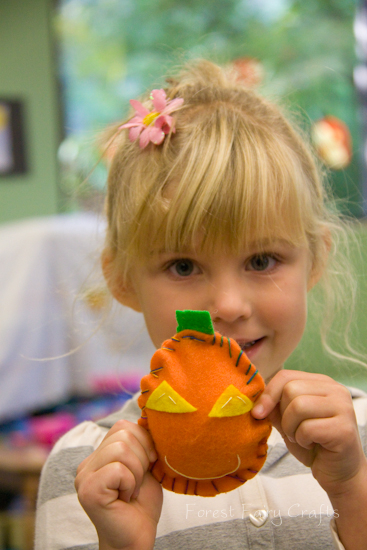
But I don't walk into a classroom with a pile of felt and a pincusion prickling with needles. No, that would be a disaster. A big part of crafting with children is being prepared. So, to get ready for this project, I was busy the night before.
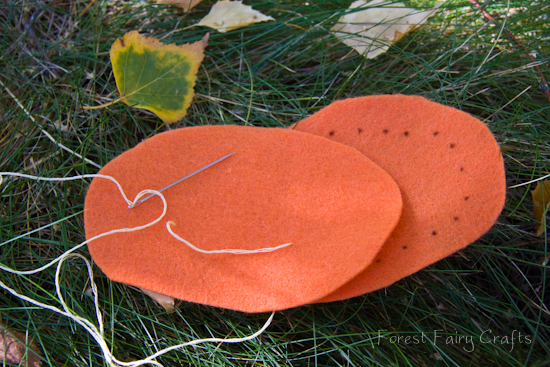
- Thread 15 needles with the outside thread (in this case, variegated rainbow crochet thread- see our Supply Hints)
- Cut pumpkins (back and front)
- Cut stems
- Cut lots of little yellow felt triangles so children can choose
- Thread needles with yellow embroidery thread for the face (though I learned that the rainbow was cute, too, when I was short one pumpkin the next day)
- Sew the mouth by knotting, pulling through, testing to make certain that it will fit, then knotting loose on the other end of the mouth so the pumpkin is ready for eyes.
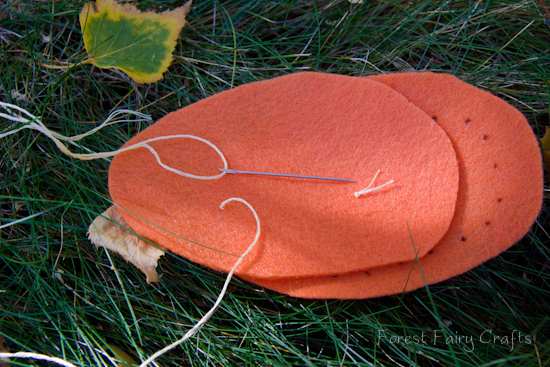
- Leave the threaded needle with the pumpkin- tuck into felt so it won't prick anyone.
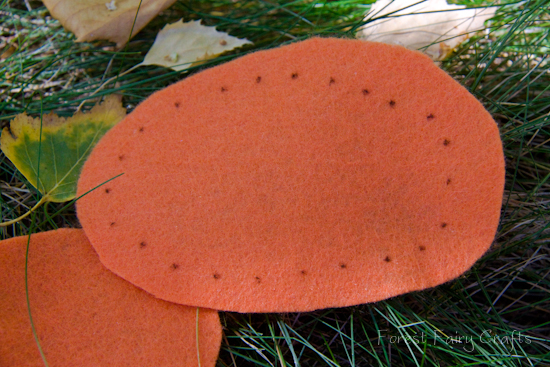
- On the back of the pumpkin, draw little dots for each spot the child will place the needle. This turns the sewing into a dot-to-dot, with the needle always poking into the next dot (whip stitch).
- Safety pin it all together with the smile on the outside so the children can choose their pumpkin.
- I do not try to make them all look the same. No, the fun is in unique pumpkins!
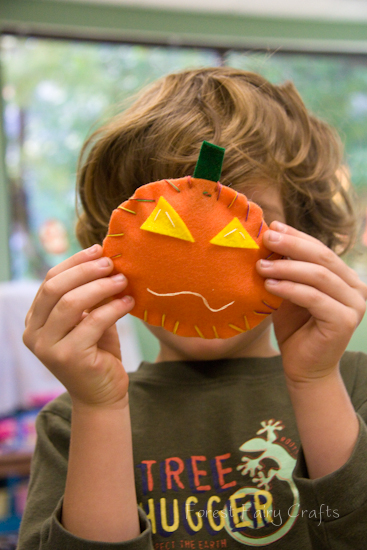
Some were tall and some were wide. All became special :)
I chose felt for the eyes on this project because it was faster than buttons. The child chose the triangles and an adult sewed the eyes on with a few stitches. We tied off the yellow thread. We sandwiched the stem between the pumpkin pieces. We used an already-threaded rainbow needle and did the first couple of stitches to anchor the stem. Then we modeled a stitch or two before handing the needle over to a child. We work one-on-one with children this young because most need us to hold the felt (see Tips & Tricks).
They sewed about 3/4 around, then stuffed the pumpkin and sewed it closed. Many students were amazed.
"I thought we had to glue it."
And, "I made a stuffie. Look, look, I made a stuffie!"
My favorite quote came from this little guy.
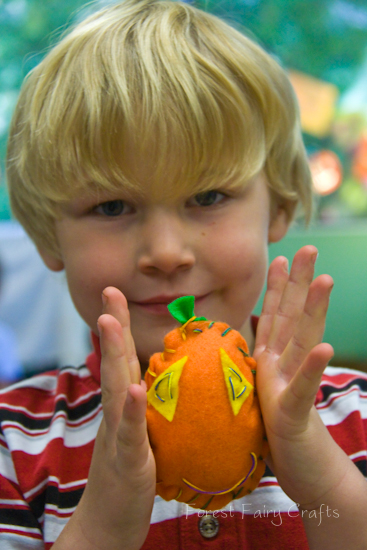
You can't hurry when you're sewing. The needle is sharp. Sewing is a quiet activity.
Why do I sew with children? Slowing down is precious.
Have fun! The Moody Pumpkin tutorial is here as a pdf download. All tutorials are property of Forest Fairy Crafts. Please contact us for use permission beyond sharing with friends and linking back to our site.
Autumn Goodies
Here are projects that we are crafting this month!


We will have a free tutorial for this fun craft :)

And craft kits for the Pumpkin Fairy and the Chubby Kitty

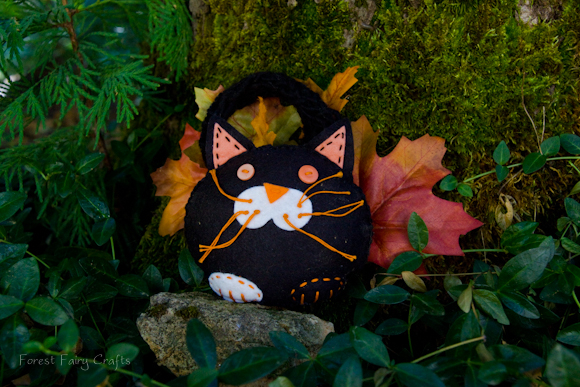
We will let you know as soon as they are ready to travel :)
The Free Moody Pumpkin tutorial is here. Enjoy!
Rock Critters
My favorite kind of crafts are the crafts that surprise me. This one began at the river. My niece was visiting and I suggested, "Why don't you collect some rocks?"
"Can we paint them?"
"Maybe. Sure."

Ian had his birthday party four days later. I pulled out the rocks for a party-activity. And . . .
Rock Critters!
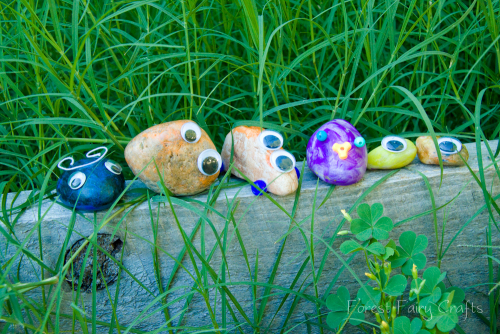
This one is my favorite:
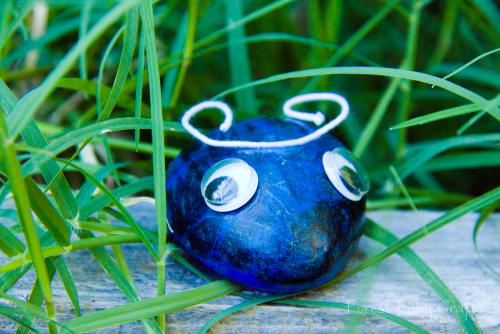
Here he is with his collection of colorful treasures:
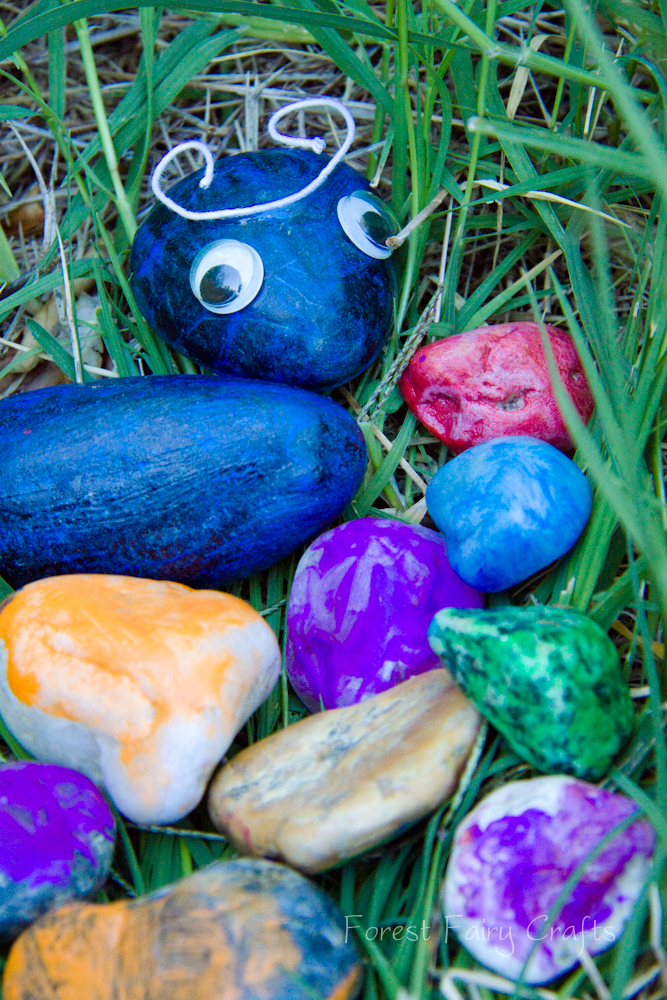
Ian made a Car Critter

The girls made a few rocks with only one eye. Their one-eye critters were cute. Then we discovered you could use the one-eye rocks with the painted rocks to make faces.
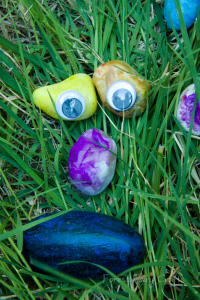
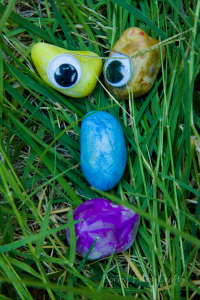
Even more fun!
I'll post the crafting photos soon of the kids painting these beauties. We used washable paint, let that dry, and then I coated them with a layer of Modge Podge sealer. We used tacky glue for the eyes and antenna.
A last moment with the little blue critter :)
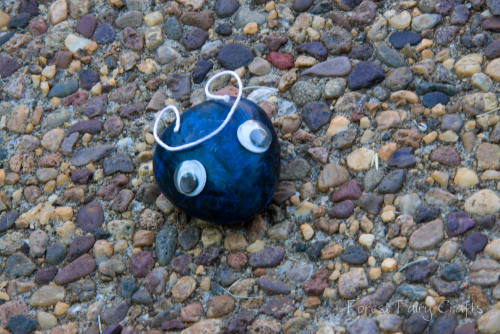
My favorite crafts make me smile :)
The Bunny Wizard Costume
My daughter's bunny is in the costume contest at the county fairy tomorrow. Our bunny is staying at the fair right now, so we used a stuffie to model the costume that Anika and I sewed today.
I hope Pumpkin (our bunny) likes it!


A little hole in the hat for Pumpkin's ears
The cape ties on and the hat has an adjustable strap. It should be comfortable for him, but we'll see . . . It may not be on the bunny for very long. I'll take photos if I can!

