Upcycled Owl and Cat Treasure Keepers
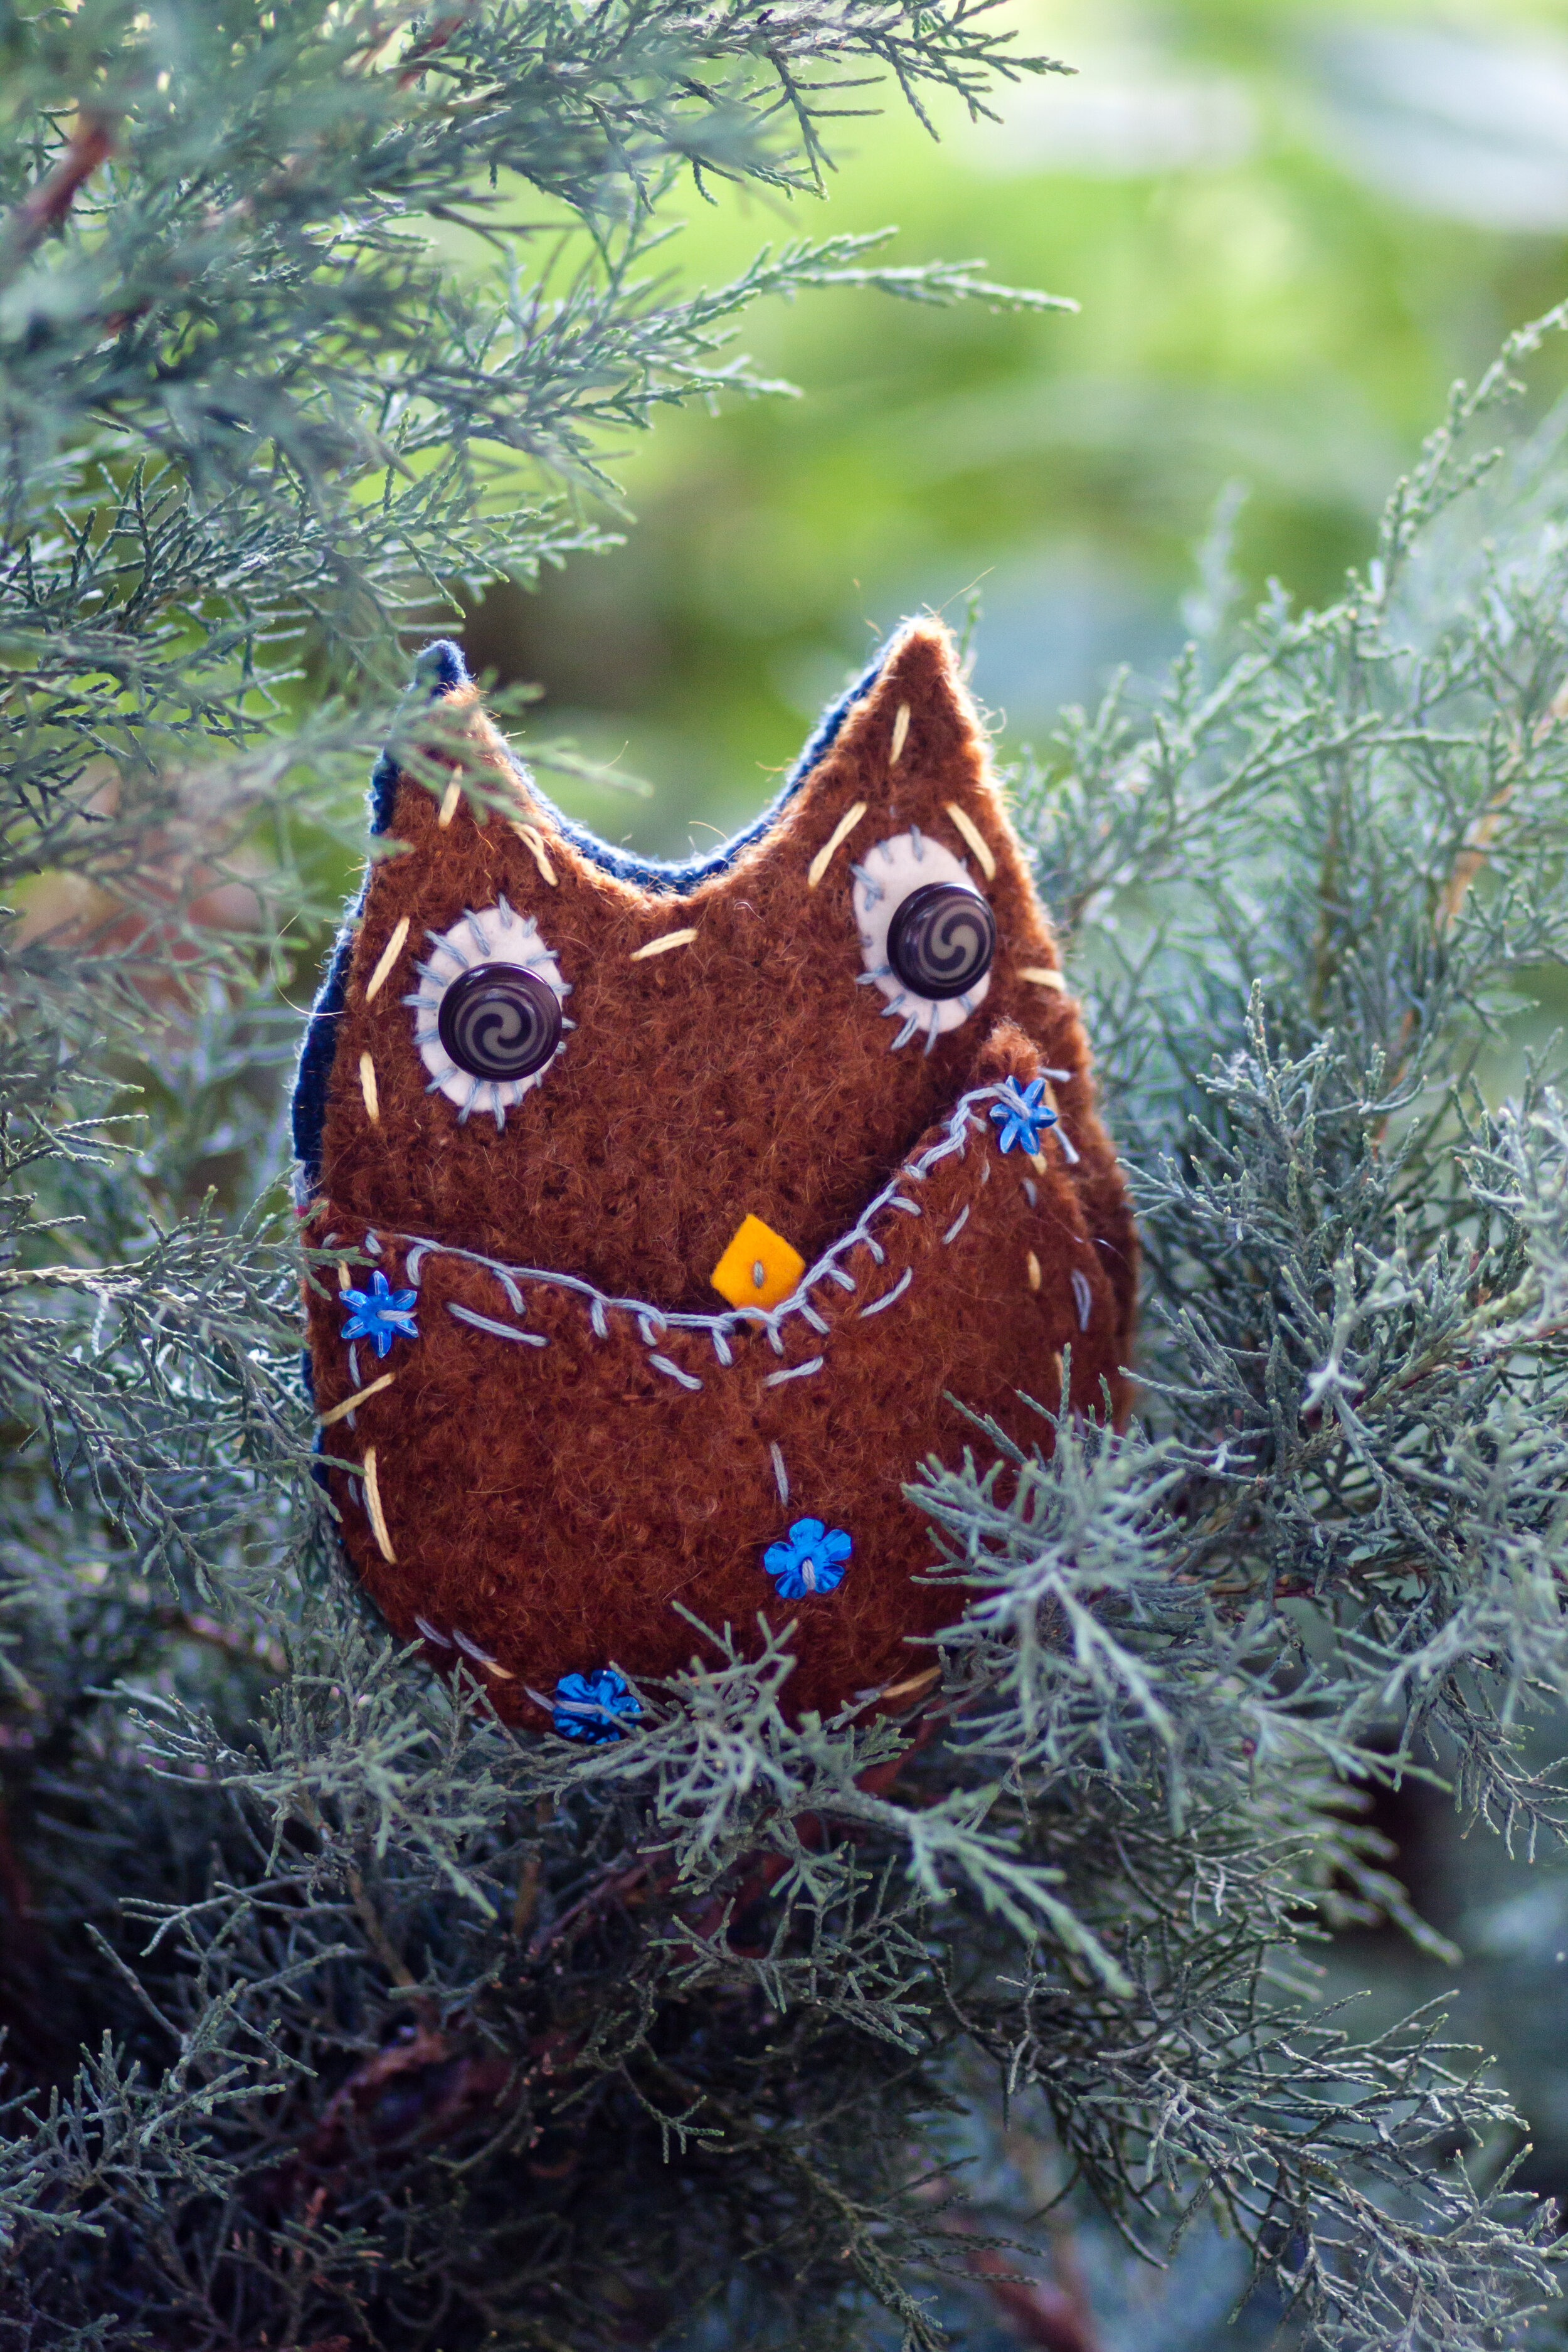
Upcycled owl and cat treasure keepers by students feature incredible personalities and embellishments. Upcycled means to take one item and use it for another purpose. Worn clothing with holes can become toys. Upcycling is a fun way to repurpose fabric instead of throwing things in the trash.
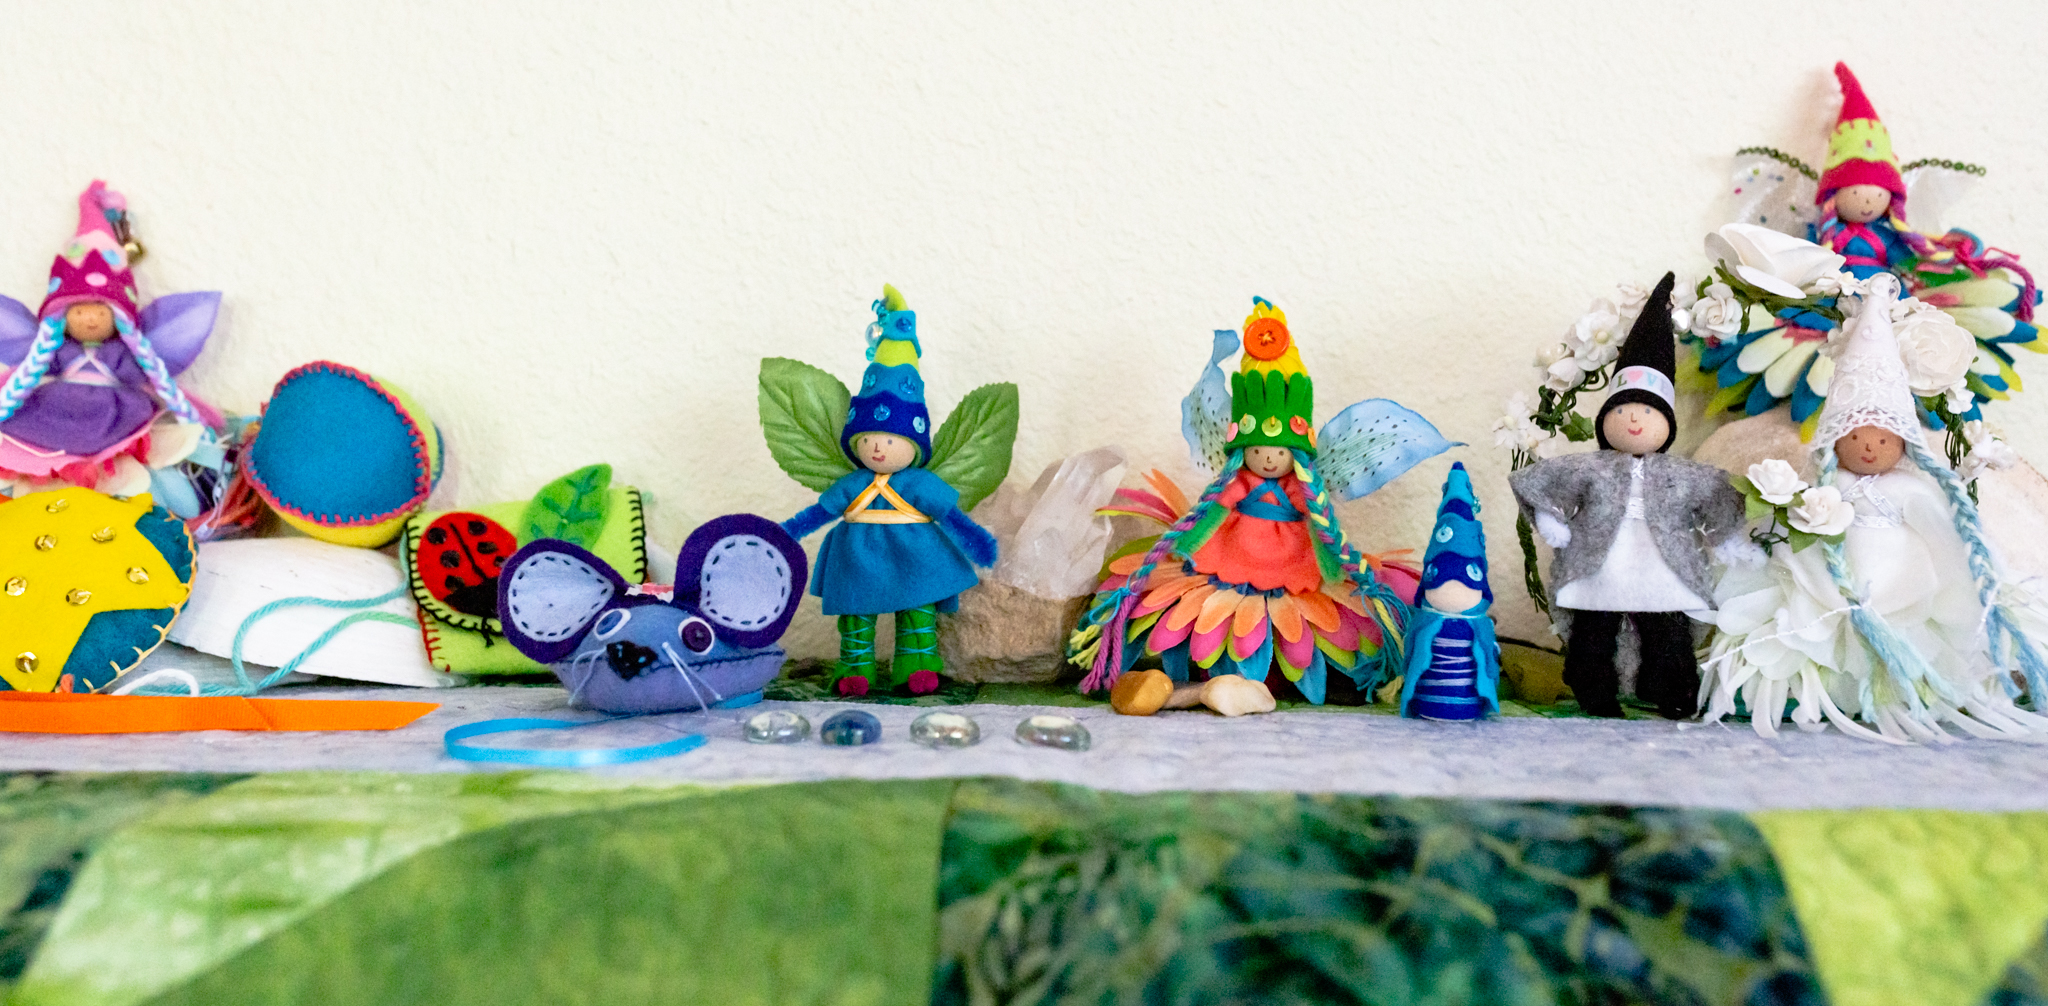
Any fabric that doesn't fray easily and isn't too stretchy or thick for pushing a needle through it will work fine for fairy crafts. We see every project as an invitation to create. We welcome exuberant self-expression when children sew. The pattern and tutorials for the Owl and Cat Treasure Keepers are in the first Forest Fairy Crafts book. They're a wonderfully fun activity when it's chilly outside. The front decoration is actually a pocket. Perfect for little treasures. Or tooth fairy pillows. The Forest Fairy Crafts book shares patterns, tutorials, and photographs for making your own little critters.
And they’re so cute!
Art Inspiration with Color
This week we are juggling middle school distance learning with * waves towards everything else *. And we are so fortunate to have the ability to stay at home. I manage to work from home, though productivity is extremely challenging. This project was simple and engaging. I approached it as a science, open-ended process art project. And he actually loved the results. So win-win!
Prep:
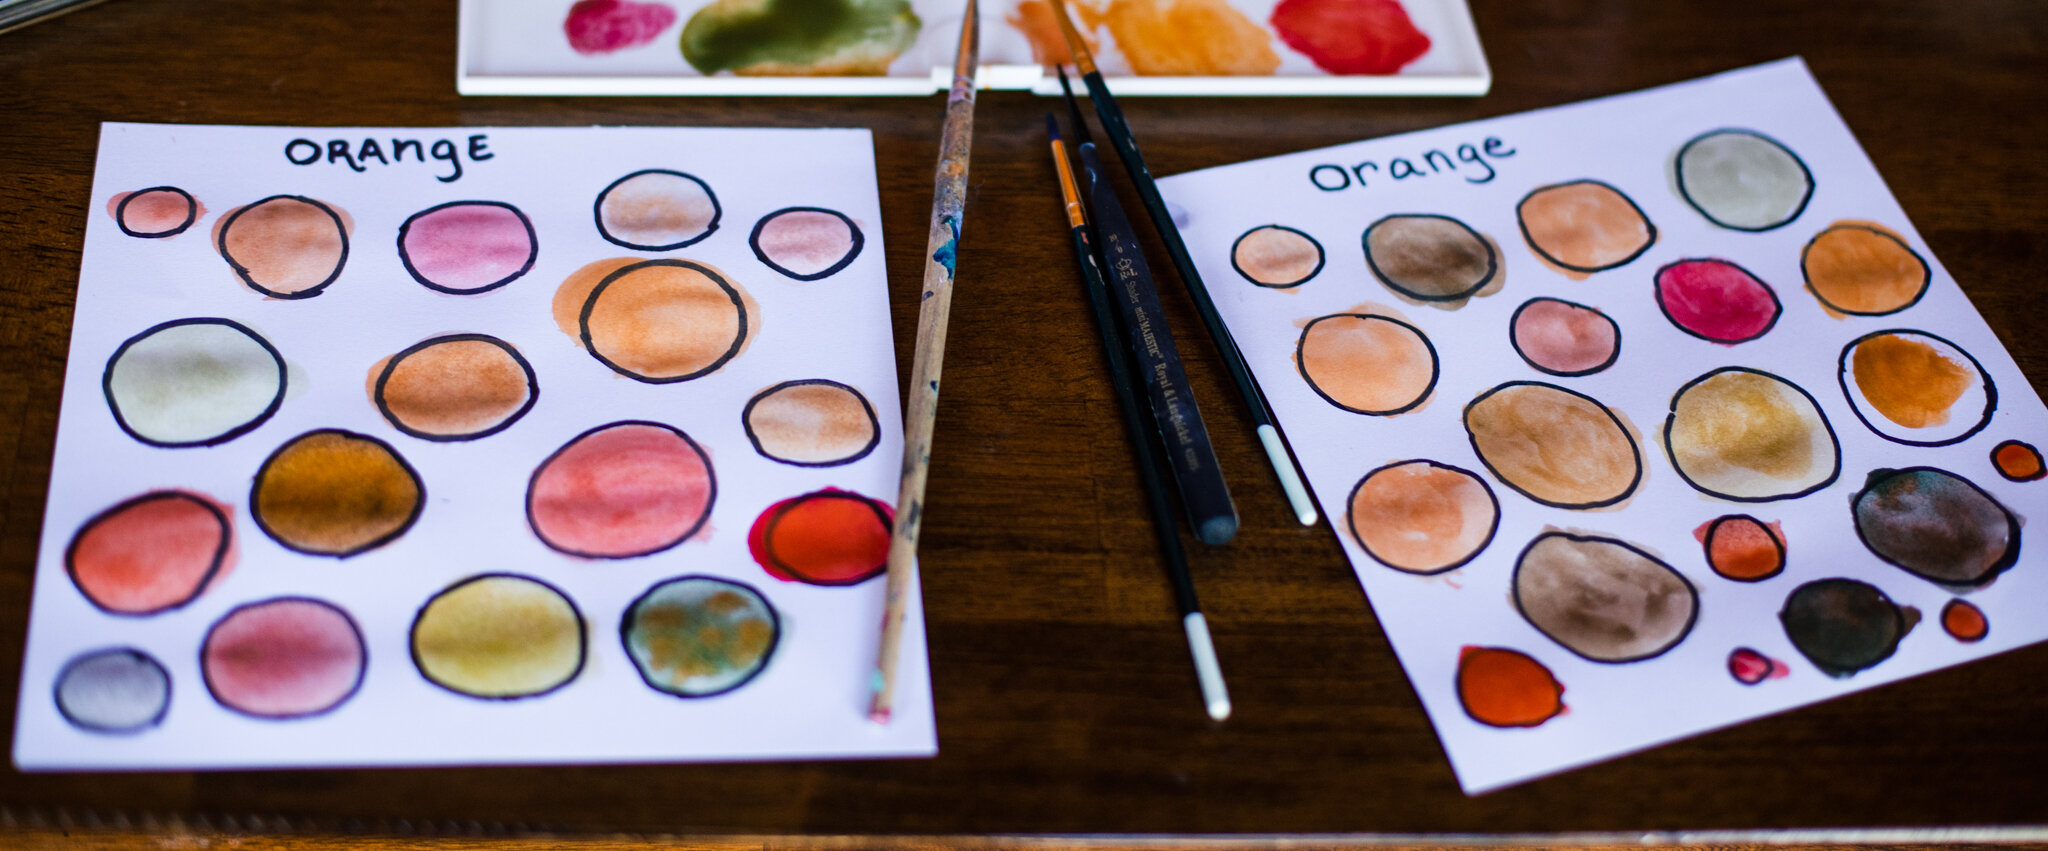
Using a sharpie, I wrote the main color- his favorite color- at the top of the page. He could have written it himself but I wanted to make it an “easy onramp” because the resistance to “work” is real (and exhausting). To be honest, I get it because I feel that undertow too. I know that engaging in activities is rewarding, though, so I made this as easy as possible to start. Anyway, I drew circles across the page. Imperfect circles with different sizes (easier for me) with a sharpie. It has to be a pen that doesn’t react to water because that will mix with the paint.
Painting:
I set it up with him with the question- how do colors interact with orange? Mix them on your brush or on your paper. What causes different shades of orange?
We also talked about water tension and that if he didn’t have water go outside the circle, the paint would stay in the circle as well. Then we ended up going outside the lines a bit too.
He really enjoyed creating different shades of orange. And we got to continue the conversation when the page dried and colors changed slightly.
What we learned:
The paper influences the mixing a lot. We used a sketching paper that soaked the water quickly so it didn’t work to mix in the circle as well. We ended up mixing more directly dipping the brush from one to another color. Once he mixed two, I suggested three. We also mixed on the lid of the paint tray. Our paints, by the way, are Lyra watercolors available on A Child’s Dream Come True.
It would be fun to try with watercolor paper where you could drop one color onto the other on the page and see them interact.
This is a fantastic project for scientific “what if” questions. There really isn’t a wrong lesson for children to learn. I ended up painting beside him because it was fun to try different combinations.
Oh, and it may be surprising to see how some colors “play well together”. If you group warm colors together, and cool colors, similar colors (warm-warm or cool-cool) will enhance the chosen color. This can also be called analogous colors on a color wheel. But adding the opposite, like adding blue to orange, makes the orange look gray-green. Why? It connects to the idea of complementary colors that react differently with the chosen color. You can learn more about colors by researching.
We strongly encourage children’s curiosity, especially if they ask, “Why?” That gives you an opportunity to go learn more. The first step is observing, which means letting children try things and ask their own questions. Art is a wonderful way to explore ideas.
Of course, you can use different shapes, too. Squares, rectangles, triangles… lots of creative potential. We hope you have fun experimenting with color 🧡
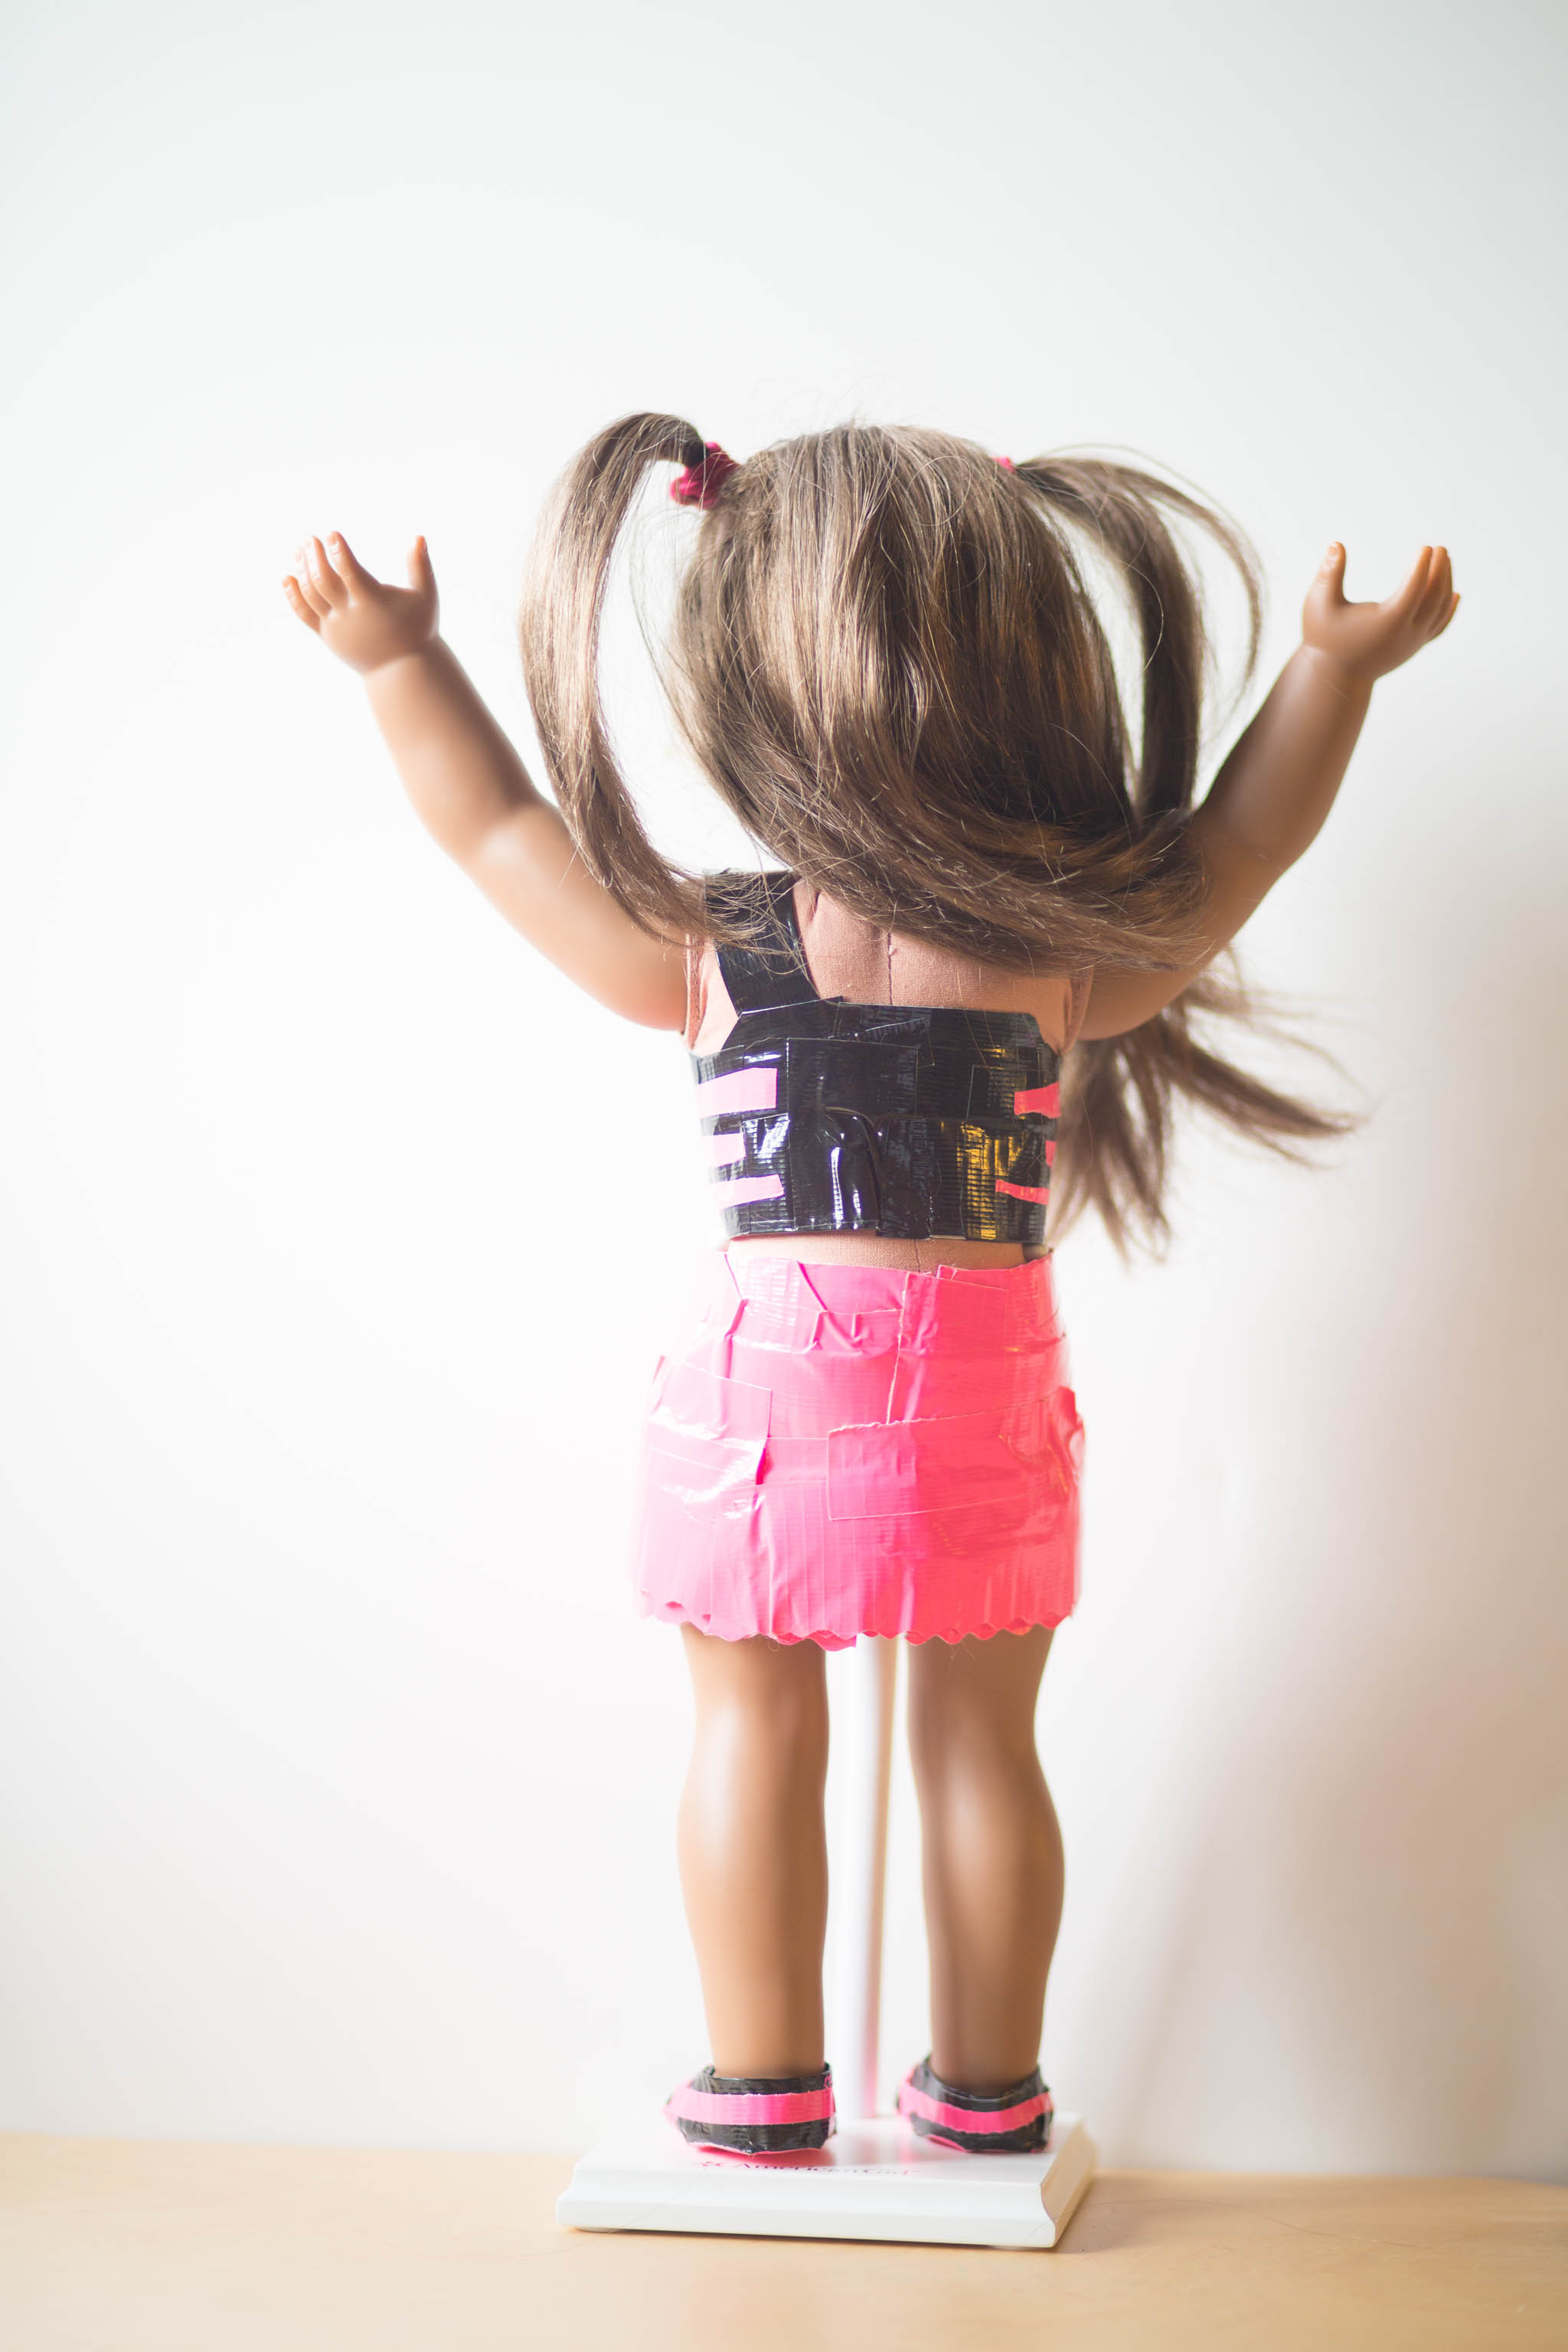
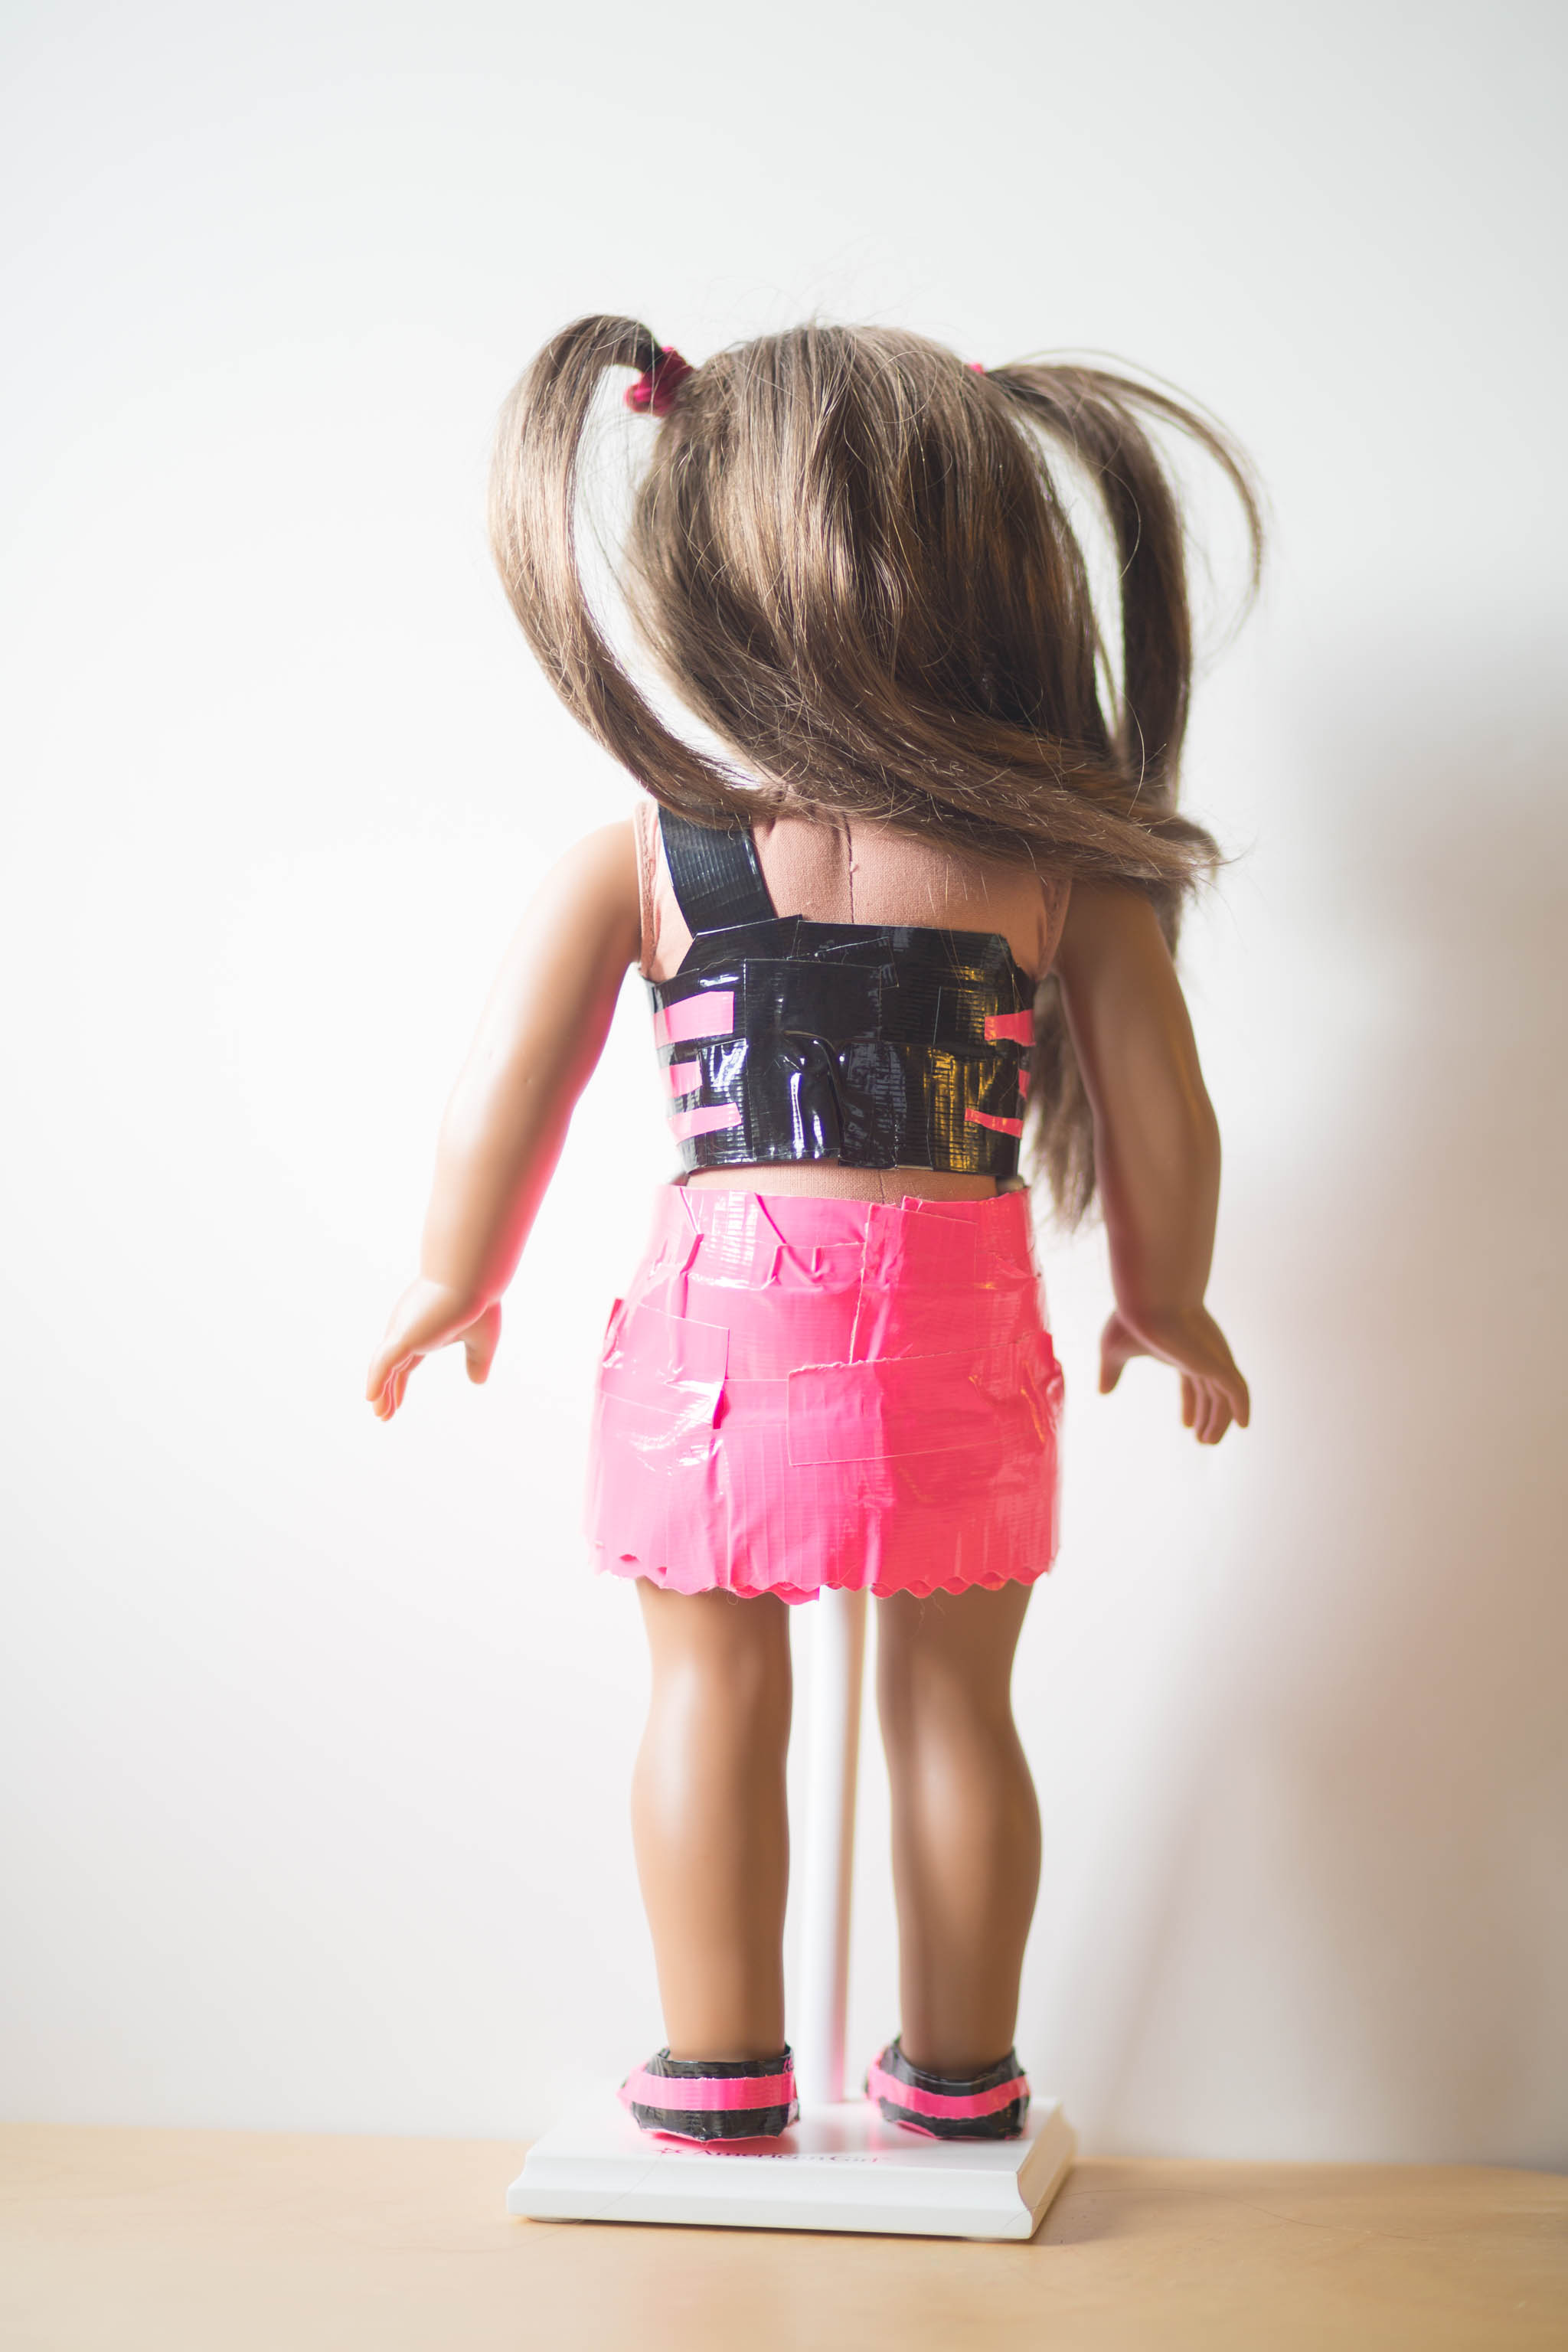
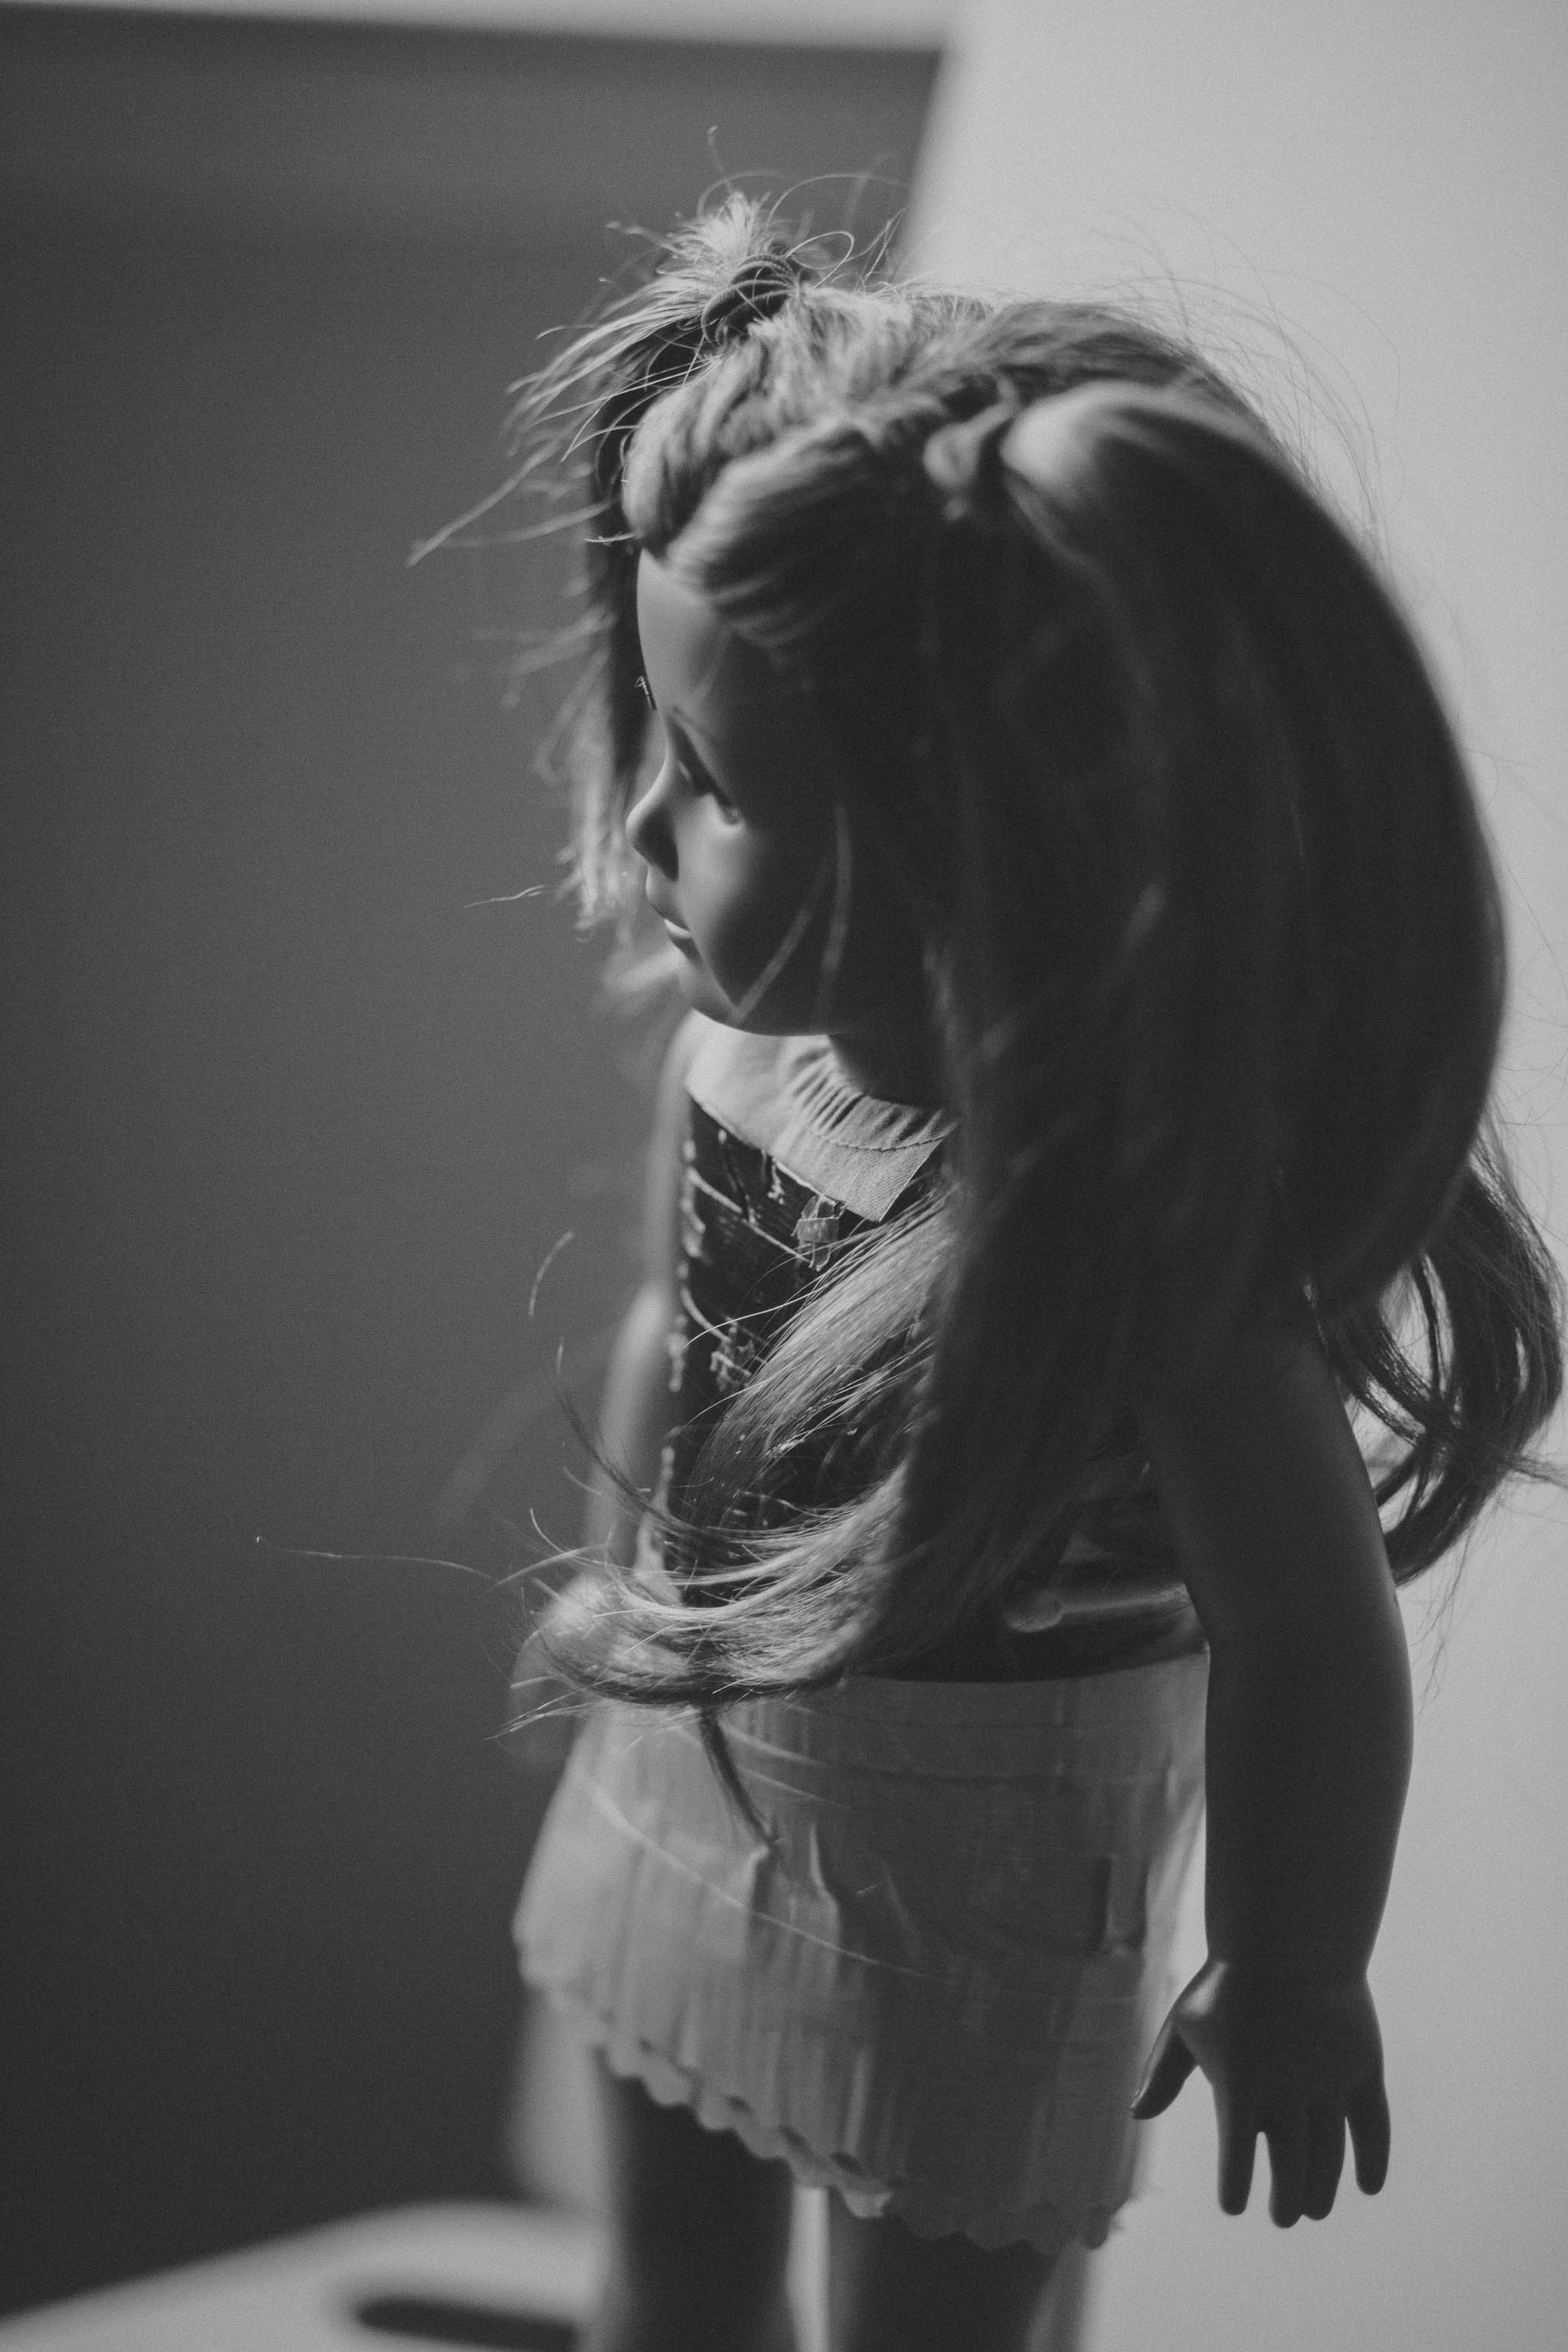
Duct Tape Clothes for American Girl Dolls
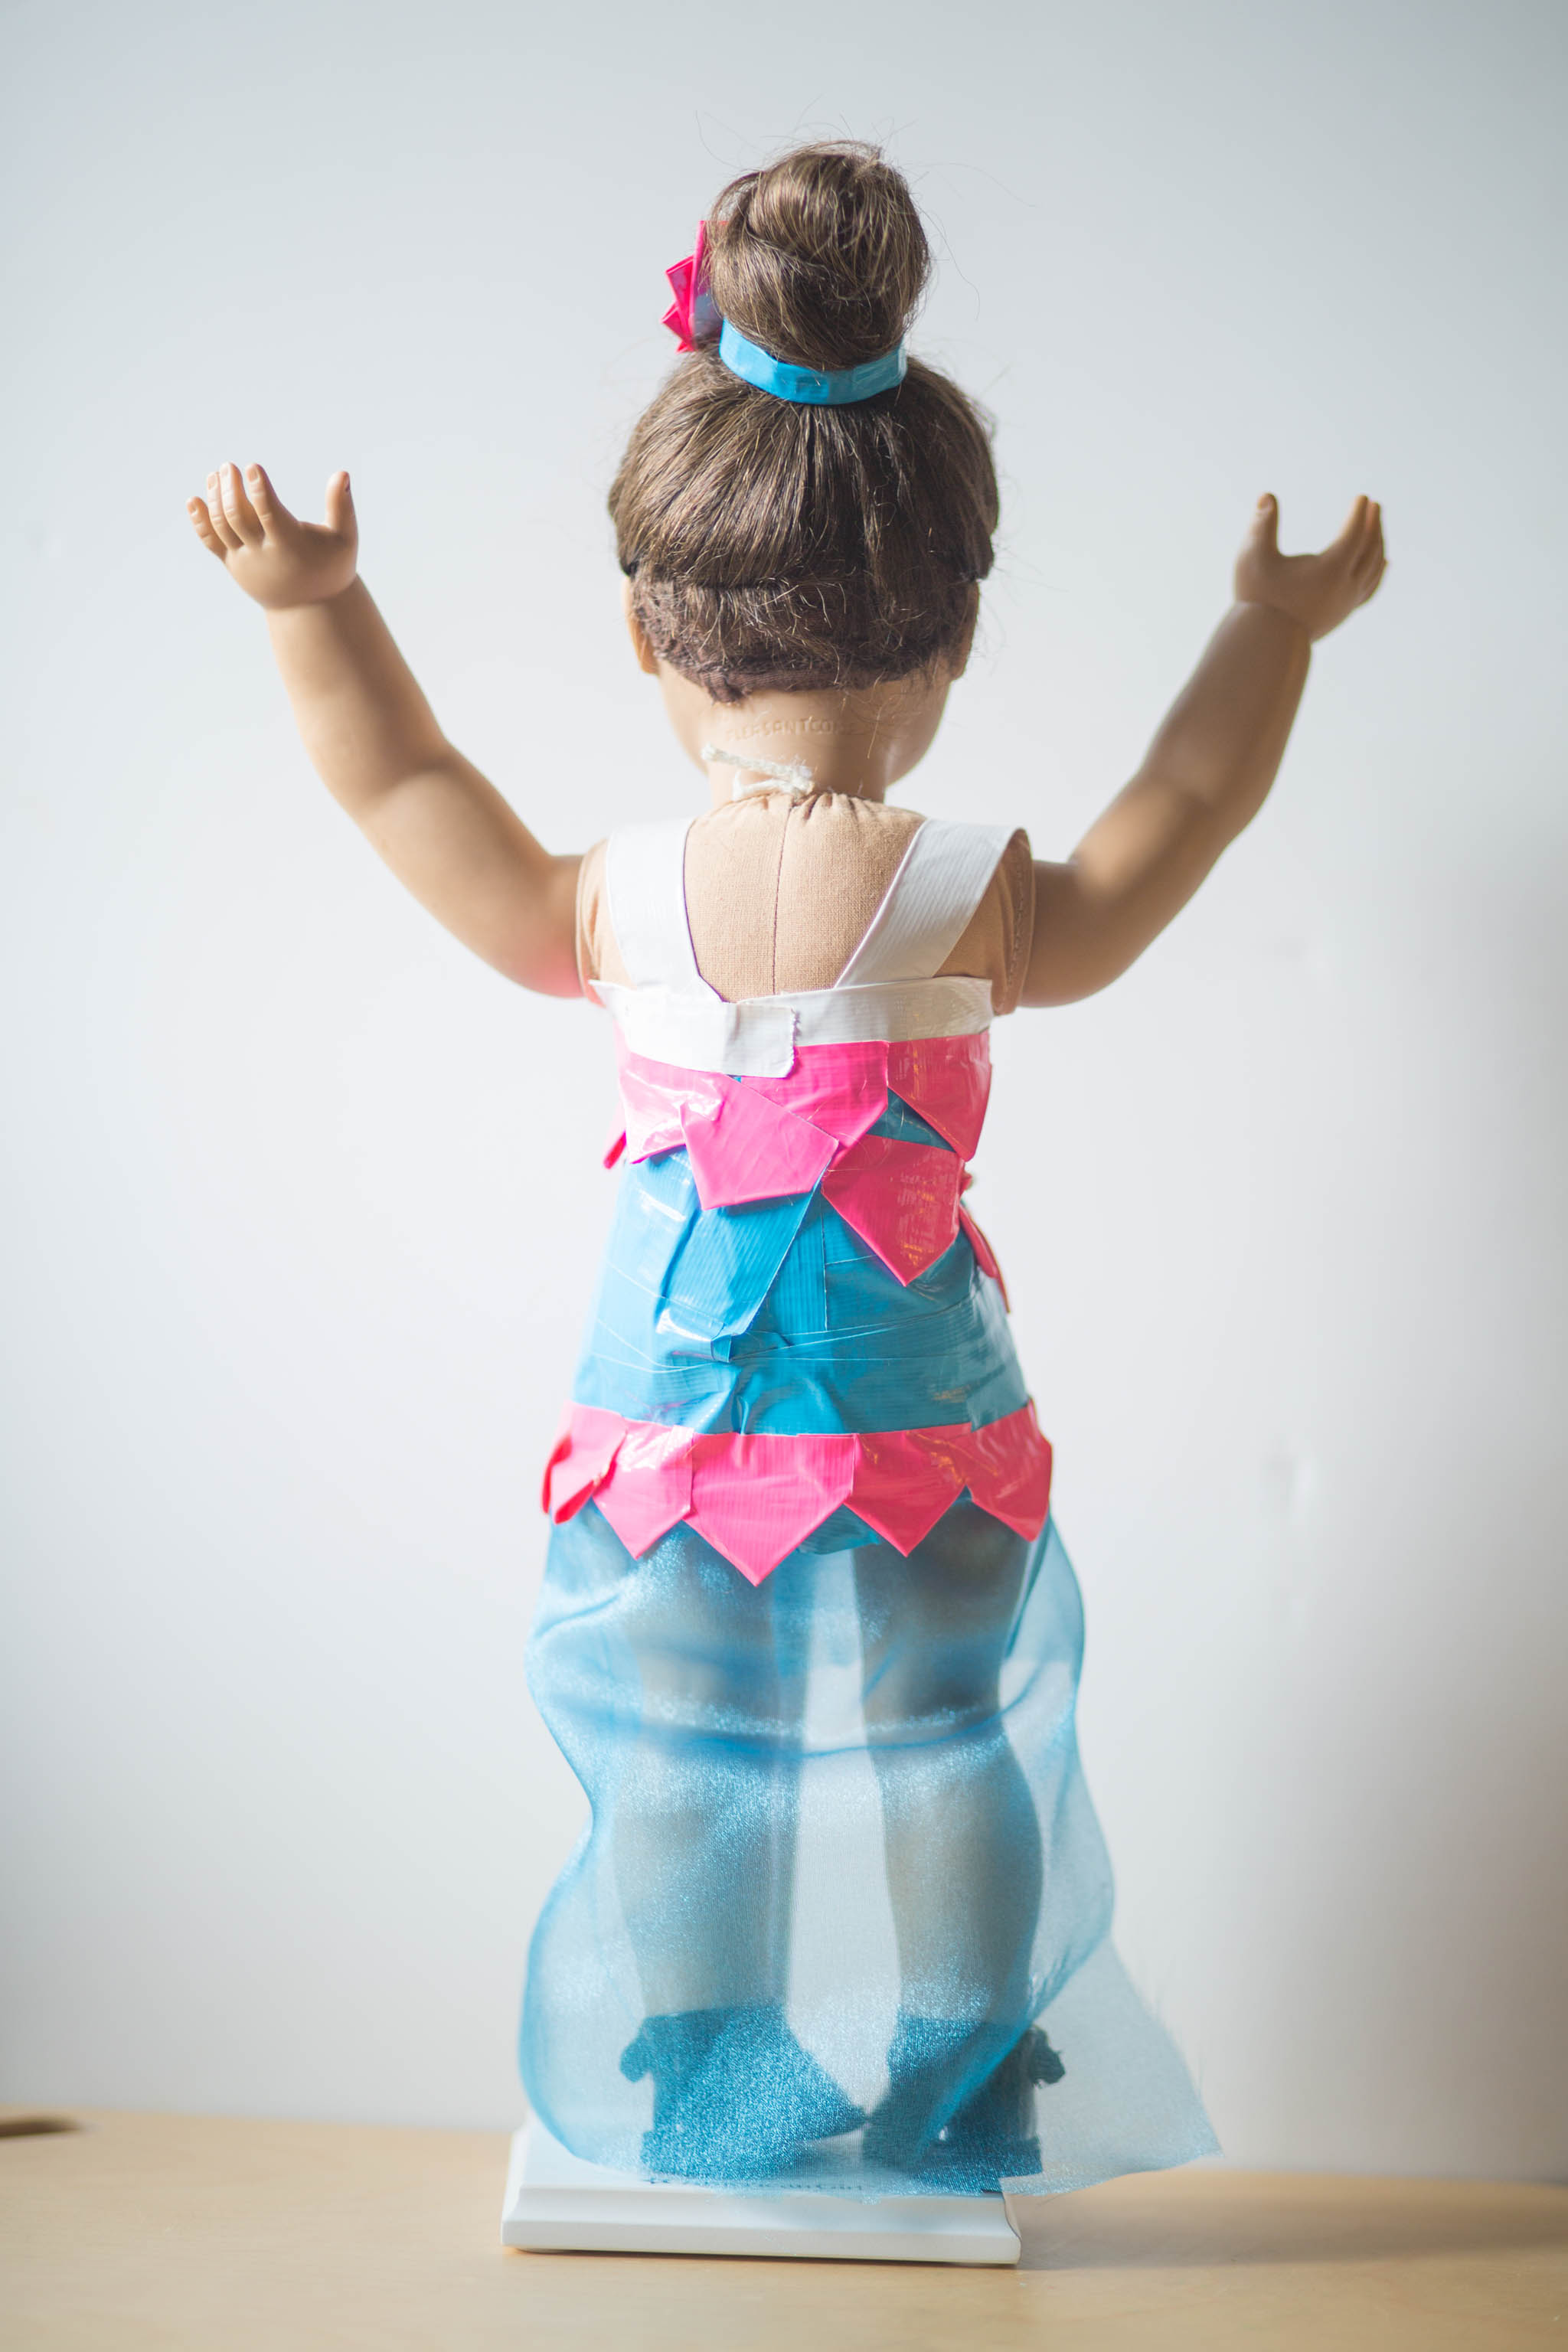
My twelve year old daughter challenged herself to create outfits for her dolls using duct tape.
These long rainy days become an opportunity for new creative projects. My daughter found me last week with a Big Idea. “I am going to make clothes for my dolls,” she announced.
“Oh, good,” I said. “You know where to find your fabric?”
She has her a shoebox size collection of her own fabric, which she can use for any project that strikes her fancy. “I don’t need fabric,” she said. “I’m using duct tape.”
“Really?"
It wasn’t such an unusual proclamation. She received new rolls of duct tape for the holidays after she made wallets and complex flowers. Still, I wasn’t quite sure how duct tape doll clothing would happen.
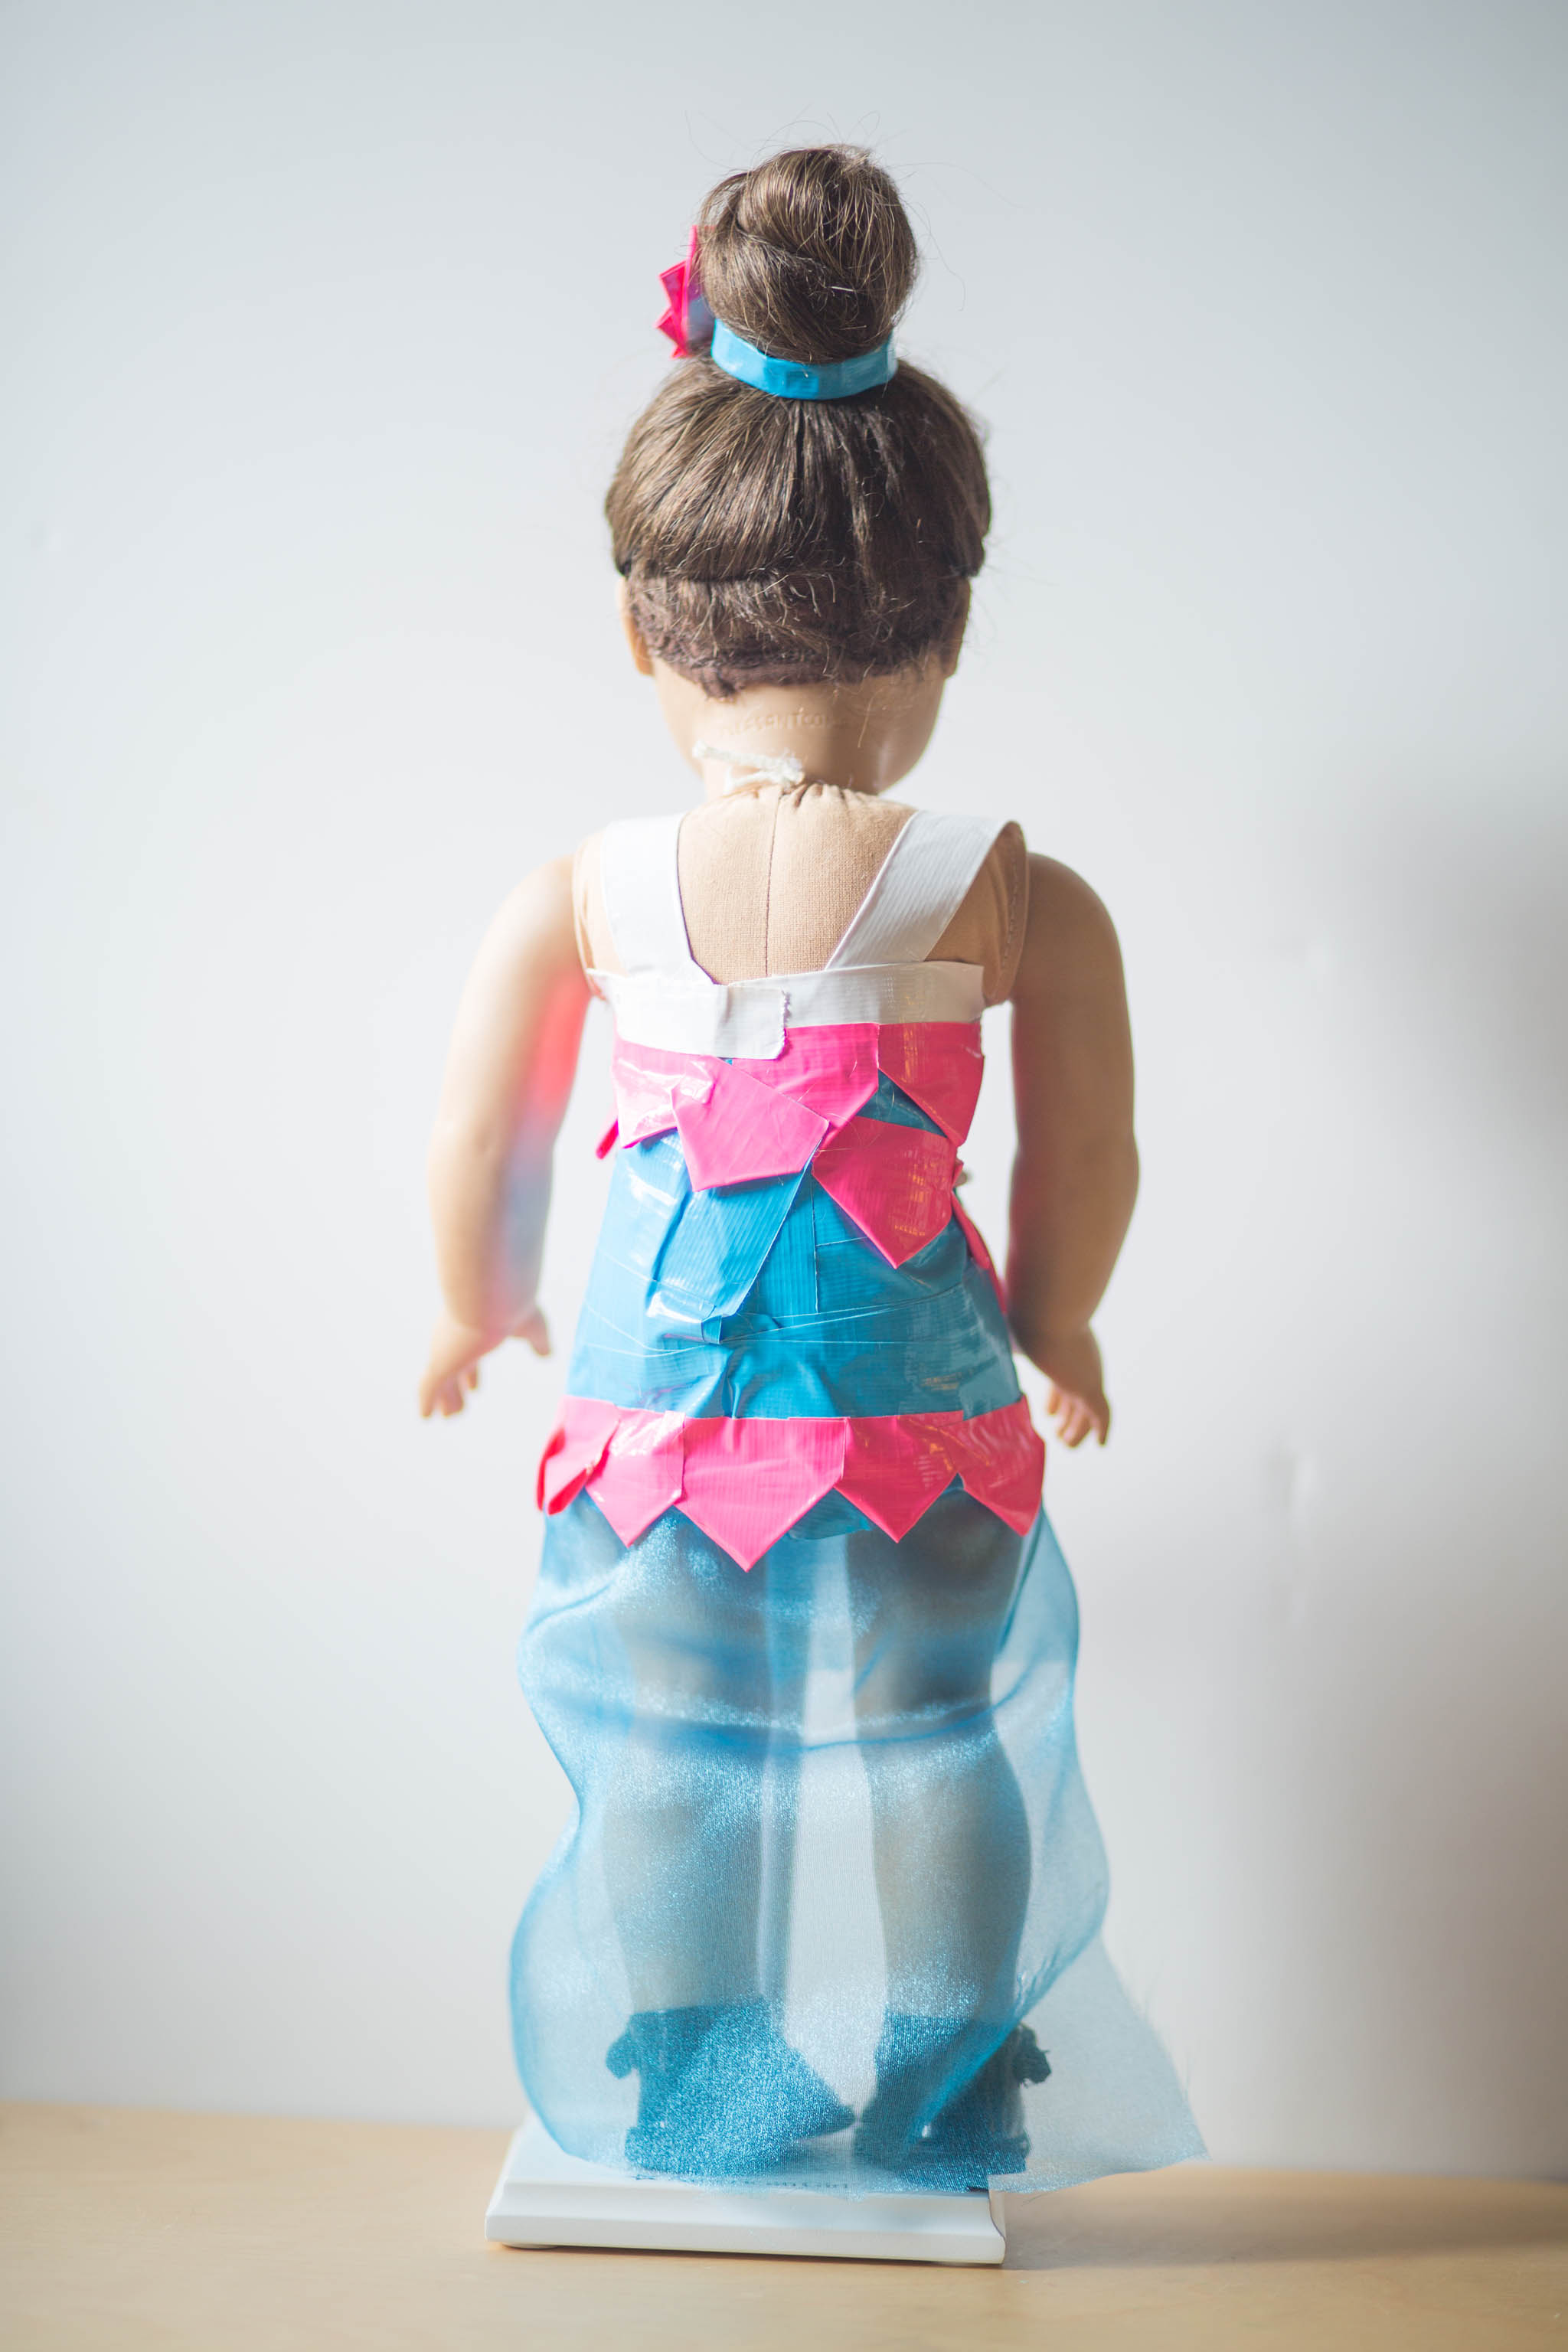
So began her adventure. She loved that she could create without worrying about frayed edges. She used her flower petal technique to make the triangles for her dress. She really enjoyed the duct tape because she didn’t have to worry about fraying fabric.
She tried a few different ideas, especially with how to put the clothes on and off the dolls. Even though they look form fitting, they can be changed. She tested ideas. Learned new pointers by browsing Pinterest. And one idea led to another. She could make shoes. And add fabric (tulle). Now she’s working on a backpack.
Inspiration!
She made the fireworks pattern on the tank top by cutting thin strips of tape. She needed her own textile. Fancy that.
Her favorite things that she learned were using tinfoil to help shape the shoes, and it’s harder to make skirts than dresses, because the dolls are tougher to fit for skirts. And that clothes designing with duct tape is fun!
PS- All of her clothes are lined so tape isn’t touching the dolls. She used a rotary cutter with a scallop blade for the wavy effect on the skirt. I hope she inspires you or inspires kids in your world! And, just for the future, Anika is 12 years old. She loves creating!
If you are interested in more detailed instructions for her clothing, let me know. I may be able to inspire Anika to create a tutorial!

