Dreaming of Love
Wishing everyone plentiful love today and all days. May we change the world with our dreams of love and kindness.
Happy Saint Nicholas Day
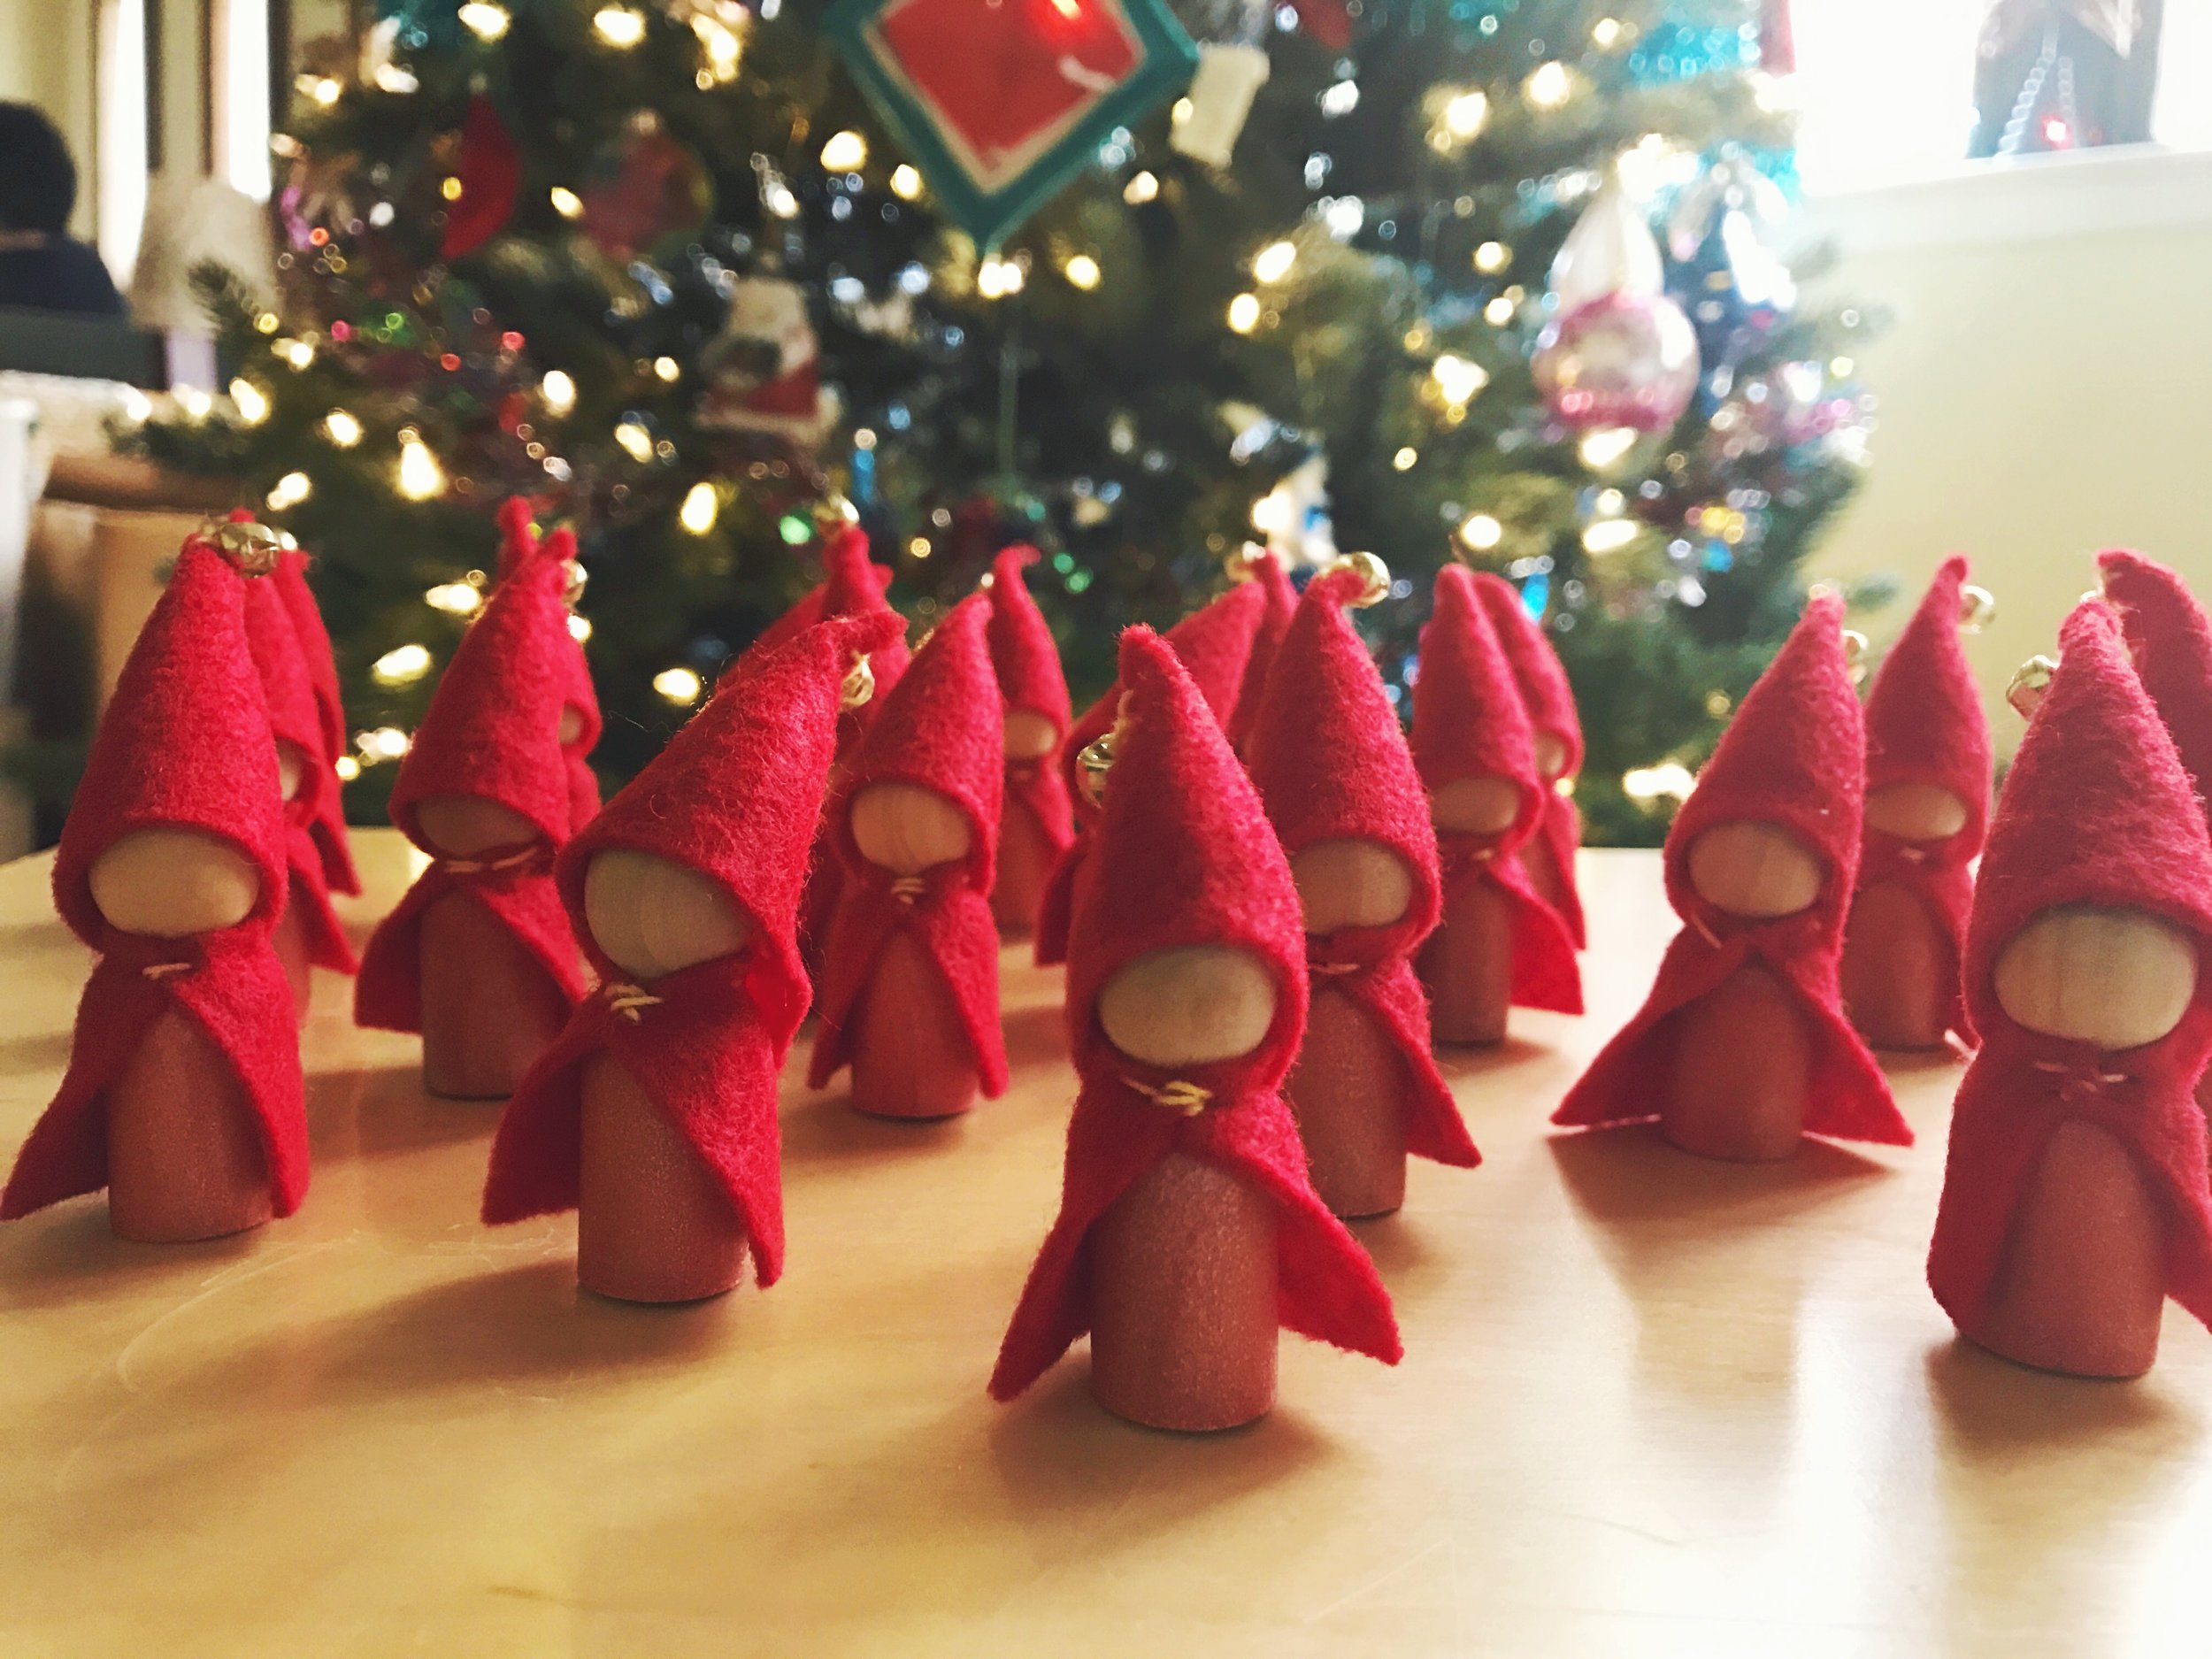
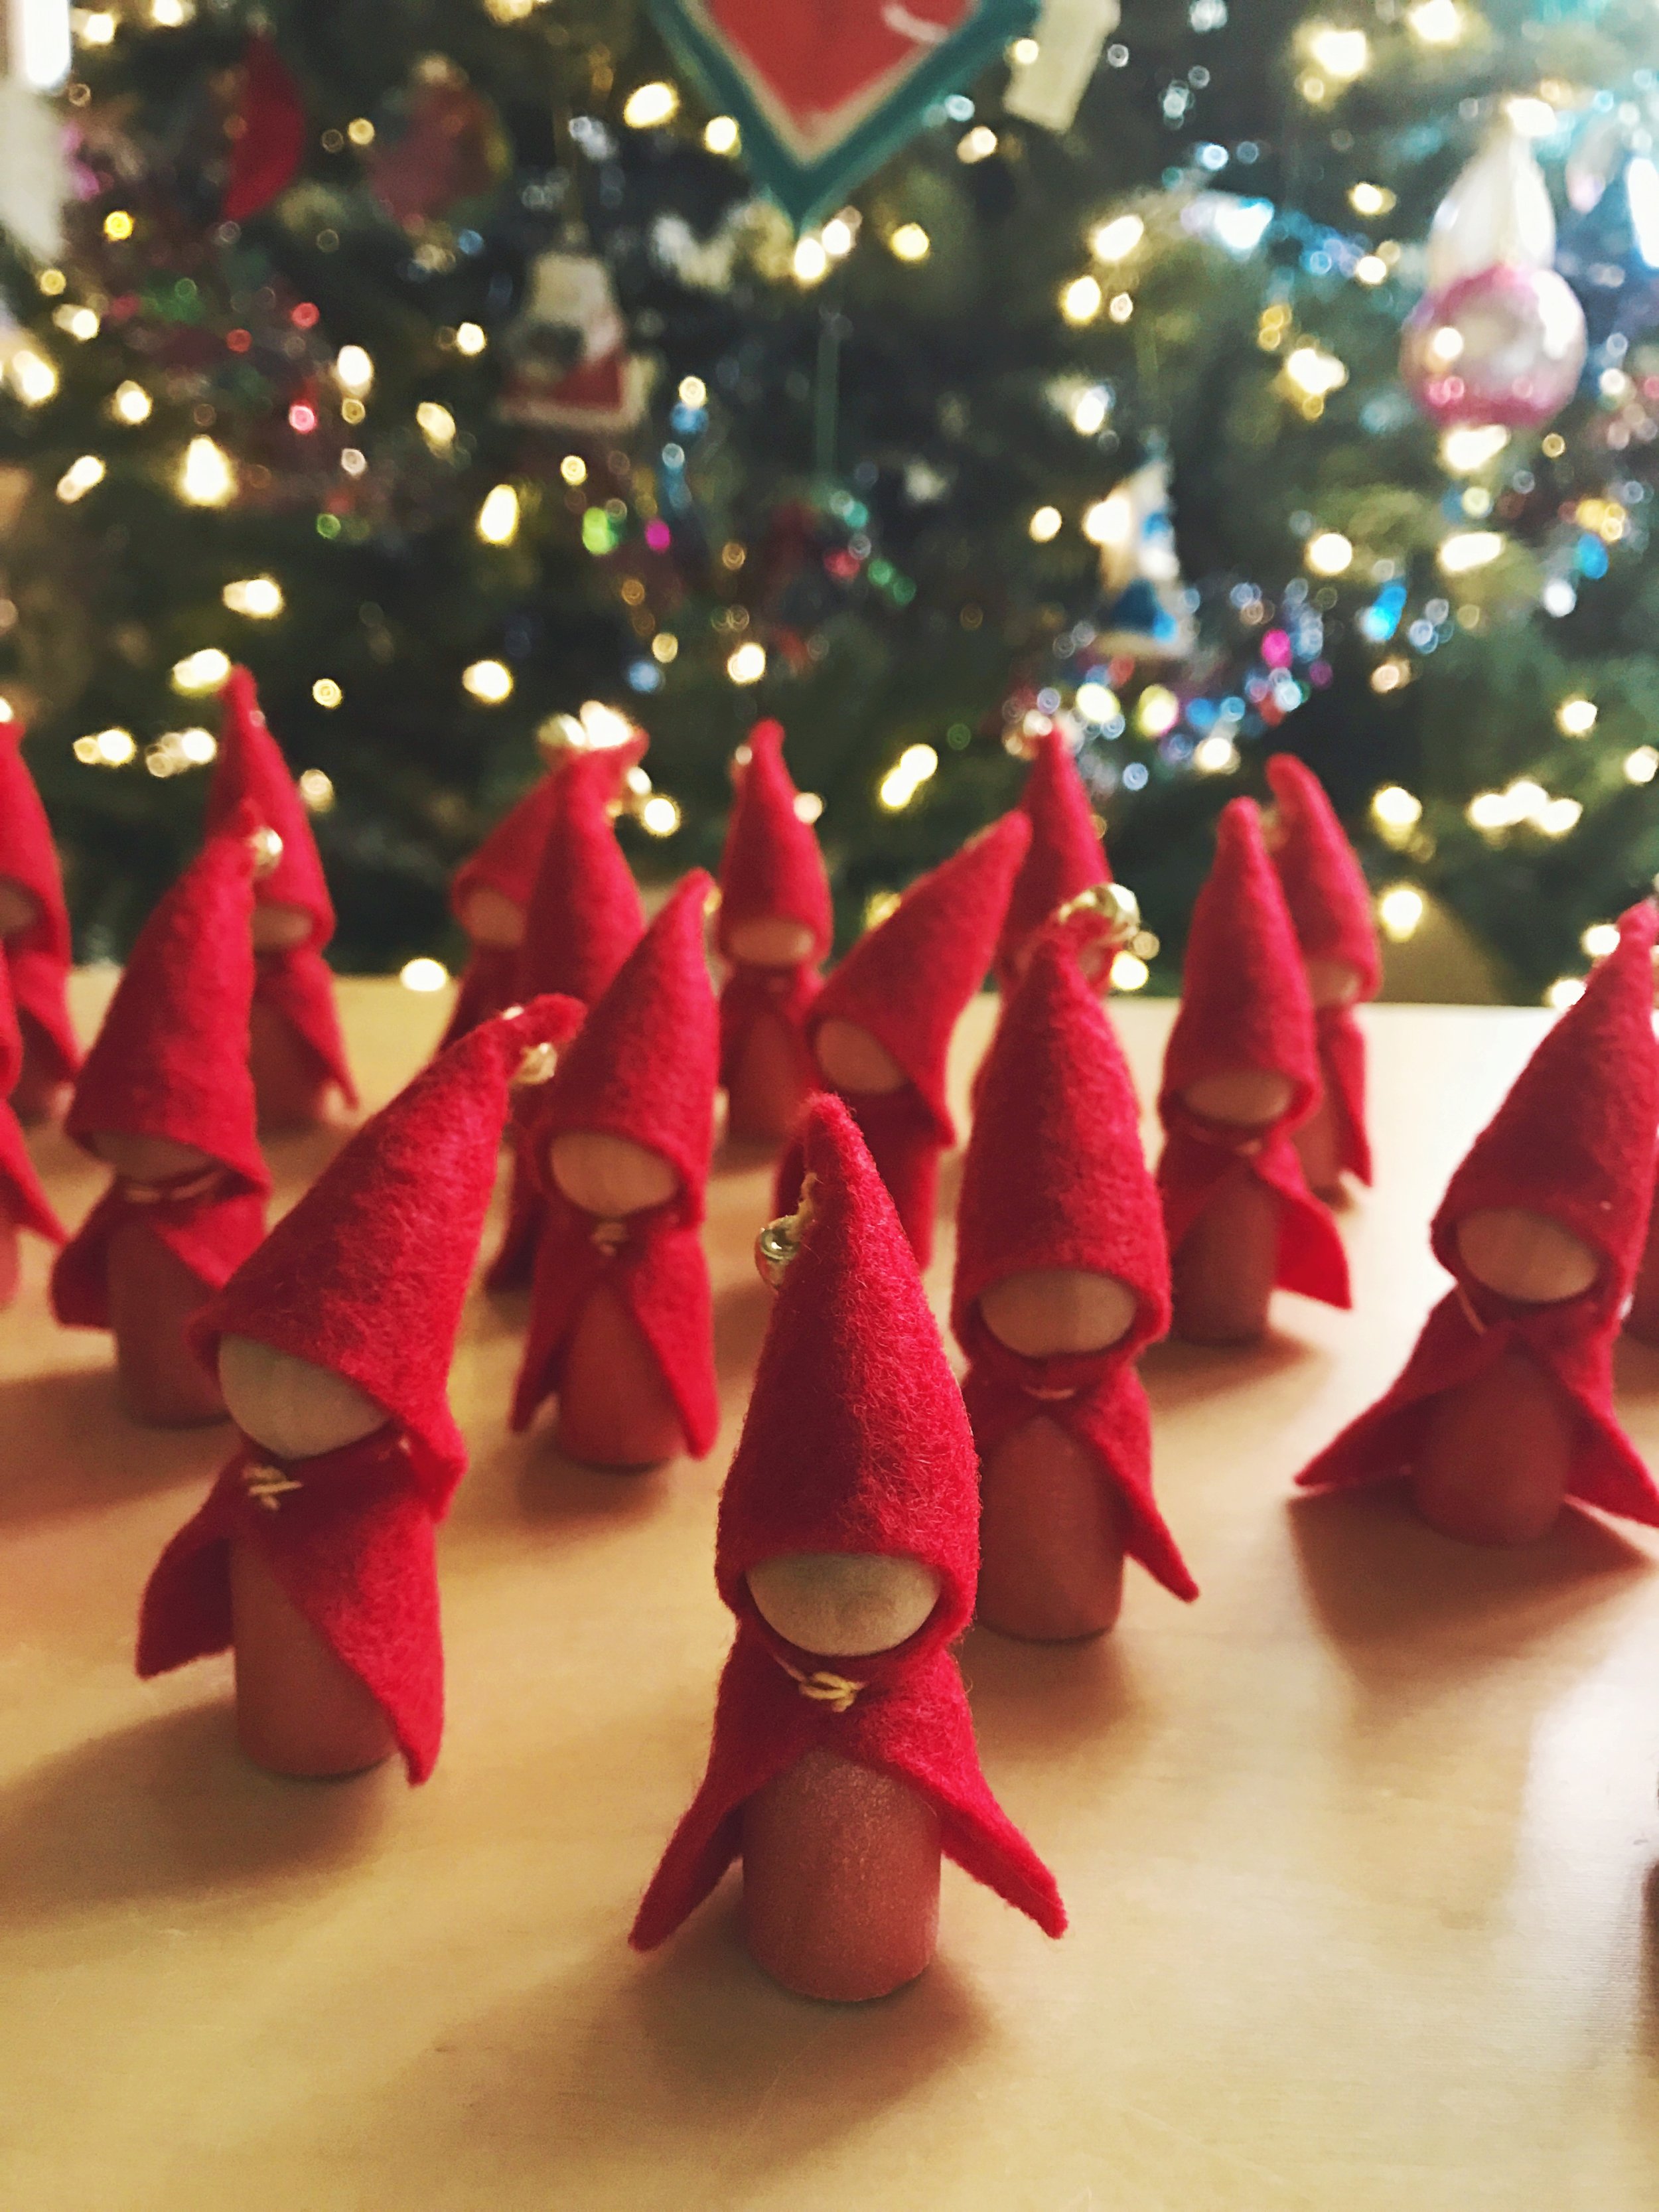
Little gnomes are off to help my son's class celebrate Saint Nicholas Day! Many European children leave a sock, stocking, or shoe by the fire in the hopes of a little treat from Saint Nikolas.
My dad is Czech. We celebrated Saint Mikulaš. He visited on a carriage led by a white horse. An angel and a čert (pronounced chert) traveled with him. The cert is a trickster devil who told Saint Mikulaš all the naughty things while the angel told all the kind, good things. You hoped that the angel had more to say than the devil :)
My son is learning about celebrations all around the world. He left slippers that they sewed together out in class today in case Saint Nicholas visited their school (spoiler alert! he did!)
These little gnomes didn't take very long for me to make. I kept things simple while my son was at school one day. In case you need to make many gifts quickly, here's how I made this collection.
- I painted the bases with watercolor paint and just a bit of sparkle with Iridescent Watercolor Medium mixed together.
- While the paint dried, I cut a little triangle and adjusted until I liked the height for the hat. I cut twenty by holding one and cutting felt without tracing. After all, imperfections are part of the fun. I sewed them with a few stitches, starting from the bottom and going up. I added a bell at the top and tied off. Set aside and repeat nineteen times.
- The capes are simple rectangles. I could have curved the corners at the bottom. Saint Nicholas wears a long cloak anyway. I cut a long strip of felt, measured around the peg person to find the right fit, then cut twenty. I tied a knot in the thread, started in the back midway, then ran a stitch towards the front. I secured onto the dry peg dolls with a few stitches at the front (pulling the first stich to help gather the cape a little). I ran a few stitches towards the back and tied a knot. The hat would hide all of the knots. Repeat nineteen times.
- Finally, I tucked a tiny bit of stuffing into the hat and glued onto each little gnome. Magic!
My daughter helped sew a few hats and cloaks. Thank you!
I have found, when creating larger projects, it helps me to complete all of an element at once. Say, sew twenty hats, instead of trying to complete one character at a time. It sure is gratifying to see them all come together at the end!
My son came home bubbling with stories about everything he found in his little stocking. Here's to all the gift-givers and magic-makers :)
*this post does contain an affiliate link. If you choose the iridescent medium, a small portion returns to the forest while your cost remains the same. Thank you!
Peg Doll Swap by We Bloom Here
What a treat for spring! We Bloom Here (one of my favorites) is hosting a Peg Doll Swap! Inspire yourself with sweet peg dolls, and sign up to share. I am super-excited to see what everyone creates. I love little pegdolls. I call them gnomes. They can be seasonal, like these summer gnomes.
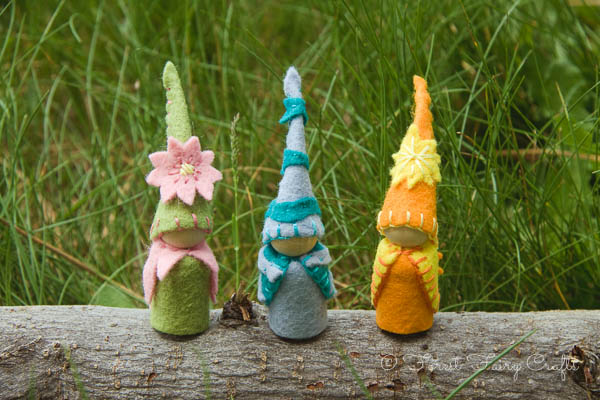 Summer Gnomes by Lenka
Or to celebrate events. The bride and groom were gifts for my friend's wedding. They appeared at the top of her wedding cake.
 Bride and Groom by Lenka
This was also an itty bitty gnome for my cousin's wedding. For them, I made the entire family using bendy fairies. They also got to be atop the wedding cake :)
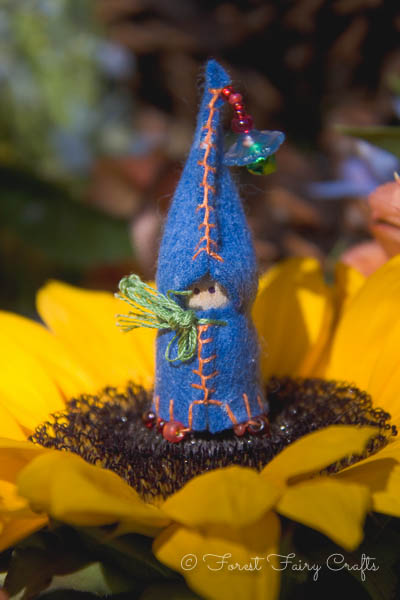 Baby Gnome by Lenka
See more images of his family here.
Margaret has wonderful ideas for the swap. Her inspiration is Matryoshka style peg dolls. She is open to many ideas. Want more inspiration? Check out the collection she features here and here.
A few of my favorites...
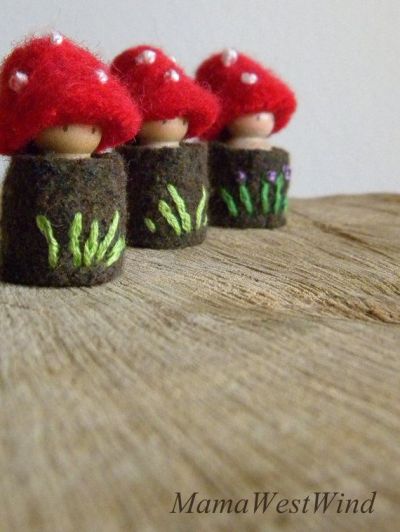 Toadstools by MamaWestWind
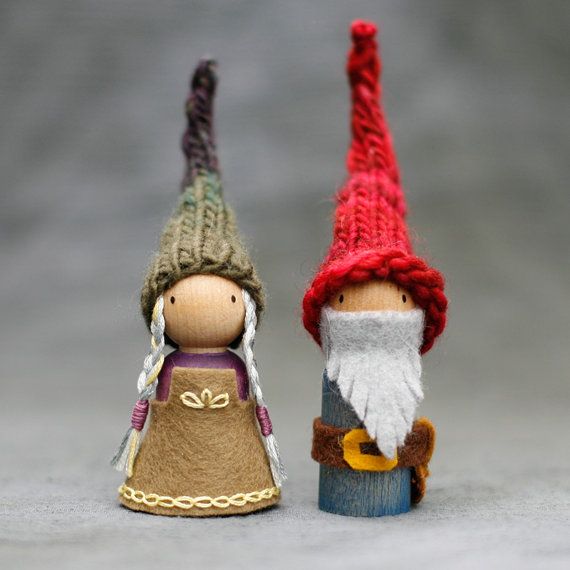 Gnome Couple by Beetle and Fern
I have my own inspiration board on
Pinterest with all the peg and fairy dolls that I love all over the web. So much talent! So many cute creations.
Follow Lenka Vodicka-Paredes's board In the Magic Forest on Pinterest.
I hope you can join the swap! The deadline is May 5, 2014, so hop on over to We Bloom Here to participate! Let's create :)
If you want serious inspiration (and directions!) for lovely peg dolls, check out Margaret Bloom's book, Making Peg Dolls.
*please note: these are affiliate links. Should you decide to purchase, a small amount returns to the Forest. Your price remains the same. Win-win :) Thank you!
I look forward to seeing what we share with one another! The little wooden pieces are available at A Child's Dream Come True (not an affiliate) and most local craft stores. Margaret says that other styles of little people are welcome too. Going to be fun!
Wishing you a delightful day!
PS- we do have a free Knitted Bunny Gnome pattern if you would like to give that a try :)
Winter Fair Sweethearts
This week we are going to a Winter Faire which was rescheduled due to snow last month. At the time, missing the holiday season was disappointing.
But winter days are long (even with the strange early spring we have this year). I look forward to a fun day for us and our children.
The fair inspired me to sew these little gnomes to bring along.
Each new season is new inspiration :)
And I had to make a fairy, too.
Children (and adults) ask sometimes why the fairies or gnomes don't have faces. We like to create them both ways. Many of my fairies have faces. I love the little smiles and impish personalities.
At the same time, I find the wood-bead charming. The idea is that our imaginations create the face. We can 'see' the happy or worried or surprised fairy in our mind. We create the expression and the details. This sounds novel in an age when everything can be made to be more real and toys come with soundtracks so we don't need to make a train whistle or a firetruck siren-song.
I adore simplicity. And I appreciate getting to make these types of toys. Just waiting for a little magic. To come alive :)
You can find us at the Winter Fair at the Yuba River Charter School tomorrow. I can't wait to see all of the toys and crafts and games. I am sure to find more inspiration :) More information is here if you are in the Nevada County area.
We hope to see you!
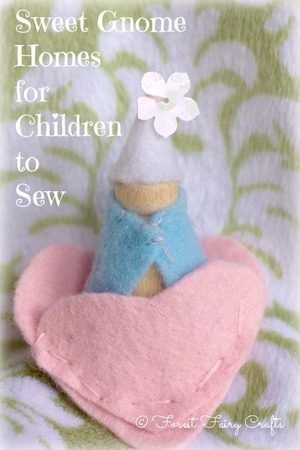
Sweet Gnome Homes
A few years ago, my daughter made me a precious gift. She asked for a few supplies. Felt scraps. A tiny wood gnome.
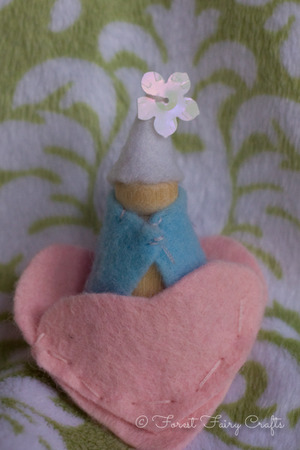
She made me this treasure. She designed and sewed everything herself. She was seven years old.
She had a lot of practice with needles and thread (her mama is Queen of the Fairy Forest after all (her title for me)). But the design and creating of this little gnome is a perfect beginning sewing project.
All you need is felt scraps, needle, thread, a couple decorations, and a wee gnome. This project allows for a lot of trial and error because the felt pieces are small.
She cut the hearts first. They didn't match. She liked that one was bigger than the other. She trimmed them to fit together (mostly). If your child doesn't know where to start with cutting hearts, your child can make a pattern on a piece of paper. Draw a few sketches and pick your favorite. Cut and trace onto felt. Or fold the felt in half and cut just like folding a paper heart (this is a little trickier for little hands).
She could have decorated the hearts with sequins, buttons, or beads. She didn't feel like making it too fancy. I love the simplicity, myself. She sewed them together with straight stitches.
She didn't use a pattern for the gnome. She cut scraps into shapes that she liked and tried them on the peg doll. She sewed the cape with a few stitches. Then she did the same thing for the hat. She folded it in half and sewed it together. She added a flower sequin to the top.
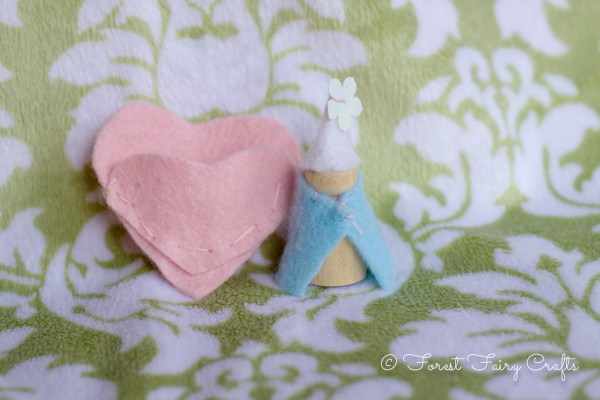
She had sewn before using lots of the ideas in our Forest Fairy Craft Book. If this had been her first sewing project, I would have sat with her and given support as needed.
What I appreciated about this project was how she was able to plan and test ideas. She found a project- cape and hat, with a little home- where she could try her own patterns. I could have cut the shapes and orgazined the project step by step. But I enjoyed how this gnome gave her a lot of freedom. Yes, I had a pile of teeny-tiny piece of felt at the end. I didn't care.
Visualizing, planning, and creating are all valuable life-skills. A little toy for your efforts is a big bonus!
And it's one of my favorite gifts ever.
Welcome home, little gnome :)
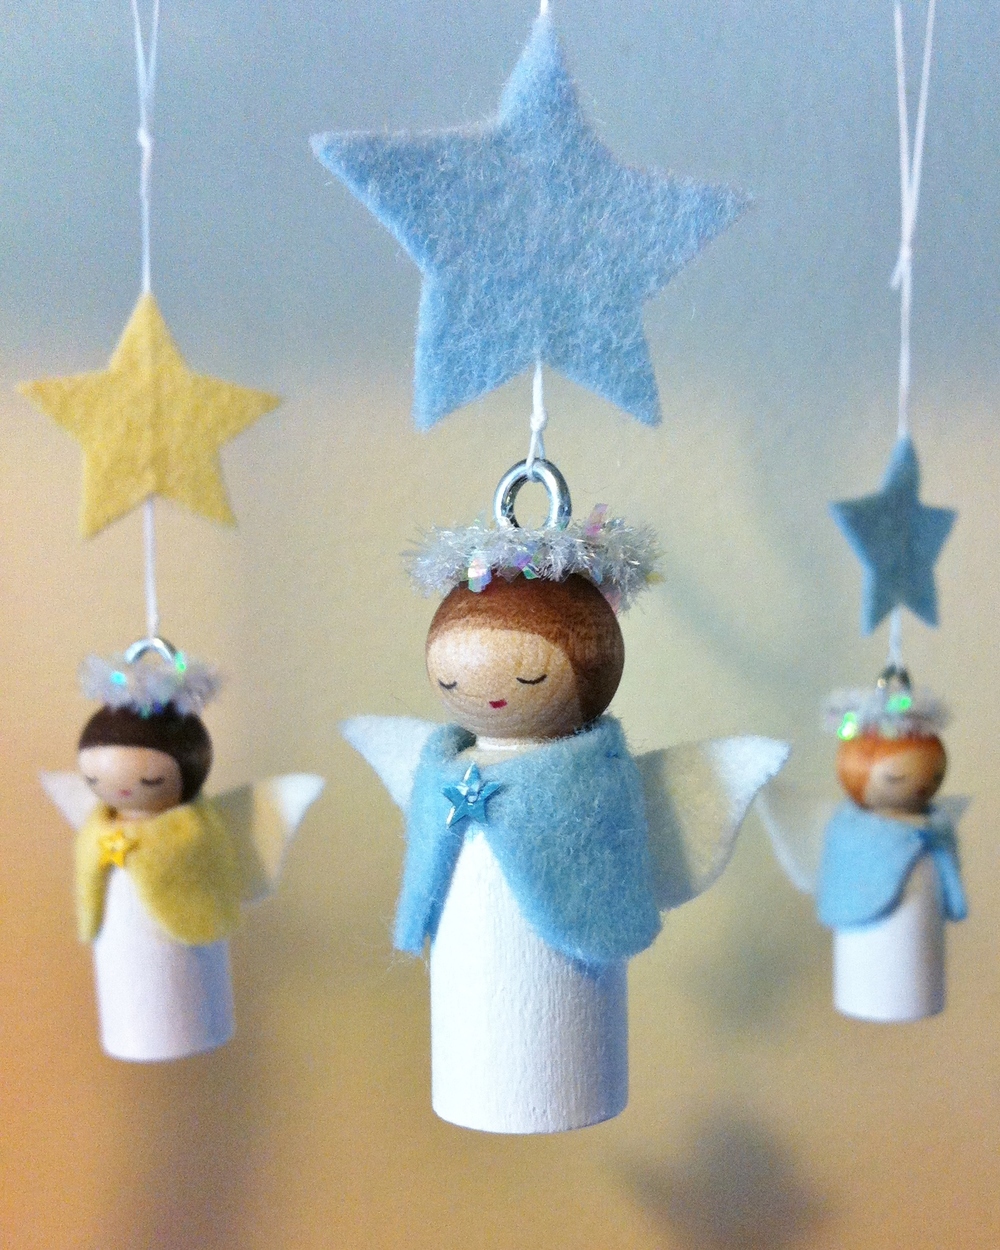
Happy Holidays with Angels
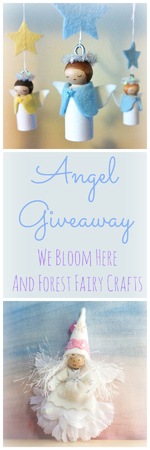
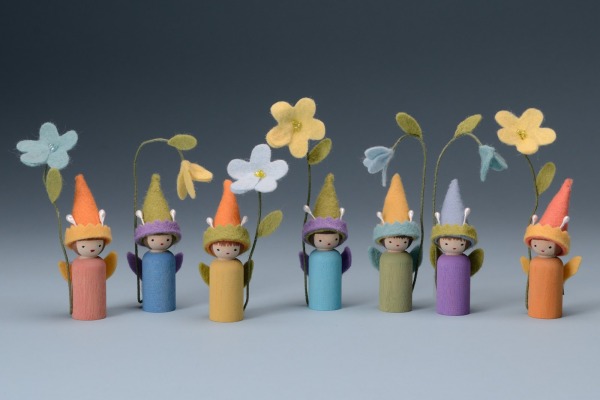
We are so excited to share the season with all of you. And we are dancing-sparkly excited about wonderful news! We love the magical dolls that Margaret creates in her book, Making Peg Dolls, and on her blog, We Bloom Here. I adore her whimsical, fun peg worlds. I counted the days to her book's release. I tried to be at a signing, but my kids were running a fever...
So my friends bought me the book and we were all enchanted. Margaret's projects have a sweetness and wonder that had my very-young son asking me to make that one for him, and that one, Mom, please? While my girl asks for more felt and supplies to make her own tiny flower people and baby chicks.
I sent Margaret a little note thanking her for the pretty book. I wished that I could have met her in person.
We haven't managed to meet in person yet, but, sure enough, our shared love of all things glittery inspired friendship. As we talked about the holidays, we thought that a giveaway swap would be fun.
"Let's make angels," we said.
And what inspiration!
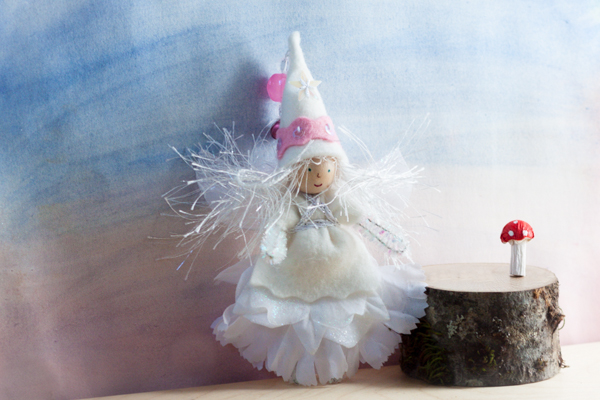
She is giving away my angel so head on over to We Bloom Here to enter. I get to give away one of her darling angels.
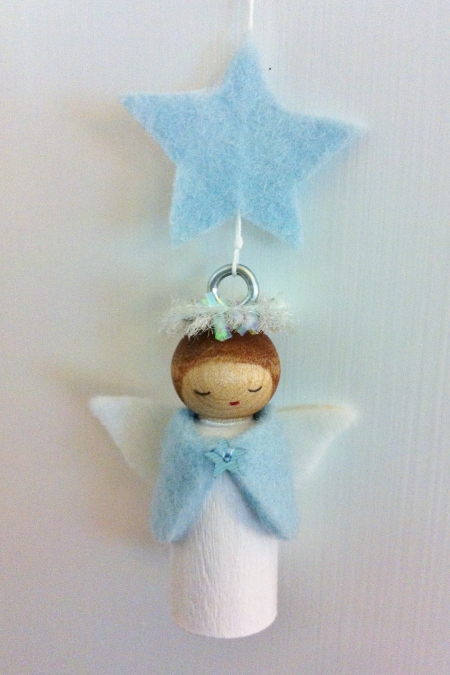
We didn't share our design ideas before creating the angels. I think it's fun that we chose the same iridescent pipe clearners. And stars. Great minds think alike :)
I am so fortunate to share this gift with one of you this holiday season.
Angels are appreciated around here all year-round. They bring us peace and hope. They are symbols of light and love. We keep them hanging in little nooks or sitting on shelves by a candle. You can enter to win these angels. You can also make a few of your own! Our books have directions for both of these treasures (and plenty more).
We are delighted to share our angels. All that you need to do is write a comment below and include your email so we can get the winner's address. To enter this give away, please leave a comment below this post, and be sure I have your email so I can get in touch if you are one of the winners. For added fun, you may tell me about your favorite holiday magical tradition. For us, the holidays are full of magic. We love St. Mikulas visiting on December 5. We put a sock behind the curtain. He leaves little sweets on our windowsill. My father was Czech and this is how he held the tradition with us. Each year, finding goodies on a windowsill is simple magic.
Comments for the give away will close at 12:00 noon, Pacific Standard Time, on December 9, 2013. A winner for one peg doll angel will be chosen via random drawing and announced at that time. To enter for the Fairy Angel, head on over to We Bloom Here. Happy Holidays!
Thank you, everyone, for your wonderful memories and comments! We have selected a random winner and are waiting to hear back. Wishing you a lovely day!
Autumn in the Forest
Hurrah for changing leaves and crisp mornings. We love the bright colors of fall, the blazing oranges and reds. We also love the shadowy colors of fall, the dusky purples and deep burgundies.
We haven't been able to post that much because we are busy creating these days. We have a few craft fairs booked for December (more on that soon). And the book is selling well! (thank you!) But the fun needs to be shared.
So happy October!
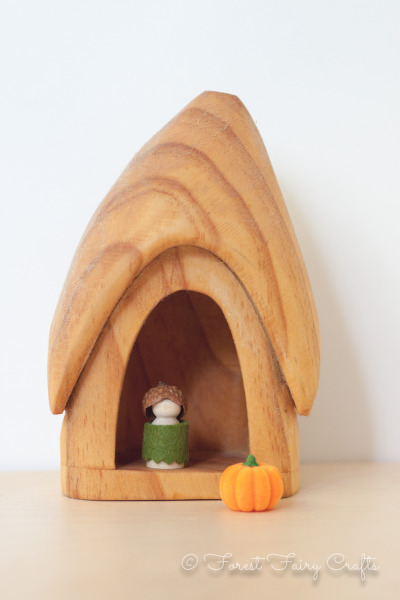
We have new things in the Forest. The first is that we now offer custom greeting cards with our images. When you go here, you can choose an image and design it however you like. You can order one, or a box of ten or more. I am excited to try them. I will be adding more holiday images as we get closer to the season.
We have also been selling kits locally and in our Etsy shop. The response is an overwhelming, "Thank You!" And as I prep for our own holiday crafting around here, I appreciate the effort the kit will save a lot of families. The kits do not include directions (they are meant as a companion to our book). They have supplies to make at least four different projects. If you are crafty, most of the supplies are probably in your stash, but if you are traveling, or just starting to craft, these kits save a lot of time.
My current challenge is choosing colors! I want to keep our inventory simple (pastels, woodland, seasonal) but they we go to the store and find turquoise and magenta. And what about angels? And winter?
Oh, the ideas are endless. The last special one for this month is the Spooky Crafty Kit with purples and black. Perfect for zombies and witches. I only have one left in our Etsy Shop.

I am adding petals to the kits, too, because the petal fairies are so much fun!
Speaking of petal fairies, I have too much fun making my own fairies :)
They're even harder to offer for sale. I fall in love with each and every one of them. Especially her...

She has this little smirk that makes me happy. Every single time I see her :)
I don't really want to send her off to a new home, but she is available here.
I wanted to make a pink and black fairy. And she kept adding details. She wanted sparkles. Gold thread in her hair. A wide-brim hat. And she has this sweet and sly look about her that reminds me why I craft. We can make magic :)
Speaking of magic, my girl has inspired me to create a little for her and her friends. This year, the big new thing at school is animal tails. And this is before the Fox song :). They wear tails to school almost every day. They asked me for cat tails. And Ian asked for an orange cat tail. Their friends want more, so I made a few extras.

And the more realistic, faux fur cat-tail...

I am getting the cat-tail posted (hopefully soon). The orange tail in is our shop :)
And we have exciting plans for the holidays. It's a secret for now, but I am working with one of my favorite magical artists... Lucky me :)
Time to enjoy this fantastic autumn! I am sending great fun and spooky-sparkles your way :)
Game Token Gnomes
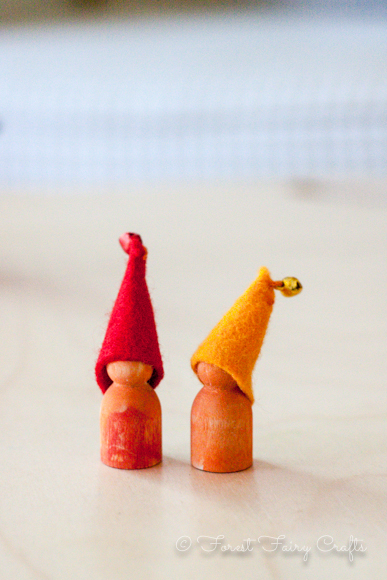
We are delighted to team up with the lovely people at SewMamaSew. The free tutorial for Gnome Game Tokens is posted here.
I love to share a little behind-the-scenes :)
The entire project inspired us! I used to make these games and tokens with my second grade students. We drew a game-board and sewed gnomes to travel through the game. I adore the creativity that children bring to game-making.
Even younger children love making gnomes. We decided to use paint this time around. It worked really well. We used regular watercolor paints. Ian chose the wee size gnomes. Of course he chose orange, orange, orange.
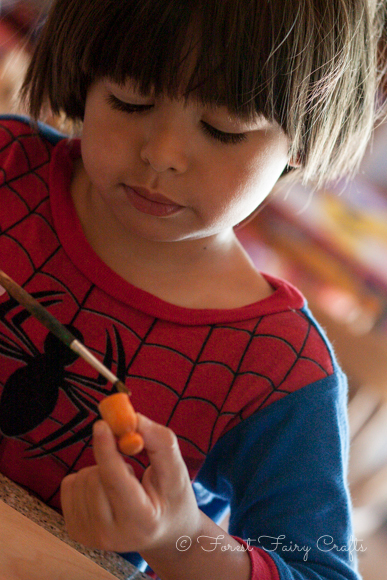
Anika is a unicorn-and-rainbow-girl these days, so her game featured a forest and garden where the unicorns could play. We drew the boards, then decided paint would be great, too. This project kept us busy for awhile :)
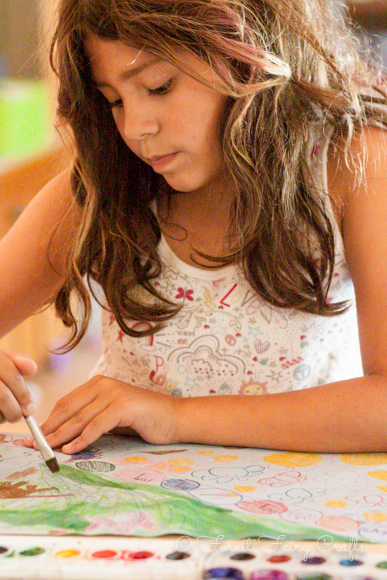
Our neighbor-friend came over and made a couple of gnomes, too. Here is the finished family! Our paint had a tinge of sparkle in the watercolor which gives them a shine. You could add a little glue and glitter after the paint dries for a similar effect.
We had to talk Ian into one red hat. He wanted orange, orange, orange, until we explained that we needed to tell the gnomes apart.
The gnomes ended up traveling on a few trips with us. I didn't worry about losing them since the process was so fun and we can easily make more. Every once in awhile, a craft becomes a treasure and I don't want it to be lost at the park or on a far-flung adventure. These were perfect pocket-pals.
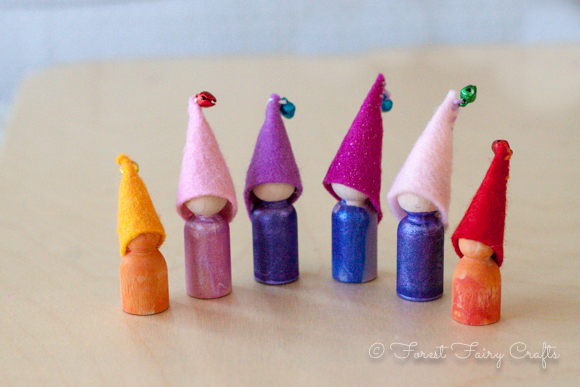
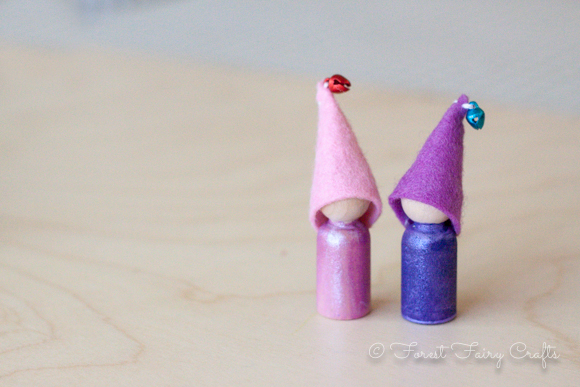
Afterwards, Anika decided that her game needed cards with specific instructions. Their games kept growing as they thought of new fun additions. We used dice from another game box. The finished activitiy was just as fun as creating the games. We are all inspired to create new ones :)
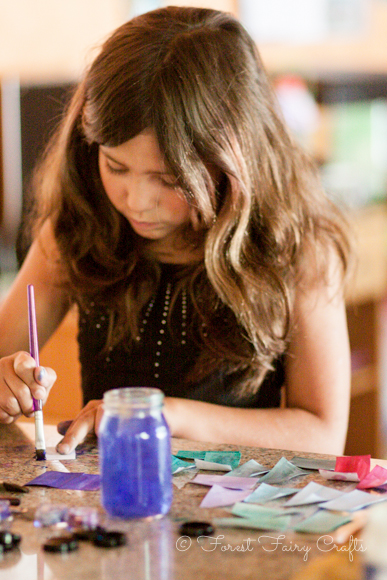
We hope that everyone enjoys the tutorial! Thanks again to SewMamaSew for the opportunity! What fun :)
Gnome Party Favors
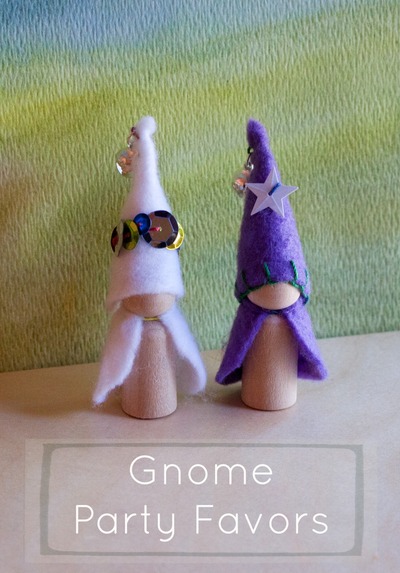
Last week my girl turned ten. My, oh my, how time flies! We thought about different favors to give her friends at the party. We both loved the idea of gnomes! A little magic to send home with each guest :)
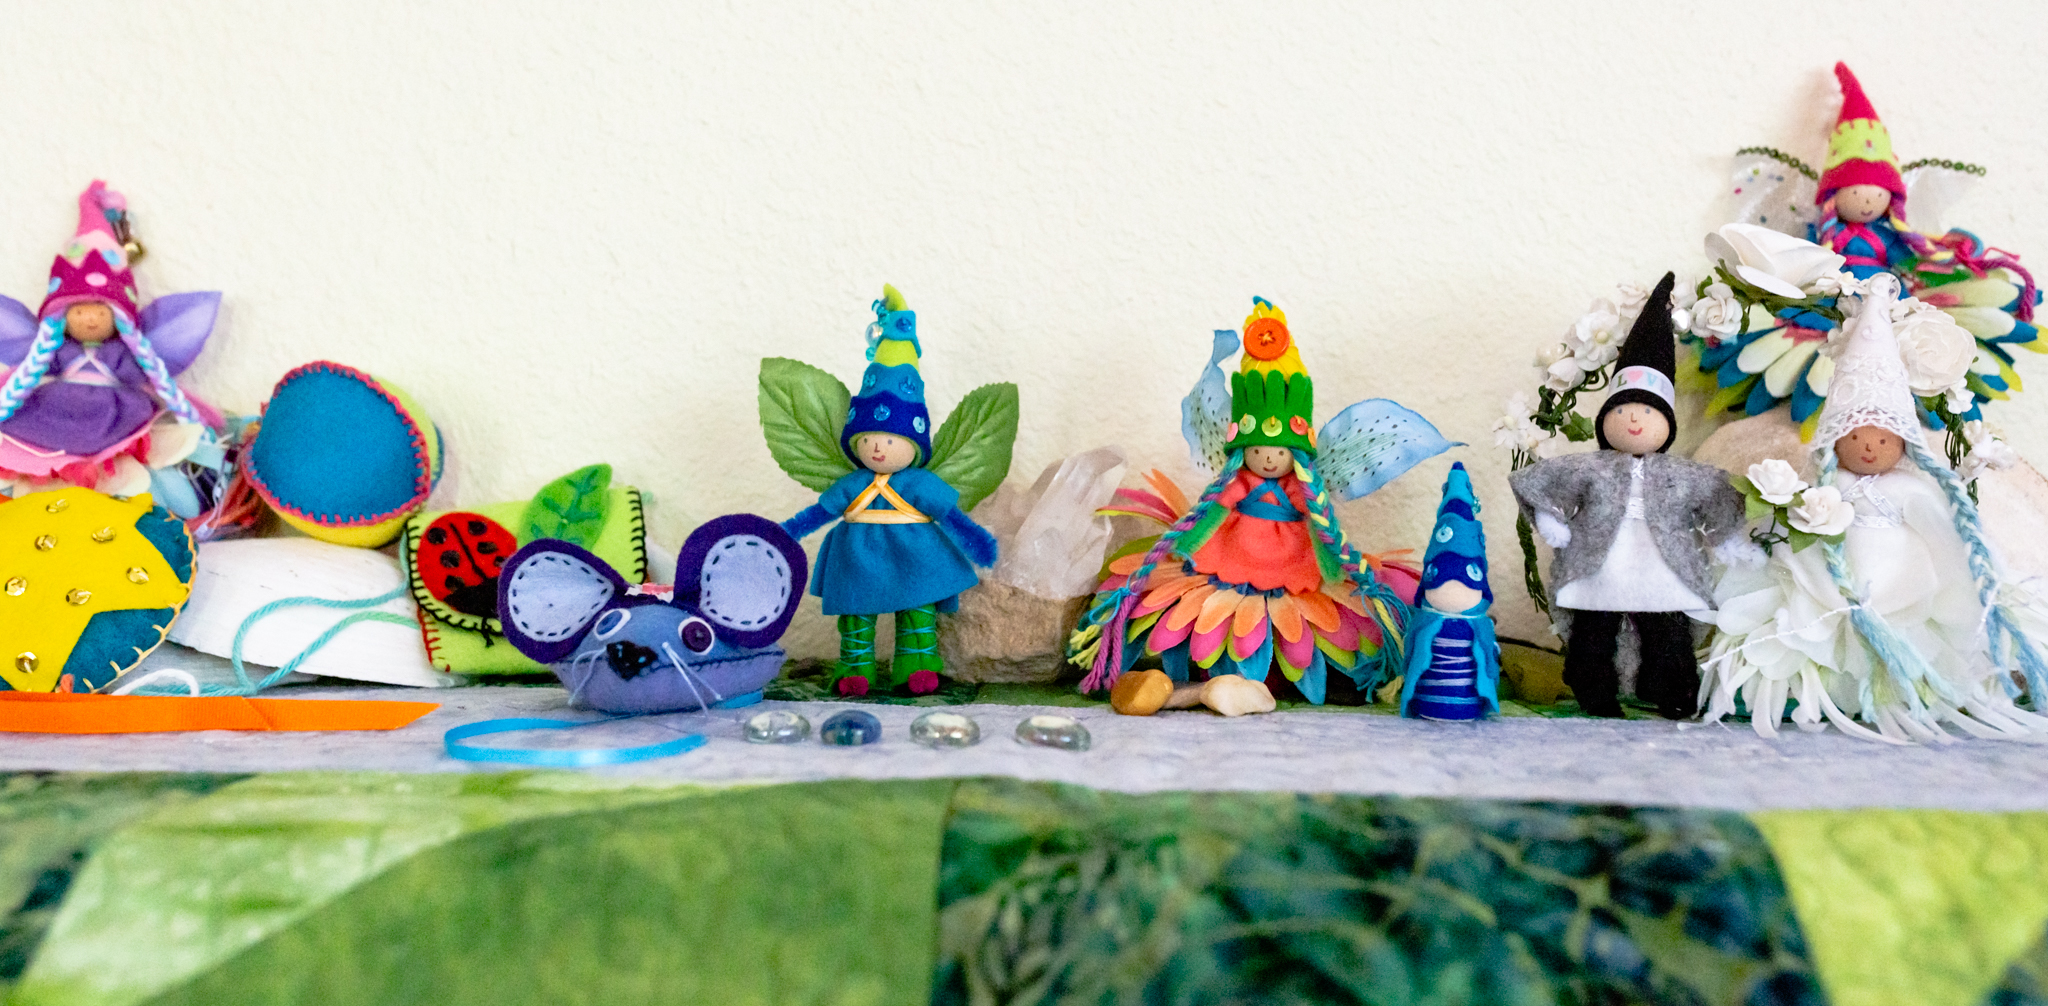
We made the gnomes appeal to older children with different colors. We chose teal and black, white and purple, instead of pastels. Every child is different, of course, and these colors appealed to her friends. Even the boys!
The gnomes disappeared too fast for me to even take photos. Luckily, my girl and boy brought home a gnome of their own so I could photograph these two.
I can see the gnomes being fantasic party favors even as she gets older. They are good luck charms :)
To make a big batch of gnomes (we crafted seventeen altogether), these tips helped me a lot:
- Buy gnome forms in bulk (if you can). They sell in craft stores a few to a package, but there may not be enough on the shelf. I order sets of the from A Child's Dream Come True in groups of 12 for $3- sweet! (1 and 5/8" size)
- Choose colors all at once. Pick a few colors of felt that work together as mix-and-match. Think of your friends. What are their favorite colors?
- Cut capes. I cut a couple of capes out of each color. I saved everything in a basket.
- Cut hats. Same story :)
- Use varigated thread for different colors. We used rainbow crochet thread (size 10)
- Sew the capes on the wooden gnomes. I did this in a batch where I didn't even tie knots in the thread. I started in the back, sewed a running stitch around, and knotted the two threads together. I didn't hide the threads, which was a shortcut for me. I knew the hats would cover the knots in the back.
- Sew hats. Add sequins, blanket stitch the bottom edge, whatever sounds pretty. Enjoy making each hat unique.
- Stuff a little wool or cotton stuffing in the hat and glue it on. Let the glue dry and enjoy your party!
I was busy getting her party ready, so I didn't photograph the process. One day :)
You could, of course, sew them at the party as a craft. That would be fun, too!
We knew that children would be busy playing so we made ours ahead of time.
You can find more detailed gnome-sewing directions in our book on page 107. If you need help, I am happy to answer questions.
Have fun sharing your gnomes.
P.S. My daughter sewed hats too. She loved giving her creations away :)
Spooky Fairies and Gnomes
Happy spooky season! I love sewing fairies and gnomes with children. I also love sewing them all by myself! This season, especially, I get to have fun with make-believe! This is one of my favorite fairies to craft- the zombie fairy! Although she also reminds me of witch. In our fairy forest, zombies watch over the night-animals. They love tea parties under skeletal trees. They are playful and fun to sew.
We don't have tutorials for these fairies, yet, but the fairies are currently for sale in our Etsy shop. Tutorials will be available one day (stay tuned). And this week, we have a sale in the forest- 20% off with the code SPOOKY12. I know it's too late for this Halloween, but these little fairies are keepsakes that will stay with your family for years.
I also give these fairies as tree ornaments for my friends! ...just an idea for you :)
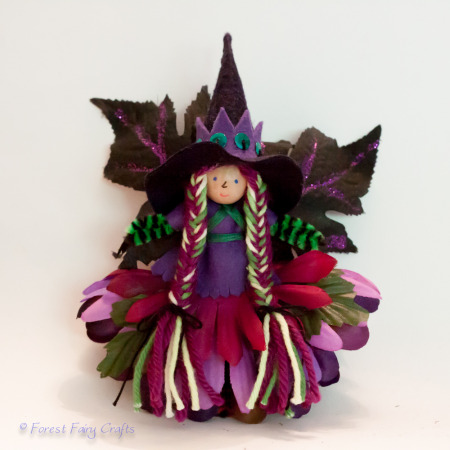
So, without further delay, here's my witch this year!
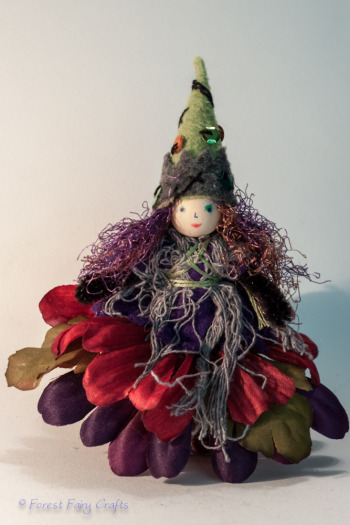
She makes me smile! I was distracted when I glued her hair, which happens in a house with young children :). So, when I tried to braid, I counted way too many strands of yarn. I could cut them, or... fishtail braids! I hadn't tried them before, but they are perfect for her. I especially love the purple and green together. She also chose the purple shirt. I orginally had black felt cut, but got my pieces mixed up with the zombie girl. This witch wanted to be sweet this year!
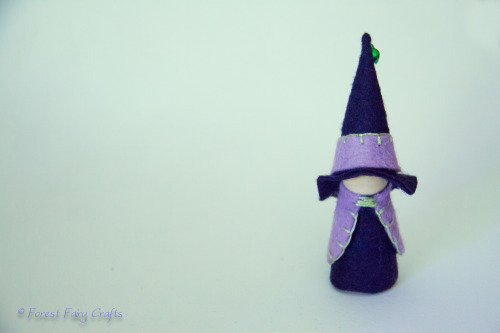
I also made a few witch gnomes.

They were so fun! We will get to share their hat-tutorial with you in the coming months because I do have a little trick for them :). One has found her forever-home, but the other two are still available.
So the spooky corners of the forest are getting ready for their favorite time of year! We wish you a happy, fun, safe holiday!
Fairies and gnomes are waiting for you here.
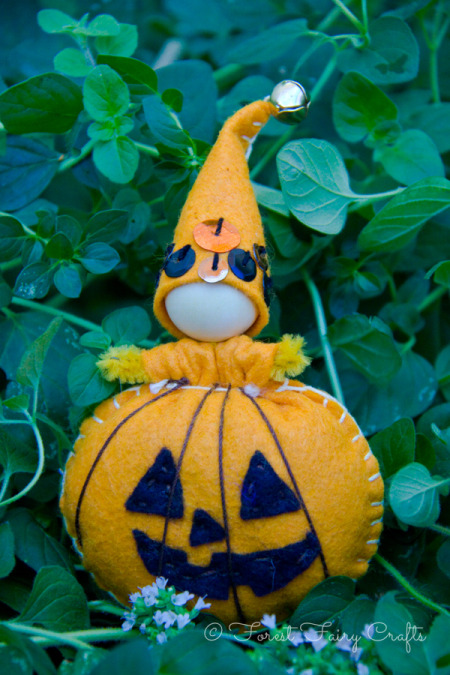
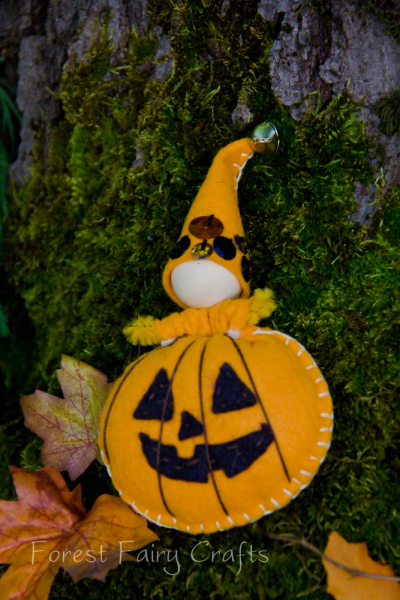
Oh, and we have a Pumpkin Fairy Craft Kit. You can leave the face pieces off for a harvest-season fairy. Or save it for next year. Fun stuff!
Happy Halloween!

The Cosy Gnomes
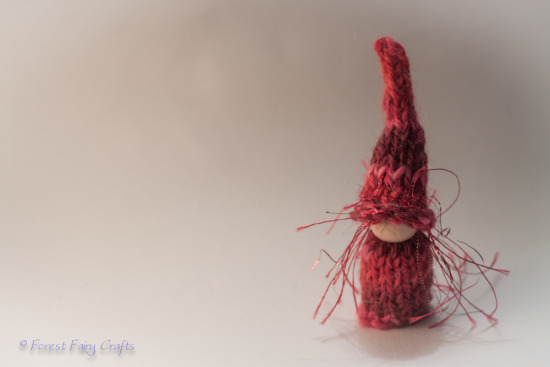
Evenings are cooling down and these gnomes are bundled up for chilly days.

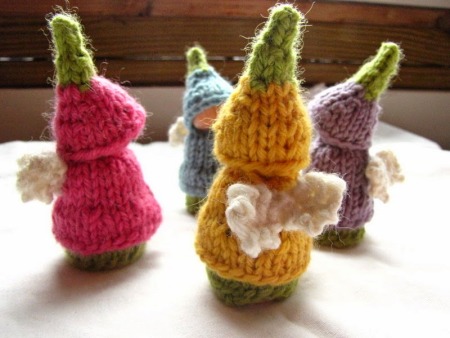
I was inspired to use fall colors and a little whimsy. Along the way, I found I love knitting gnomes. I am sure they will have a village of friends soon. While they stay with me, that is. I posted them on Etsy here and here. I have more images of them over there, too.
I can't help but share a two of my favorite images.

Wishing you a cosy day!


